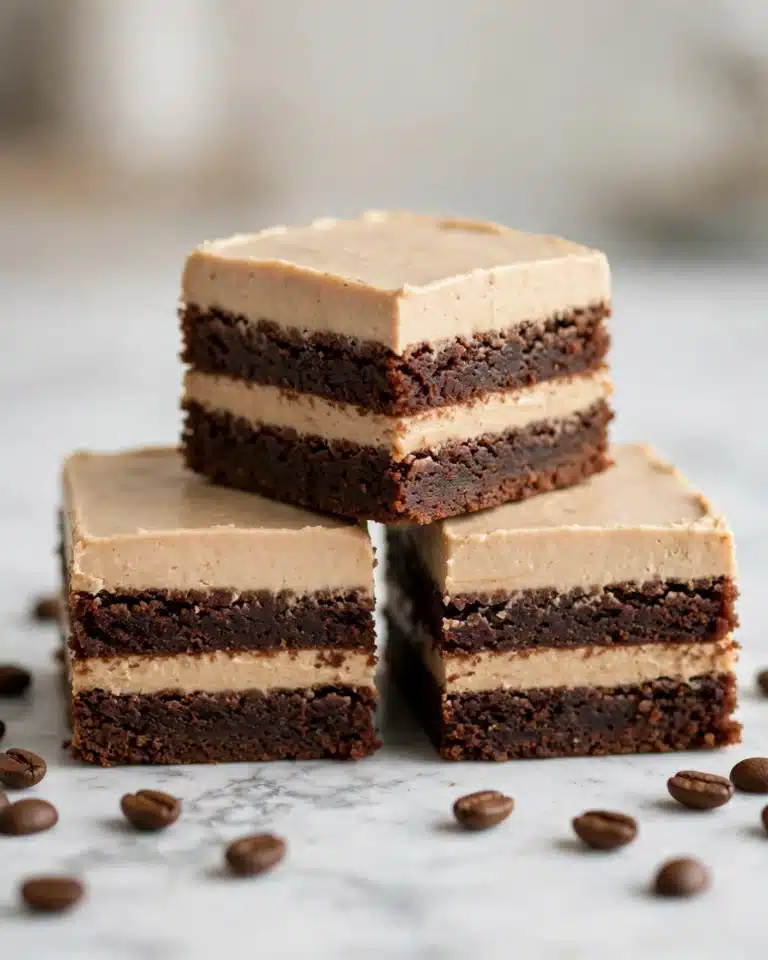
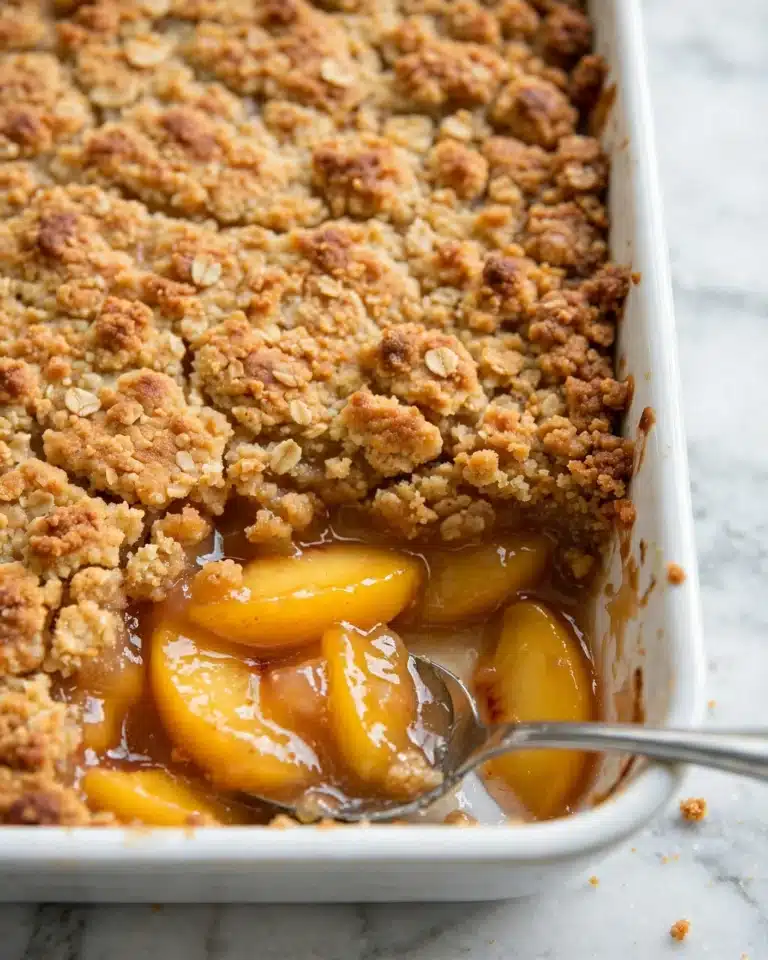
I am so excited to share my all-time favorite treat with you: this M&M Cookie Bars Recipe. Whenever I make these bars, I know I’m bringing smiles to everyone’s faces because they combine the classic charm of cookies with the fun and colorful crunch of M&M’s. The texture is perfectly chewy with just the right golden edges, and the sweet bursts of chocolate and candy make every bite a little celebration. These bars are my go-to when I want something easy to make but impressive to serve.
Why You’ll Love This M&M Cookie Bars Recipe
I have to confess, what really draws me to this M&M Cookie Bars Recipe is the marriage of rich buttery cookie dough with the playful sweetness of M&M’s and mini chocolate chips. The flavor profile is such a nostalgic delight, reminding me of childhood, but elevated with the perfect balance of textures – a soft chewiness with a slight crisp on the edges. It’s a dessert that satisfies that sweet tooth without being overly complicated or dense.
What makes this recipe stand out for me is how incredibly simple it is to prepare. The ingredients are straightforward and pantry-friendly, so I rarely have an excuse not to whip these up. Plus, the bars bake all together in one pan, which means less mess and much more time to enjoy the anticipation. They’re ideal for any occasion – from casual weeknight treats to festive parties or even a sweet addition to a family gathering. Everyone loves them, and I always enjoy the compliments they bring!
Ingredients You’ll Need

Before we dive in, let me say that these ingredients may seem classic, but each one plays a key role in creating the perfect M&M Cookie Bars. From the creamy butter that sets the texture to the baking soda that gives a subtle lift, every item ensures your bars come out just right, packed with flavor and color.
- Unsalted butter (2 sticks, room temperature): This soft butter creates a rich and tender base without adding extra saltiness.
- Granulated sugar (1 cup): Provides sweetness and helps create that slight crisp edge.
- Golden brown sugar (1 cup, firmly packed): Adds moisture and a hint of caramel flavor that deepens the taste.
- Large eggs (3): These bind everything together and contribute to the chewy texture.
- Pure vanilla extract (1 1/2 teaspoons): Gives a warm, fragrant note that enhances all the other flavors.
- All-purpose flour (3 cups): The foundation that gives these bars their structure and bite.
- Baking soda (3/4 teaspoon): Ensures a gentle rise and tender crumb.
- Salt (3/4 teaspoon): Balances the sweetness and amplifies the overall flavor.
- M&M’s (1 1/2 cups, plus extra for topping): The stars of the show – their colorful crunch and chocolate pockets bring fun and texture.
- Mini chocolate chips (1 cup, plus extra for topping): Adds gooey bursts of chocolate that melt perfectly throughout the bars.
Directions
Step 1: Preheat your oven to 350 degrees Fahrenheit to get it ready for baking the cookie bars to perfection.
Step 2: Line a 9×13-inch baking dish with foil, letting some overhang remain on the sides so it’s easy to lift out the bars after baking. Then spray the foil generously with nonstick cooking spray to prevent sticking.
Step 3: In the bowl of a stand mixer, beat the room temperature butter with the granulated sugar and brown sugar until the mixture is fluffy and light – this usually takes a few minutes and is a crucial step for that perfect texture.
Step 4: Add the eggs and vanilla extract to the butter and sugar mix, then continue beating until everything is fully combined and smooth.
Step 5: Lower the mixer speed and add the flour, baking soda, and salt. Mix just until you see everything come together – be careful not to overmix to keep the bars tender.
Step 6: Fold in the M&M’s and mini chocolate chips, saving some to sprinkle on top so your cookie bars have an extra pop of color and chocolate on their surface.
Step 7: Transfer the cookie dough evenly into the prepared baking dish. Press the additional M&M’s and chocolate chips gently into the top for a pretty and delicious finish.
Step 8: Bake in your preheated oven for 30 to 35 minutes, or until the edges are a light golden brown and the center is just set – you want them to be soft but not undercooked.
Step 9: Allow the bars to cool completely in the pan before lifting them out with the foil overhang and cutting into squares. Cooling is key so they hold together and don’t crumble.
Servings and Timing
This M&M Cookie Bars Recipe makes around 18 generous servings – perfect for sharing with a crowd! The prep time is about 10 to 15 minutes, which is quick enough for a spontaneous baking session. Baking takes roughly 30 to 35 minutes, and you should allow at least 20 minutes for cooling before slicing. Altogether, from start to finish, you’re looking at about 60 minutes to have your colorful, delicious bars ready to enjoy.
How to Serve This M&M Cookie Bars Recipe

When it comes to serving these cookie bars, I love to keep things simple but special. They are wonderful served at room temperature or slightly warm right after baking with a cold glass of milk – this combo is pure comfort food in my book. For a fancier touch at parties, I sometimes arrange several bars on a decorative platter and sprinkle a few extra fresh M&M’s on top for added flair.
I’ve found these bars pair beautifully with a variety of beverages. For an adult twist, a sweet dessert wine or a creamy coffee-based cocktail is perfect, while kids and family members adore them alongside hot chocolate or fruity lemonade. These bars shine on holiday dessert tables, potlucks, birthday celebrations, or just as a delightful weeknight treat that instantly brightens the day.
In terms of plating, I like to cut the bars into squares about 2 inches each – they’re bite-sized enough for snacking but generous enough to satisfy. You could even serve them with a scoop of vanilla ice cream or a drizzle of caramel sauce for an indulgent dessert presentation that never fails to impress.
Variations
I love experimenting with my M&M Cookie Bars Recipe, and there are so many fun ways to customize it! For a nutty twist, I often toss in some chopped walnuts or pecans, which add a lovely crunch and earthy flavor. If you’re not a fan of M&M’s, substituting with Reese’s Pieces or your favorite candy-coated chocolates works beautifully too.
If you’re looking to adapt this recipe for dietary needs, I’ve successfully made a gluten-free version using a 1-to-1 gluten-free flour blend without sacrificing texture or taste. For vegan modifications, you can replace the butter with a plant-based alternative and use flax eggs instead of real eggs – the bars turn out just as deliciously rich and chewy.
Flavor-wise, I sometimes mix in peanut butter chips or even swirl in some Nutella before baking to create an irresistible marbled effect. If you want a quicker treat, you could try making mini cookie sandwiches by baking the dough as small cookies – perfect for sharing! The possibilities really make this recipe so fun and versatile.
Storage and Reheating
Storing Leftovers
After enjoying your freshly baked bars, I store any leftovers in an airtight container at room temperature. Using a tightly sealing container helps keep them soft and chewy for up to 4 days. If you want to layer the bars, place parchment paper between layers to prevent sticking and keep the colorful M&M’s intact.
Freezing
This recipe freezes wonderfully, which is perfect if you want to make it ahead or save some for later. I cut the bars into individual portions and place them in a freezer-safe container or zip-top bag with parchment paper between layers. They freeze well for up to 3 months. When you’re ready to enjoy, just thaw at room temperature or warm slightly in the microwave.
Reheating
To bring your M&M cookie bars back to fresh-from-the-oven goodness, I recommend microwaving them for about 10 to 15 seconds per piece to warm them up without drying them out. Avoid reheating in a conventional oven for too long, as it can make the bars too firm or crumbly. A warm bar with slightly melted chocolate chips is, in my opinion, an unbeatable treat!
FAQs
Can I use regular chocolate chips instead of mini chocolate chips?
Absolutely! Regular-sized chocolate chips will still work great in this recipe, though using mini chips helps distribute the chocolate more evenly and gives a nicer texture throughout. If you only have regular chips, feel free to chop them into smaller pieces before mixing in.
Is it necessary to line the baking dish with foil?
Lining your pan with foil and spraying it helps a lot when it comes to removing the cookie bars easily and keeping their shape intact. If you don’t have foil, you can grease the pan really well, but peeling off the bars might be trickier.
Can I swap M&M’s for another candy?
Definitely! This recipe is very versatile – you can substitute M&M’s with Reese’s Pieces, chocolate chunks, butterscotch chips, or even chopped candy bars to make it your own unique dessert.
What if my bars are underbaked after 35 minutes?
Ovens can vary, so if your bars still look very soft or doughy in the center after 35 minutes, simply bake them for an extra 3 to 5 minutes, checking carefully so they don’t dry out or brown too much on top.
Can I make this recipe vegan?
Yes! Use vegan butter substitutes, ground flaxseed mixed with water as egg replacements, and make sure your M&M’s or similar candies are vegan-friendly. The texture might vary slightly but the flavor will still be delicious.
Conclusion
I truly hope you enjoy making and eating this M&M Cookie Bars Recipe as much as I do. It’s one of those recipes that feels like a warm hug in dessert form, bursting with fun colors and comforting flavors. Whether you’re baking for family, friends, or just treating yourself, these bars never disappoint. I can’t wait for you to try them and see how quickly they become a beloved staple in your kitchen too!
PrintM&M Cookie Bars Recipe

Delightfully colorful and chewy M&M Cookie Bars that combine the classic flavors of a chocolate chip cookie with the fun crunch of M&M’s. Perfect for sharing, these bars feature a soft, buttery base loaded with mini chocolate chips and candy-coated chocolates, baked to golden perfection and easy to slice for any occasion.
- Prep Time: 10 minutes
- Cook Time: 35 minutes
- Total Time: 45 minutes
- Yield: 18 servings
- Category: Dessert
- Method: Baking
- Cuisine: American
Ingredients
Wet Ingredients
- 2 sticks unsalted butter (at room temperature)
- 3 large eggs
- 1 1/2 teaspoons pure vanilla extract
Dry Ingredients
- 3 cups all-purpose flour
- 3/4 teaspoon baking soda
- 3/4 teaspoon salt
- 1 cup granulated sugar
- 1 cup golden brown sugar (firmly packed)
Add-ins
- 1 1/2 cups M&M’s (plus more for topping)
- 1 cup mini chocolate chips (plus more for topping)
Instructions
- Preheat Oven: Preheat your oven to 350 degrees Fahrenheit to prepare for baking the cookie bars.
- Prepare Baking Dish: Line a 9×13 inch baking dish with foil, leaving some overhang on the sides for easy removal after baking. Generously spray the foil with nonstick cooking spray to prevent sticking.
- Cream Butter and Sugars: In the bowl of a stand mixer, beat together the at room temperature unsalted butter, granulated sugar, and golden brown sugar until the mixture is light and fluffy, typically about 3-4 minutes.
- Add Eggs and Vanilla: Add the eggs one at a time along with the vanilla extract, continuing to beat until fully incorporated and smooth.
- Mix Dry Ingredients: Reduce the speed of the mixer to low and add the all-purpose flour, baking soda, and salt. Mix just until the ingredients are combined, being careful not to overmix.
- Incorporate M&M’s and Chocolate Chips: Fold in 1 1/2 cups of M&M’s and 1 cup of mini chocolate chips, reserving extra for topping.
- Transfer Dough and Add Toppings: Spread the cookie dough evenly into the prepared baking dish and press the reserved M&M’s and mini chocolate chips gently on top for an attractive finish.
- Bake: Bake in the preheated oven for 30-35 minutes or until the bars turn a light golden brown and are just set in the center.
- Cool and Slice: Allow the bars to cool completely in the baking dish for easy slicing into 18 portions.
Notes
- Using room temperature butter ensures better creaming with the sugars for a lighter texture.
- For easy removal, lift the bars out of the pan using the foil overhang.
- Do not overbake; check at 30 minutes to prevent drying out the bars.
- Storage tip: Store cookie bars in an airtight container at room temperature for up to 5 days or freeze for longer keeping.
- You can substitute M&M’s with other candy-coated chocolates or omit for a simpler chocolate chip bar.