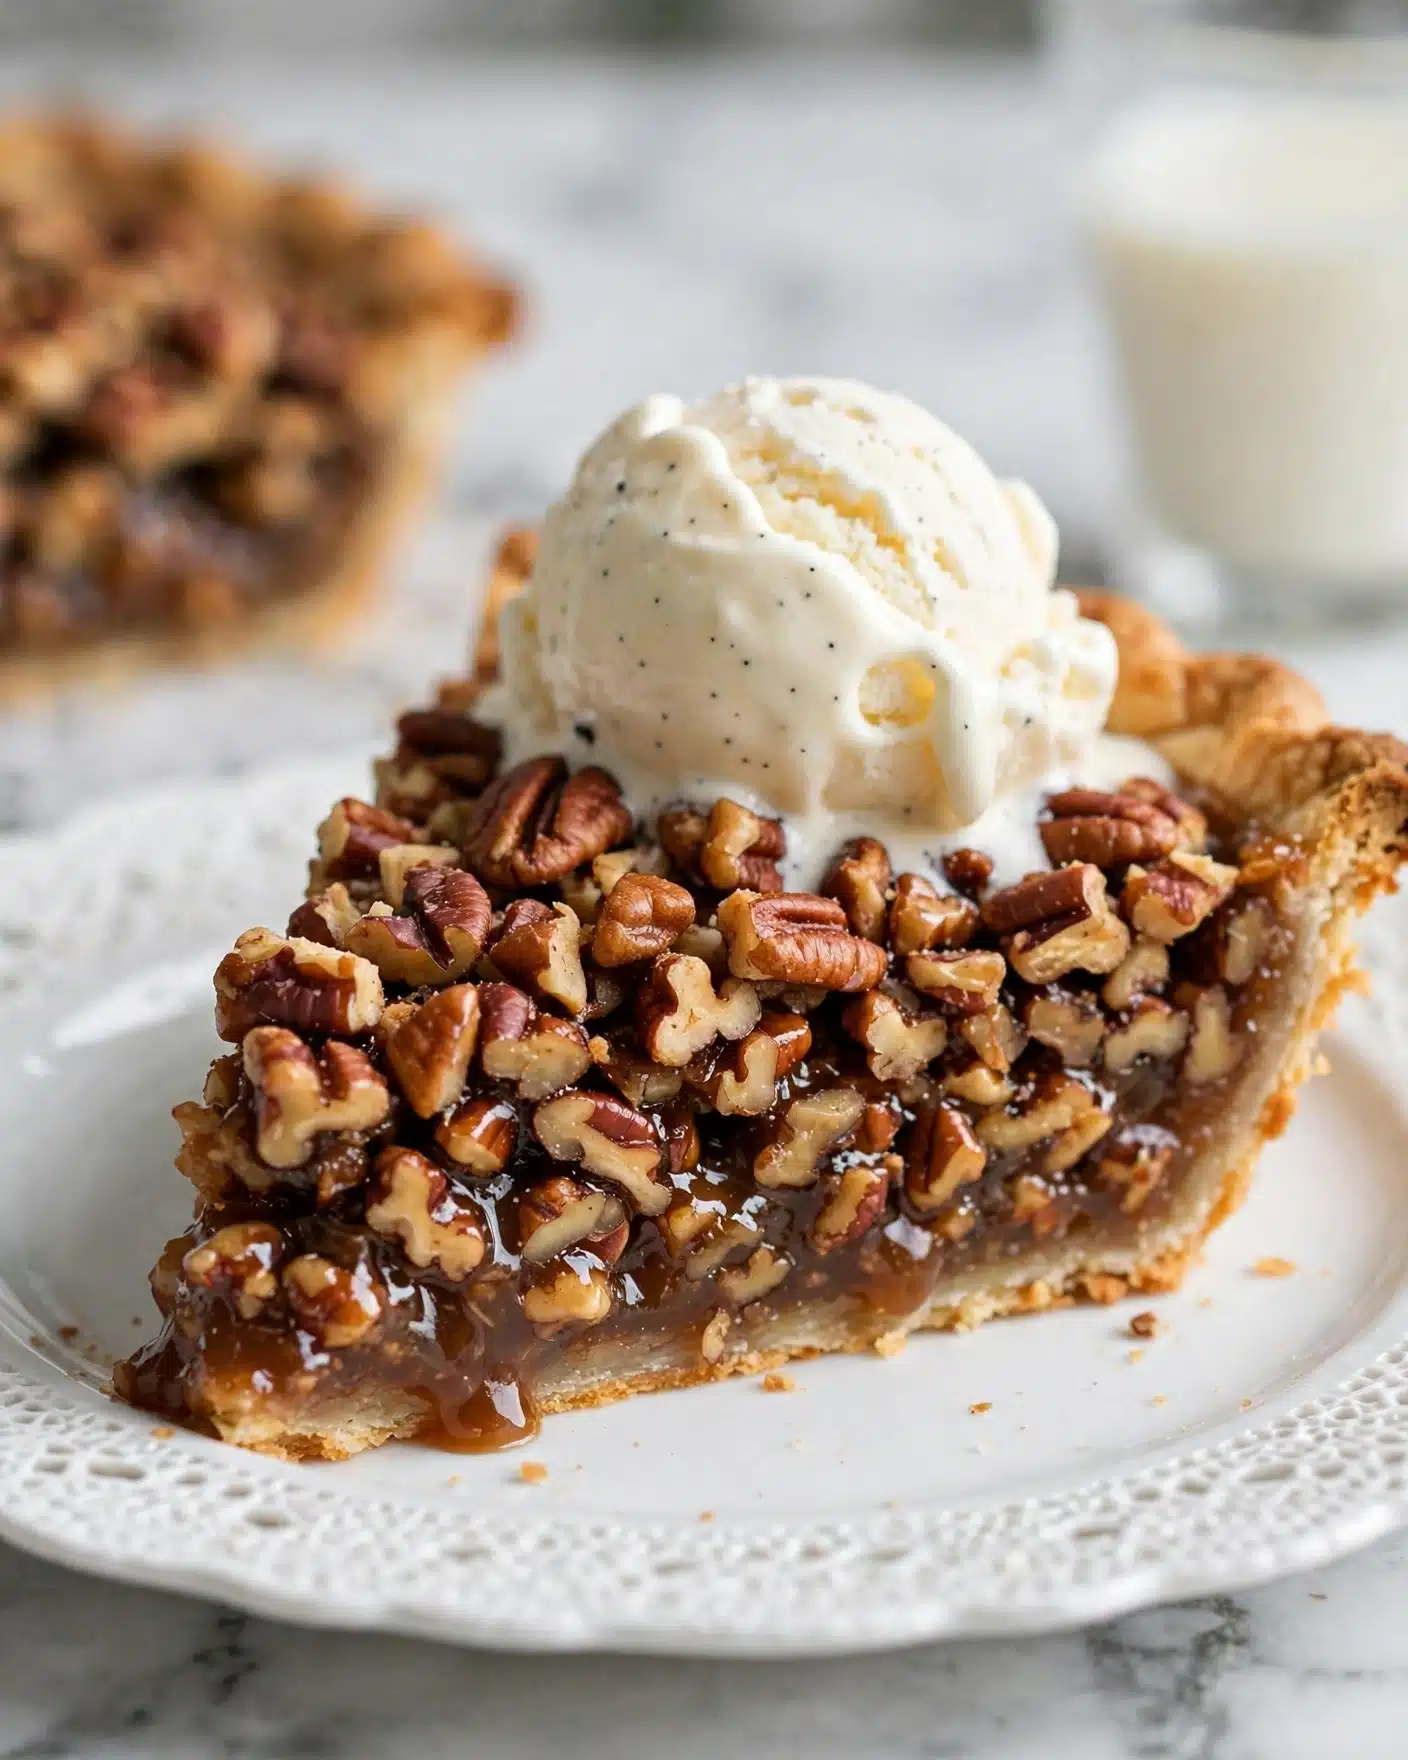
I have to tell you, this Walnut Pie Recipe is one of my absolute favorites to bake and share. It takes that classic pecan pie idea and gives it a lovely, rich twist with walnuts nestled inside a sweet, gooey filling all wrapped in a flaky crust. Whenever I bake this pie, the aroma fills the entire kitchen, and I find myself smiling in anticipation of that first buttery, crunchy bite. It’s surprisingly easy to put together, but the flavor and texture feel so special, making it perfect for everything from casual family dinners to festive gatherings.
Why You’ll Love This Walnut Pie Recipe
What really draws me to this Walnut Pie Recipe is the balance of sweet and nutty flavors. The dark corn syrup in the filling gives it that luscious caramel-like richness, while the chopped walnuts bring a satisfying crunch and a deep, earthy note that just melts in your mouth. I love how the butter and cinnamon add subtle warmth, rounding out every bite. It’s like comfort food with a bit of elegance.
Besides the incredible taste, I adore how easy this pie is to make. It uses straightforward ingredients that are often already in my pantry, and the steps are so simple that even baking novices can feel confident. Plus, it’s baked in a pre-made pie crust, which is a total time-saver without compromising on that flaky texture. I especially enjoy serving this pie during holidays or dinner parties because it always impresses without a ton of fuss. Honestly, it stands out because it tastes like you spent hours making something gourmet, even though it’s quick enough for a weeknight treat.
Ingredients You’ll Need
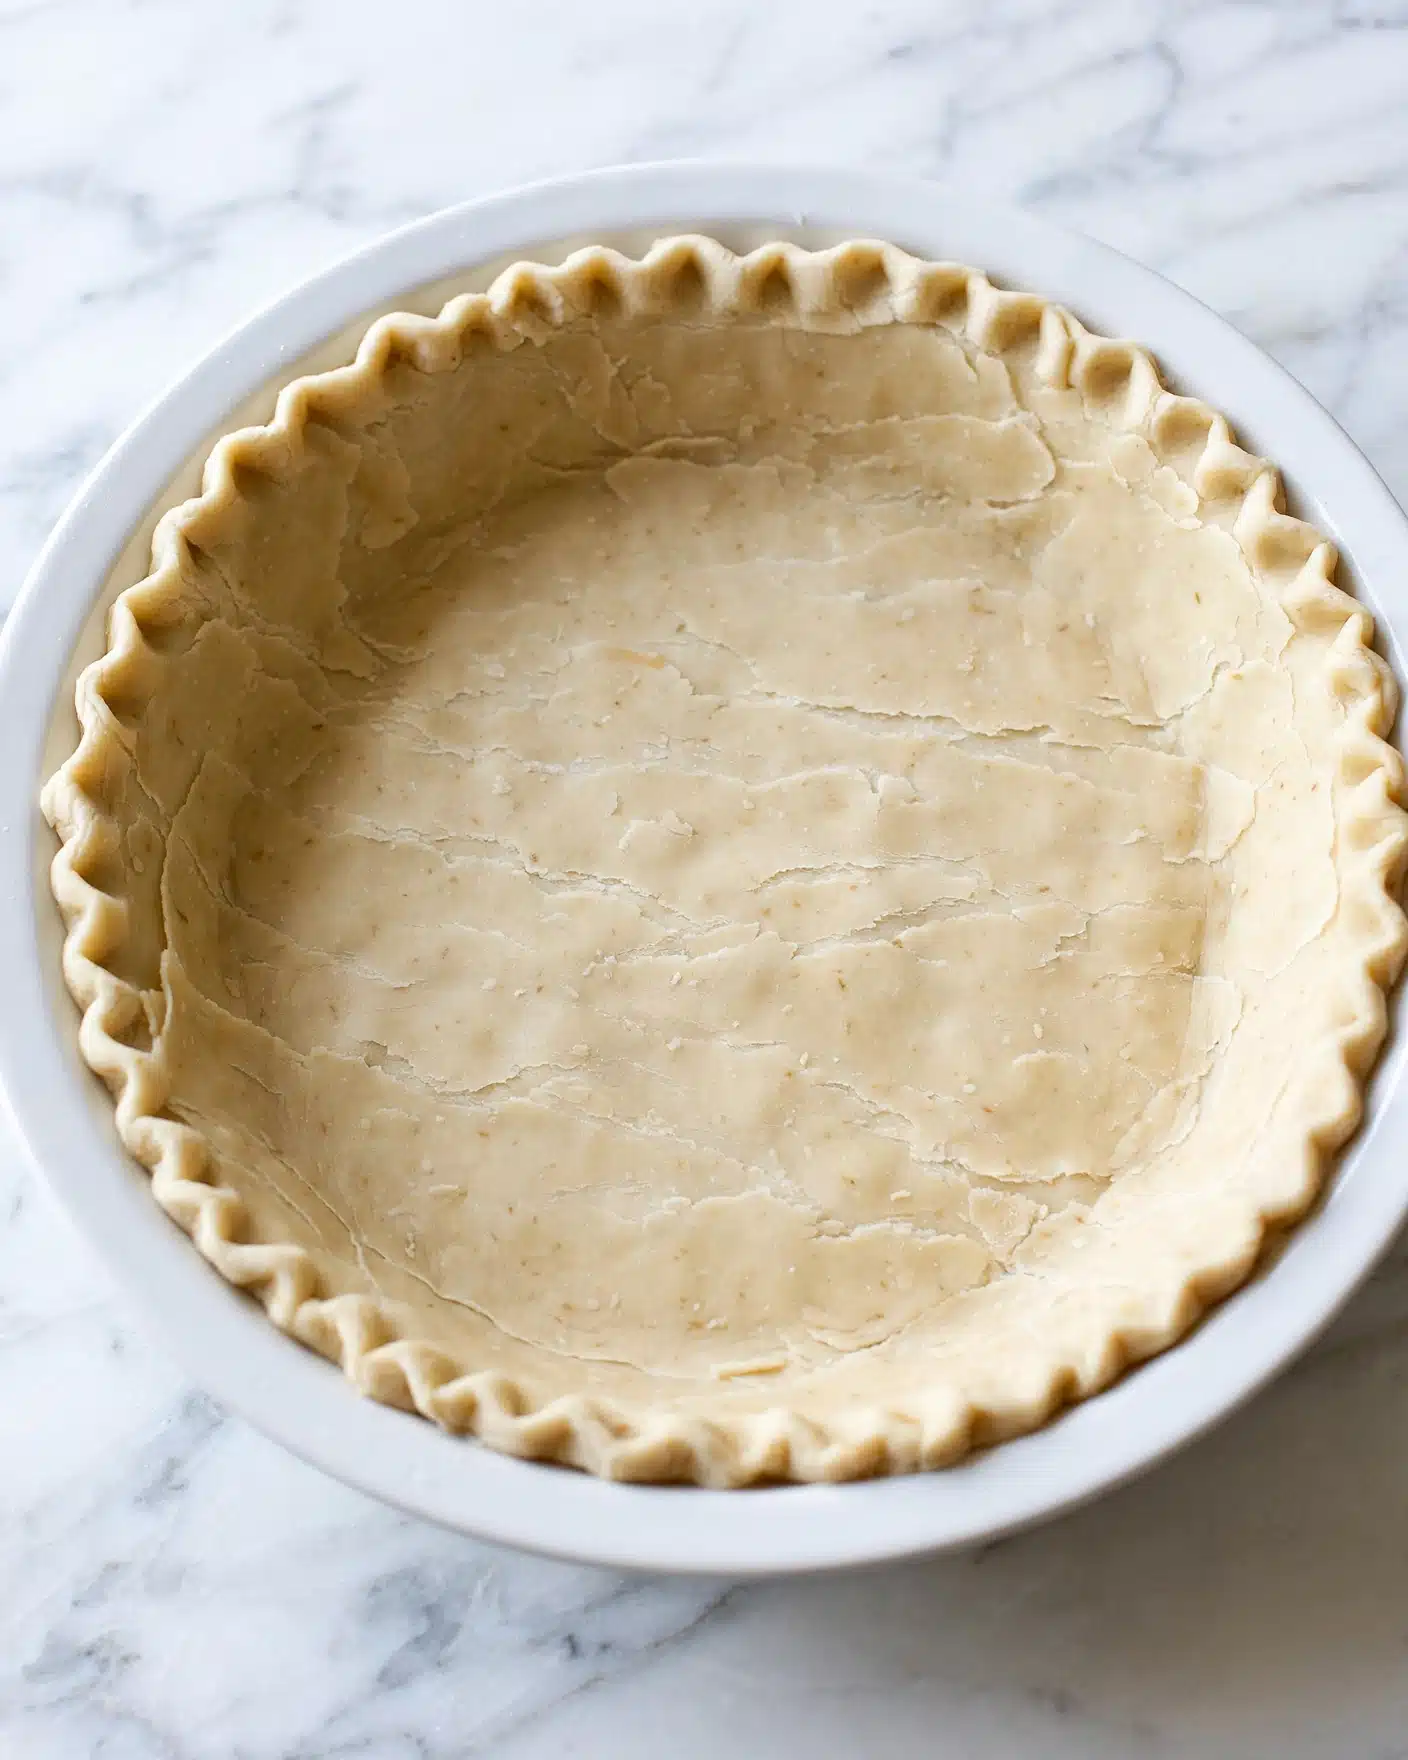
These ingredients are wonderfully simple but crucial to the success of this Walnut Pie Recipe. Each element plays an important role in delivering the perfect texture, richness, and buttery sweetness I love in this pie.
- 9 inch frozen or refrigerated pie crust: Provides a flaky, buttery base that’s super convenient and mess-free.
- 3 large eggs, beaten: Helps bind the filling while adding richness and structure.
- ½ cup granulated sugar: Sweetens the pie and caramelizes to create that signature gooey texture.
- 3 tablespoons salted butter, melted: Adds creaminess and depth to the filling’s flavor.
- 1 cup dark corn syrup: Gives the filling a luscious, sticky sweetness and glossy finish.
- ¼ teaspoon ground cinnamon: Brings a warm, inviting spice note without overpowering the walnuts.
- 1 teaspoon vanilla extract: Enhances the overall flavor with a sweet aroma.
- 1 ½ cups chopped walnuts: The star ingredient that delivers crunch and rich nuttiness throughout the pie.
Directions
Step 1: Preheat your oven to 350 degrees Fahrenheit. This is key to getting the perfect bake and golden crust every time.
Step 2: Place the 9-inch frozen pie crust on a baking sheet. I like using a baking sheet because it makes transferring the pie in and out of the oven much easier and catches any drips.
Step 3: In a medium bowl, whisk together the eggs, granulated sugar, melted butter, dark corn syrup, ground cinnamon, and vanilla extract until the mixture is smooth and fully combined. This filling will have a beautiful, glossy consistency.
Step 4: Scatter the chopped walnuts evenly into the bottom of the pie crust. This ensures every slice has a generous nutty bite.
Step 5: Pour the filling mixture gently over the walnuts, allowing it to settle naturally without disturbing the nuts too much.
Step 6: Bake the pie for 45 to 50 minutes. After about 20 minutes, I recommend loosely covering the edges with aluminum foil to prevent the crust from over-browning while the filling finishes baking.
Step 7: You’ll know the pie is done when the center is just a little jiggly and puffy — not completely firm but set enough that it doesn’t slosh around.
Step 8: Let the pie cool completely before slicing. This resting time helps the filling set beautifully so your slices hold together perfectly.
Servings and Timing
This Walnut Pie Recipe yields about 6 generous servings, perfect for sharing with family or friends. The prep time is incredibly quick, only about 10 minutes, making it easy to whip up even on a busy day. The baking time is around 50 minutes, with an additional cooling/resting time of at least 1 hour to allow the filling to firm up nicely. Altogether, you should plan for about 2 hours from start to finish — and trust me, the wait is worth every bite.
How to Serve This Walnut Pie Recipe
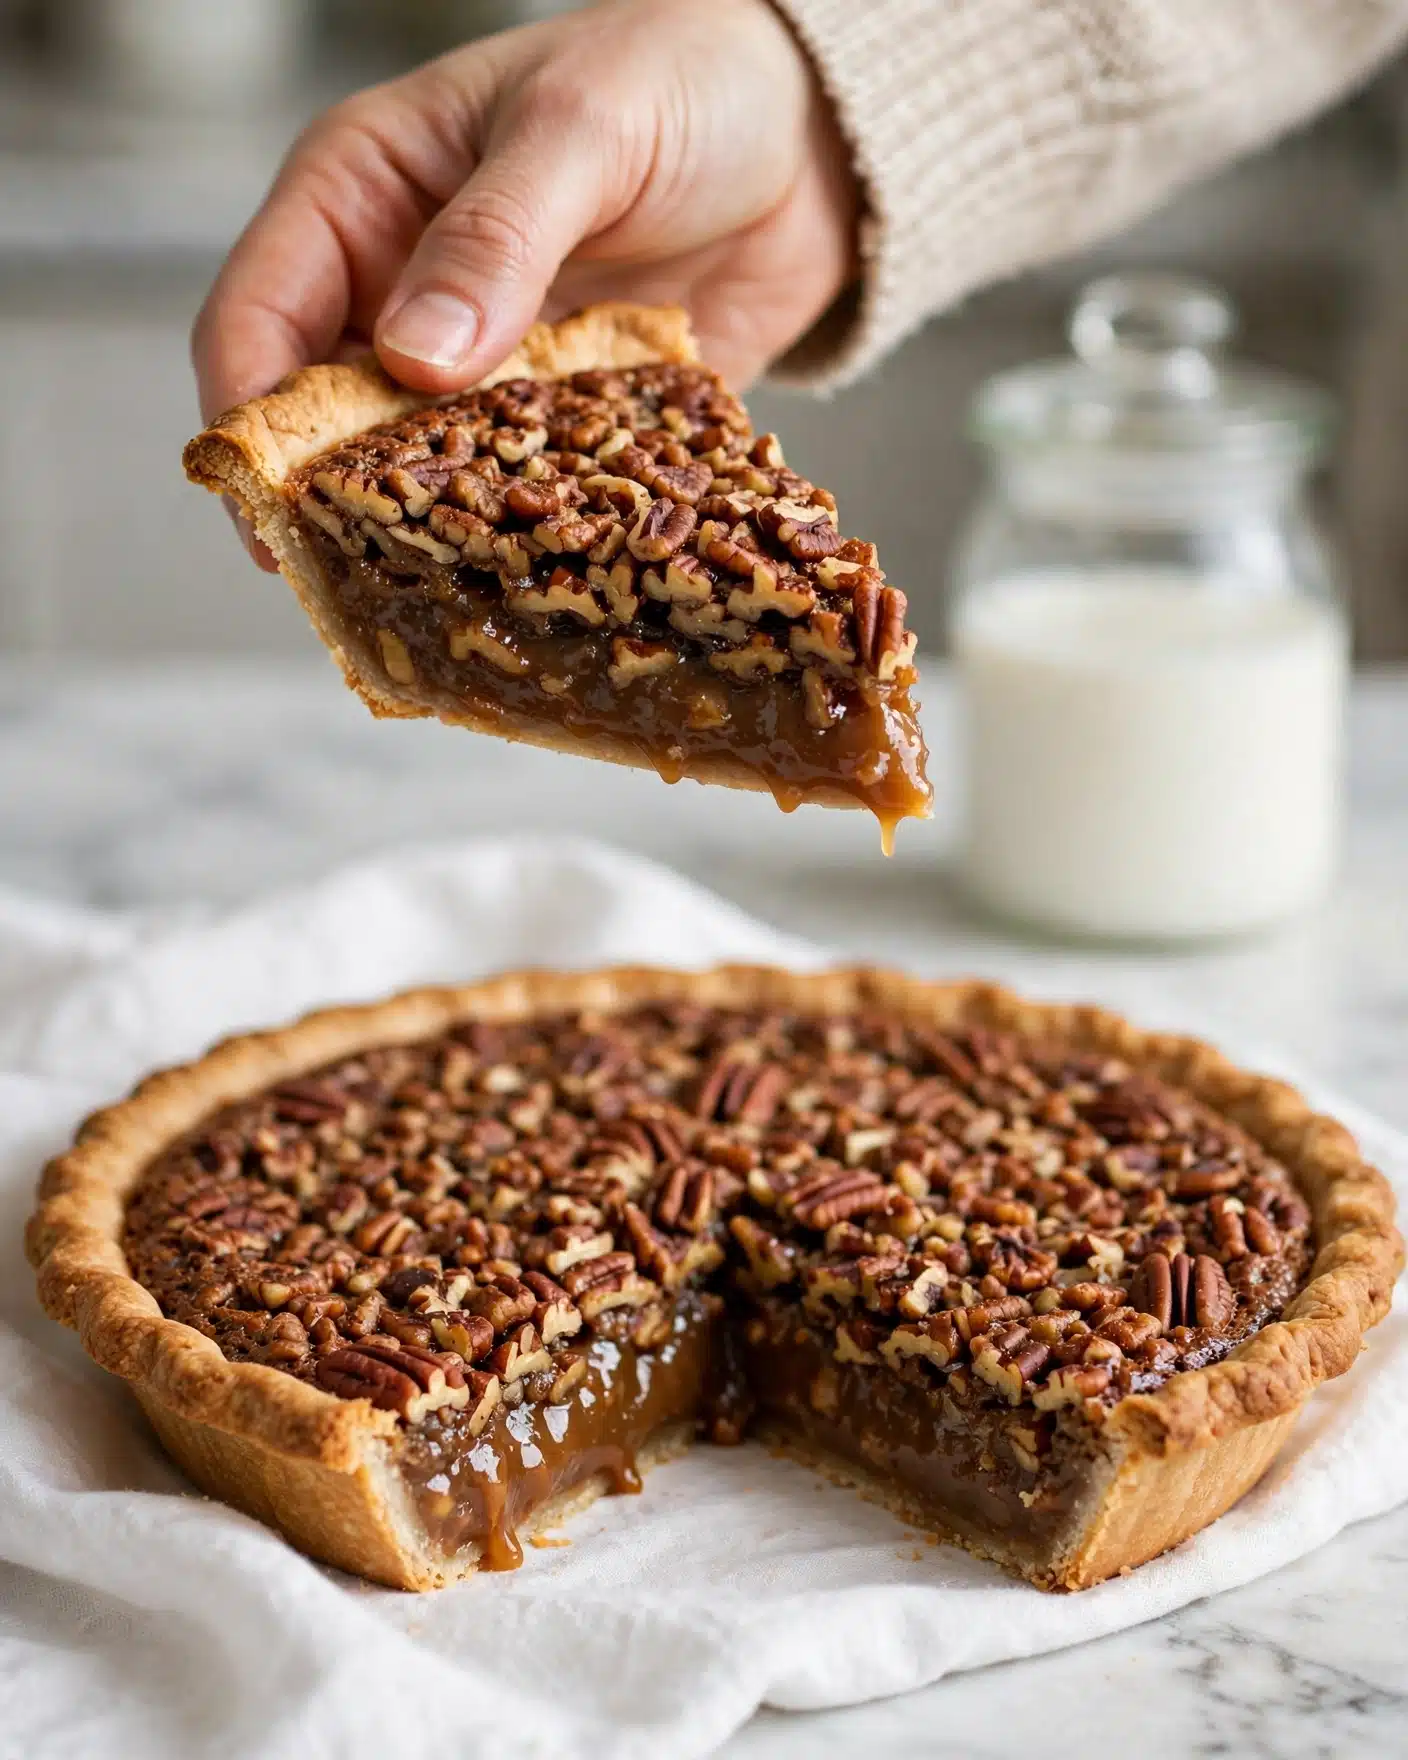
I love serving this pie slightly warm or at room temperature because those textures come together perfectly — the filling is gooey and luscious, and the crust maintains its crispness. One of my favorite accompaniments is a scoop of vanilla ice cream or a dollop of freshly whipped cream which adds a cool, creamy contrast to the richness of the pie.
If I’m hosting a holiday dinner or party, I like to garnish the top with a few whole walnuts and a light dusting of powdered sugar to make it look festive and inviting. Serving it on a decorative plate with nice slices about 1 to 1.5 inches wide makes the presentation simple but elegant.
This walnut pie pairs exceptionally well with cozy beverages. Whether it’s a spiced hot cider, a robust cup of coffee, or even a glass of bourbon or port wine, the warm, sweet flavors complement each other beautifully. I usually save this pie for special occasions, but it’s so easy that I end up enjoying it even on laid-back weeknights!
Variations
Over time, I’ve experimented with several variations of this Walnut Pie Recipe to suit different tastes and dietary needs. If you want to switch things up, consider swapping half the walnuts for pecans or even adding a handful of chocolate chips for a melty, indulgent touch. The cinnamon can be replaced with a pinch of nutmeg or allspice for a slightly different spice character.
For friends with gluten sensitivities, I’ve had great success using a gluten-free pie crust — it doesn’t change the flavor at all and still delivers that perfectly flaky texture I love. If you’re vegan, you could try using a coconut oil-based crust and replace the eggs with a flaxseed or chia seed egg substitute, though I find the filling texture shifts a bit in that case. Still, it’s a wonderful option for accommodating different diets.
Another fun twist is to bake mini walnut pies using muffin tins. This not only changes the portion size but also makes for darling individual servings that are perfect for parties or potlucks. Just reduce the baking time to around 25–30 minutes and keep an eye on that jiggly center!
Storage and Reheating
Storing Leftovers
Leftover walnut pie is best kept covered tightly in the refrigerator to maintain freshness and prevent the crust from becoming soggy. I like to store it in an airtight container or cover the pie loosely with plastic wrap or foil. The pie will keep well for up to 4 days, which is perfect since it rarely lasts that long in my house! Before serving leftovers, I recommend bringing the slices to room temperature or warming lightly for the best experience.
Freezing
If you want to freeze this pie, it definitely works well! To freeze, wrap the pie securely with plastic wrap and then with foil to prevent freezer burn. You can freeze it for up to 2 months. When you’re ready to enjoy, thaw it overnight in the refrigerator and let it come to room temperature before serving. I don’t recommend freezing slices individually unless tightly wrapped, as the pie’s gooey filling can get a bit messy otherwise.
Reheating
The best way to reheat walnut pie is gently in the oven at 300 degrees Fahrenheit for about 10 to 15 minutes. This warms the filling through while keeping the crust crisp. Avoid microwaving if you can, as it tends to make the crust chewy or soggy and alters the texture of the filling. A low and slow warm-up in the oven always restores much of that fresh-baked magic.
FAQs
Can I use a homemade pie crust instead of frozen?
Absolutely! A homemade crust can add wonderful flavor and texture, and I often make mine from scratch when I have extra time. Just blind bake it slightly first or keep an eye on the crust edges while baking to avoid over-browning.
What can I substitute for dark corn syrup?
If you don’t have dark corn syrup, you can use light corn syrup or even a combination of honey and maple syrup. Keep in mind this might slightly alter the flavor and texture, but it will still be delicious.
Why is my pie center still runny after baking?
The center of this pie should be just a little jiggly but not liquidy. Over- or under-baking can cause this, so make sure to bake the pie long enough and check around the 45-minute mark. Cooling the pie properly also helps the filling set.
Can I toast the walnuts before adding them?
Yes! Toasting walnuts enhances their flavor and adds an extra layer of nuttiness. Just be careful not to burn them — a few minutes in a dry skillet or oven works great.
How long does it take for the pie to cool completely?
It usually takes about 1 to 2 hours for the pie to cool and set properly at room temperature. This resting period ensures that the filling firms up and slices neatly.
Conclusion
I genuinely hope you give this Walnut Pie Recipe a try because it’s one of those desserts that really feels like a warm hug in pie form. It’s simple enough to make whenever you have a craving, yet impressive enough to bring out for your favorite celebrations. From the rich, nutty flavor to the gooey, sweet filling and flaky crust, every bite is pure joy. Happy baking, and I can’t wait to hear how much you enjoy it!
PrintWalnut Pie Recipe
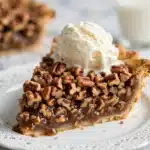
Walnut Pie offers a delightful variation on the traditional pecan pie by incorporating chopped walnuts into a rich, gooey filling encased in a flaky pie crust. This classic American dessert combines the perfect balance of sweet corn syrup, warm cinnamon, and buttery crust, making it an effortless yet impressive treat for any occasion.
- Prep Time: 10 minutes
- Cook Time: 50 minutes
- Total Time: 1 hour
- Yield: 6 servings
- Category: Dessert
- Method: Baking
- Cuisine: American
Ingredients
Pie Crust
- 9 inch frozen pie crust (or refrigerated pie crust, or make your own)
Filling
- 3 large eggs, beaten
- ½ cup granulated sugar
- 3 Tablespoons salted butter, melted
- 1 cup dark corn syrup
- ¼ teaspoon ground cinnamon
- 1 teaspoon vanilla extract
- 1 ½ cups chopped walnuts
Instructions
- Preheat Oven: Preheat your oven to 350°F (175°C) to ensure it’s at the right temperature when the pie is ready to bake.
- Prepare Pie Crust: Place the 9-inch frozen pie crust on a baking sheet. Using a baking sheet makes it easier to handle and remove the pie from the oven after baking.
- Mix Filling: In a medium bowl, whisk together the beaten eggs, granulated sugar, melted butter, dark corn syrup, ground cinnamon, and vanilla extract until the mixture is smooth and fully combined.
- Add Walnuts: Evenly spread the chopped walnuts over the bottom of the pie crust on the baking sheet.
- Pour Filling: Carefully pour the prepared filling mixture over the walnuts, allowing it to settle evenly into the crust.
- Bake the Pie: Bake in the preheated oven for 45-50 minutes. Around the 20-minute mark, loosely cover the edges of the pie crust with aluminum foil to prevent over-browning. The pie is done when the center is slightly jiggly and has puffed up a bit.
- Cool and Serve: Remove the pie from the oven and allow it to cool completely before slicing. This helps the filling set properly. Serve and enjoy!
Notes
- Use a baking sheet under the pie crust to catch any drips and make it easier to handle.
- Cover the crust edges with foil midway through baking to prevent burns.
- The pie center will be slightly jiggly when done; it will firm up as it cools.
- For a crisper crust, bake the pie on the lower rack of the oven.
- Store leftovers covered in the refrigerator for up to 3 days.