
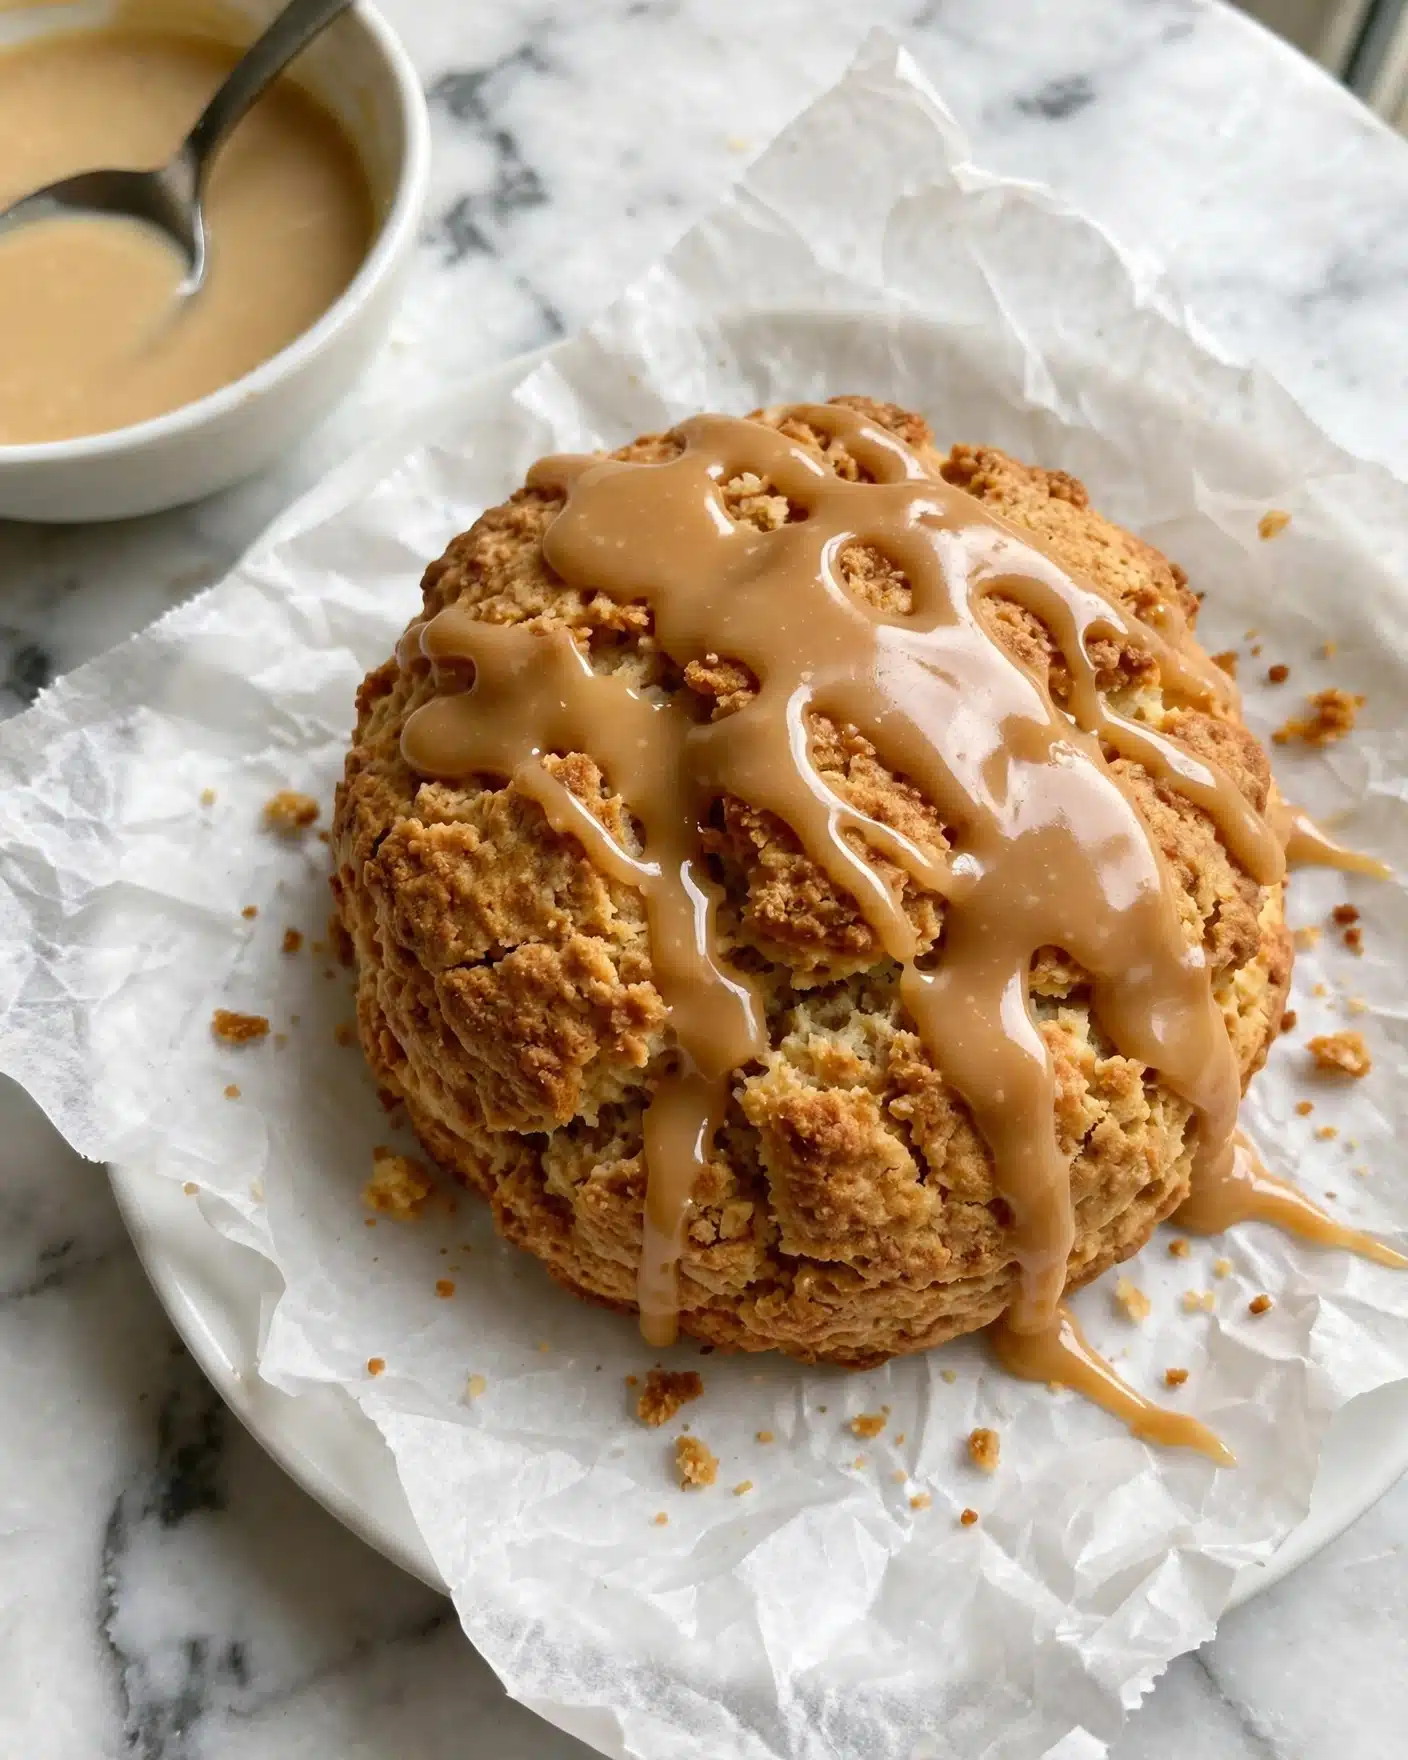
I am so excited to share this Tender Gluten-Free Pumpkin Cream Scones Recipe with you because it perfectly blends the cozy flavors of fall with a tender, melt-in-your-mouth texture. From the moment I first tasted these scones, I knew they were something special—they’re rich with pumpkin and warming spices, yet wonderfully light and dairy-rich thanks to the cream. Whether you’re gluten-free by necessity or choice, these scones deliver all the comfort and flavor you want with none of the dryness that sometimes haunts gluten-free baked goods. I promise once you try this recipe, it will become a staple in your autumn baking routine.
Why You’ll Love This Tender Gluten-Free Pumpkin Cream Scones Recipe
One of the things I adore most about this recipe is the incredible flavor profile. The blend of cinnamon, fresh grated ginger, nutmeg, and even a hint of turmeric creates a warm spiced note that perfectly complements the natural sweetness and earthiness of pumpkin. The tender crumb, owed to the trio of flours and the addition of cold butter and cream, keeps the scones delicate and moist without feeling heavy. I love how each bite offers a balance between fragrant spices and subtle richness.
From my experience making many gluten-free baked goods, I can confidently say this recipe is wonderfully straightforward and forgiving. The dough is soft and easy to handle compared to other gluten-free doughs that can be dry or crumbly. Plus, chilling the dough makes shaping a breeze. These scones are perfect for weekends when I want to bake something special but don’t want to fuss for hours. They shine at brunches, holiday breakfasts, or even as an afternoon pick-me-up with a cup of tea. Something about that pumpkin cream combination feels festive and comforting without being overly sweet.
Ingredients You’ll Need
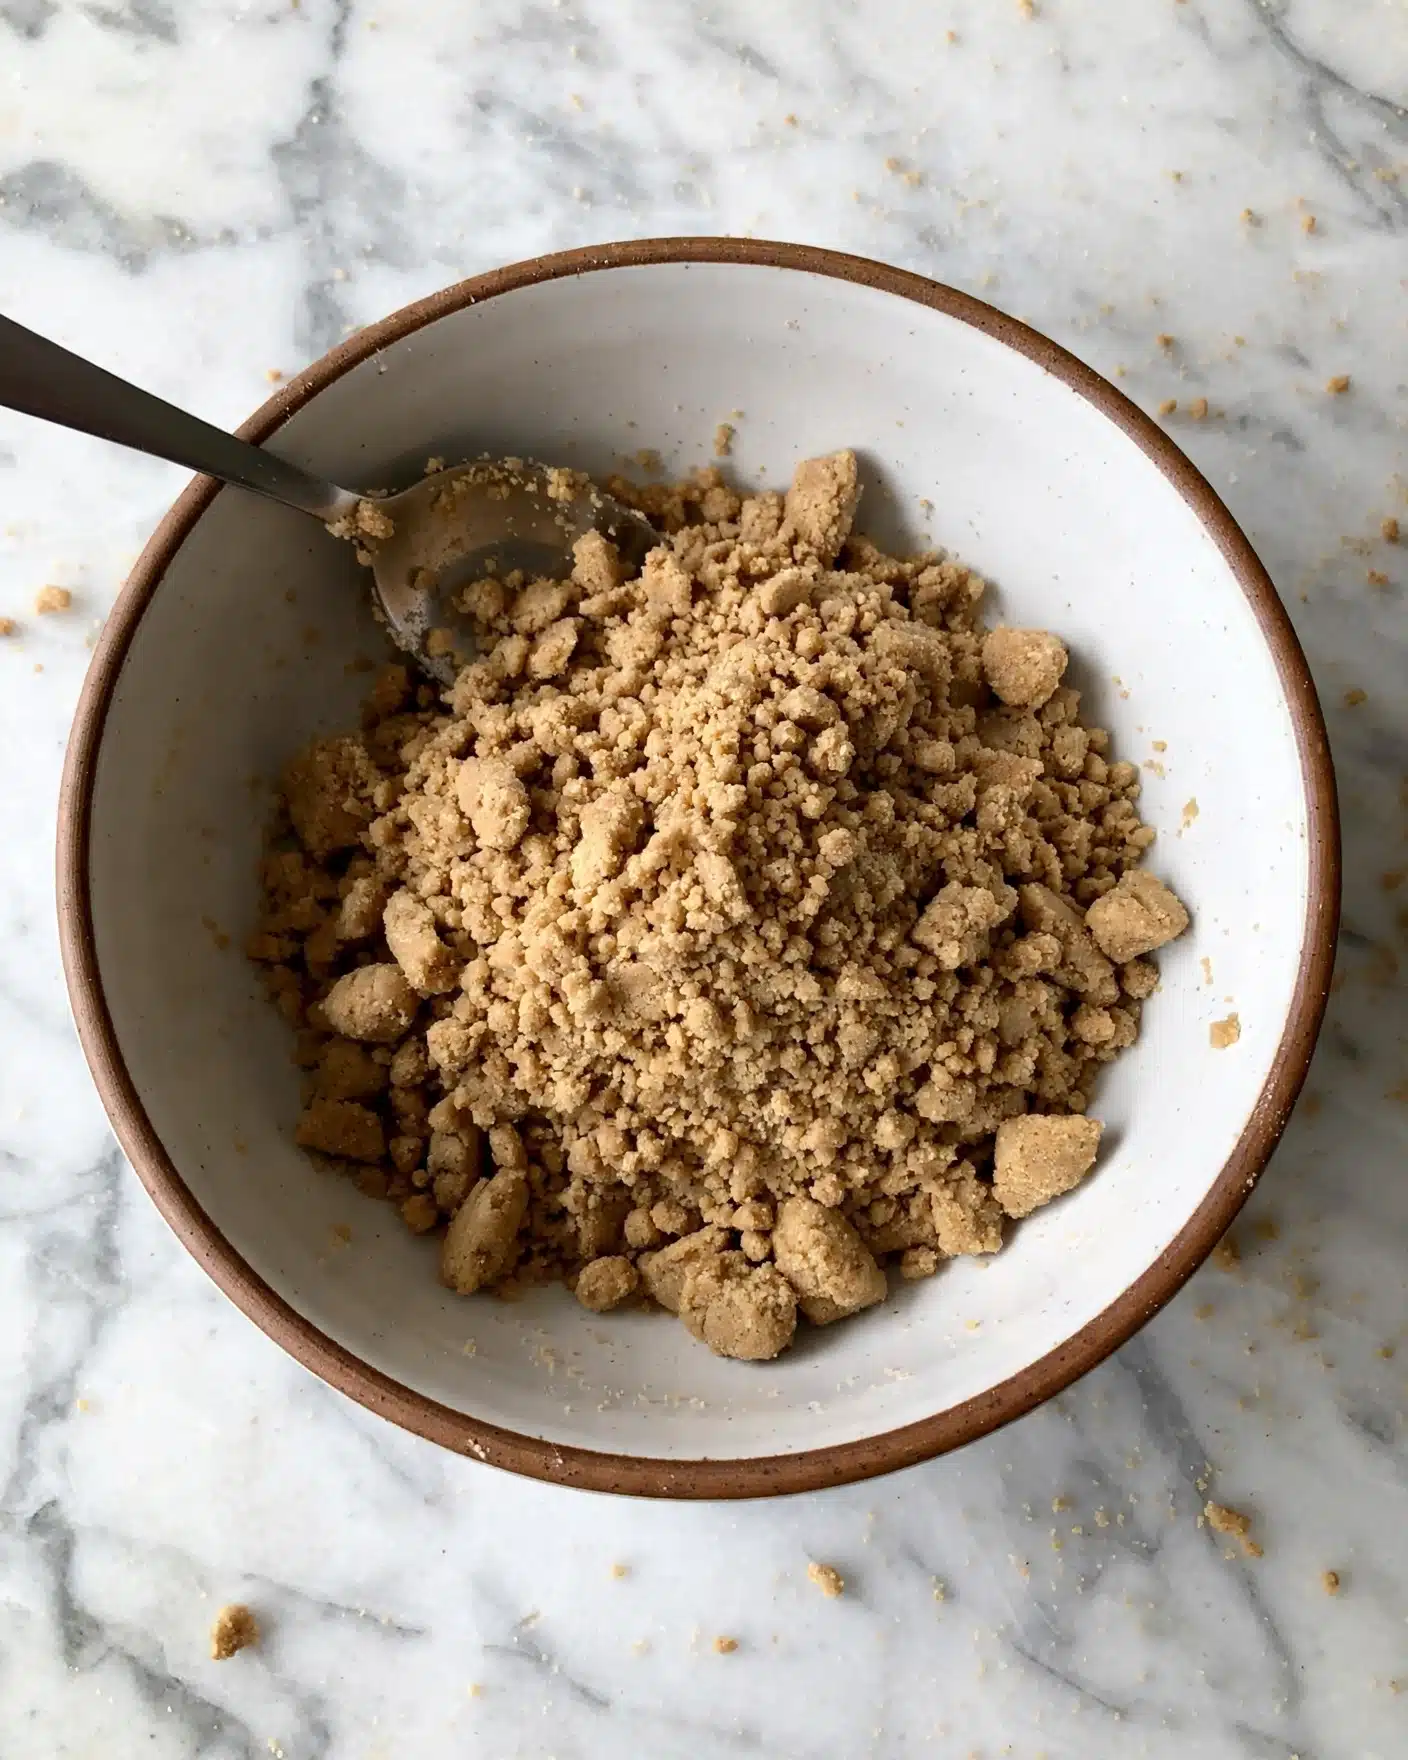
The ingredient list may look specialized, but each item plays an essential role in building flavor, texture, and color. The combination of gluten-free flours keeps them tender yet structured, while the pumpkin puree and cream deliver moisture and richness.
- Sweet rice flour: Adds natural stickiness and helps bind the scones together for a soft texture.
- Blanched almond flour: Provides a subtle nutty flavor and contributes to tenderness.
- Gluten-free oat flour: Offers a hearty, slightly sweet background that enhances the pumpkin.
- Tapioca flour: Lightens the dough and improves chewiness without heaviness.
- Brown sugar: Brings caramel notes and balances the spices.
- Baking powder: The leavening agent that lifts the scones to a perfect height.
- Cinnamon, nutmeg, turmeric: Warm spices that create the classic fall flavor with a pop of golden color.
- Cold unsalted butter: Chilled for a flaky, tender crumb.
- Pumpkin puree: The star ingredient giving moisture, flavor, and vibrant orange hue.
- Heavy cream: Adds richness and the right amount of moisture to keep the scones luscious.
- Egg: Binds ingredients and enriches the dough.
- Fresh ginger: Grated finely for a subtle spicy warmth that complements the pumpkin.
- Vanilla extract: Rounds out the flavor with a gentle sweetness.
- Maple glaze: A sweet finishing touch that pairs beautifully with the spices.
Directions
Step 1: In a large bowl, whisk together the sweet rice flour, almond flour, oat flour, tapioca flour, brown sugar, baking powder, cinnamon, freshly grated nutmeg, turmeric (if using), and sea salt until evenly combined.
Step 2: Add the cold, sliced butter to the dry ingredients. Using a pastry cutter or your fingertips, quickly work the butter into the flour until the pieces resemble small peas. Don’t overwork; small bits of butter are key to a tender crumb.
Step 3: Chill your flour-butter mixture in the refrigerator for at least 10 minutes. This ensures the butter stays cold for flakiness.
Step 4: Meanwhile, whisk together the pumpkin puree, cold heavy cream, egg, finely grated fresh ginger, and vanilla extract in a measuring cup or small bowl. Place this mixture in the fridge until you need it.
Step 5: Remove the chilled flour mixture and gradually add the pumpkin mixture, folding gently with a silicone spatula. The dough should come together softly but not be wet or sticky. If it feels dry, add a bit more heavy cream, one teaspoon at a time.
Step 6: Once combined, gently press the dough together with your hands into a rough ball. Transfer to a piece of parchment or beeswax wrap, then shape it into a 6-inch disk about 1 ¼ inches thick. Wrap tightly and chill for at least 1-2 hours or overnight to firm up.
Step 7: When ready to bake, preheat your oven to 400°F and position a rack at the uppermost level. Prepare a baking sheet by stacking two rimmed sheets and lining with parchment paper; this keeps the scones’ bottoms from over-browning.
Step 8: Dust a cutting board lightly with oat flour, unwrap your dough disk, and place it on the board. Brush the top with a bit of cream. Using a large sharp knife, cut the dough into 8 equal wedges and transfer them spaced apart to the baking sheet.
Step 9: Bake for about 25 to 30 minutes, rotating midway, until the scones are golden brown on top and an instant-read thermometer inserted in the center reaches 205–210°F.
Step 10: Transfer scones to a wire rack and let them cool completely before drizzling with the maple glaze and finishing with a light grating of nutmeg for that extra aromatic touch.
Servings and Timing
This Tender Gluten-Free Pumpkin Cream Scones Recipe yields about 8 scones, making it perfect for sharing with family or friends. Prep takes roughly 20 minutes, but since the dough needs chilling, plan for at least 1 to 2 hours of resting time or overnight for convenience. Baking time is about 25 to 30 minutes, so from start to finish including chilling, you’re looking at around 1 hour and 50 minutes. The resting time is critical; it helps the dough firm up and the flavors to develop fully while ensuring the scones bake up tender rather than crumbly.
How to Serve This Tender Gluten-Free Pumpkin Cream Scones Recipe
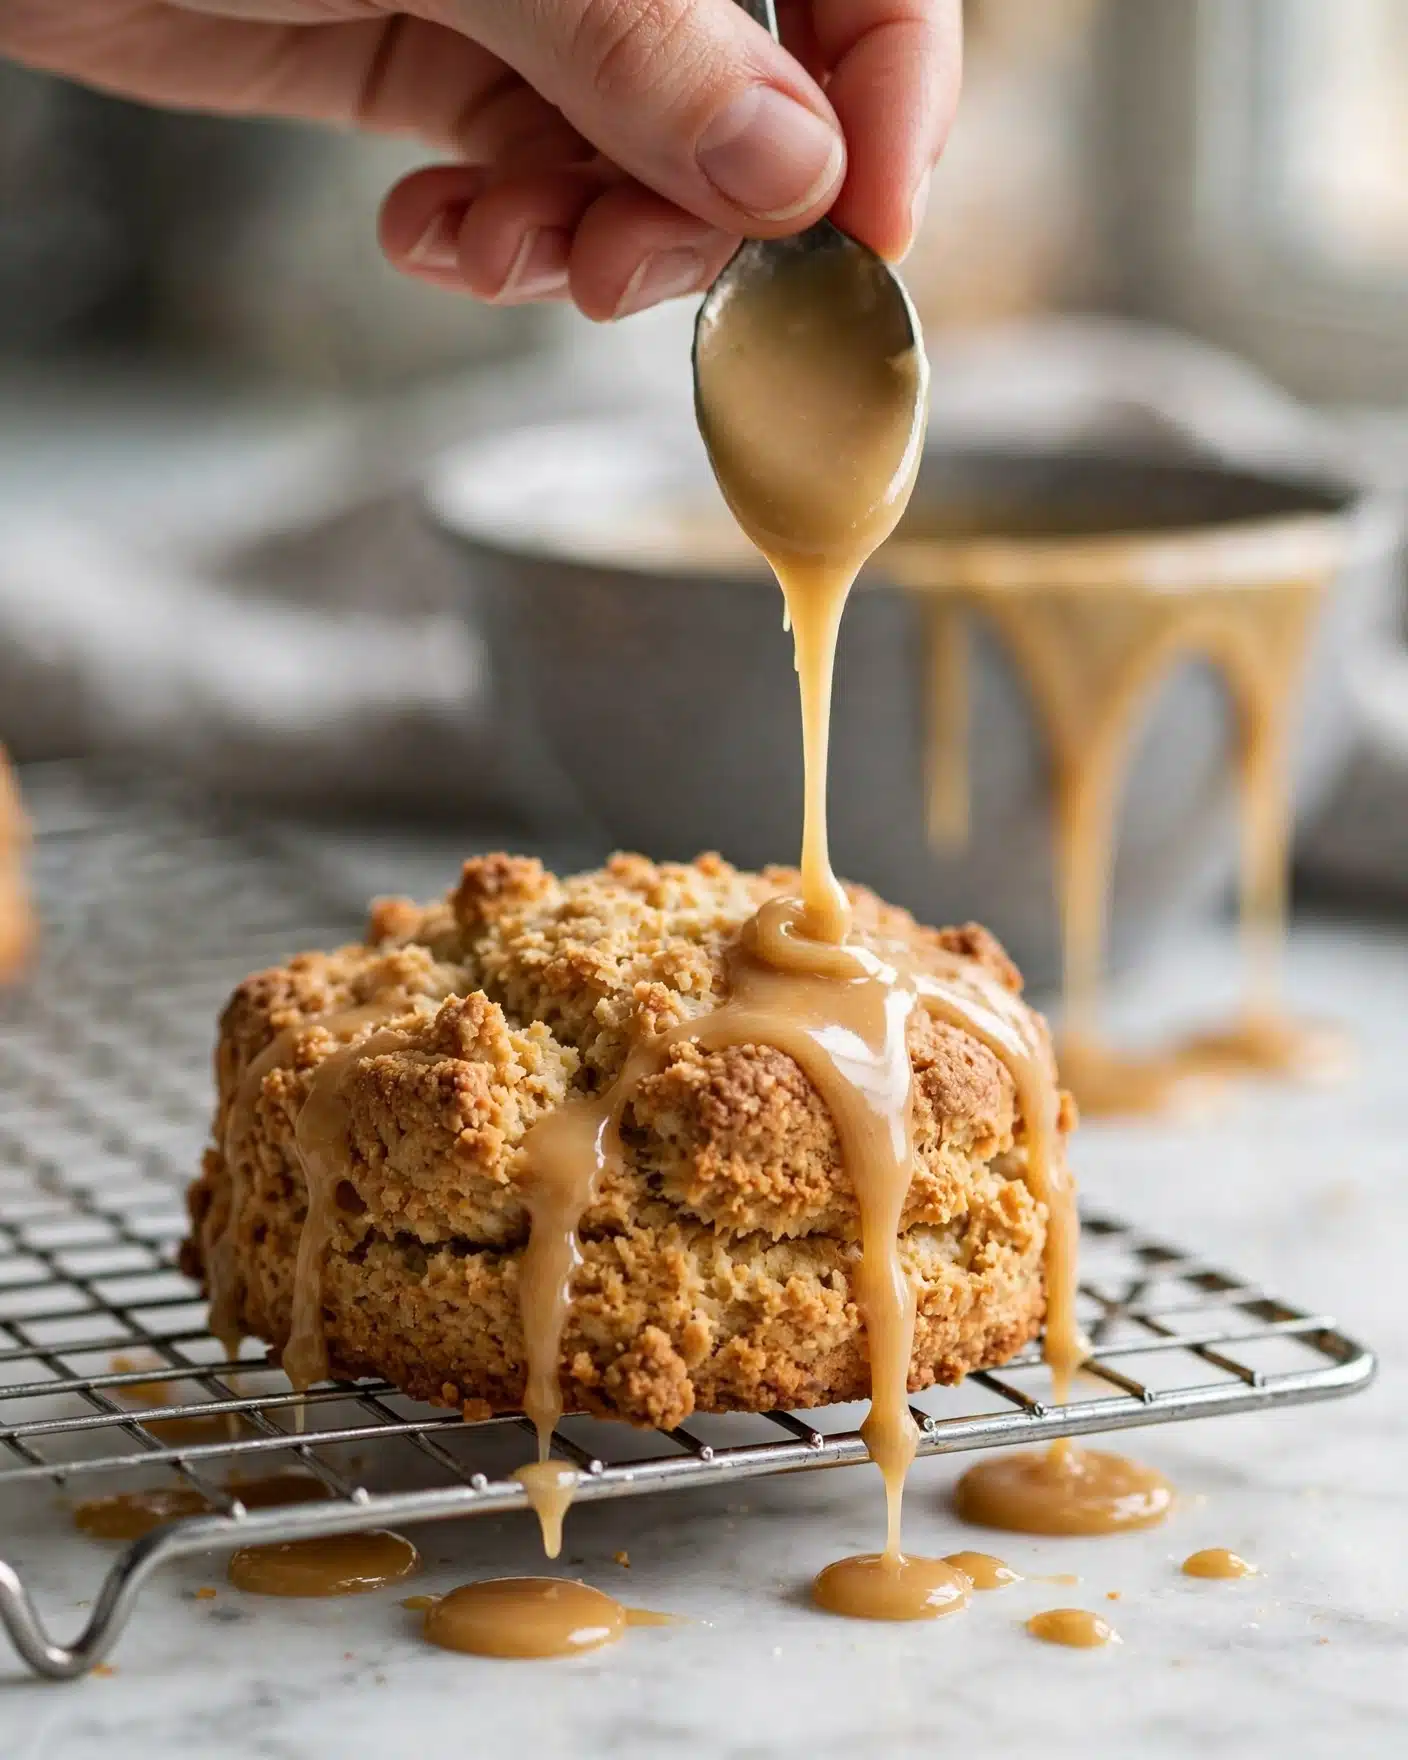
I love serving these scones fresh at brunch or breakfast with a generous smear of butter or cream cheese. The sweet and spice-filled pumpkin notes pair beautifully with a drizzle of honey or a slap of your favorite jam. For a festive touch, add a dusting of powdered sugar or a sprinkle of extra nutmeg on top after glazing.
These scones also shine alongside a hot cup of coffee, a chai latte, or even a comforting mug of hot apple cider with a cinnamon stick for dipping. During fall gatherings or holiday breakfasts, I set them out warm on a beautiful platter, letting everyone choose their toppings—sometimes maple butter or spiced pumpkin butter makes an appearance. Room temperature is fine for serving too, but I think warm amplifies their fragrance and soft texture perfectly.
If you want to make an afternoon tea extra special, I recommend pairing them with a lightly floral black tea or a bright, sparkling apple cider. The flavors balance the spices and highlight the tender crumb. Portion-wise, one scone per person feels just right with a beverage and maybe a side of fresh fruit salad or lightly dressed greens for a more complete spread.
Variations
I’m always excited to tweak this Tender Gluten-Free Pumpkin Cream Scones Recipe to make it my own or accommodate different preferences. For example, you can switch out the almond flour for a sunflower seed flour if you have nut allergies, which still gives a lovely nutty undertone without the allergy risk. If you want to go vegan, substitute cold coconut oil for butter and use a flax egg instead of a regular egg—though the texture will be slightly different, it’s still delightfully tender.
You can also customize the spices: try adding ground cloves or cardamom for a punchier, exotic flavor, or swap the fresh ginger with crystallized ginger for bursts of sweetness and zing. Sometimes, I throw in chocolate chips or chopped pecans to add crunch and richness. For those who prefer a softer scone, reducing baking time slightly results in an almost biscuit-like texture that’s still moist and tender.
For a different cooking method, I’ve experimented with mini tart tins to make pumpkin cream scone cups. You just press the dough into the tins, bake until golden, and you get scone “muffins” that are adorable and easy to portion at parties or brunches. No matter the approach, this recipe lends itself very well to experimentation while maintaining its signature tender crumb and warm pumpkin flavor.
Storage and Reheating
Storing Leftovers
After baking, I store leftover scones at room temperature in an airtight container to keep them from drying out. They stay fresh this way for up to 3 days. If I’m planning to enjoy them over a few days, I sometimes wrap individual scones in parchment paper before placing them in the container, which helps preserve the texture and prevents sticking.
Freezing
This recipe freezes beautifully, which is perfect if you want to bake a batch ahead of time. I recommend freezing the scones unglazed to avoid sogginess. Wrap each scone tightly in plastic wrap, then place them in a freezer-safe bag or container. They’ll keep well frozen for up to 2 months. When you’re ready to eat, thaw them at room temperature while you preheat your oven, then warm gently before glazing.
Reheating
I find the best way to reheat these scones while maintaining their tender crumb is in a warm oven set around 300°F for 8-10 minutes. This refreshes the scones and brings back their fresh-baked aroma and warmth without drying them out. Avoid microwaving if possible, as this can make the texture gummy or tough. After reheating, add your glaze or spread and enjoy as if freshly baked.
FAQs
Can I use canned pumpkin puree for this recipe?
Absolutely! Canned pumpkin puree works perfectly well in this Tender Gluten-Free Pumpkin Cream Scones Recipe as long as you use pure pumpkin and not pumpkin pie filling, which contains added spices and sugars. Homemade puree is lovely if you have the time, but canned is a great convenient option.
What if I don’t have all three gluten-free flours? Can I substitute?
You can sometimes substitute the blend with a high-quality gluten-free all-purpose flour mix, but the texture may differ slightly. The combination in this recipe creates a unique balance of tenderness and structure that can be hard to replicate. Using just one or two flours might result in either too crumbly or too dense scones.
Can I make these scones ahead of time? How should I store unbaked dough?
Yes! The dough can be shaped and wrapped in plastic or beeswax wrap, then refrigerated overnight or even for up to 2 days. Just bake fresh when you’re ready for the best texture and flavor. This makes it perfect for prepping scones the night before a brunch or special occasion.
Is the maple glaze necessary? Can I skip it?
The maple glaze adds a lovely sweetness and moisture contrast to the spiced scones, but it’s optional. If you prefer a less sweet scone or want to keep the recipe dairy-free (if gluten-free cream substitutes are used), you can definitely skip the glaze or drizzle a bit of pure maple syrup at serving time instead.
Can I add mix-ins like nuts or dried fruit?
Definitely! I often add chopped pecans, walnuts, or dried cranberries to this recipe. Just fold them into the flour mixture before chilling the dough. Be mindful not to add too much or the dough may become harder to shape, but a quarter to half a cup of mix-ins works beautifully.
Conclusion
I truly hope you give this Tender Gluten-Free Pumpkin Cream Scones Recipe a try because I think it will become one of your favorite go-to treats, especially when you want that perfect fall-inspired bite without any gluten worries. The tender texture, fragrant spices, and creamy pumpkin all come together in such a comforting way that baking these feels like wrapping yourself in a cozy blanket. Whether you’re sharing with loved ones or indulging solo, I know you’ll fall in love with how satisfying and delicious these scones are.
PrintTender Gluten-Free Pumpkin Cream Scones Recipe
These Tender Gluten-Free Pumpkin Cream Scones offer a moist, flavorful twist on the classic scone, crafted with a blend of gluten-free flours and a rich pumpkin cream base. Infused with warming spices like cinnamon, nutmeg, and ginger, they are perfect for autumn mornings or cozy afternoons. Finished with a sweet maple glaze and a touch of fresh nutmeg, these scones combine tender texture with vibrant fall flavors in every bite.
- Prep Time: 20 minutes
- Cook Time: 25-30 minutes
- Total Time: 1 hour 50 minutes
- Yield: 8 scones
- Category: Breakfast, Snack, Baked Goods
- Method: Baking
- Cuisine: American
- Diet: Gluten Free
Ingredients
Dry Ingredients
- ⅔ cup (110 g) sweet rice flour
- ⅔ cup (75 g) blanched almond flour
- ⅔ cup (69 g) gluten-free oat flour
- 3 tablespoons (22 g) tapioca flour
- ¼ cup (50 g) light or dark brown sugar
- 2 ½ teaspoons (7 g) baking powder
- 1 ½ teaspoons cinnamon
- ½ teaspoon freshly grated nutmeg, plus extra for finishing
- ⅛ teaspoon turmeric (optional, mostly for color)
- ½ teaspoon fine sea salt
Wet Ingredients
- 6 tablespoons (85 g) cold, unsalted butter, sliced ⅛-inch thick
- ½ cup (120 g) pumpkin puree (preferably homemade)
- ¼ cup (55 g) cold heavy cream (more, as needed)
- 1 large egg
- 1 teaspoon (6 g) packed finely grated fresh ginger (I use a microplane)
- 1 teaspoon vanilla extract
Additional
- 1 recipe maple glaze (for drizzling after baking)
Instructions
- Make the Scone Dough: In a large bowl, combine the sweet rice, almond, oat, and tapioca flours with the brown sugar, baking powder, cinnamon, nutmeg, turmeric, and salt. Whisk thoroughly to blend all dry ingredients evenly.
- Incorporate Butter: Add the cold sliced butter to the flour mixture. Use a pastry cutter or your fingertips to blend the butter into the flour until it resembles small peas. This process ensures a tender and flaky texture.
- Optional Mix-ins and Chilling: If using any mix-ins like nuts or dried fruits, toss them in now. Place the flour and butter mixture into the refrigerator for at least 10 minutes to chill and firm up the butter.
- Prepare Pumpkin Cream Mixture: Whisk together the pumpkin puree, cold heavy cream, egg, freshly grated ginger, and vanilla extract in a measuring pitcher. Chill this mixture until you’re ready to combine it with the flour mixture.
- Combine Wet and Dry Ingredients: Remove the chilled flour and butter mixture from the fridge. Gradually add the pumpkin cream mixture, folding gently with a flexible silicone spatula until the dough just holds together. The dough will be slightly softer than typical scone dough but should not be wet or sticky. Add extra heavy cream teaspoon by teaspoon if the dough feels too dry.
- Shape the Dough: Using your hands, gently but firmly press the dough together into a rough ball. Place it on beeswax wrap or parchment paper and pat into a 6-inch diameter disk about 1 ¼ inches thick. Avoid overworking since there’s no gluten to develop toughness.
- Chill the Dough: Wrap the dough disk tightly and chill in the refrigerator until firm, about 1 to 2 hours or overnight for best results.
- Preheat Oven and Prepare Baking Sheets: When ready to bake, position an oven rack at the highest level. Preheat oven to 400ºF (204ºC). Stack two rimmed baking sheets and line with two pieces of parchment paper to prevent over-browning on the bottom.
- Cut and Arrange Scones: Remove the chilled dough from the refrigerator and unwrap. Lightly dust a cutting board with oat flour and place the dough disk on it. Brush the top lightly with cream, then use a sharp large chef’s knife to cut into 8 equal wedges. Transfer wedges to the prepared baking sheet, spacing them well apart.
- Bake the Scones: Bake for 25-30 minutes until golden brown and cooked through. Rotate baking sheet halfway through (at 15 minutes) for even browning. An instant-read thermometer inserted into the center should register between 205–210°F (96–99°C).
- Cool and Glaze: Remove scones from oven and transfer to a wire rack to cool completely. Once cooled, drizzle with the prepared maple glaze and finish with a light grating of fresh nutmeg.
- Storage: Store scones in an airtight container at room temperature for up to 3 days. Unglazed scones can be frozen and refreshed in a warm oven before glazing.
Notes
- Use cold butter and chill the dough to ensure tender, flaky scones.
- Scones can be made ahead and chilled or frozen before baking.
- Adjust cream quantity slightly if dough is too dry or too wet.
- For best flavor, use fresh ginger and fresh nutmeg.
- The turmeric is optional and only to enhance color.
- Use a sharp knife to cut wedges cleanly without compressing dough.
- Ensure baking sheets are stacked and lined to avoid over-browning bottoms.
- Check doneness with an instant-read thermometer to avoid under- or over-baking.


