
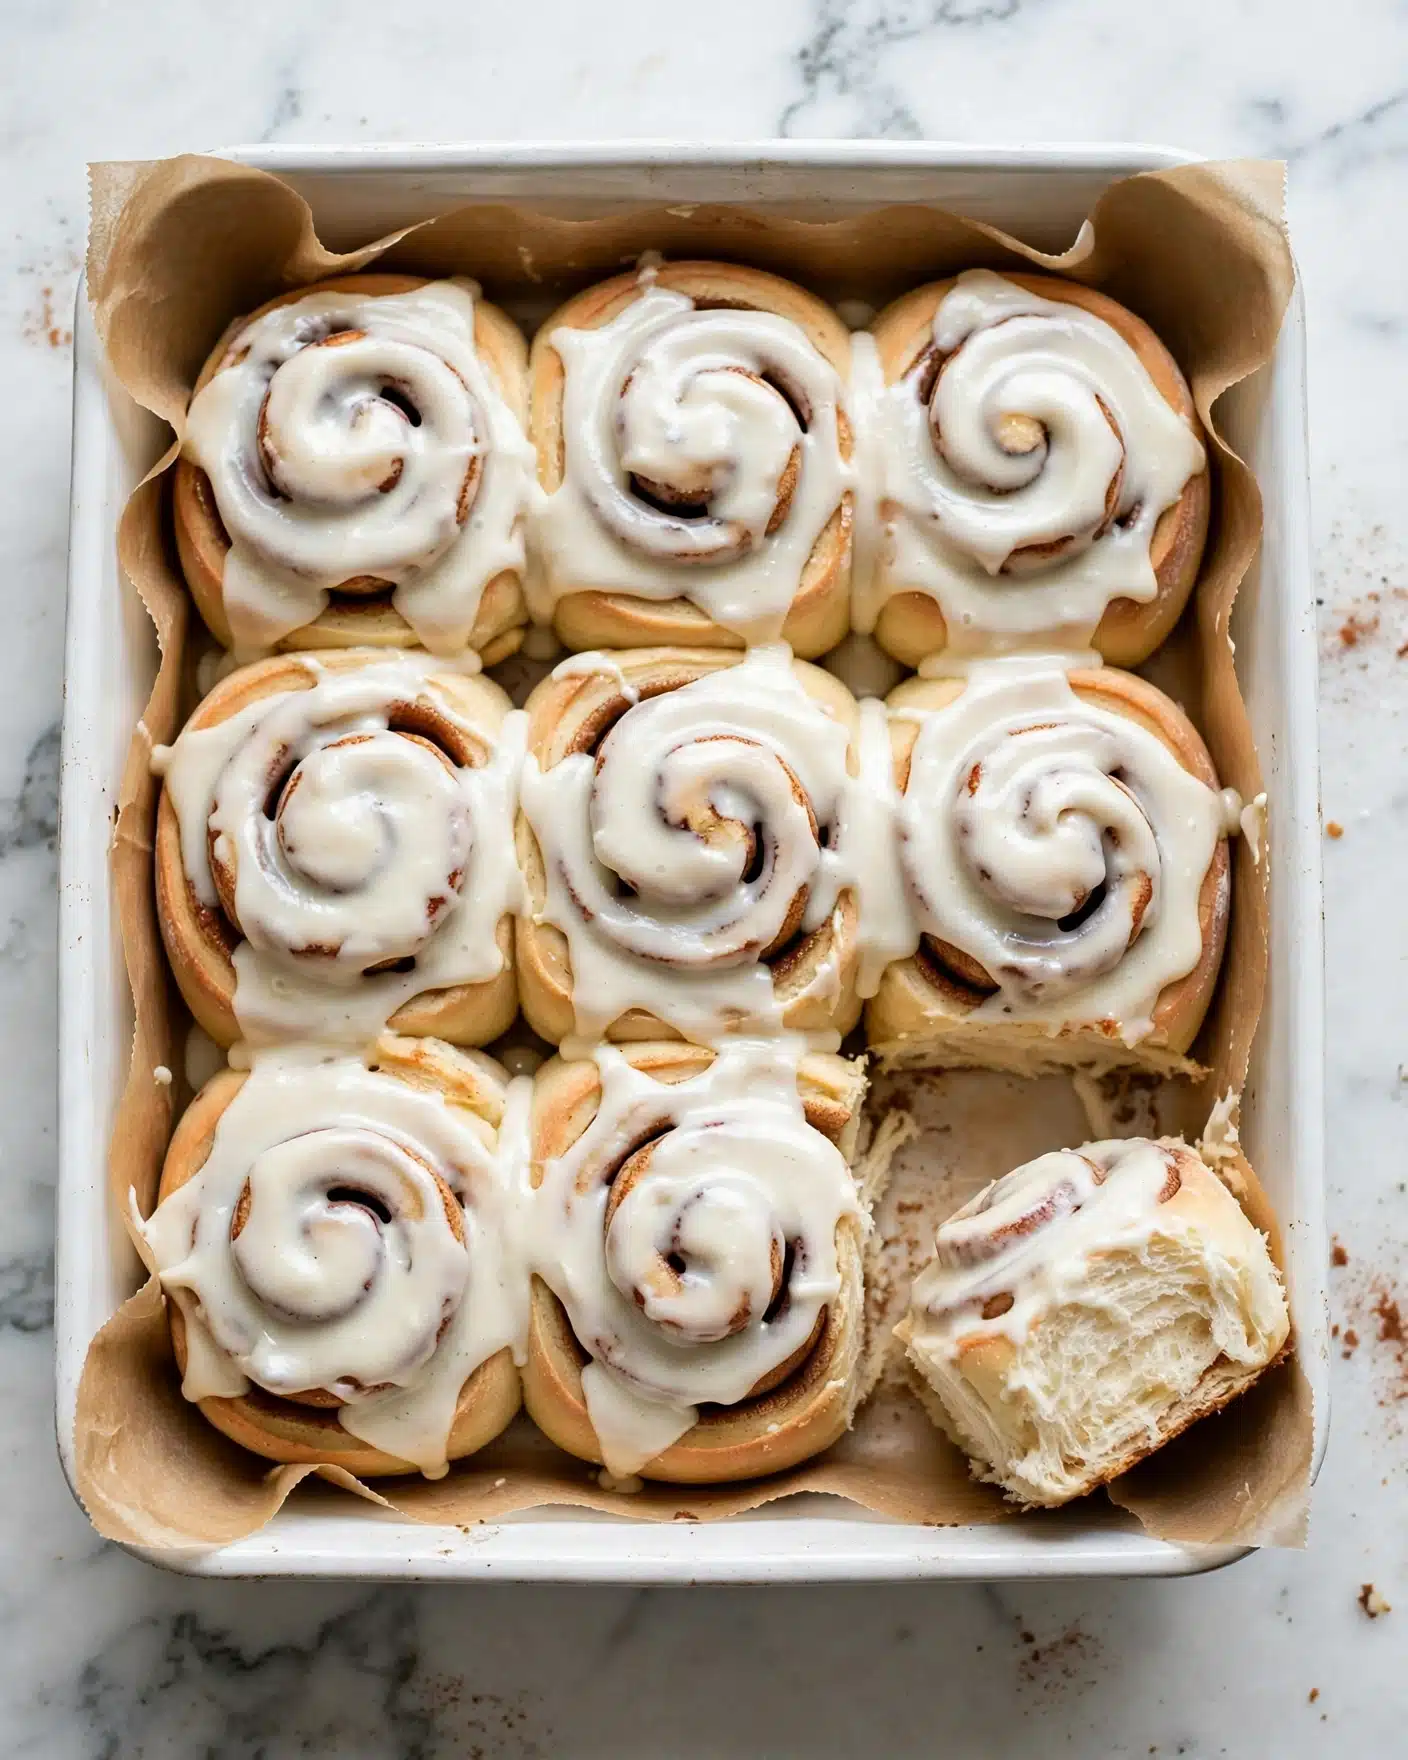
I have to say, nothing beats waking up to a batch of fresh, warm cinnamon rolls that are incredibly soft and pillowy every single time. This Soft and Fluffy Homemade Cinnamon Rolls Recipe has truly become my go-to when I want something comforting, sweet, and just a little bit special. From the tender dough that melts in your mouth to the rich, buttery cinnamon filling and that luscious cream cheese frosting on top, this recipe is pure joy in every bite. I love how it fills the kitchen with an irresistible aroma that gets everyone excited to dig in.
Why You’ll Love This Soft and Fluffy Homemade Cinnamon Rolls Recipe
What really draws me to this recipe is the perfect balance of flavors and textures. The dough is remarkably soft and fluffy, yet sturdy enough to hold all that buttery cinnamon-sugar filling without falling apart. When you bite into these rolls, you get that delicate chewiness along with the rich sweetness that warms your soul. The cream cheese frosting adds a tangy, smooth finish that ties everything together beautifully. Honestly, it tastes like bakery-quality cinnamon rolls but made in my own kitchen.
Beyond the taste, I love how straightforward this Soft and Fluffy Homemade Cinnamon Rolls Recipe is. It might seem a bit involved at first, but the process is very manageable, and the steps are incredibly satisfying – from kneading the dough to rolling it into those perfect spirals. Plus, it’s a fantastic recipe for anytime you want to impress family or friends, whether it’s a weekend brunch, holiday morning feast, or just a cozy treat. Trust me, once you try making these at home, cinnamon rolls from a bag or store will never be the same.
Ingredients You’ll Need
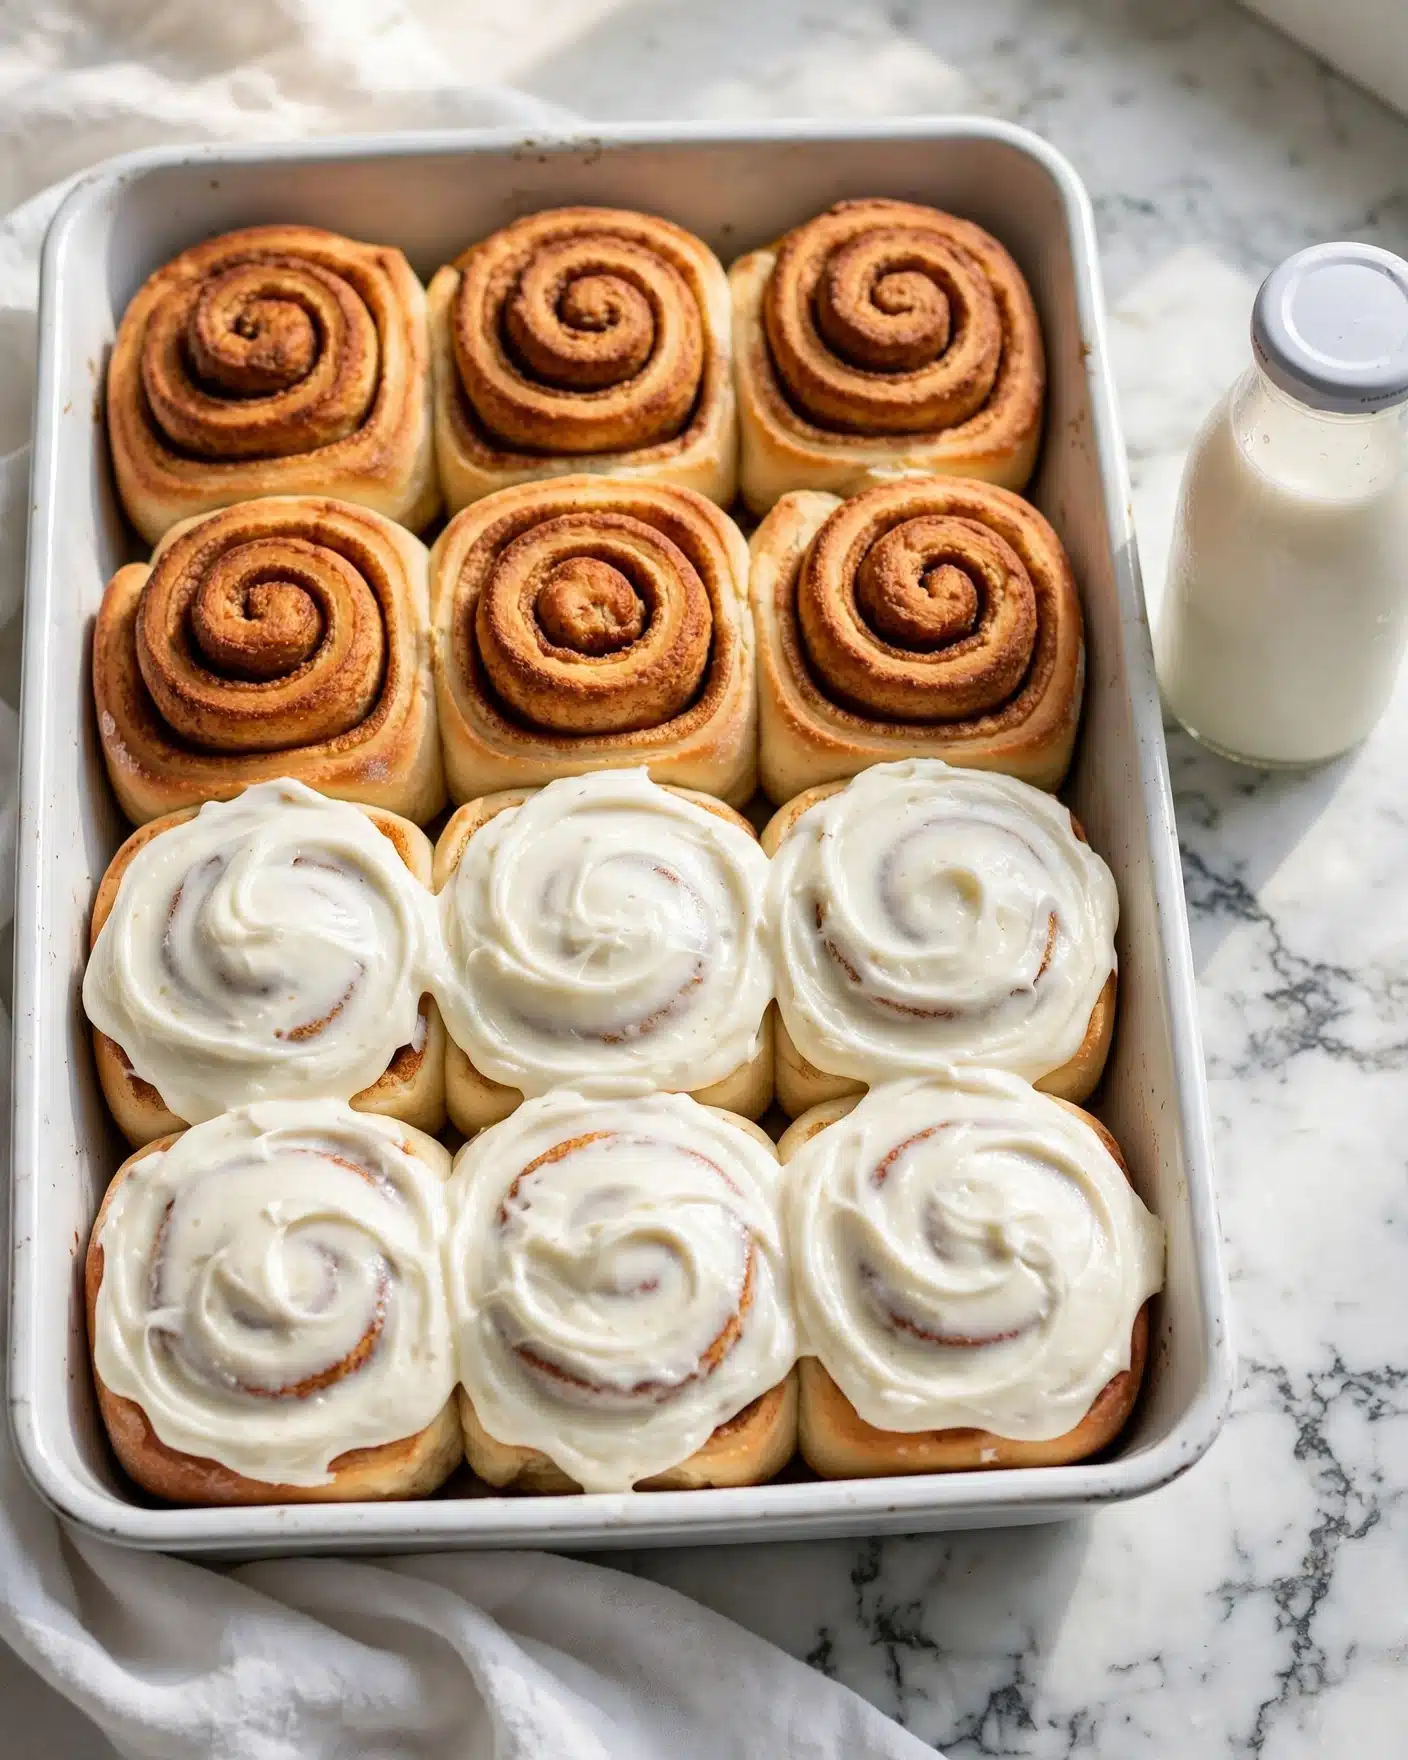
The beauty of this recipe is in its simplicity and quality ingredients. Each component plays a key role in creating the perfect texture, flavor, and that stunning golden color we all crave in cinnamon rolls.
- Bread Flour: This gives the rolls their soft and chewy structure that’s essential for the perfect fluffy bite.
- Granulated Sugar: Adds subtle sweetness to the dough without overpowering the cinnamon.
- Rapid Rise Instant Yeast: Quick-acting to give the dough that incredible rise and airy texture.
- Salt: Balances the sweetness and enhances the overall flavor.
- Milk: Adds moisture and richness to the dough for tenderness.
- Unsalted Butter: Used in both dough and filling to add richness and that classic buttery taste.
- Egg: Helps bind the dough and gives a nice golden color.
- Brown Sugar: Packed with molasses flavor, it’s the heart of the cinnamon filling.
- Cinnamon: The star spice, lending warm, aromatic notes.
- Cream Cheese: For the frosting, adding tang and creamy indulgence.
- Powdered Sugar: Sweetens and thickens the frosting perfectly.
- Vanilla Extract: Brightens the frosting with a lovely aroma.
Directions
Step 1: Begin by making the dough. In a stand mixer fitted with the whisk attachment, combine 2 cups of the bread flour with granulated sugar, instant yeast, and salt on low speed until just blended.
Step 2: Warm the milk and butter together in a microwave-safe bowl until the butter has mostly melted and the mixture feels warm to the touch, about 45 seconds. It’s important that it isn’t too hot so the yeast stays alive.
Step 3: Pour the warm milk mixture into the flour mixture. Add the room temperature egg. Beat on low until everything starts to combine, then increase to high speed and beat for 2 full minutes. The dough will be loose and batter-like at this point, which is perfectly normal and helps gluten develop.
Step 4: Switch to the dough hook attachment. Add an additional 1 ½ cups of flour and knead on low speed until the dough comes together. Scrape down the sides with a silicone spatula.
Step 5: Add the remaining 1 cup of flour, making a total of 4 ½ cups, and continue kneading on low speed. Stop intermittently to redistribute the dough if it sticks or wraps around the hook. The dough is ready when it pulls away from the bowl and forms a ball.
Step 6: Increase the mixer speed to medium-low and knead until the dough is smooth, elastic, and pliable, about 10 minutes. Test the dough by stretching a small piece thin enough to see light without tearing. If it breaks, knead a little longer.
Step 7: Place the dough in a large bowl coated lightly with oil. Cover with a towel or plastic wrap and let it rise in a warm environment until doubled in size, about 1 hour.
Step 8: While the dough rises, prepare the cinnamon filling. Combine softened butter, brown sugar, cinnamon, and a pinch of salt in a medium bowl and mix into a smooth paste.
Step 9: On a floured surface, roll the dough into a 12 by 18-inch rectangle. Spread the cinnamon filling evenly over the entire surface all the way to the edges.
Step 10: Starting from the side closest to you, carefully roll the dough into a tight log. Pinch the seam to seal. Use a sharp knife or floss to cut the log into 12 equal rolls. Place them in a parchment-lined 9 by 13-inch pan.
Step 11: Cover the pan and allow the rolls to rise until doubled in size—about 1 hour in a warm spot.
Step 12: Preheat your oven to 350°F. Remove the cover and bake the rolls until golden brown, about 30 minutes. Cool slightly on a wire rack for 15 minutes.
Step 13: Meanwhile, whip up the cream cheese frosting by blending cream cheese, butter, powdered sugar, milk, vanilla, and salt in a stand mixer. Beat until fluffy, adding a touch more milk if needed for spreadability.
Step 14: Spread the frosting over the warm cinnamon rolls and enjoy immediately for best gooey, melty results.
Servings and Timing
This recipe yields about 12 generous cinnamon rolls—perfect for sharing (or not!). Preparation takes roughly 20 minutes of hands-on time, plus about 2 hours for rising in total. Baking time is 30 minutes, and I recommend cooling the rolls for about 15 minutes before frosting. All told, expect around 3 hours from start to finish, but it’s well worth the wait.
How to Serve This Soft and Fluffy Homemade Cinnamon Rolls Recipe
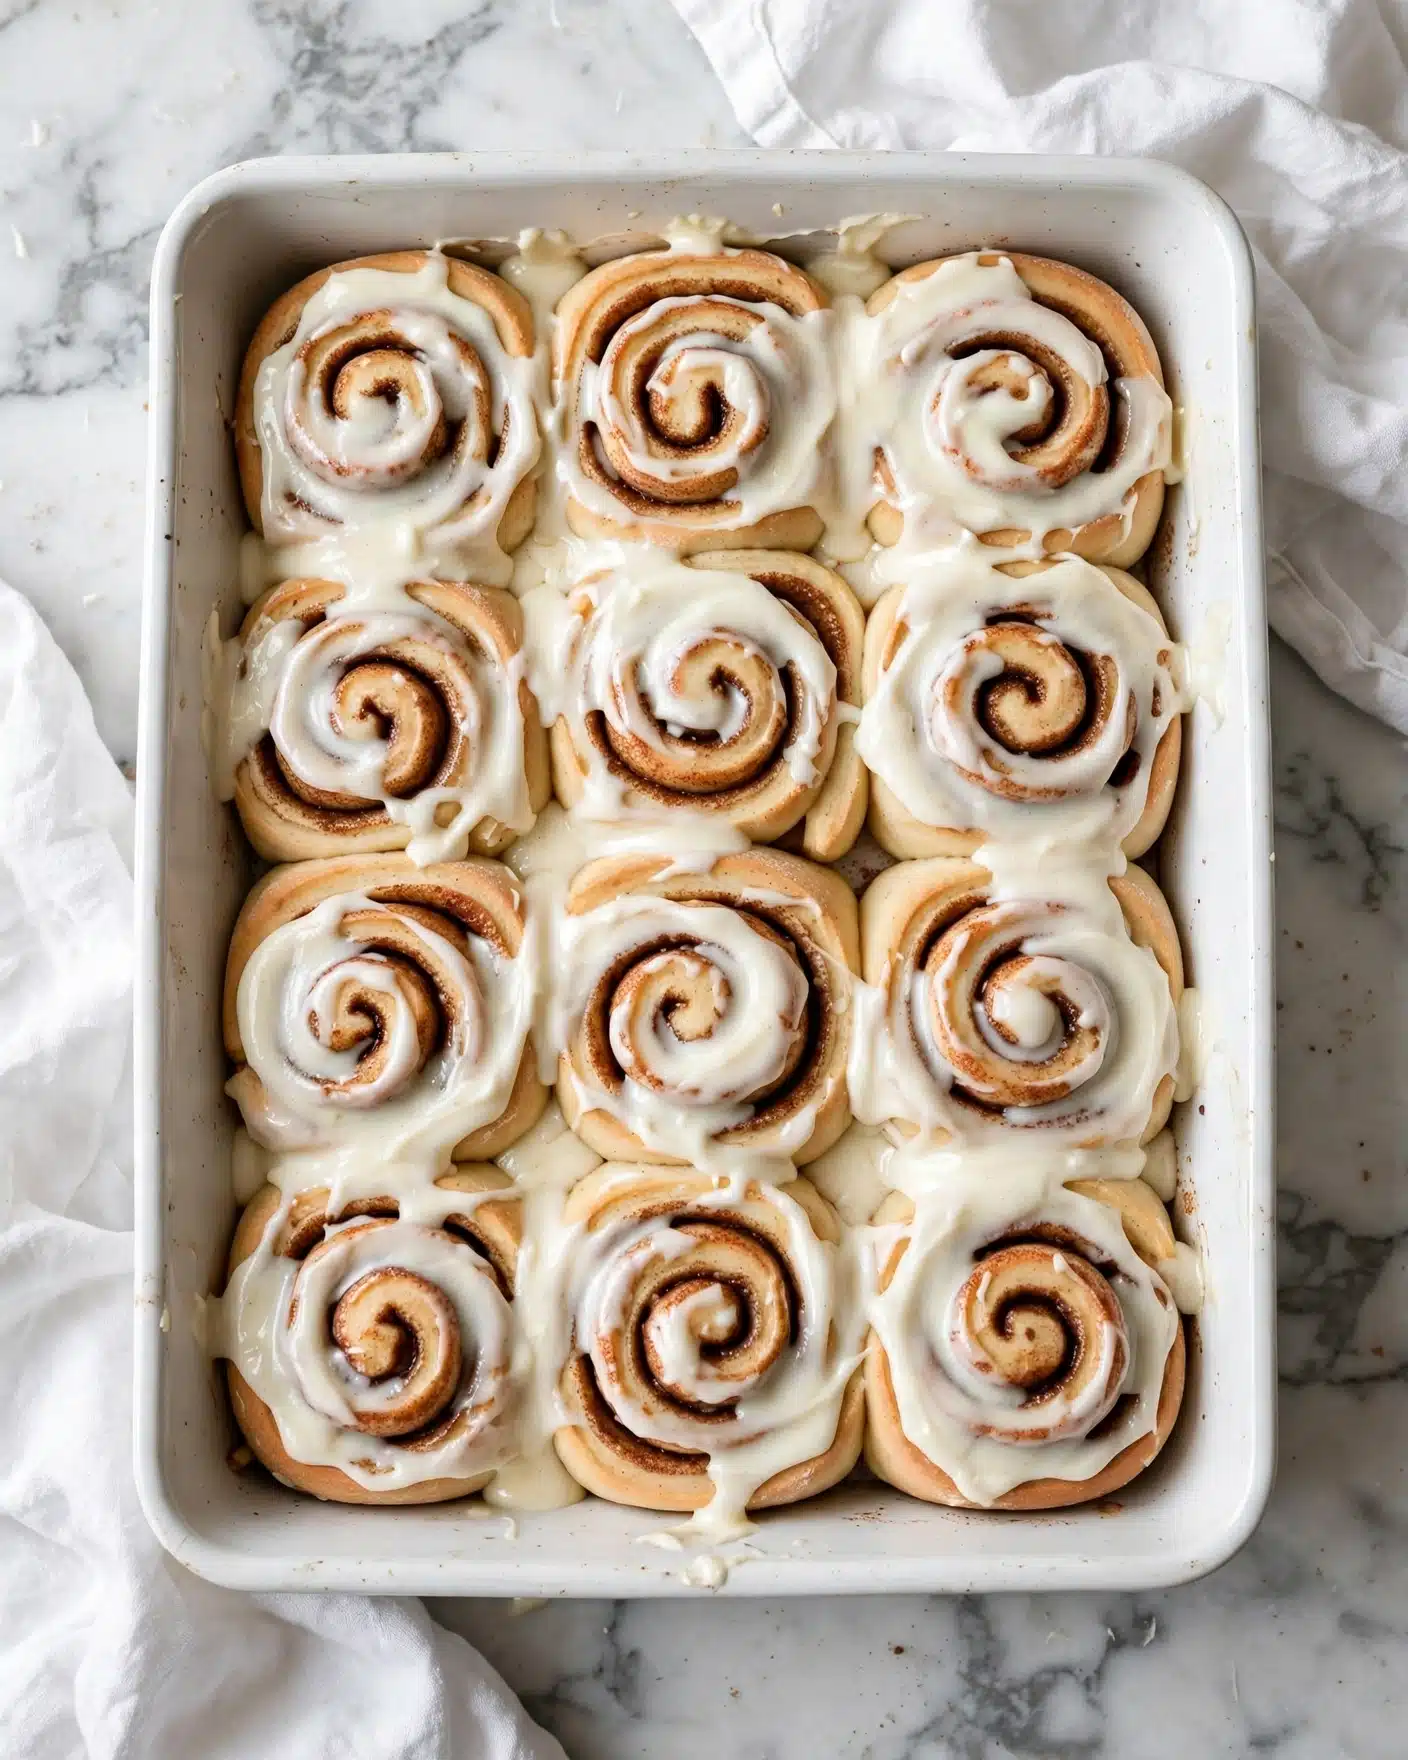
I personally love serving these cinnamon rolls warm, just after frosting, so they’re soft, gooey, and absolutely irresistible. They’re perfect on their own for breakfast or brunch but also pair beautifully with fresh fruit like berries or sliced apples for a little contrast. For a touch of indulgence, a dollop of whipped cream or a drizzle of caramel sauce can take them to the next level.
If I’m hosting a brunch or holiday gathering, I like to plate the rolls on a pretty serving tray lined with parchment paper or doily for a charming presentation. Fresh mint leaves or a light dusting of cinnamon on top adds a lovely finishing touch. For beverages, I recommend pairing these with freshly brewed coffee or rich hot chocolate during cooler months. In warmer weather, a chilled chai latte or sparkling apple cider can balance the sweetness nicely.
These rolls are versatile, too. They’re fantastic any time you want to make a regular morning feel special, bring to a potluck, or impress guests at weekend get-togethers. Leftover rolls can also be enjoyed at room temperature, which softens the frosting, or reheated gently for that fresh-from-the-oven feel.
Variations
One of my favorite things about this Soft and Fluffy Homemade Cinnamon Rolls Recipe is how adaptable it is. For example, if you want to mix up the filling, you can swap the classic cinnamon sugar for a combination of chopped nuts and maple syrup or even add a handful of raisins or chocolate chips for a sweet surprise inside each roll.
If you need a gluten-free version, I recommend using a gluten-free all-purpose flour blend that’s designed for baking. It might take a bit more kneading and gentle handling, but the end result can still be wonderfully soft. For a vegan twist, substitute the milk with almond or oat milk, swap the butter and cream cheese for plant-based alternatives, and replace the egg with a flax egg or applesauce. These tweaks keep the recipe inclusive without sacrificing that comforting, fluffy texture.
For something different, you could try baking these rolls in individual ramekins for personal servings or even pan-fry the dough slices like cinnamon roll pancakes for a fun breakfast variation. No matter how you make them, they’re sure to be a hit!
Storage and Reheating
Storing Leftovers
After enjoying your cinnamon rolls, you can store any leftovers in an airtight container at room temperature for up to 2 days. To keep them from drying out, I like to place a piece of parchment paper between the rolls if stacking. If your kitchen is warmer, refrigeration is an option, but it can slightly firm up the frosting and dough.
Freezing
These rolls freeze wonderfully, which makes them perfect for prepping ahead. Freeze them unbaked after the first rise and shaped in the pan by wrapping tightly with plastic wrap and foil, or freeze fully baked rolls cooled completely in an airtight container. They’ll keep well for up to 3 months. When ready to enjoy, thaw overnight in the fridge and warm accordingly.
Reheating
To reheat, I recommend placing the rolls in a preheated oven at 300°F covered loosely with foil to prevent drying, for about 10-15 minutes until warmed through. Avoid reheating in the microwave for too long, as it can toughen the dough and make the frosting weep. For the best texture, re-spread a little fresh frosting or butter after warming if desired.
FAQs
Can I make the dough by hand instead of using a mixer?
Absolutely! If you don’t have a stand mixer, you can mix and knead by hand. Combine the ingredients as instructed, then knead for about 10 to 15 minutes on a floured surface until the dough is smooth and elastic. It’s a bit more effort but very satisfying!
How do I know if my yeast is still active?
If you’re unsure, proof your yeast by mixing it with warm milk and a pinch of sugar and letting it sit for 5-10 minutes. It should become frothy and bubbly, indicating it’s alive and ready to help your rolls rise perfectly.
Can I prepare the rolls the night before baking?
Yes! You can do the first rise and roll the dough, then cover the prepared rolls tightly and refrigerate overnight. The next day, let them come to room temperature and rise for an hour before baking. This slow rise actually deepens the flavor.
What if I don’t have cream cheese for the frosting?
You can make a simple glaze using powdered sugar, milk, and vanilla extract instead. It won’t have the same tangy creaminess but will still add a delightful sweetness to your rolls.
Can I use whole wheat flour instead of bread flour?
You can substitute part of the bread flour with whole wheat flour (about half), but keep in mind it will make the rolls denser and less fluffy. For best results, stick with bread flour or a high-protein all-purpose flour.
Conclusion
Making these Soft and Fluffy Homemade Cinnamon Rolls Recipe has brought me so much joy in the kitchen, and I know you’ll feel the same. It may take a little time, but every step is worth it when you taste those tender spirals of cinnamon and cream cheese frosting. Whether you’re sharing with loved ones or indulging in a cozy moment alone, these rolls are a perfect way to make life a little sweeter. I can’t wait for you to try this recipe and fall in love with cinnamon rolls all over again!
PrintSoft and Fluffy Homemade Cinnamon Rolls Recipe
These soft and fluffy homemade cinnamon rolls are the perfect sweet treat for breakfast or brunch. Made from scratch with a tender yeast dough, a rich cinnamon-sugar filling, and topped with a creamy, tangy cream cheese frosting, these rolls are irresistibly delicious and sure to impress family and friends.
- Prep Time: 20 minutes
- Cook Time: 30 minutes
- Total Time: 3 hours 20 minutes
- Yield: 12 servings
- Category: Breakfast, Brunch, Dessert
- Method: Baking
- Cuisine: American
Ingredients
Dough
- 4 1/2 cups (585g) bread flour
- 1/3 cup (70g) granulated sugar
- 1 packet (2 1/4 tsp.) Rapid Rise Instant Yeast
- 1 teaspoon salt
- 1 1/2 cups (360g) milk
- 6 tablespoons (84g) unsalted butter
- 1 large egg, at room temperature
Filling
- 1/2 cup (113g) unsalted butter, room temperature
- 2/3 cup (142g) packed light brown sugar
- 2 tablespoons ground cinnamon
- Pinch of salt
Cream Cheese Frosting
- 4 ounces cream cheese, at room temperature
- 1/2 cup (113g) unsalted butter, at room temperature
- 3 cups (336g) powdered sugar
- 2 tablespoons (30g) milk
- 1 teaspoon vanilla extract
- Pinch of salt
Instructions
- Make the Dough: In a stand mixer fitted with the whisk attachment, mix 2 cups of the flour with the granulated sugar, yeast, and salt on low speed until combined.
- Warm Milk and Butter: Microwave the milk and butter in a microwave-safe bowl for about 45 seconds until warm and the butter is mostly melted. Avoid overheating to not kill the yeast.
- Combine Wet and Dry Ingredients: Pour the warm milk mixture into the flour mixture, add the egg, and beat on low speed until combined. Gradually increase speed to high and beat for 2 minutes to begin gluten development.
- Knead Dough (Part 1): Change to dough hook attachment, add 1 1/2 cups flour and mix on low until incorporated. Scrape bowl sides, then add remaining 1 cup flour and knead until dough pulls away from bowl and forms a ball.
- Knead Dough (Part 2): Increase speed to medium-low and knead for about 10 minutes until dough is smooth and elastic. Use the windowpane test by stretching a small piece of dough to check gluten development.
- First Rise: Transfer dough to a lightly oiled bowl, cover, and let rise in a warm place until doubled in size, about 1 hour.
- Make the Filling: In a medium bowl, combine softened butter, brown sugar, cinnamon, and a pinch of salt into a smooth paste. Set aside.
- Roll Out Dough: Turn dough onto a floured surface and roll into a 12×18 inch rectangle with the wider side closest to you.
- Spread Filling: Spread the cinnamon filling evenly over the dough to the edges using a silicone spatula.
- Form Rolls: Starting from the edge closest to you, tightly roll the dough into a log. Seal the seam by pressing along the edge.
- Cut Rolls: Use a sharp knife or floss to slice the log into 12 equal rolls. Place them in a 9×13 inch pan lined with parchment paper.
- Second Rise: Cover the rolls with a towel or wrap and let them rise in a warm place until doubled, about 1 hour.
- Bake: Preheat oven to 350°F (177°C). Remove covering and bake rolls for 30 minutes until golden brown.
- Cool Slightly: Place pan on a wire rack and cool rolls for about 15 minutes before frosting.
- Make Frosting: In a stand mixer with the whisk attachment, beat cream cheese, butter, powdered sugar, milk, vanilla, and salt on low then medium-high speed until light and fluffy, about 1 minute. Add extra milk if too thick.
- Frost Rolls: Spread the cream cheese frosting evenly over the warm rolls and serve.
Notes
- Make sure milk and butter mixture is warm, not hot, to protect yeast activity.
- The windowpane test ensures proper gluten development for a tender, airy dough.
- Using floss to cut rolls helps keep the shape intact without squashing.
- Rolls are best enjoyed warm but can be stored in an airtight container for up to 2 days.
- You can reheat leftovers gently in the microwave for a soft texture.


