
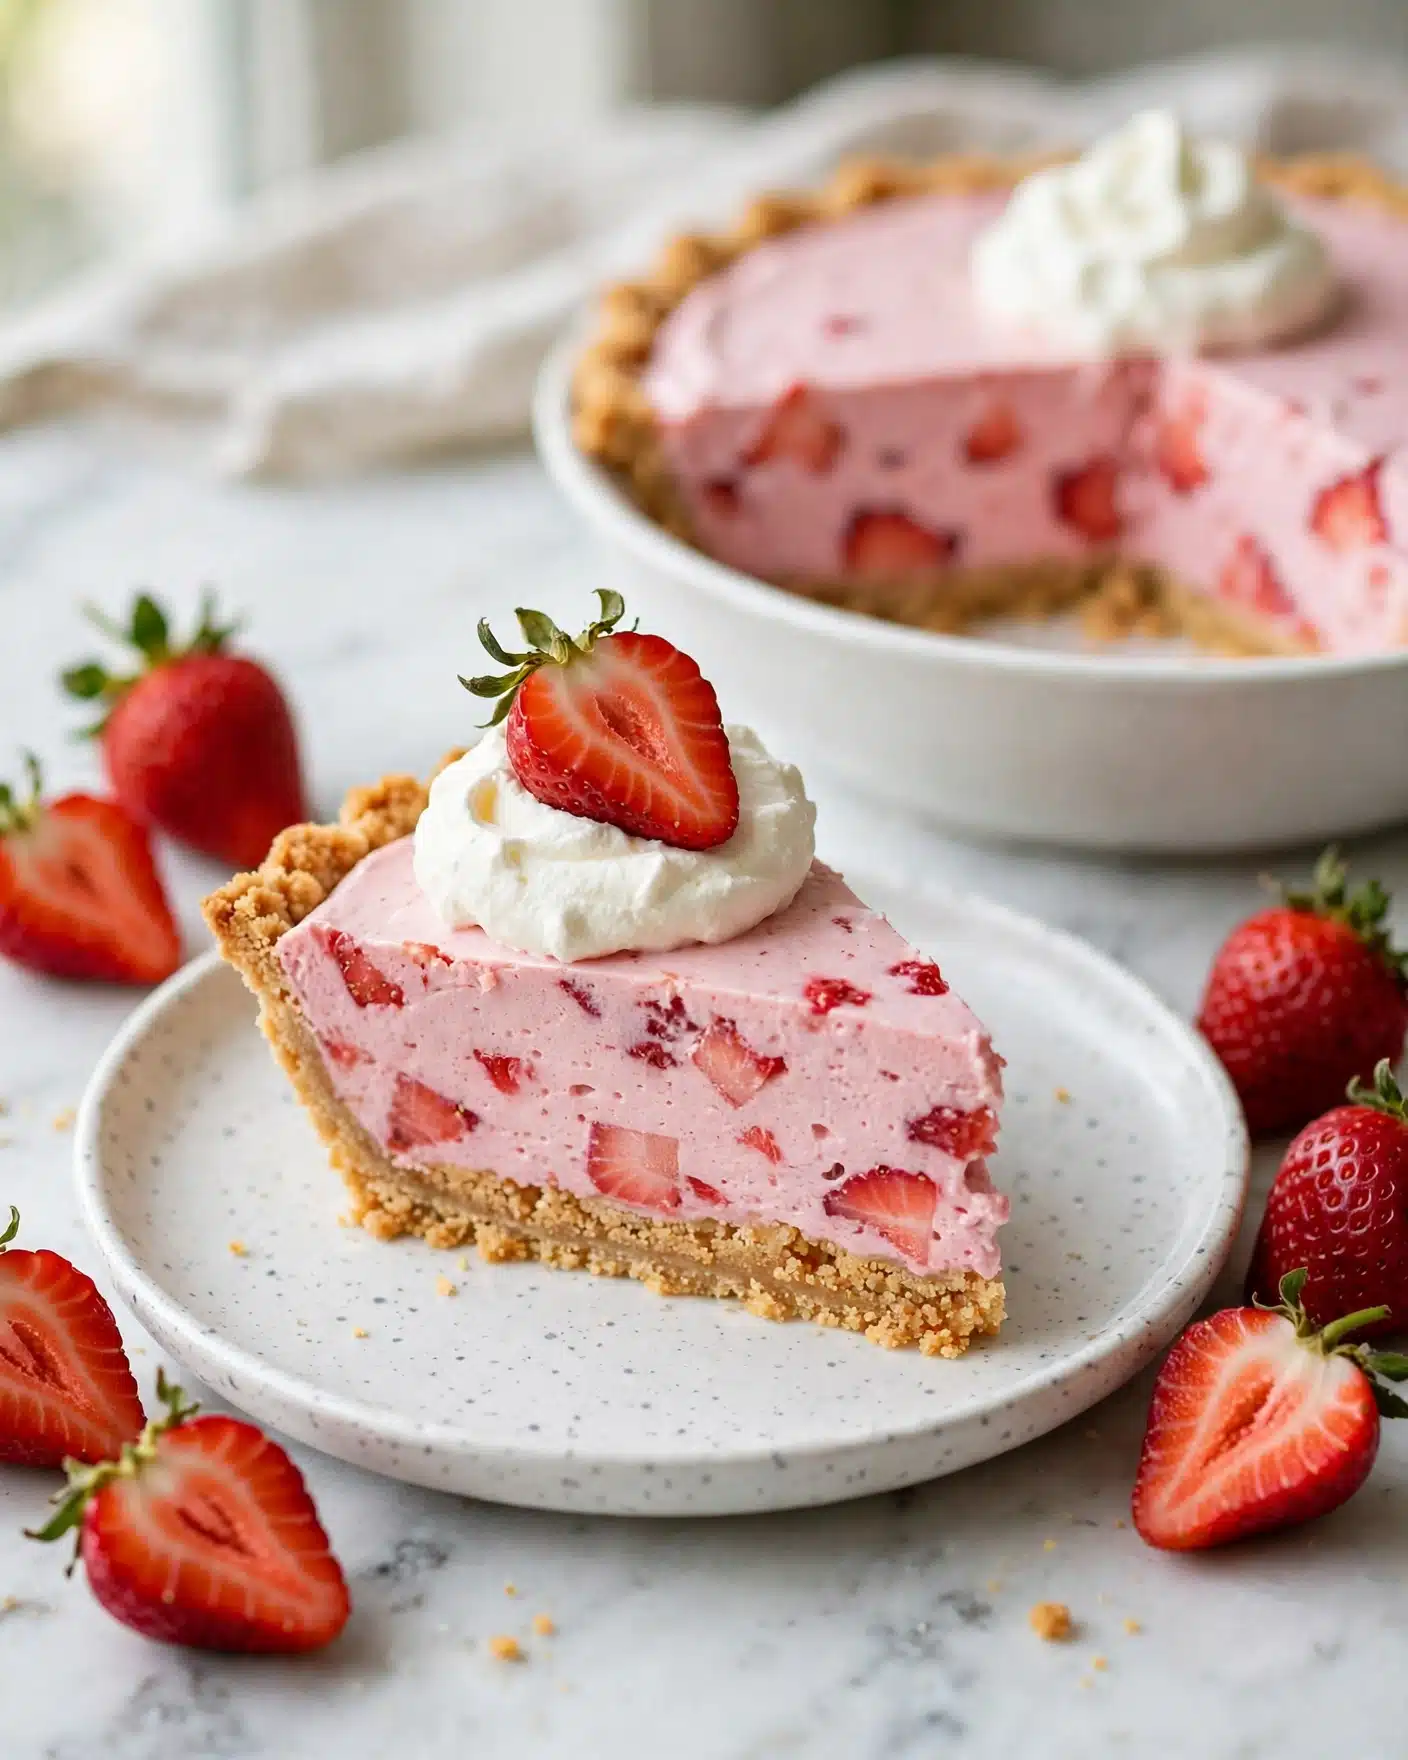
I am so excited to share this No-Bake Strawberry and Cream Pie Recipe with you because it quickly became one of my absolute favorite desserts for warm days. I love how it’s light yet indulgent, with that silky, creamy filling bursting with fresh strawberry flavor, all nestled perfectly in a crisp graham cracker crust. The best part is there’s no oven involved, so it’s incredibly easy to whip up any time you’re craving a sweet treat that feels special but doesn’t require a whole day in the kitchen.
Why You’ll Love This No-Bake Strawberry and Cream Pie Recipe
When it comes to flavor, this pie has the perfect balance of sweet, tangy strawberries blended seamlessly with rich, velvety cream. The strawberry gelatin adds just the right touch of fruity sweetness and helps the filling set beautifully, giving it that smooth, sliceable texture that feels both luxurious and light. Every bite reminds me of summer mornings and happy gatherings, which is why it’s become a staple in my dessert rotation.
Another reason I adore this No-Bake Strawberry and Cream Pie Recipe is how incredibly simple and stress-free it is to prepare. You do not need any advanced baking skills or bulky equipment—just a few basic ingredients mixed and chilled, and you are good to go. It’s perfect for last-minute celebrations, potlucks, or even when you just want to treat yourself without heating up the kitchen. Plus, it feels fancy enough for special occasions but easy enough for everyday indulgence.
Ingredients You’ll Need
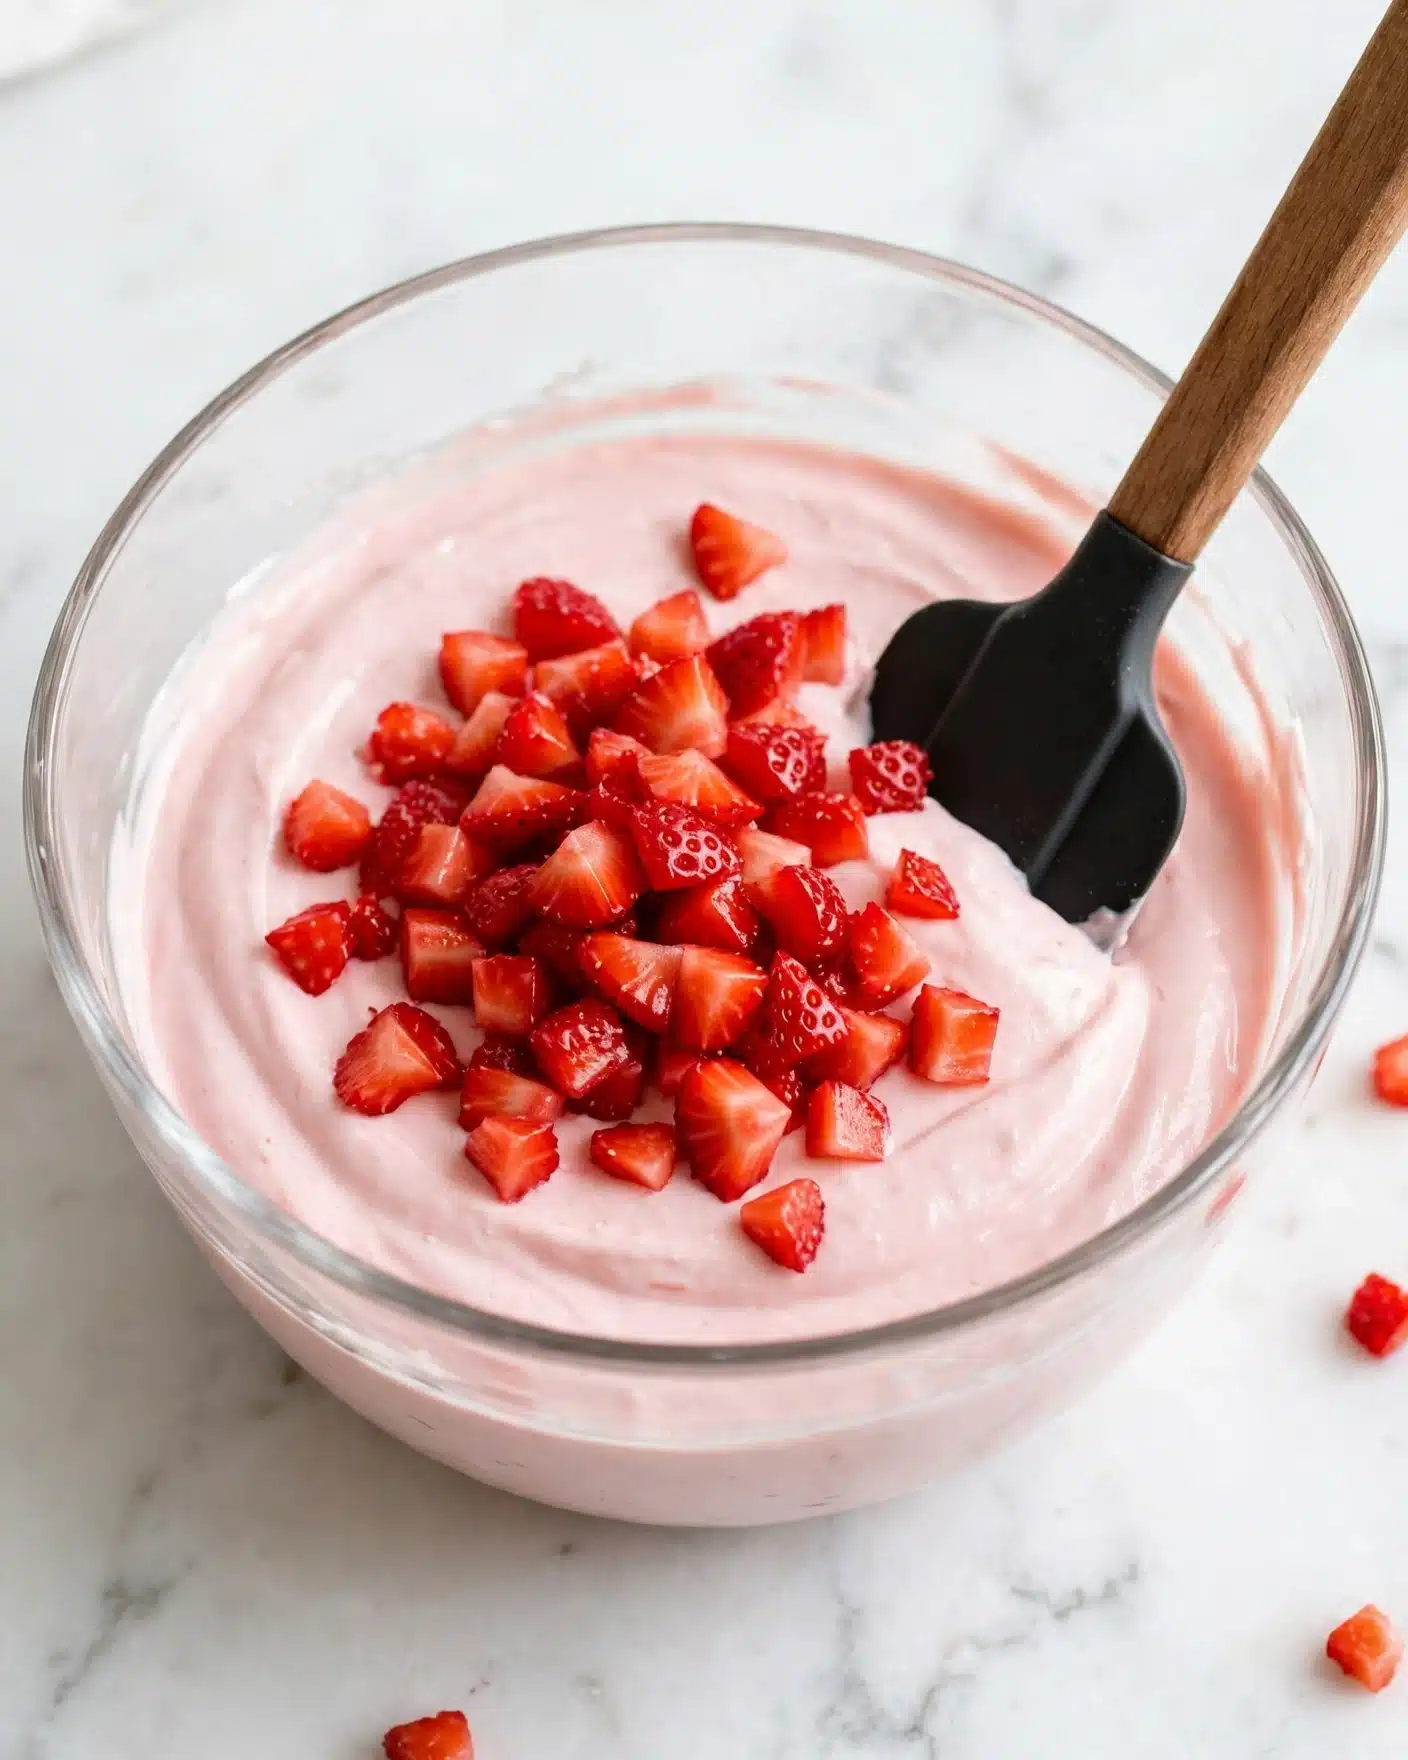
The ingredients for this pie are delightfully straightforward yet essential to achieving its classic taste and gorgeous texture. Each one plays a key role, from the buttery graham cracker crust that provides a crunchy base to the whipped cream that makes the filling so creamy and dreamy. And of course, the fresh strawberries bring that fresh color and juicy brightness that ties everything together beautifully.
- 1 ½ cups graham cracker crumbs: This makes the crunchy and buttery crust that holds the pie together perfectly.
- ¼ cup granulated sugar: Adds just enough sweetness to balance the crust’s subtle flavor.
- 6 tablespoons melted salted butter: Helps bind the crust crumbs and gives a rich mouthfeel.
- 1 (3-ounce) package strawberry gelatin: Infuses the filling with strawberry flavor and helps it set nicely.
- 1 cup boiling water: Used to dissolve the gelatin completely for a smooth filling.
- 1 ½ cups heavy cream: Whipped into fluffy peaks, it makes the filling ultra-creamy.
- ⅓ cup powdered sugar: Sweetens the whipped cream without any grittiness.
- ½ teaspoon vanilla extract: Adds a lovely warmth and depth to the filling.
- 1 ½ cups roughly chopped fresh strawberries: Gives fresh fruity bursts and pretty texture inside the pie.
Directions
Step 1: In a medium bowl, combine the graham cracker crumbs, granulated sugar, and melted salted butter until the mixture resembles damp sand. This consistency is key for a crust that holds together but isn’t soggy.
Step 2: Press the crust mixture evenly into the bottom and up the sides of an 8-inch pie dish. I like using the bottom of a measuring cup because it helps compact the crumbs nicely and creates a smooth surface. Once packed, pop the crust into the refrigerator to chill while you make the filling.
Step 3: In a separate medium bowl, pour the boiling water over the strawberry gelatin and whisk until completely dissolved. Set this aside to cool and thicken slightly; you want it thick but not set solid before adding it to the cream.
Step 4: In a large mixing bowl, whip the heavy cream with the powdered sugar and vanilla extract using a hand mixer or stand mixer fitted with the paddle attachment. Beat it until stiff peaks form—this is important to get the filling nice and fluffy.
Step 5: Gently stir the cooled gelatin mixture into the whipped cream, folding carefully to avoid deflating that dreamy texture. The mixture should be smooth and evenly tinted with strawberry color.
Step 6: Fold in the roughly chopped fresh strawberries with a gentle touch to distribute them evenly throughout the filling.
Step 7: Spoon the filling into the chilled graham cracker crust, smoothing the top with a spatula. Cover the pie loosely with plastic wrap, then refrigerate for at least 4 hours. This chilling step is what gives the filling a perfect firm but creamy consistency that slices cleanly.
Servings and Timing
This No-Bake Strawberry and Cream Pie Recipe makes about 8 generous slices—perfect for sharing with family or friends. Prep time is around 30 minutes, which is wonderfully quick. There’s no cooking involved, but you do need to budget at least 4 hours of refrigeration time to let the pie set properly. In total, plan for about 4 hours and 30 minutes from start to finish, including chilling.
How to Serve This No-Bake Strawberry and Cream Pie Recipe
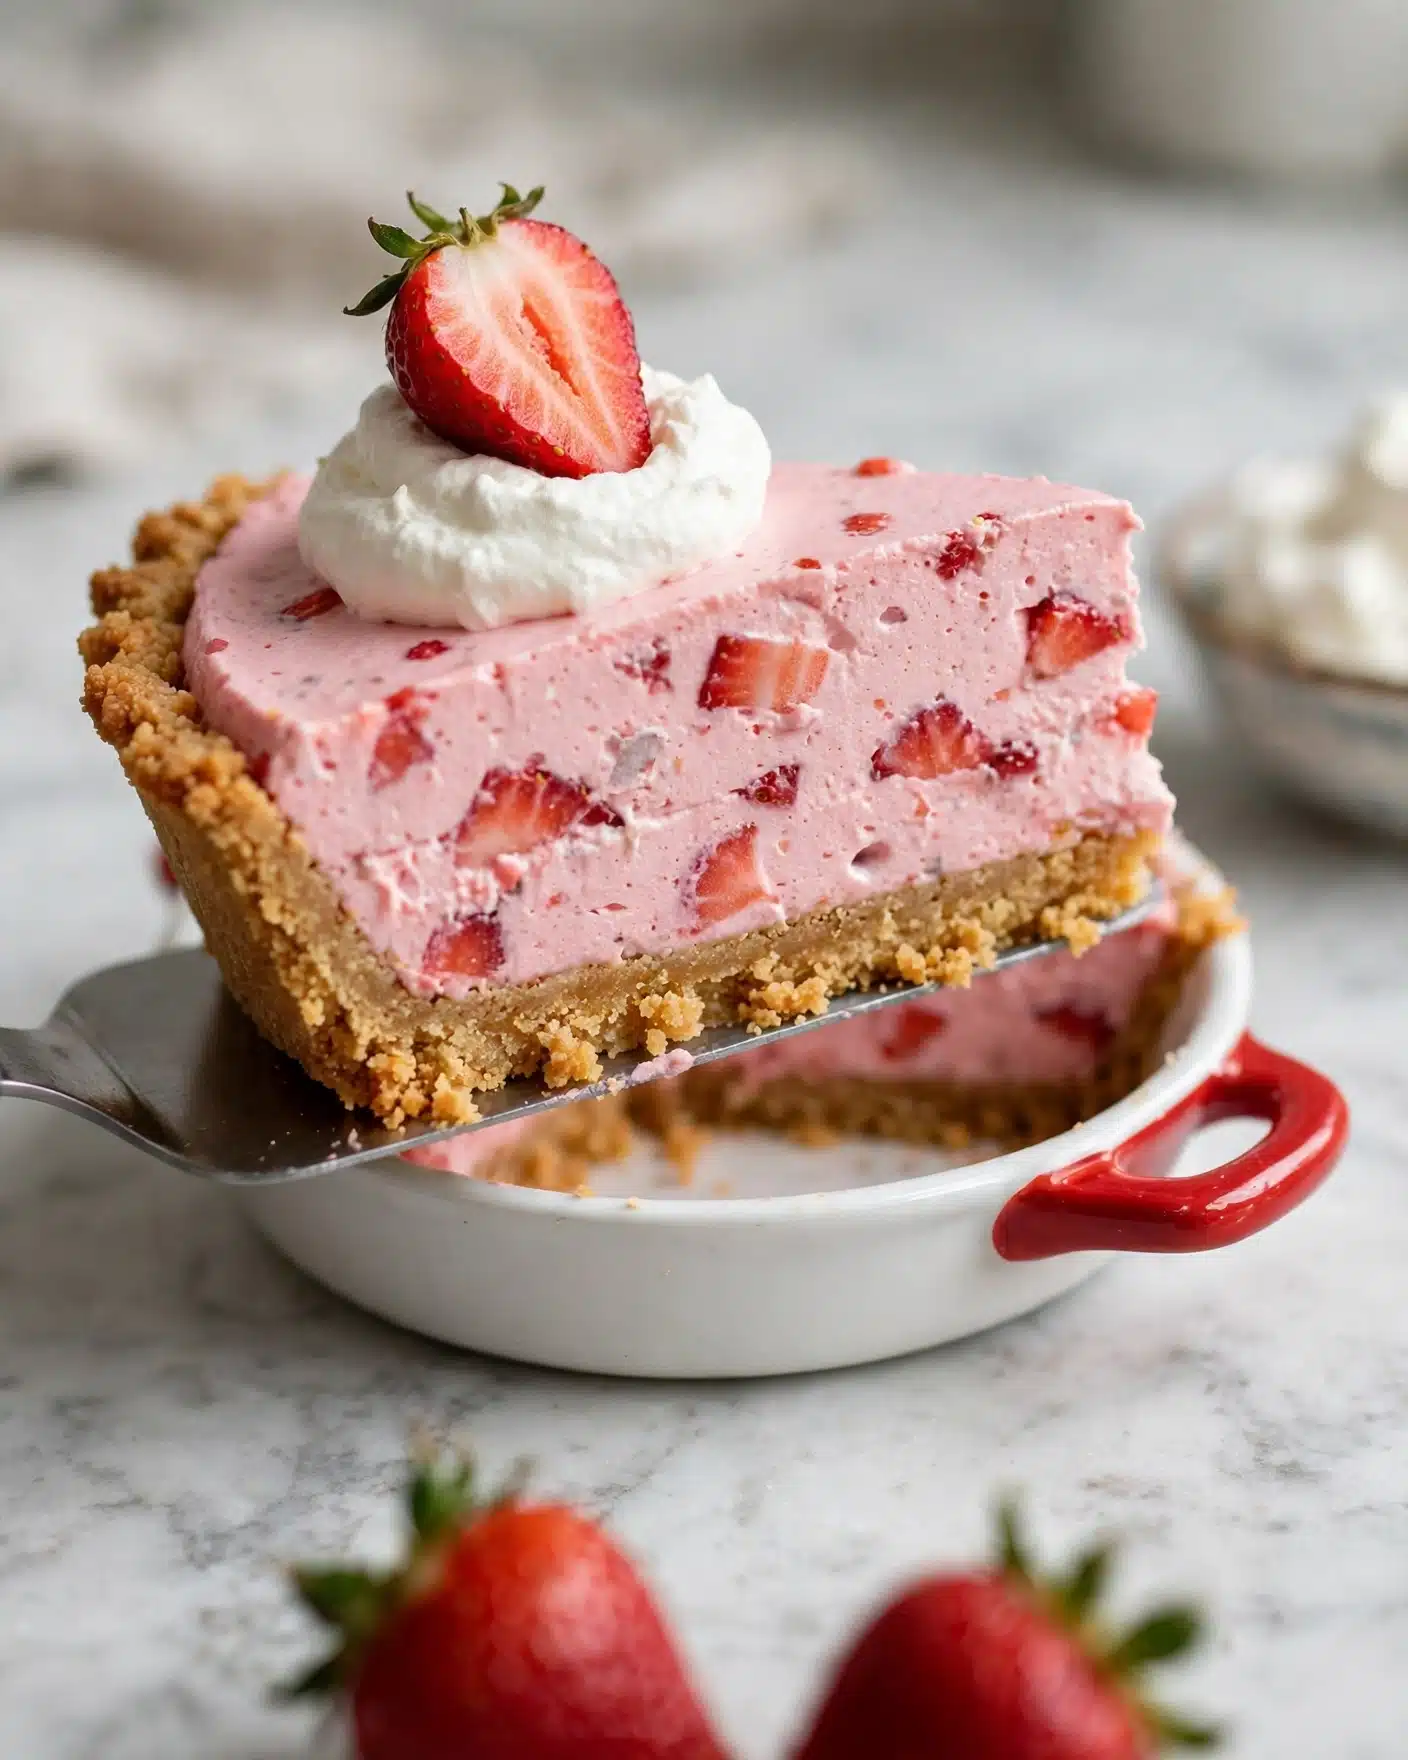
When I serve this pie, I love to keep it simple yet elegant. A dusting of powdered sugar or a few fresh strawberry slices artfully arranged on top instantly elevates the presentation. Sometimes I add a sprig of fresh mint for a pop of color and a subtle aromatic touch that complements the strawberries beautifully.
This pie is best served chilled, right out of the refrigerator, so the filling maintains its creamy, cool texture. I usually plate slices on pretty dessert plates and serve with a dollop of extra whipped cream or a scoop of vanilla bean ice cream on the side for a truly decadent experience.
For beverages, I’ve found that a chilled rosé or a sparkling wine pairs wonderfully with the fruity creaminess of this pie. If you want a non-alcoholic option, a cold glass of lemonade or strawberry-infused iced tea makes an absolutely refreshing companion. This dessert shines at summer picnics, birthday parties, or cozy family dinners where everyone appreciates a light and luscious slice of something sweet.
Variations
I love experimenting with different twists on this No-Bake Strawberry and Cream Pie Recipe to suit various tastes and dietary needs. For example, swapping out the graham cracker crust for a gluten-free cookie crust works wonderfully for anyone avoiding gluten, and it’s still crisp and buttery.
If you want to make it vegan, you can use coconut whipped cream or another plant-based cream alternative and replace the gelatin with a vegan-friendly thickener like agar-agar. The texture will be a little different but still deliciously creamy and fruity.
Flavor-wise, swapping strawberries for other berries like raspberries or blueberries can add a new twist to the pie. Or, add a splash of lemon zest into the filling for a citrusy brightness that cuts through the sweetness. You can even layer in a thin spread of mascarpone or cream cheese into the crust for a richer base—such a lovely variation to try!
Storage and Reheating
Storing Leftovers
If you have any leftovers (which is rare in my experience), cover the pie tightly with plastic wrap or place it in an airtight container and store it in the refrigerator. It will keep beautifully for up to 3 days without losing its texture or flavor, making it a great make-ahead dessert option.
Freezing
This No-Bake Strawberry and Cream Pie Recipe actually freezes very well. To freeze, wrap the pie tightly in several layers of plastic wrap and then place it in a freezer-safe container or bag. It can be frozen for up to 3 months. When you’re ready to eat it, thaw it in the refrigerator overnight. The texture stays nice and creamy without any icy crystals.
Reheating
Since this is a chilled dessert, reheating is not recommended. It’s best enjoyed cold to preserve the creamy texture and fresh strawberry flavor. If you’d like, you can let slices sit out at room temperature for 10-15 minutes before serving to take the chill off slightly, but avoid warming it up or you’ll lose the set consistency.
FAQs
Can I use frozen strawberries instead of fresh?
While fresh strawberries offer the best texture and flavor, you can use thawed frozen strawberries if necessary. Just be sure to drain any excess liquid to prevent the filling from becoming watery, and gently pat them dry with a paper towel before folding into the filling.
Is there a way to make this pie sugar-free?
Yes! You can substitute the granulated sugar in the crust with a sugar substitute like erythritol or a natural sweetener like stevia blend suitable for baking. For the filling, you can choose a sugar-free gelatin and use powdered erythritol or another powdered sugar alternative when whipping the cream.
How long should I let the gelatin cool before adding it to the whipped cream?
I let the gelatin cool until it thickens slightly but is still pourable—this usually takes about 10-15 minutes at room temperature. This helps prevent the whipped cream from melting or deflating when stirred together.
Can I prepare this pie a day ahead?
Absolutely! In fact, I recommend making it the day before serving to allow the flavors to meld and the filling to set completely. Just cover it well and keep it refrigerated until you’re ready to enjoy.
What can I substitute for the heavy cream?
If you want a lighter option, you can try using full-fat coconut milk chilled overnight and whipped, or use a dairy-free whipping cream alternative. Just keep in mind this will slightly change the flavor and texture but still give a tasty creamy pie.
Conclusion
I truly hope you give this No-Bake Strawberry and Cream Pie Recipe a try because it has brought so much joy and ease to my dessert making. It’s one of those gorgeous, luscious pies that look like you put in hours but are actually incredibly simple. Whether you’re hosting friends, celebrating a special occasion, or just want to enjoy a sweet moment on a sunny afternoon, this pie is always a winner in my book!
PrintNo-Bake Strawberry and Cream Pie Recipe

This no-bake strawberry and cream pie features a buttery graham cracker crust filled with a thick, creamy strawberry-flavored filling. The filling combines sweet strawberry gelatin, whipped heavy cream, powdered sugar, and fresh strawberries to create a luscious dessert that sets beautifully in the refrigerator. Perfect for a quick and easy summer dessert, this pie slices cleanly and is delightfully refreshing.
- Prep Time: 30 minutes
- Cook Time: 0 minutes
- Total Time: 4 hours 30 minutes
- Yield: 8 slices
- Category: Dessert
- Method: No-Cook
- Cuisine: American
Ingredients
Crust
- 1 ½ cups graham cracker crumbs (about 10–12 full crackers)
- ¼ cup granulated sugar
- 6 tablespoons melted salted butter
Filling
- 1 (3-ounce) package strawberry gelatin
- 1 cup boiling water
- 1 ½ cups heavy cream
- ⅓ cup powdered sugar
- ½ teaspoon vanilla extract
- 1 ½ cups roughly chopped fresh strawberries
Instructions
- Prepare the Crust: In a medium bowl, combine 1 ½ cups graham cracker crumbs, ¼ cup granulated sugar, and 6 tablespoons melted salted butter. Stir until the mixture resembles damp sand. Press the crust evenly into an 8-inch pie dish using your fingers or the bottom of a flat glass to press both the bottom and sides firmly. Place the crust in the refrigerator to chill while you prepare the filling.
- Make the Gelatin Mixture: In a medium bowl, add the entire package of strawberry gelatin to 1 cup of boiling water. Whisk thoroughly until the gelatin is completely dissolved. Set aside to cool and thicken slightly at room temperature.
- Whip the Cream: In a large bowl, combine 1 ½ cups heavy cream, ⅓ cup powdered sugar, and ½ teaspoon vanilla extract. Use a hand mixer or stand mixer fitted with a paddle attachment to whip the mixture until stiff peaks form, indicating that the cream is thick and holds its shape well.
- Incorporate Gelatin: Gently stir the cooled gelatin mixture into the whipped cream, folding carefully to combine without deflating the whipped cream.
- Add Fresh Strawberries and Fill the Pie: Fold 1 ½ cups roughly chopped fresh strawberries into the cream and gelatin mixture. Pour the filling into the chilled graham cracker crust, spreading evenly.
- Chill the Pie: Refrigerate the pie for at least 4 hours, or until set firmly. This step is crucial for the filling to thicken and slice cleanly.
Notes
- Storage Instructions: Cover the pie with plastic wrap and refrigerate for up to 3 days.
- Freezing: The pie freezes well. Use a freezer-safe dish and freeze for at least 8 hours until solid. Wrap tightly with 3–4 layers of plastic wrap and freeze for up to 3 months. Serve either frozen or thaw overnight in the fridge before serving.


