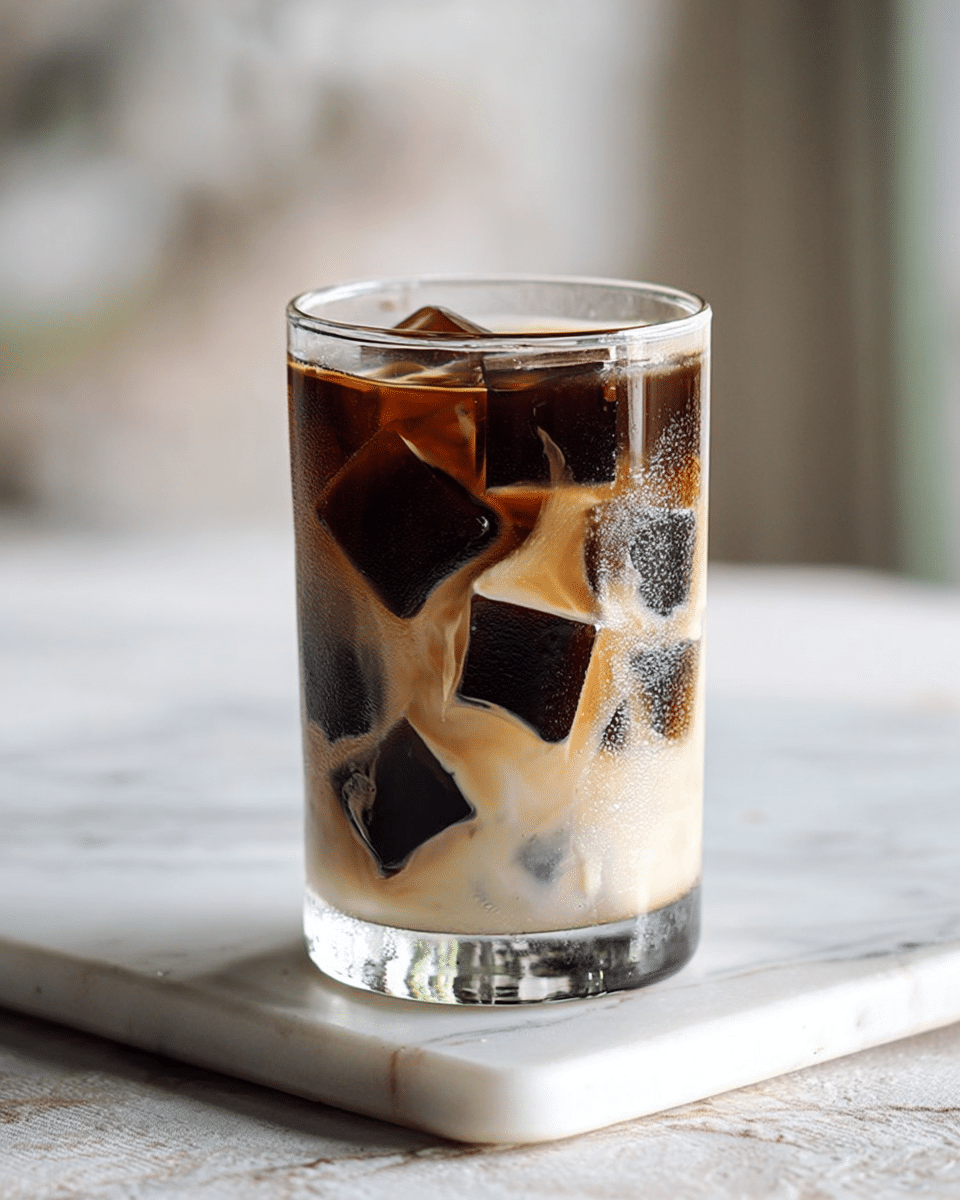
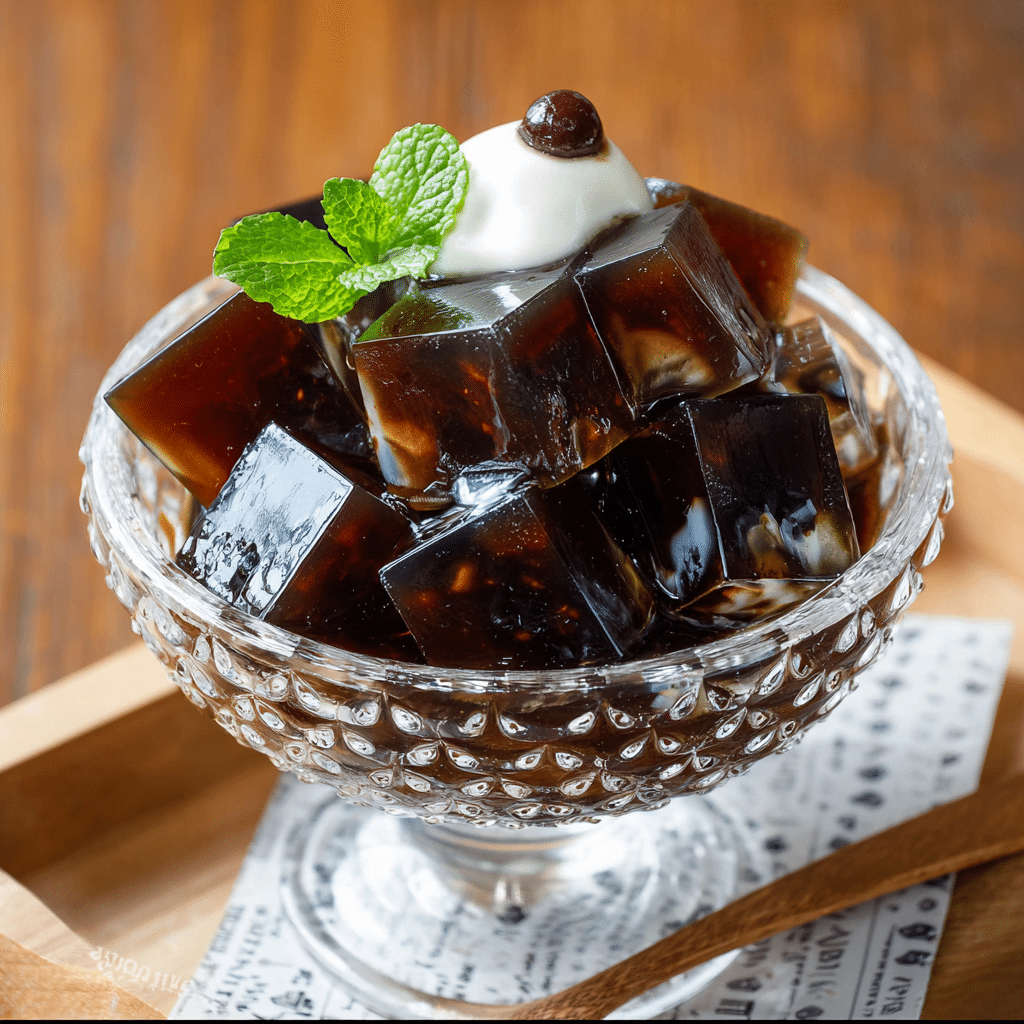
If you’ve ever wanted a dessert that strikes the perfect balance between elegance and effortlessness, Japanese Coffee Jelly is about to become your new obsession. This wiggly, glossy treat is deeply infused with bold coffee flavor and comes together with just a handful of pantry staples. Best of all, it’s a showstopper—whether you serve it in dainty cubes with whipped cream, or dress it up for a dinner party. Dive in for a delightful coffee experience that’s sure to charm anyone lucky enough to try it!
Ingredients You’ll Need
You won’t believe how a few simple ingredients can come together to create Japanese Coffee Jelly. Each one matters—from the coffee’s robust notes to the gelatin that brings it all together, you’ll find that nothing is extra, yet nothing is missing.
- Boiling water: This helps to dissolve the sugar, gelatin, and coffee, ensuring a smooth and lump-free dessert.
- Cold water: Stirring in cold water after mixing makes sure the jelly sets to the perfect tender consistency—not too firm, not too soft.
- White sugar: Just the right amount adds gentle sweetness, balancing the coffee’s boldness without overpowering it.
- Gelatin powder: Essential for that bouncy, satisfying wobble—make sure to measure carefully for the ideal texture.
- Instant coffee: The real star here, delivering strong flavor and a gorgeous, deep color—choose your favorite for best results.
How to Make Japanese Coffee Jelly
Step 1: Whisk Up the Base
Begin by combining the instant coffee, gelatin powder, sugar, and boiling water in a large jug or mixing bowl. Whisk everything together until both the sugar and gelatin are completely dissolved—this ensures a silky-smooth jelly with no grainy bits. Scrape the bottom to make sure the gelatin hasn’t settled underneath, as every granule counts!
Step 2: Cool It Down
Pour in the cold water and give the mixture another good whisk. The cold water not only brings the temperature down so the jelly sets just right, but also rounds out the coffee flavor beautifully.
Step 3: Pour and Smooth
Carefully pour your glossy coffee mixture into dessert cups or a larger glass dish, depending on how you’d like to serve your Japanese Coffee Jelly later. For the smoothest finish, use your whisk or a spoon to gently break up any bubbles collecting around the edges.
Step 4: Chill and Set
Slide everything into the fridge for at least 3 hours—this is where the magic happens! The mixture will transform from a simple liquid to wobbly, tantalizing jelly that’s just waiting for all your favorite toppings.
Step 5: Cut and Serve
If you used a large dish, slice the set jelly into little cubes and scoop them into serving bowls. If you went with individual cups, they’re ready as-is. Top with anything you like, from clouds of whipped cream to pretty mint leaves for that special final touch.
How to Serve Japanese Coffee Jelly
Garnishes
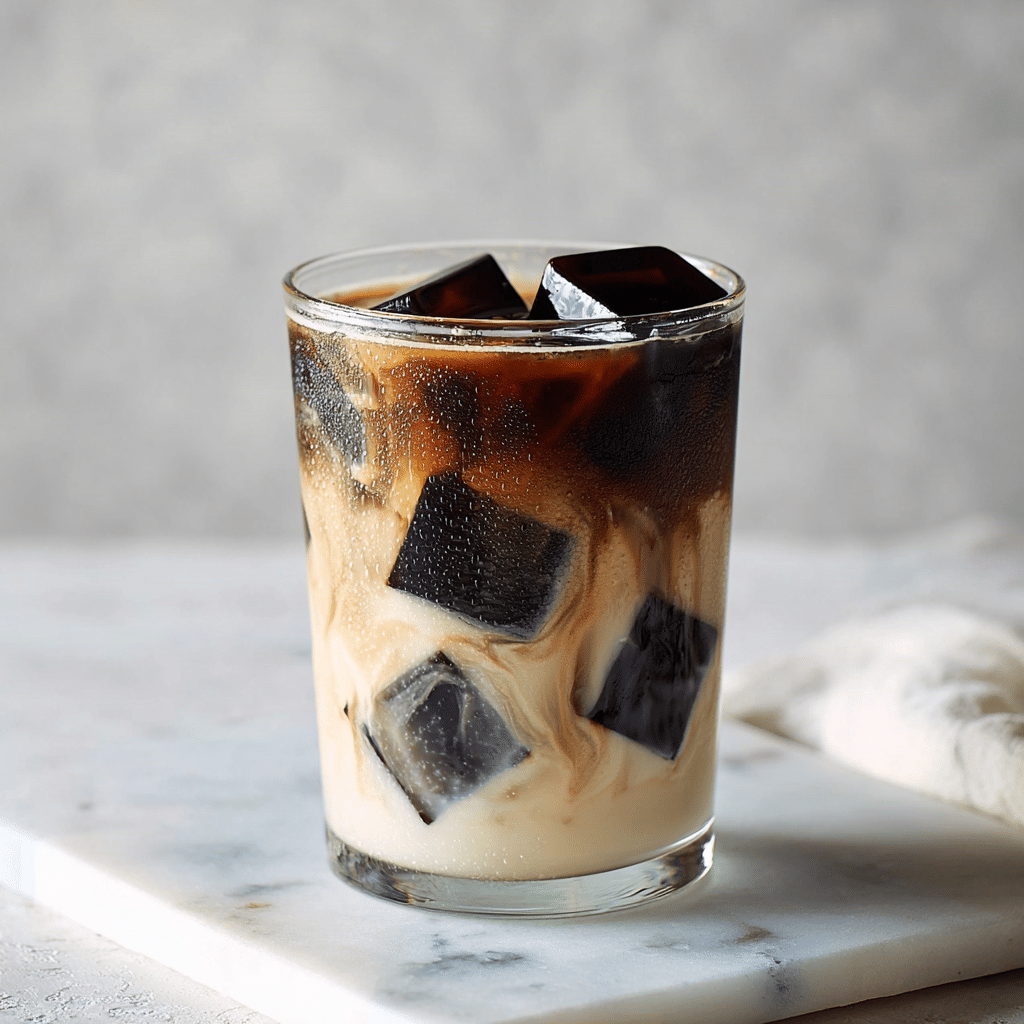
The beauty of Japanese Coffee Jelly is how it welcomes any number of dressy (or simple!) toppings. Crown it with a generous dollop of whipped cream for classic creaminess, or add a dusting of cocoa powder or chocolate shavings for a touch of decadence. A few coffee beans or a sprig of mint transform every bowl into a mini work of art, while a swirl of condensed milk is pure comfort in dessert form.
Side Dishes
Pair your Japanese Coffee Jelly with light, buttery shortbread cookies or almond biscuits for a lovely textural contrast. It’s also gorgeous alongside a scoop of vanilla ice cream or even fresh seasonal berries—each bite more refreshing than the last.
Creative Ways to Present
Unleash your creativity by layering the jelly with sweetened cream in parfait glasses, or serving the jelly cubes in chilled espresso cups for a playful nod to its coffee roots. For parties, try stacking the cubes in shot glasses and letting guests swirl on their favorite toppings—so much fun!
Make Ahead and Storage
Storing Leftovers
Japanese Coffee Jelly keeps beautifully in the fridge for up to four days. Cover the dessert cups or dish tightly with plastic wrap or a lid to prevent the jelly from absorbing any fridge odors. If you’re storing cubes, you can even pop them into airtight containers—ready for a quick treat whenever you need it!
Freezing
Freezing isn’t ideal for Japanese Coffee Jelly, as the texture changes considerably after thawing. The gelatin can become watery and lose that delightful wobble. For best results, stick with refrigeration and simply enjoy it within a few days.
Reheating
There’s no need to reheat Japanese Coffee Jelly, and doing so will actually melt it back into a liquid! If you accidentally let it sit out too long, just pop it back in the fridge until it firms up again. Serve straight from the fridge for the best texture and chill.
FAQs
Can I use brewed coffee instead of instant coffee?
Absolutely! Strongly brewed coffee will give your Japanese Coffee Jelly a different flavor profile, sometimes a bit smoother or richer. Just make sure it’s hot enough to dissolve the gelatin and sugar well, and keep the total liquid measurement the same as the recipe.
What if I want a stronger or milder coffee flavor?
You can easily adjust the intensity by adding more or less instant coffee, depending on your taste. If you like a gentle touch of coffee, scale back a little; if you’re a true coffee lover, a little extra won’t hurt!
Is there a vegetarian or vegan way to make Japanese Coffee Jelly?
Yes! Swap out the gelatin powder for agar-agar powder, which is derived from seaweed and just as effective for setting jellies. Follow the package instructions, as the proportions and method may change slightly with agar-agar.
How do I prevent lumps from forming in the jelly?
Thorough whisking is key—make sure the sugar and gelatin dissolve completely in the boiling water before adding the cold water. If you’re unsure, strain the mixture through a fine sieve before pouring into your molds to catch any stubborn bits.
Can I make Japanese Coffee Jelly less sweet?
Of course! Just reduce the sugar to taste; it won’t affect the setting power of the gelatin. You can also try different sweeteners, like honey or a sugar substitute, though this might slightly alter the final flavor.
Final Thoughts
If you’ve never made Japanese Coffee Jelly before, now’s your chance to fall in love with dessert all over again. It’s easy, stunning, and simply delightful to eat. There’s something extra satisfying about those silky, coffee-rich cubes—so grab your ingredients and give it a try. I can’t wait for you to taste just how magical this treat can be!
PrintJapanese Coffee Jelly Recipe
Learn how to make a delightful Japanese Coffee Jelly dessert that combines the rich flavor of coffee with the fun texture of jelly. This easy recipe can be customized with various garnishes for a perfect treat!
- Prep Time: 10 minutes
- Total Time: 3 hours 10 minutes
- Yield: 4 servings
- Category: Dessert
- Method: Mixing, Chilling
- Cuisine: Japanese
- Diet: Vegetarian
Ingredients
Jelly:
- 1 cup boiling water
- 1 cup cold water
- ⅓ cup white sugar
- 3 tsp gelatin powder
- 2 tbsp instant coffee
Garnish ideas:
- whipped cream
- chocolate shavings
- coffee beans
- fresh mint leaves
- Condensed milk
- cocoa powder
Instructions
- Prepare Jelly: In a large jug, combine instant coffee, gelatin powder, sugar, and boiling water. Whisk until sugar dissolves and gelatin is fully mixed.
- Add Cold Water: Pour in the cold water and whisk again.
- Pour and Set: Pour the coffee jelly into dessert cups or a glass dish. Smooth out any bubbles with a whisk. Refrigerate for at least 3 hours to set.
- Serve: If using a dish, cut the jelly into cubes and transfer to serving dishes. Add garnishes like cream, mint, chocolate shavings, coffee beans, or condensed milk on top before serving.
Notes
- You can adjust the sweetness by adding more or less sugar.
- Experiment with different garnishes to find your favorite combination.
- Store any leftovers in the refrigerator for up to 3 days.
Nutrition
- Serving Size: 1 serving
- Calories: 120
- Sugar: 15g
- Sodium: 30mg
- Fat: 0g
- Saturated Fat: 0g
- Unsaturated Fat: 0g
- Trans Fat: 0g
- Carbohydrates: 25g
- Fiber: 0g
- Protein: 3g
- Cholesterol: 0mg

