
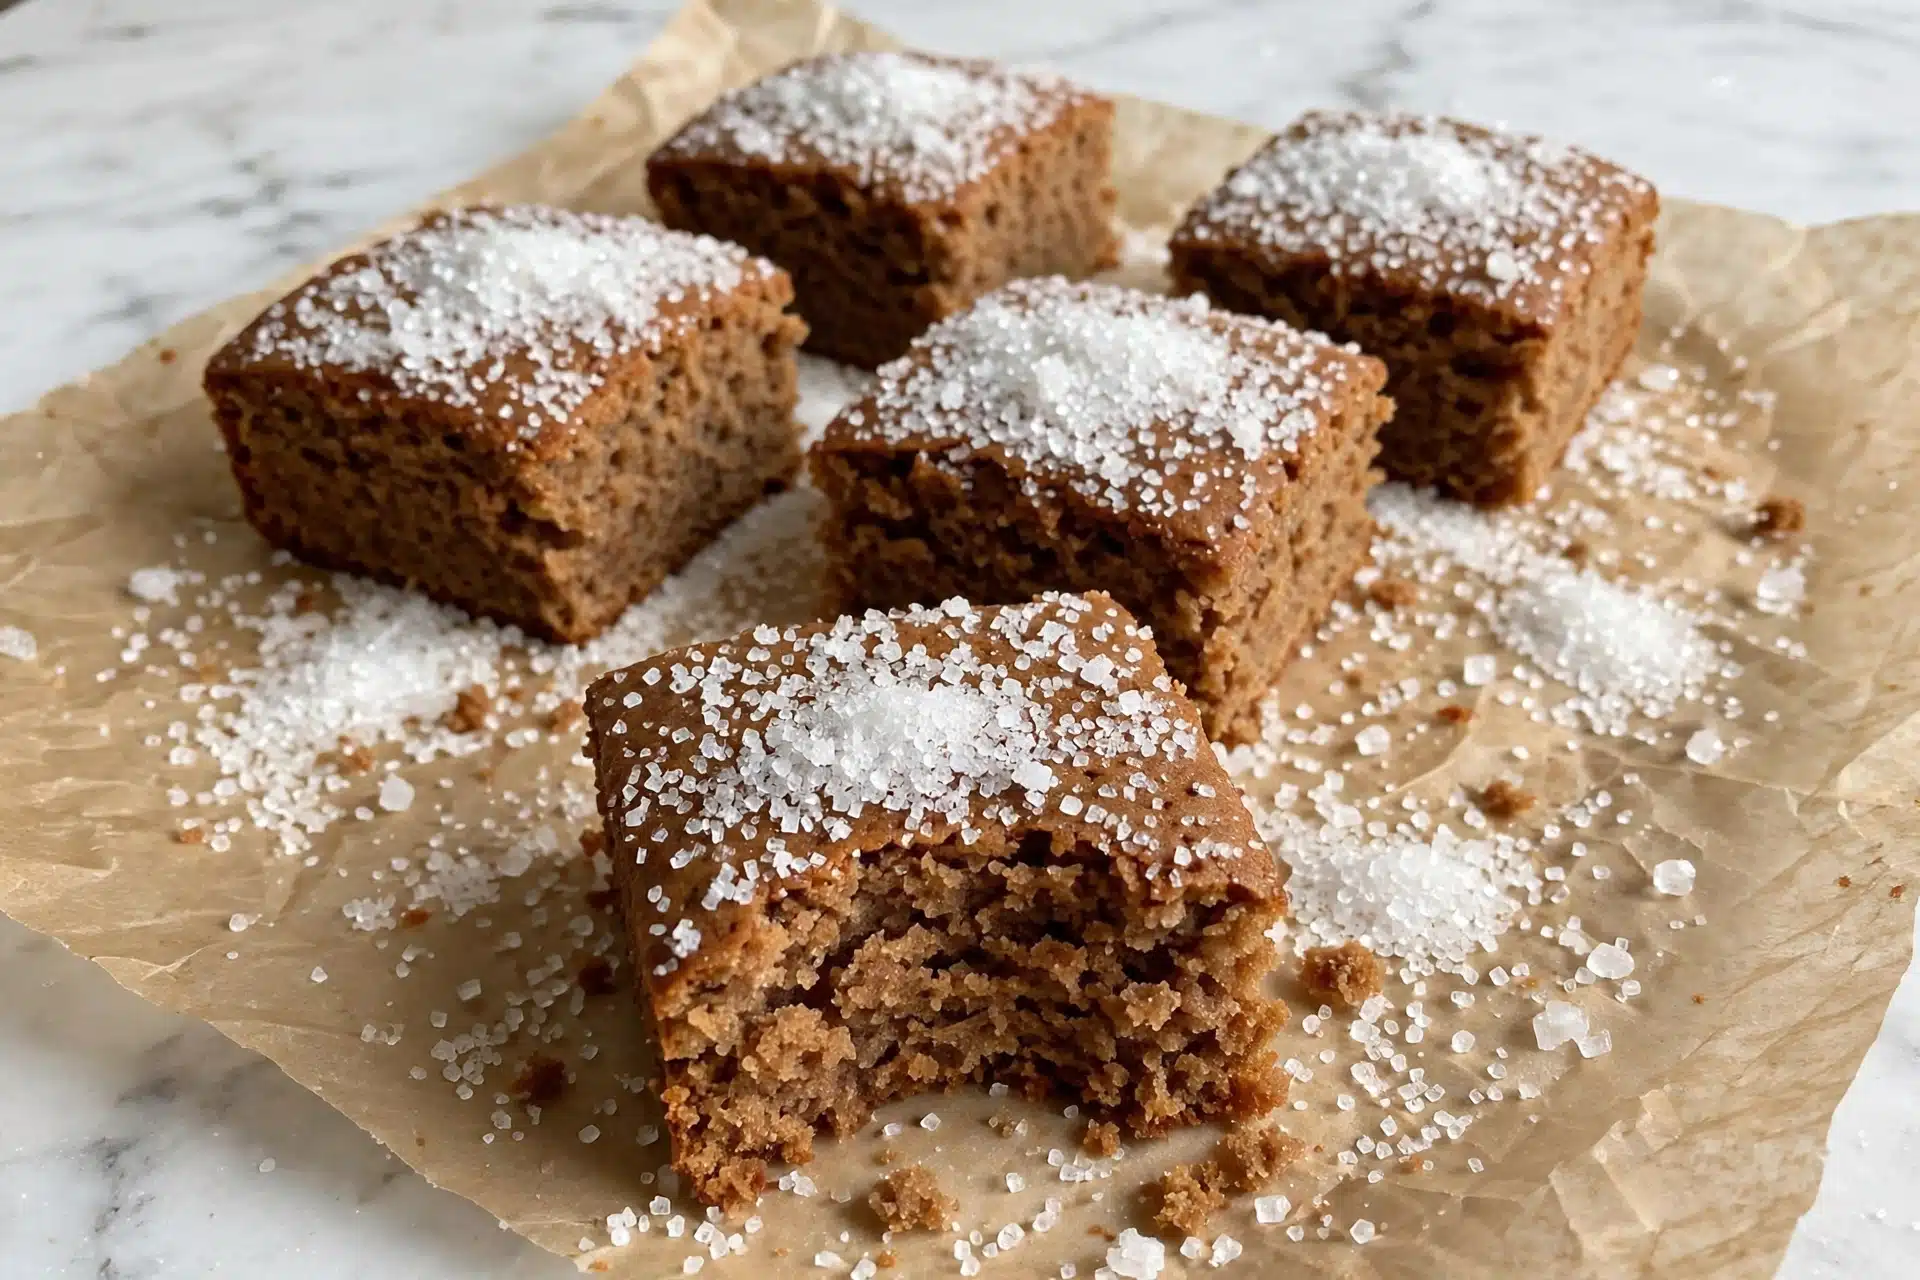
I absolutely adore making these bars whenever I want a cozy, fall-inspired treat that feels like a warm hug. This Gluten-Free Pumpkin Snickerdoodle Bars Recipe is one of my favorite creations because it combines the soft richness of pumpkin with the nostalgic cinnamon-sugar crunch I crave in a snickerdoodle, all without any eggs or gluten. Every bite tastes like seasonal magic, and I’m excited to share the recipe with you!
Why You’ll Love This Gluten-Free Pumpkin Snickerdoodle Bars Recipe
From the moment I took my first bite of these bars, I knew they were something special. The flavor profile is perfectly balanced — the earthy sweetness of pumpkin shines through while the pumpkin pie spice and cinnamon give just the right touch of warmth and spice. The cinnamon-sugar topping is delicately crisp, adding a textural contrast that keeps me coming back for more. No heaviness here; these bars are soft, tender, and incredibly comforting.
What really makes this recipe stand out for me is how effortless it is to prepare despite looking like a fancy, bakery-quality dessert. With simple steps and accessible ingredients, I can whip these up in under an hour. It’s the kind of recipe I love for busy weeknights or when hosting friends around the holidays. Plus, the gluten-free factor means I can share these with everyone, knowing no one’s missing out on enjoying something truly delicious.
Ingredients You’ll Need
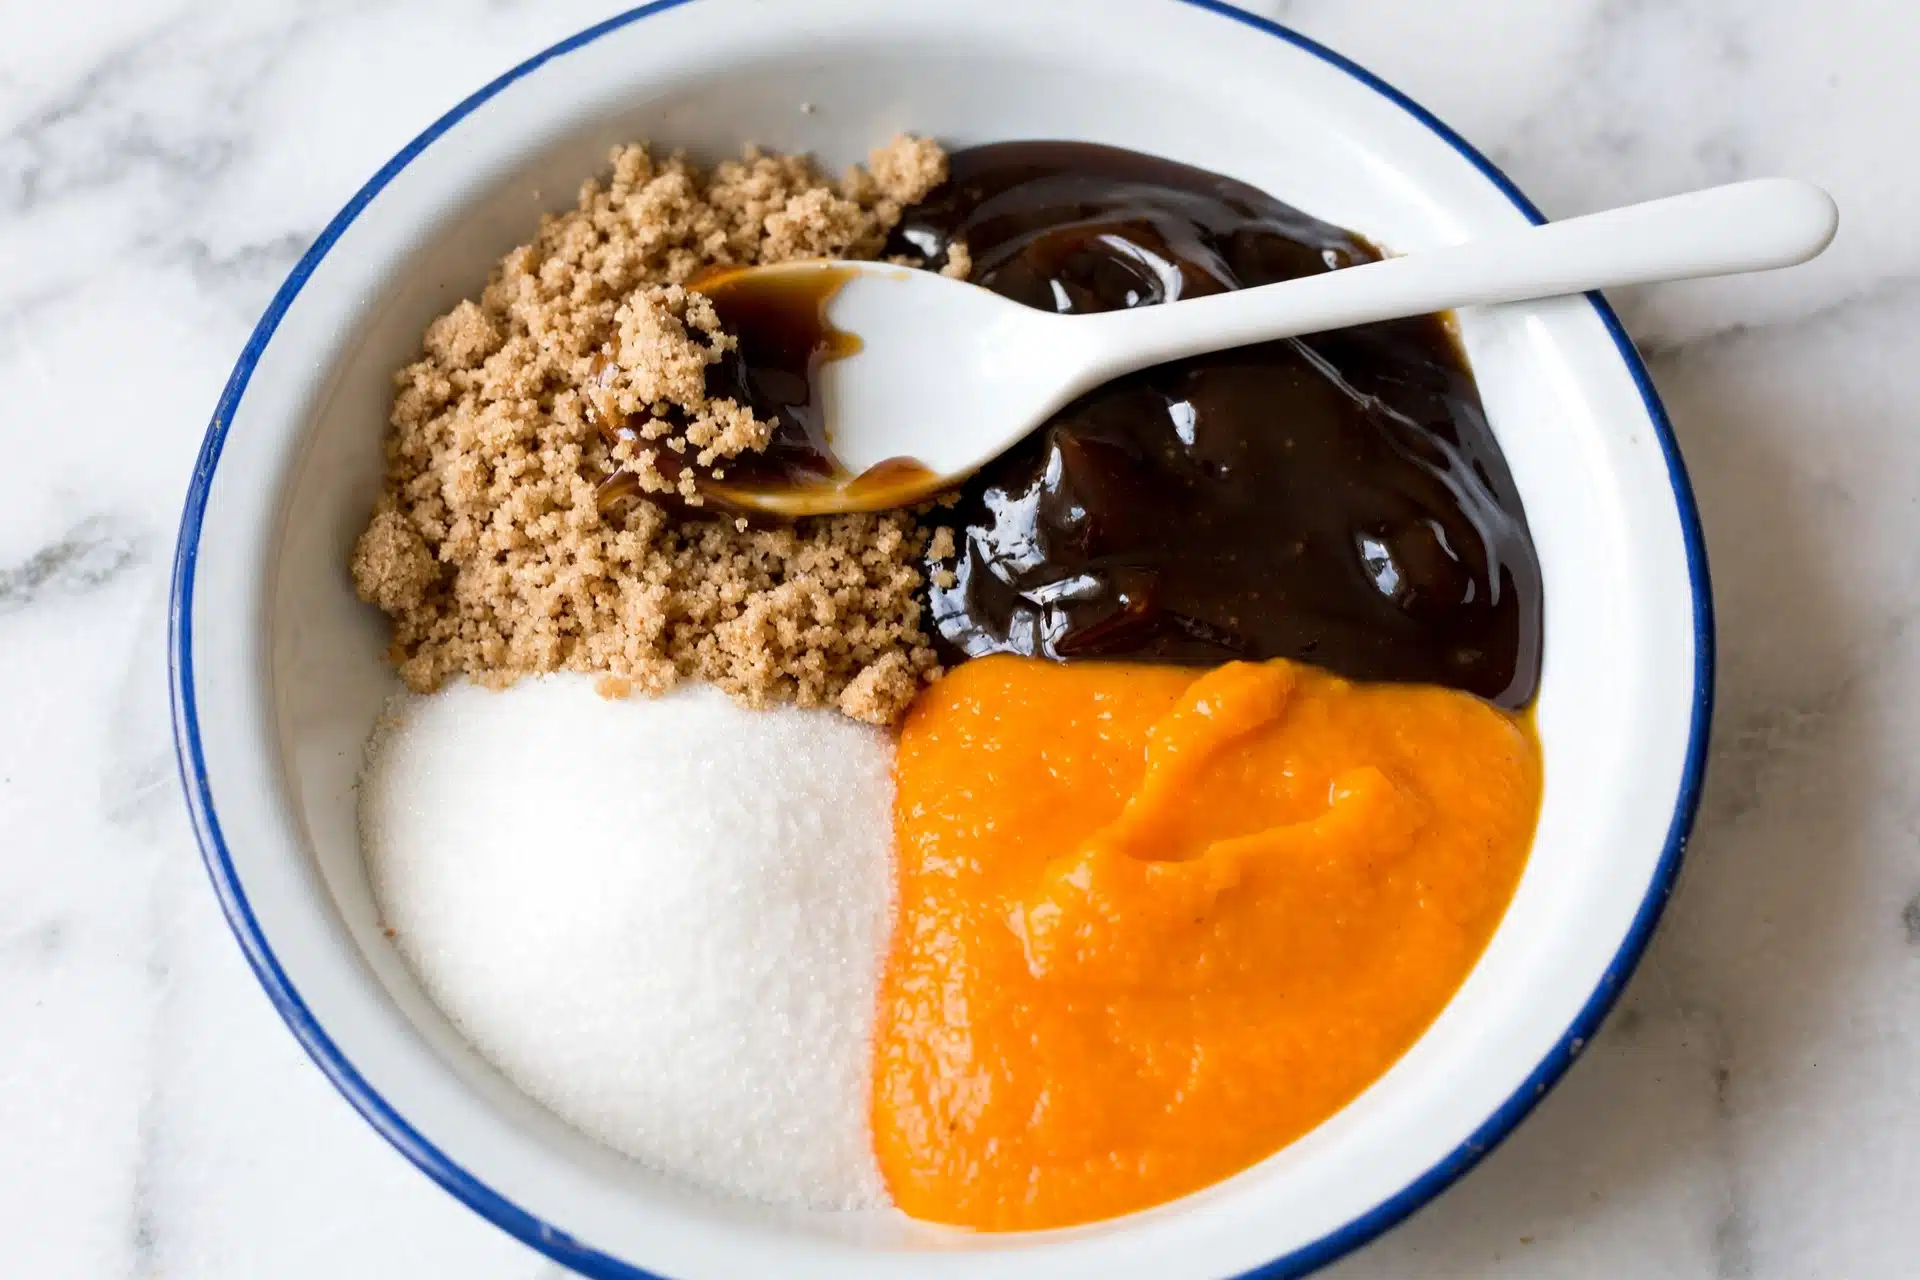
The simplicity of these ingredients is where the magic begins. Each one plays a crucial role, whether it’s building flavor, tenderizing the crumb, or creating that beautifully spiced crust on top.
- Unsalted Butter (113 g): Melts into the batter to add richness and moisture, essential for the soft structure of the bars.
- Pumpkin Pie Spice (1½ tsp): The heart of the autumnal flavor, blending cinnamon, nutmeg, and cloves to infuse warmth.
- Cinnamon (¾ tsp): Works alongside the pumpkin spice to deepen the spice notes and is also part of the topping mix.
- Gluten-Free Multipurpose Flour with Xanthan Gum (180 g): Provides structure and stability while ensuring the bars stay tender and don’t crumble.
- Cream of Tartar (1 tsp): Adds a subtle tang and helps maintain softness without eggs.
- Baking Powder and Baking Soda (¼ tsp each): These leavening agents create just the right lift to keep the bars light.
- Kosher Salt (¾ tsp): Balances the sweetness and enriches the overall flavor.
- Light Brown Sugar (100 g): Gives a mellow, caramel-like sweetness that complements the pumpkin perfectly.
- Granulated Sugar (100 g + 35 g for topping): Adds crispness to the topping and sweetness to the dough.
- Pumpkin Purée (120 g): The star ingredient that lends moisture, color, and that unmistakable pumpkin flavor.
- Alcohol-Free Vanilla Flavoring (1 tsp): Enhances the sweetness and adds depth without overpowering.
- Pumpkin Pie Spice (1 tsp) for Topping: Mixed with sugar to create the classic snickerdoodle crust on top.
Directions
Step 1: Begin by lining an 8-inch square pan with parchment paper. This will make lifting out the bars a breeze once baked and cooled.
Step 2: Gently melt the unsalted butter in a small saucepan or microwave, then stir in the pumpkin pie spice and cinnamon until evenly combined. Set this spiced butter aside to cool slightly — this prevents melting the sugars too much later.
Step 3: Whisk together the gluten-free flour blend, cream of tartar, baking powder, baking soda, and kosher salt in a separate bowl, ensuring they are fully incorporated. This dry mix is crucial for even leavening and texture.
Step 4: In a larger mixing bowl, combine both the light brown sugar and granulated sugar with the cooled butter mixture. Whisk these until smooth, then add the pumpkin purée and vanilla flavoring, mixing well to create a creamy, fragrant base.
Step 5: Gently fold the dry ingredients into the wet mixture, being careful not to overmix. The batter will become thick and luscious — spread it evenly in the prepared pan using a spatula to smooth the surface.
Step 6: Mix the 35 grams of granulated sugar with 1 teaspoon of pumpkin pie spice for the topping. Sprinkle this spice-sugar mixture evenly across the surface of the batter for that classic snickerdoodle crunch.
Step 7: Let the dough rest at room temperature while you preheat the oven to 350°F (175°C). This brief rest helps the flavors meld and the batter settle.
Step 8: Bake the bars for 24 to 26 minutes, or until the edges are golden and a toothpick inserted near the center comes out mostly clean with just a few moist crumbs. The top should be slightly crisp but the inside remain soft and tender.
Step 9: Allow the bars to cool in the pan for at least 10 minutes. Then, use the parchment paper edges to carefully lift them out. Let them cool completely on a wire rack before slicing into 16 generous squares.
Servings and Timing
This recipe yields about 16 bars, which makes it perfect for sharing with family or guests. The prep time is approximately 15 minutes, while baking takes between 24 and 26 minutes. Including the cooling and resting time, you’ll need roughly 40 minutes plus additional time to cool completely before cutting. It’s definitely an efficient recipe to have in your dessert rotation!
How to Serve This Gluten-Free Pumpkin Snickerdoodle Bars Recipe
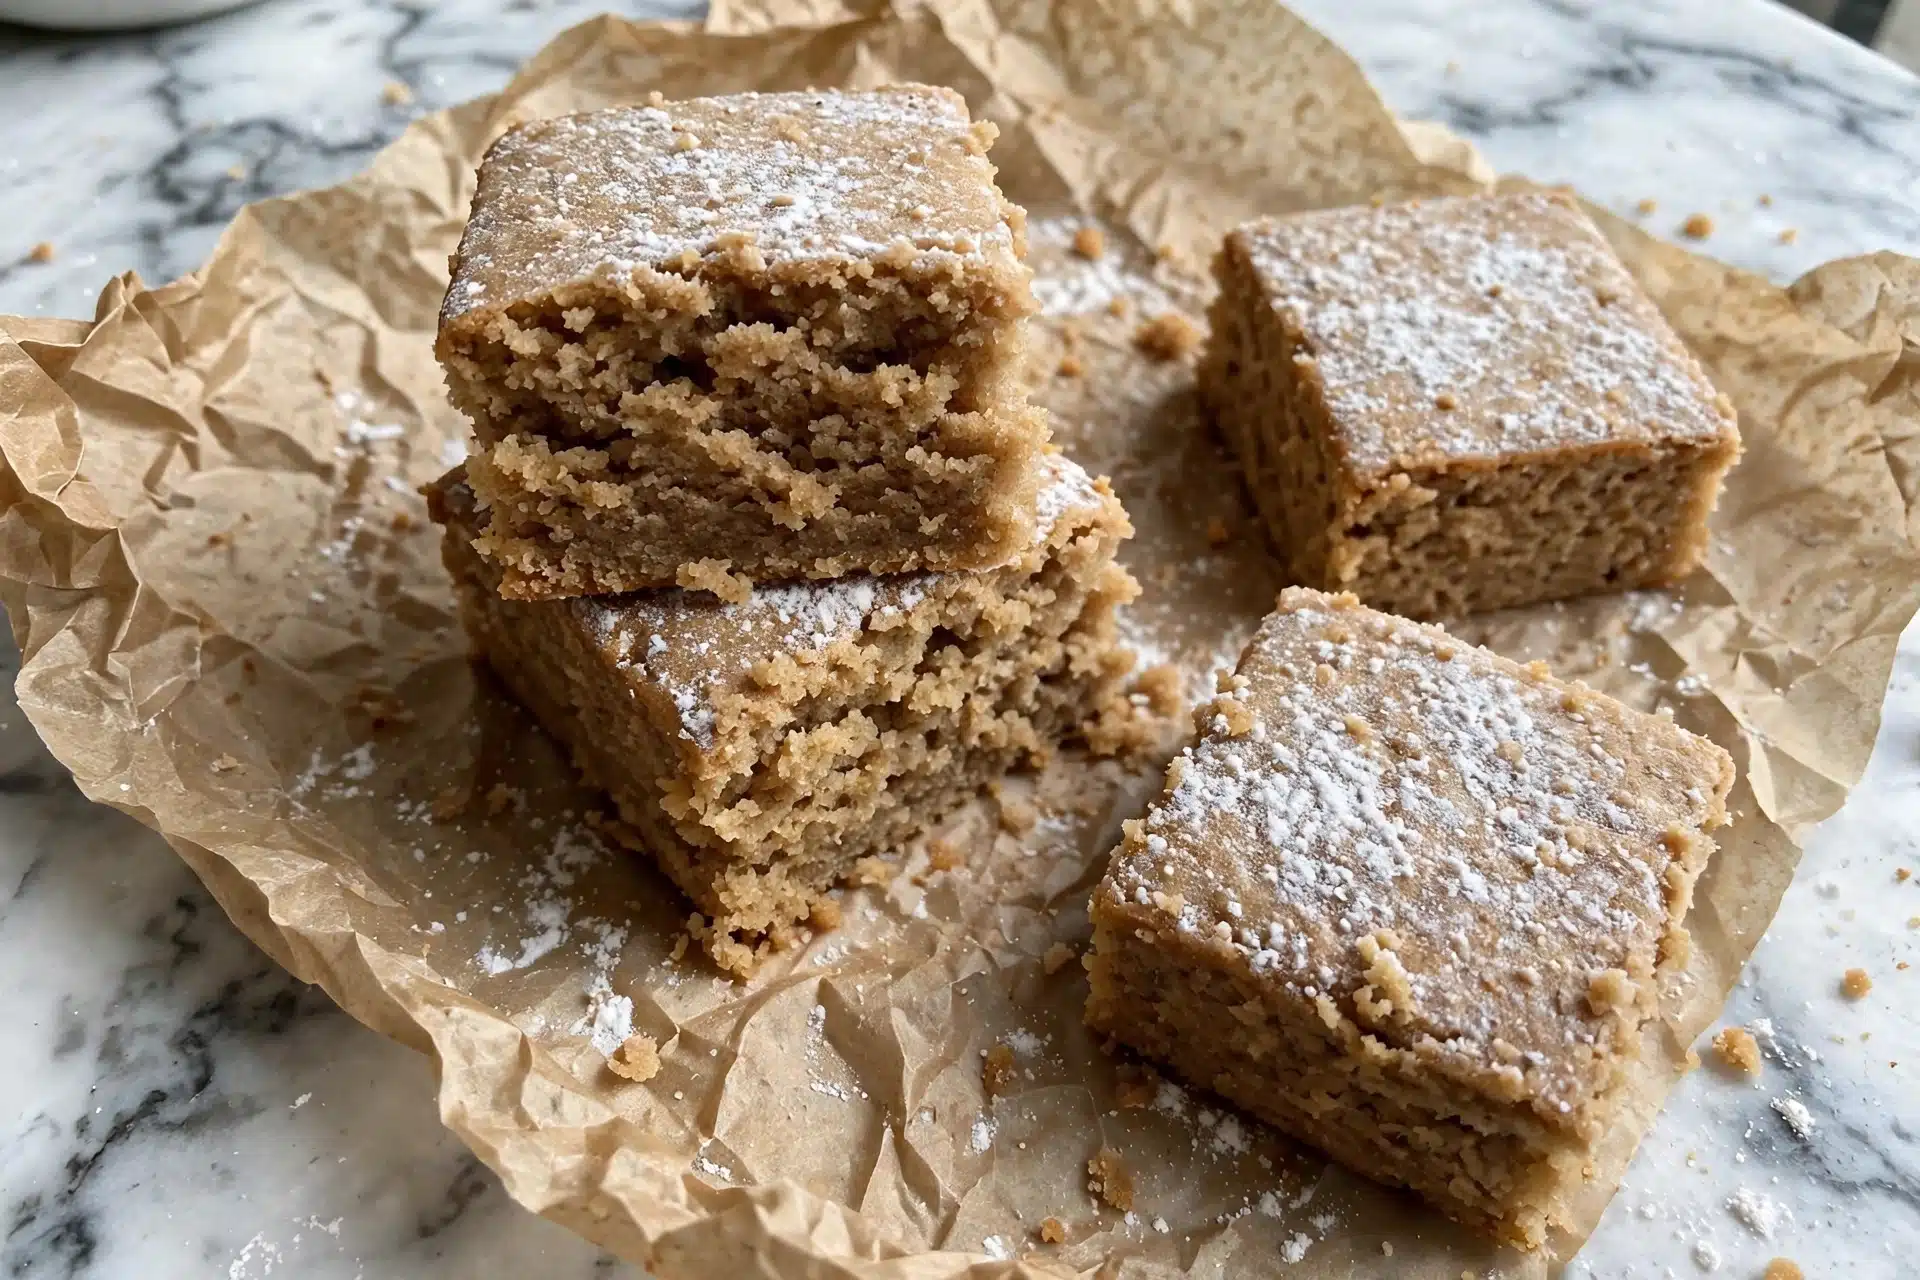
I love serving these bars slightly warm so the spiced sugar crust feels fresh and the pumpkin flavor is at its most vibrant. They pair wonderfully with a cup of hot chai tea or a creamy latte, making them perfect for cozy afternoons or brunch gatherings. When hosting, I like to display them on a rustic wooden board and sprinkle a tiny pinch of extra cinnamon sugar on top for a little sparkle and flair.
For an even more indulgent experience, try serving these bars with a dollop of whipped cream or a scoop of cinnamon ice cream. If you want to add a festive touch, drizzle a little maple glaze or honey over the top just before serving. I’ve found that these toppings elevate the bars for holiday parties or a special fall dessert after dinner.
These bars are also fantastic at room temperature, making them perfect for potlucks or packed lunches where reheating isn’t an option. I recommend slicing them into medium-sized squares for easy handling and pairing them with fresh apple slices or a glass of cold, spiced cider for that ultimate autumn vibe.
Variations
One of the things I love about this Gluten-Free Pumpkin Snickerdoodle Bars Recipe is how adaptable it is. If you want to make it vegan, swapping the butter for a good-quality coconut oil or vegan margarine works beautifully, and you can add a flax egg or applesauce if you want a bit more structure. The flavor remains just as marvelous.
If you’re looking to experiment with the topping, try mixing in some finely chopped pecans or walnuts for an added crunch. Another variation I enjoy is adding white chocolate chips or dried cranberries to the batter for a surprise burst of sweetness and texture — just fold them in before spreading the batter in the pan.
For a slightly different cooking method, I’ve even tried these bars in muffin tins to create individual snickerdoodle pumpkin bites. Reduce the bake time to about 16-18 minutes, and they come out perfectly portioned for grab-and-go treats. It’s a fun twist that is always a hit with guests.
Storage and Reheating
Storing Leftovers
I recommend storing any leftover bars in an airtight container at room temperature for up to 3 days. They stay soft and flavorful, but if your kitchen is warm, refrigeration is a good option and will extend their freshness for up to a week. Just be sure to bring them to room temperature before serving to recapture their tender texture.
Freezing
Freezing these pumpkin bars works really well if you want to make them ahead of time. I like to wrap individual bars tightly in plastic wrap and then place them in a freezer-safe container or zip-top bag. They keep well for up to 3 months. When you’re ready to enjoy, thaw them in the fridge overnight, and warm gently before serving to get back that soft, chewy feel.
Reheating
The best way to reheat these bars is in a warm oven (about 300°F or 150°C) for 5 to 7 minutes. This method refreshes the crisp topping without drying out the interior. Avoid using the microwave if possible, as it can make the sugar crust soggy. If you must microwave, do it in short bursts and keep a close eye on the texture.
FAQs
Can I use canned pumpkin for this recipe?
Absolutely! Canned pumpkin purée works perfectly and is the easiest option. Just make sure it’s pure pumpkin and not pumpkin pie filling, which contains added sugars and spices. Using pure pumpkin ensures you control the flavor and texture exactly as intended.
Is this recipe suitable for people with egg allergies?
Yes, this recipe is naturally egg-free. I designed it that way to be inclusive and allergy-friendly while still delivering a tender and moist bar. The combination of pumpkin, butter, and the leavening agents do all the work here.
Can I substitute regular flour instead of gluten-free?
You can use regular all-purpose flour if you don’t need it to be gluten-free; just swap it in the same quantity and omit the xanthan gum if your blend includes it. Keep in mind the texture may be slightly different — a bit more elastic and less crumbly — but still delicious.
What’s the best way to measure the gluten-free flour?
Because gluten-free flours vary in density, I always recommend weighing your flour for accuracy rather than using cups. This helps ensure your bars have the perfect texture every time without turning out too dry or dense.
Can I make these bars ahead of time?
Definitely! You can prepare the batter a day ahead and keep it covered in the fridge, then bake fresh the next day. Or bake the bars in advance and store or freeze them as described; they actually taste even better after a day when the flavors meld!
Conclusion
I hope you enjoy making and savoring this Gluten-Free Pumpkin Snickerdoodle Bars Recipe as much as I do. It’s one of those comforting sweets that feels special, yet is incredibly simple to put together. Whether for a chilly afternoon snack, a party dessert, or a festive treat, these bars never disappoint. Give them a try and watch them disappear fast — trust me, they’ll become a favorite in your kitchen too!
PrintGluten-Free Pumpkin Snickerdoodle Bars Recipe
Soft and egg-free gluten-free pumpkin snickerdoodle bars featuring a thin, spiced sugar crust that delivers a delightful autumnal flavor perfect for dessert or snack time.
- Prep Time: 15 minutes
- Cook Time: 25 minutes
- Total Time: 40 minutes plus cooling
- Yield: 16 bars
- Category: Dessert
- Method: Baking
- Cuisine: American
- Diet: Vegetarian,Gluten Free
Ingredients
Dough
- 113 g unsalted butter
- 1½ tsp pumpkin pie spice
- ¾ tsp cinnamon
- 180 g gluten-free multipurpose flour with xanthan gum
- 1 tsp cream of tartar
- ¼ tsp baking powder
- ¼ tsp baking soda
- ¾ tsp kosher salt
- 100 g light brown sugar
- 100 g granulated sugar
- 120 g pumpkin purée
- 1 tsp alcohol-free vanilla flavoring
Topping
- 35 g granulated sugar
- 1 tsp pumpkin pie spice
Instructions
- Prepare pan and melt butter: Line an 8-inch square pan with parchment paper. Melt the unsalted butter, then stir in the pumpkin pie spice and cinnamon until fully combined. Set aside to cool slightly.
- Mix dry ingredients: In a separate bowl, whisk together the gluten-free flour blend, cream of tartar, baking powder, baking soda, and kosher salt to ensure even distribution.
- Combine wet and dry ingredients: To the cooled spiced butter, add the light brown sugar, granulated sugar, pumpkin purée, and vanilla flavoring. Mix well until everything is fully incorporated. Gently fold in the dry flour mixture, mixing just until combined to maintain a tender texture.
- Prepare topping and assemble: Combine the granulated sugar and pumpkin pie spice for the topping in a small bowl. Spread the dough evenly into the prepared pan, then sprinkle the spiced sugar topping evenly over the surface.
- Rest and bake: Allow the dough to rest briefly while you preheat your oven to 350°F (175°C). Then, bake the bars for 24 to 26 minutes, or until the edges are set and a toothpick inserted into the center comes out mostly clean with a few moist crumbs.
- Cool and serve: Remove the pan from the oven and cool for about 10 minutes in the pan. Carefully lift the bars out using the parchment paper lining, then let them cool completely before slicing into 16 bars.
Notes
- Weigh the gluten-free flour blend because density can vary between brands, ensuring accurate measurement for the best texture.
- Alcohol-free vanilla flavoring is used to keep the recipe family-friendly and suitable for all ages.
- Allowing the dough to rest briefly before baking helps the spices meld for enhanced flavor.
- Cooling the bars before cutting prevents crumbling and helps them hold their shape.


