
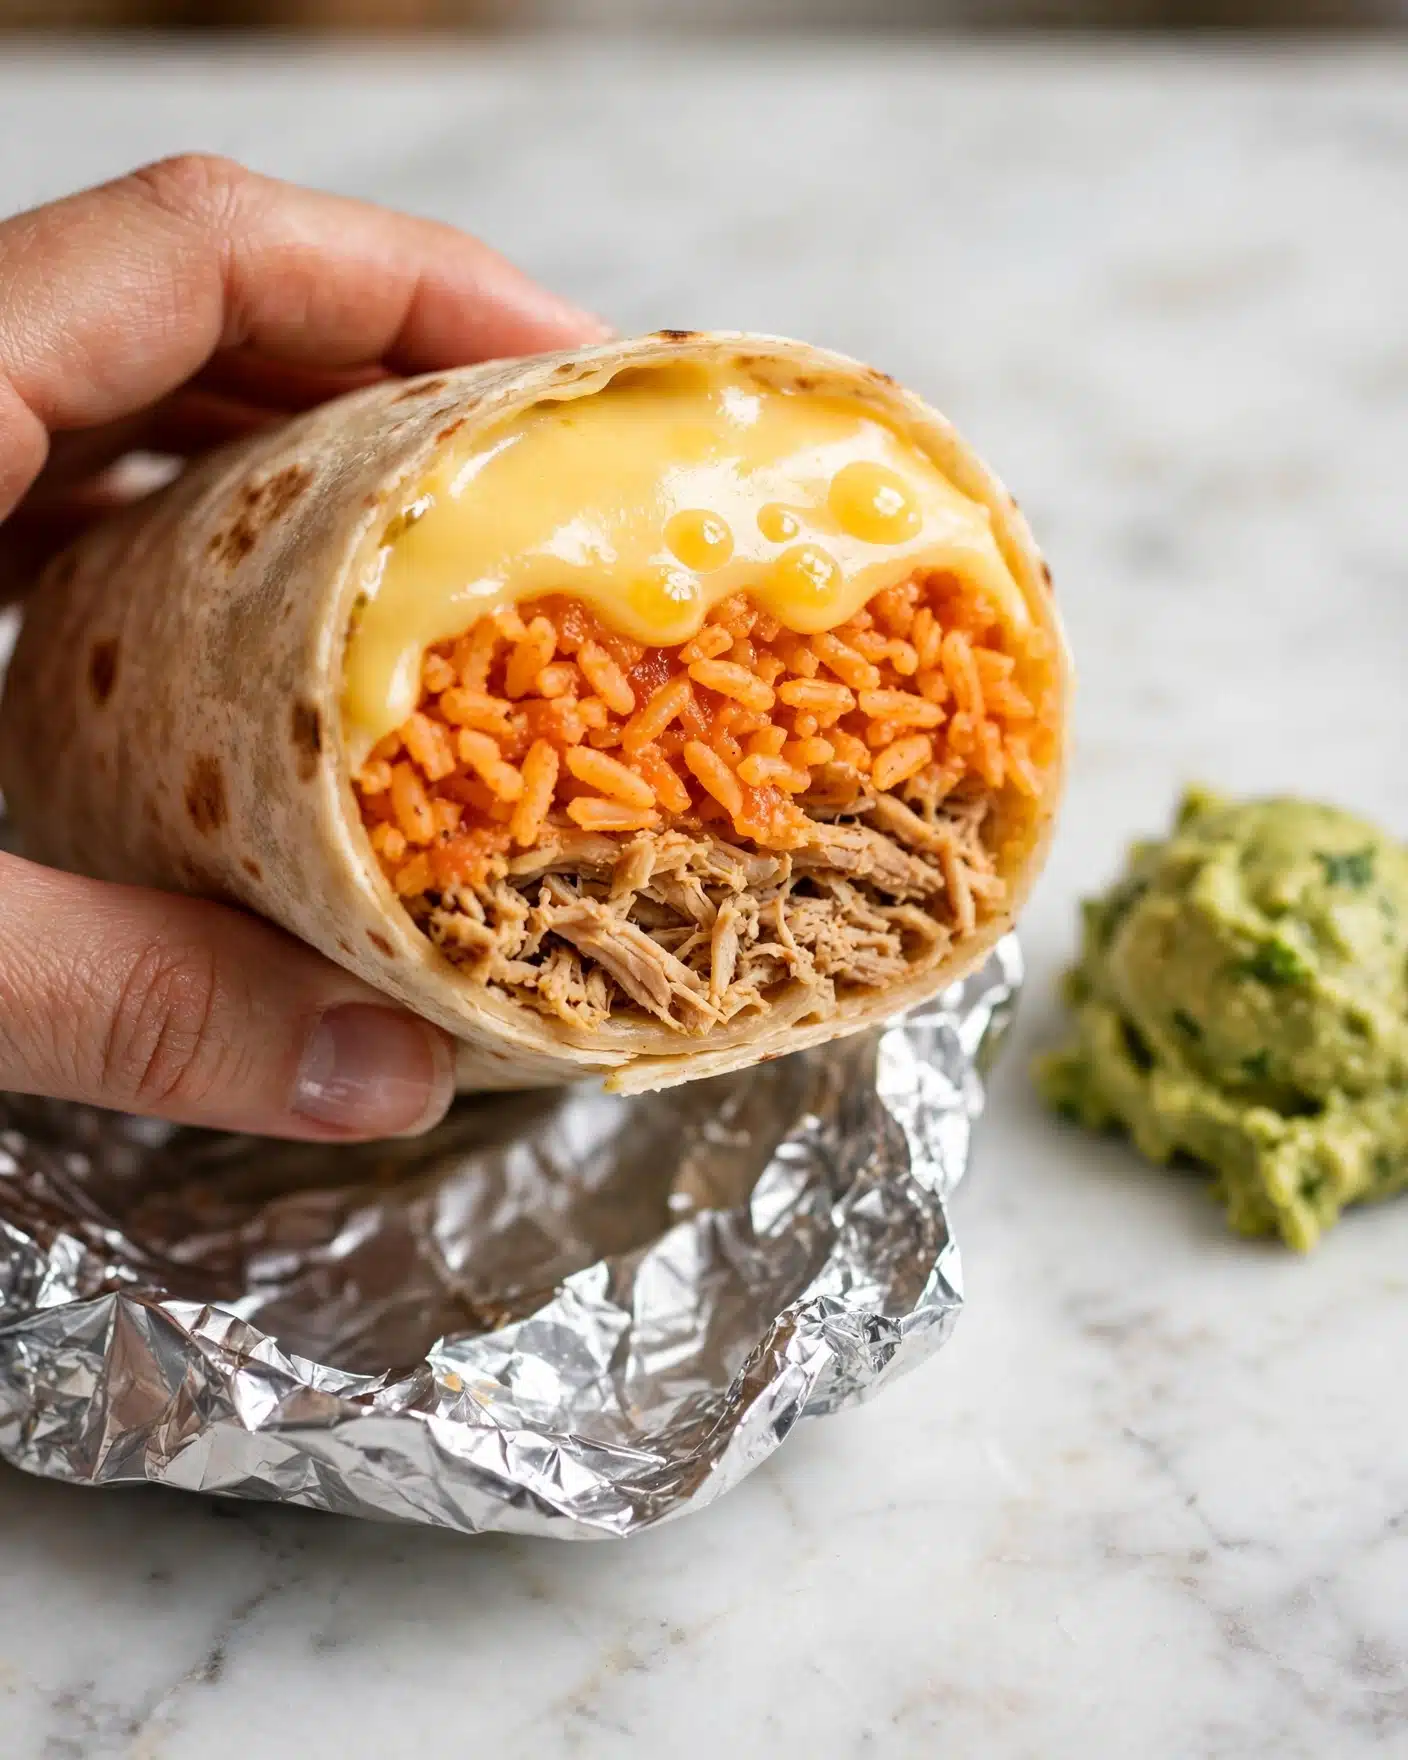
I absolutely love sharing this Chicken Burrito Recipe with friends and family because it captures all the vibrant flavors I crave when I think of a hearty, satisfying Mexican-inspired meal. There’s just something about the tender, spiced chicken combined with melty cheese, fresh cilantro, and warm tortillas that makes every bite feel so comforting and festive. I find this recipe perfect whether I’m whipping up a quick weeknight dinner or feeding a hungry crowd on the weekend.
Why You’ll Love This Chicken Burrito Recipe
When it comes to flavor, I can’t get enough of how the combination of smoky paprika, earthy cumin, and the subtle heat from cayenne really awaken each mouthful of chicken. The bursts of sweet corn, creamy refried beans, and fresh coriander add bright pops that keep things interesting. Every bite is layered with textures — juicy chicken, tender rice, crisp bell pepper, and oozing cheese — making this burrito experience truly balanced and addictive.
Plus, the recipe is incredibly straightforward. I love that it doesn’t require any fancy equipment or hard-to-find ingredients, yet it delivers restaurant-quality taste. From seasoning the chicken to layering the fillings in the tortillas, it all comes together quickly and easily. Honestly, it’s perfect for a casual family dinner, a game day snack, or even a casual gathering, and it stands out because it feels homemade with a touch of gourmet flair.
Ingredients You’ll Need
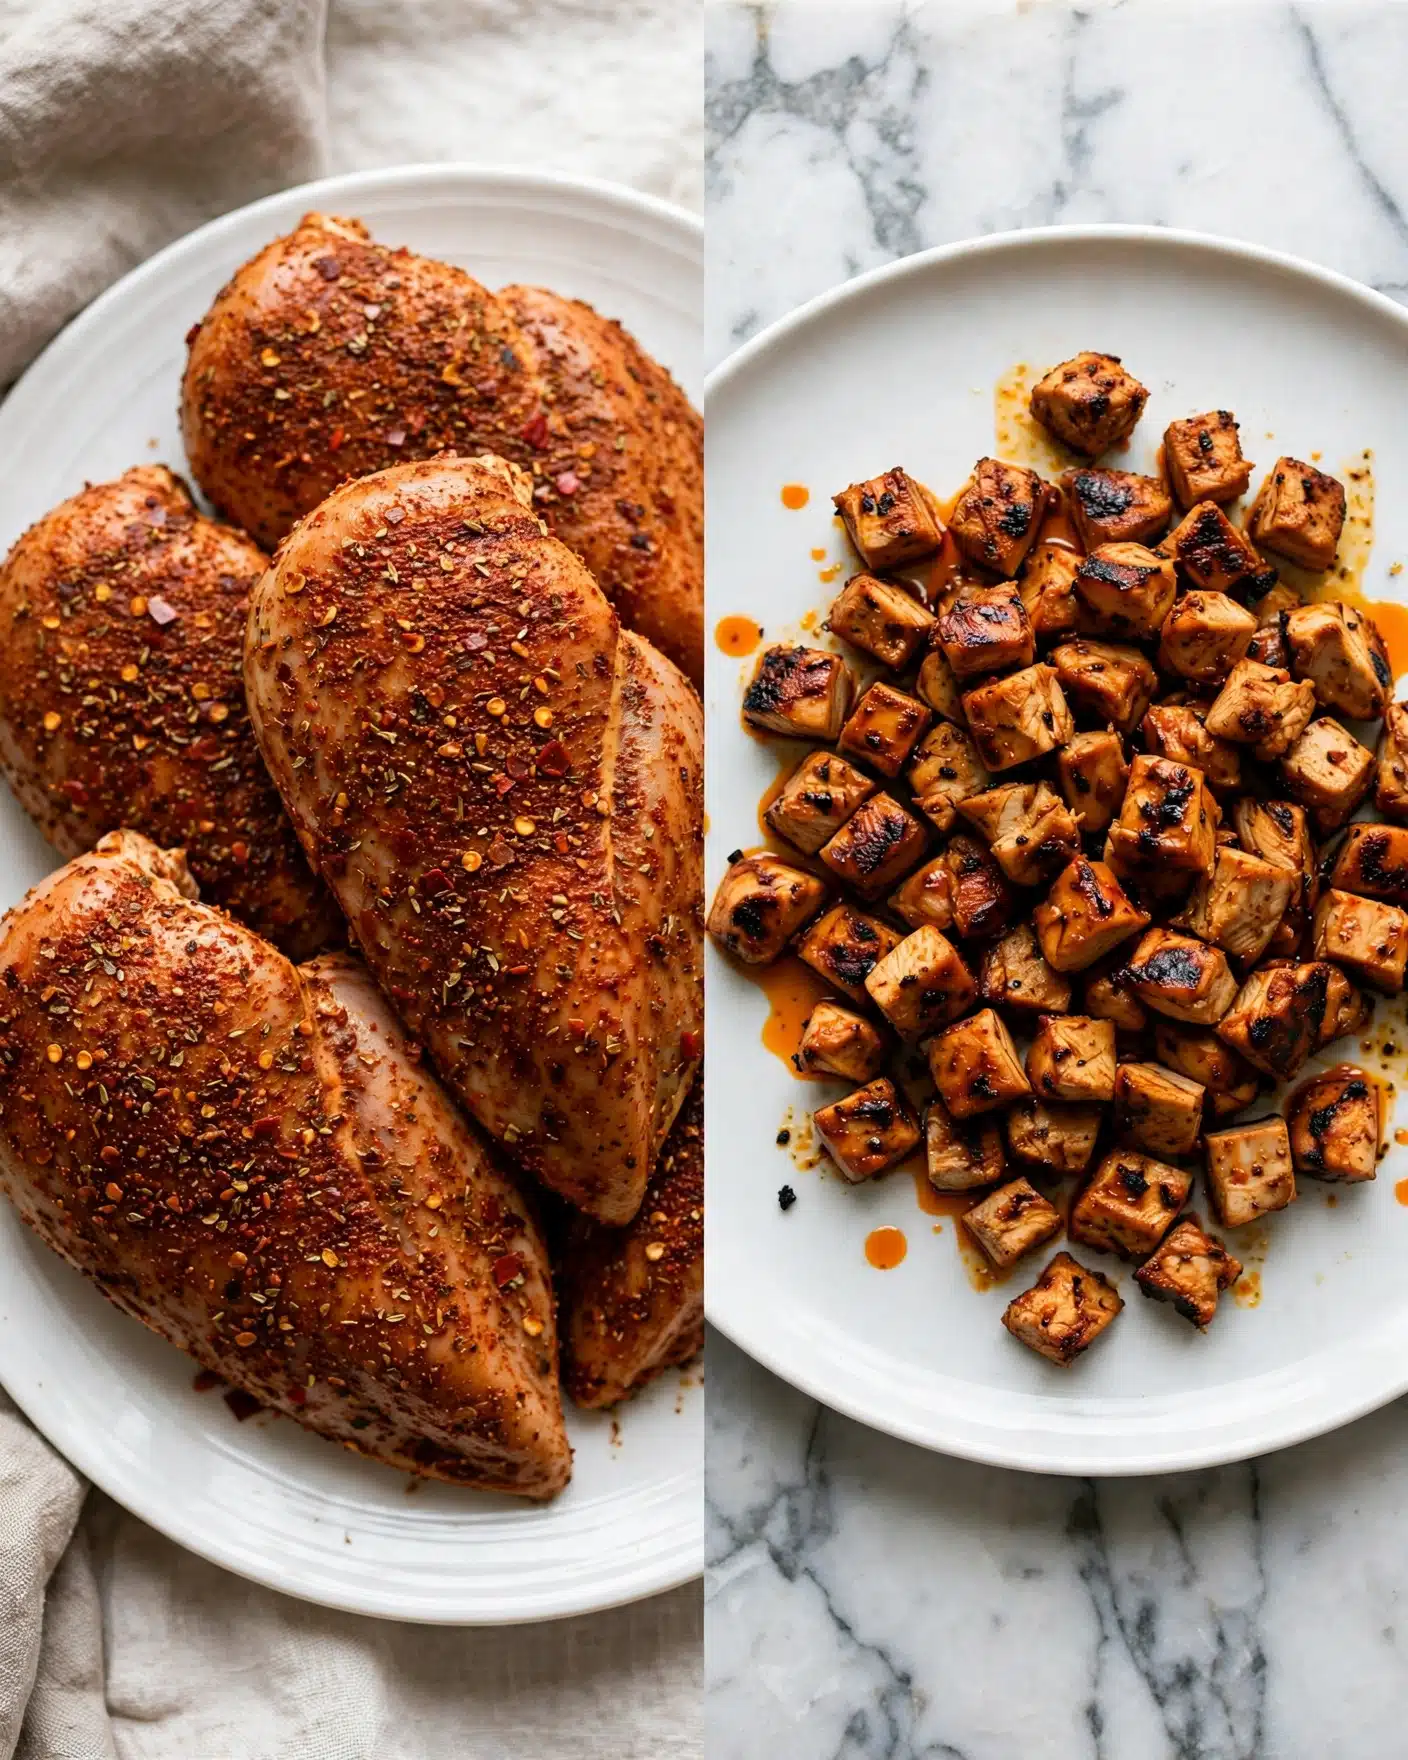
The magic of this Chicken Burrito Recipe really starts with simple, essential ingredients that bring color, texture, and authentic flavor to the table. Each item plays a crucial role in creating the bold, satisfying taste and the perfect balance of moist and crunchy textures.
- Flour tortillas: Choose soft, pliable tortillas about 8 inches wide for easy rolling and a sturdy wrap.
- Chicken breast: Sliced thin for quick cooking and perfect shredding into bite-sized pieces.
- Spices: Onion powder, oregano, cumin, paprika, black pepper, salt, and optional cayenne for that signature smoky and spicy kick.
- Olive oil: Helps to sear the chicken and sauté the veggies to perfection.
- Onion and garlic: These aromatics form the flavorful foundation of the filling.
- Red capsicum (bell pepper): Adds sweetness and crunch to contrast the creamy beans and chicken.
- Refried beans: Creamy and hearty, they bind the filling while adding richness.
- White and Mexican red rice: A blend for texture and vibrant color that complements the filling beautifully.
- Corn: Sweetness and a little pop in every bite, either fresh canned or thawed frozen works.
- Cheese: A Mexican blend or sharp cheddar adds gooey, melty creaminess.
- Cilantro: Freshly chopped for that unmistakable herbaceous freshness on top.
- Sauces and garnishes: Avocado sauce, sour cream, and salsa to personalize each bite and add layers of flavor.
Directions
Step 1: Start by mixing together all the seasoning powders — onion powder, oregano, cumin, paprika, black pepper, salt, and cayenne if you like it spicy. Drizzle 1 tablespoon of olive oil over the chicken and toss it with the seasoning until everything is evenly coated.
Step 2: Heat the remaining 1 tablespoon of olive oil in a large skillet over high heat. Add the chicken breasts and cook for about 2 minutes on one side, then flip and cook for another 1 and a half minutes. Remove the chicken from the pan and let it rest for 2 minutes before chopping into bite-sized pieces. Resting helps keep the chicken juicy.
Step 3: In the same skillet, add the chopped onion and minced garlic. Sauté for about 1 minute until fragrant. Then add the diced red capsicum and cook for 2 more minutes until the onion is translucent and the bell pepper softens slightly.
Step 4: Now add the refried beans, chopped chicken, and 1/4 cup water to the skillet. Stir everything together and cook for 2 minutes until the mixture thickens slightly and becomes juicy — not dry or runny. Remove from heat and let it cool for about 5 minutes; this cooling step lets the filling thicken to a perfect consistency for wrapping.
Step 5: Gently warm the tortillas in the microwave for about 20 seconds; this keeps them soft and easier to fold without tearing.
Step 6: Lay the tortillas flat and on the lower third of each, spread a layer of white rice combined with Mexican red rice, then spoon over the chicken and bean filling. Add a handful of corn, sprinkle with shredded cheese, and finish with fresh coriander.
Step 7: Fold up each tortilla burrito-style: fold in the sides, then roll tightly from the bottom to enclose the filling completely.
Step 8: For toasting, you can either pan-fry the burritos over medium-high heat for 2 minutes per side to get a crispy exterior and melted cheese inside or wrap them tightly in foil and bake at 180°C (350°F) for 10 minutes for warm, evenly cooked burritos.
Step 9: Serve with your favorite sauces for dunking or drizzling — avocado sauce, sour cream, or smooth restaurant-style salsa all work beautifully. I recommend adding a drizzle of hot sauce if you like some heat!
Servings and Timing
This Chicken Burrito Recipe yields 5 generous servings, perfect for a family dinner or small gathering. Prep time is about 10 minutes, mostly hands-on for chopping and seasoning, while cooking the chicken and sautéing vegetables takes around 15 minutes. With some resting time for the chicken and filling thickening, the full cooking and assembly process comes to about 30 minutes total. If you decide to toast the burritos in the oven, add an extra 10 minutes.
How to Serve This Chicken Burrito Recipe
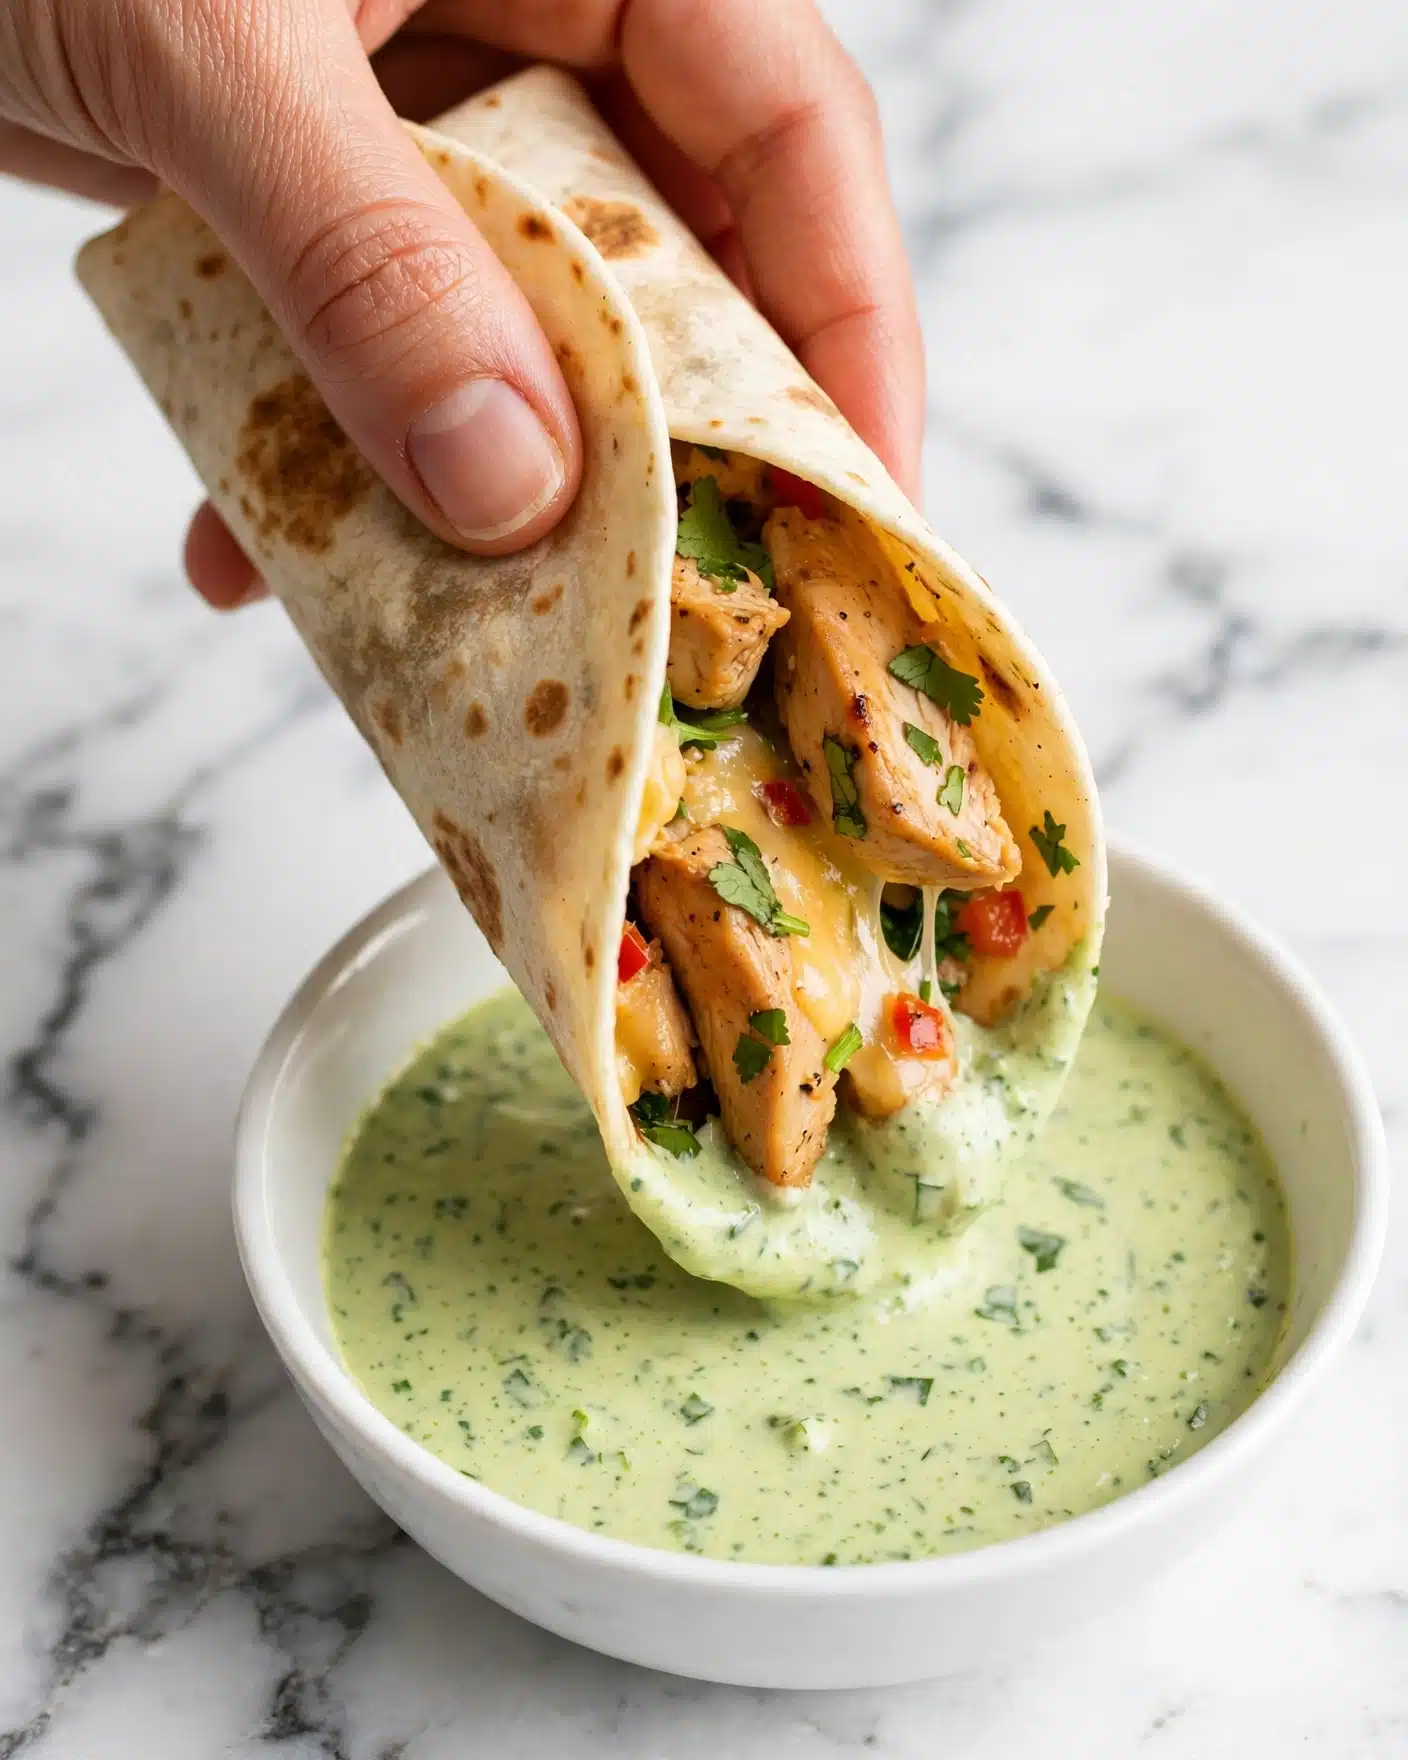
When I serve these burritos, I love pairing them with simple, fresh side dishes to keep the meal balanced and exciting. A classic Mexican salad with chopped lettuce, tomatoes, and avocado dressed lightly with lime juice and olive oil really brightens the plate. Chips and guacamole or a side of smoky grilled vegetables add fun textures and layers of flavor.
Presentation-wise, I like to garnish the burritos with extra fresh coriander and a wedge of lime on the side. Serving them on a colorful plate or rustic wooden board instantly makes the meal feel special and inviting. You can arrange a small bowl of each recommended sauce right next to the burritos, so everyone can customize their own bites.
As for drinks, these burritos are fantastic alongside a crisp Mexican beer like Modelo or a refreshing margarita with fresh lime. If you prefer non-alcoholic options, try a chilled agua fresca, such as watermelon or hibiscus, which adds a lovely, light contrast to the rich flavors. I find these burritos best enjoyed warm or hot so the cheese is perfectly melty and the tortillas have that delightful slight crisp.
Variations
I’ve experimented with this Chicken Burrito Recipe many times and found that swapping ingredients or tweaking methods can lead to delicious results. For example, if you want to keep it gluten-free, I recommend using corn tortillas instead of flour—just warm them gently to make sure they don’t crack while rolling. For a vegan twist, replace the chicken with sautéed mushrooms or spiced jackfruit and use dairy-free cheese and vegan sour cream.
If you enjoy different flavor profiles, try adding a splash of chipotle in adobo sauce to the refried beans for a smoky, spicy flavor or incorporate fresh diced jalapeño into the filling for extra heat. Another trick I love is cooking the chicken in the skillet with a little smoky smoked paprika and cumin to deepen the taste even more.
In terms of cooking methods, instead of pan-frying the tortilla burritos, you can grill them on a barbecue or press them in a panini maker for crispy, smoky edges. These variations add fun and versatility depending on the occasion or your personal cravings.
Storage and Reheating
Storing Leftovers
After enjoying the meal, I like to store any leftover chicken burritos in airtight containers to keep them fresh. They will keep well in the fridge for up to 3 days. Wrapping each burrito individually in cling film or foil before placing them in containers can help prevent the tortillas from drying out and makes reheating easier.
Freezing
This Chicken Burrito Recipe is freezer-friendly, which is super handy for meal prepping. I recommend wrapping each burrito tightly in foil and placing them in a freezer-safe bag or container to protect against freezer burn. They can be frozen for up to 2 months. Just make sure to thaw them overnight in the fridge before reheating for best results.
Reheating
The best way to reheat these burritos is in the oven or a toaster oven, wrapped loosely in foil at around 180°C (350°F) for about 15-20 minutes until warmed through and the cheese melts again. Microwaving works too but can sometimes make the tortilla chewy or soggy, so if you use the microwave, heat in short increments and then crisp up the exterior in a hot pan for a minute or two to restore texture.
FAQs
Can I use other types of meat for this burrito recipe?
Absolutely! While I love the flavor and texture of chicken breast in this recipe, you can easily substitute with ground beef, shredded pork, or even shrimp. Just adjust the cooking times accordingly to ensure your chosen protein is cooked properly and seasoned well.
Is it possible to make this recipe gluten-free?
Yes, just swap the flour tortillas for corn tortillas or gluten-free wraps. Corn tortillas are a traditional choice for burritos in many regions and bring a slightly different but delicious flavor profile. Make sure to double-check your refried beans and any sauces for hidden gluten ingredients.
How can I make this Chicken Burrito Recipe spicier?
You can increase the amount of cayenne pepper in the seasoning blend or add fresh chopped jalapeños, serrano peppers, or even a dash of chipotle hot sauce to the filling. Serving with spicy salsa or hot sauce on the side is also an easy way to add heat without changing the recipe.
Can I prepare the filling in advance?
Definitely! The chicken and bean filling can be cooked a day ahead and stored in the fridge. Just keep it covered so it doesn’t dry out. When you’re ready to assemble the burritos, warm the filling up gently before layering into the tortillas.
What’s the best cheese to use?
I love using a Mexican cheese blend because it melts beautifully and has a nice balance of creamy and tangy flavors. Cheddar or Monterey Jack also work wonderfully. If you want a stronger flavor, try Oaxaca or a mild queso fresco crumbled on top after warming.
Conclusion
I hope you enjoy making and eating this Chicken Burrito Recipe as much as I do. It’s one of those dishes I turn to when I want bold flavors, comforting textures, and a little bit of fun all wrapped up in a tortilla. Whether you’re cooking for yourself, family, or friends, this recipe is guaranteed to bring smiles and satisfy hungry appetites. So grab your skillet, warm those tortillas, and let’s get rolling!
PrintChicken Burrito Recipe
This Chicken Burrito recipe offers a perfectly seasoned, juicy chicken filling combined with sautéed vegetables, refried beans, and rice, wrapped in warm flour tortillas. It includes options for toasting to achieve a crispy exterior and is served with a variety of sauces like avocado sauce, sour cream, and salsa for added flavor. Ideal for a flavorful and satisfying meal, this burrito can also be prepared ahead for freezing.
- Prep Time: 10 minutes
- Cook Time: 20 minutes
- Total Time: 30 minutes
- Yield: 5 servings
- Category: Main Course
- Method: Stovetop
- Cuisine: Mexican
Ingredients
Seasoning & Chicken
- 5 tortillas, flour (approx 20cm/8″ wide)
- 1 tsp onion powder
- 1 tsp dried oregano
- 1 tsp salt
- 2 tsp dried cumin powder
- 2 tsp paprika
- 1/4 tsp black pepper
- 3/4 tsp cayenne pepper (optional, adjust to taste)
- 600g (1.2 lb) chicken breast, sliced in half horizontally
- 2 tbsp olive oil, separated
Vegetables & Beans
- 1/2 onion, chopped
- 2 garlic cloves, finely minced
- 1 red capsicum/bell pepper, diced
- 400g (14oz) canned refried beans
- 1/4 cup water
- 400g (14oz) canned corn, drained (or 280g/9oz frozen thawed)
Rice & Cheese
- 2.5 cups plain white rice, cooked
- 2.5 cups Mexican Red Rice
- 1.5 cups (150g) shredded cheese (Mexican blend, cheddar, tasty, Monterey Jack)
Herbs & Sauces
- 1/4 cup coriander/cilantro, finely chopped
- Avocado sauce (for serving)
- Sour cream (for serving)
- Salsa (restaurant style, smooth) (for serving)
Instructions
- Burrito Seasoning: In a bowl, combine onion powder, dried oregano, salt, cumin, paprika, black pepper, and cayenne pepper. Drizzle 1 tablespoon of olive oil over the chicken breast halves and toss to coat. Sprinkle the seasoning mixture evenly over the chicken and toss again to coat thoroughly.
- Cook Chicken: Heat 1 tablespoon of olive oil in a large skillet over high heat. Add the seasoned chicken and cook for 2 minutes on one side. Flip and cook for an additional 1.5 minutes. Remove the chicken from the skillet and allow it to rest for 2 minutes, then chop into bite-sized pieces.
- Sauté Onion and Vegetables: Using the same skillet, add the chopped onion and minced garlic and cook for 1 minute until fragrant. Add the diced red capsicum and cook for an additional 2 minutes or until the onion becomes translucent.
- Finish Filling: Add the refried beans, chopped chicken pieces, and 1/4 cup of water to the skillet. Stir to combine and cook for 2 minutes, allowing the mixture to reduce slightly to a thick, juicy consistency without being watery or dry. Remove from heat and let the filling cool for 5 minutes to thicken further.
- Warm Tortillas: Gently warm the tortillas in the microwave for a few seconds to make them pliable and easier to roll.
- Assemble Burritos: Lay each tortilla flat on a work surface. Spread a layer of cooked white rice on the lower third of the tortilla. Top the rice with a spoonful of the chicken and bean filling, followed by corn, shredded cheese, and a sprinkle of chopped coriander.
- Fold Burritos: Fold the bottom edge of the tortilla up over the filling, then fold in the sides and roll tightly to enclose the filling burrito-style.
- Toast Burritos: You have two options for toasting: (a) Pan fry the burritos over medium-high heat without oil for about 2 minutes on each side until the tortilla is crispy and the cheese inside slightly melts; or (b) Wrap the burritos tightly in foil and bake in a preheated oven at 180°C (350°F) for 10 minutes.
- Serve: Serve the toasted burritos with your choice of sauces such as avocado sauce, guacamole, sour cream, restaurant style salsa, queso, or nacho cheese dip. Dunk or douse each bite as desired.
- Freezing: Burritos can be made ahead and frozen. Wrap tightly in foil or plastic wrap and freeze. To reheat, unwrap and bake at 180°C (350°F) until heated through, or microwave until warm. This makes meal prep convenient for busy days.
Notes
- Note 1: Slicing the chicken breast horizontally helps it cook evenly and faster.
- Note 2: Use canned refried beans for convenience; they add creaminess to the filling.
- Note 3: Cooked plain white rice and Mexican red rice provide a delicious texture and flavor contrast inside the burrito.
- Note 4: Burritos are freezer-friendly and reheat well, making them perfect for meal prepping.
- For milder heat, reduce or omit the cayenne pepper according to your taste preference.


