
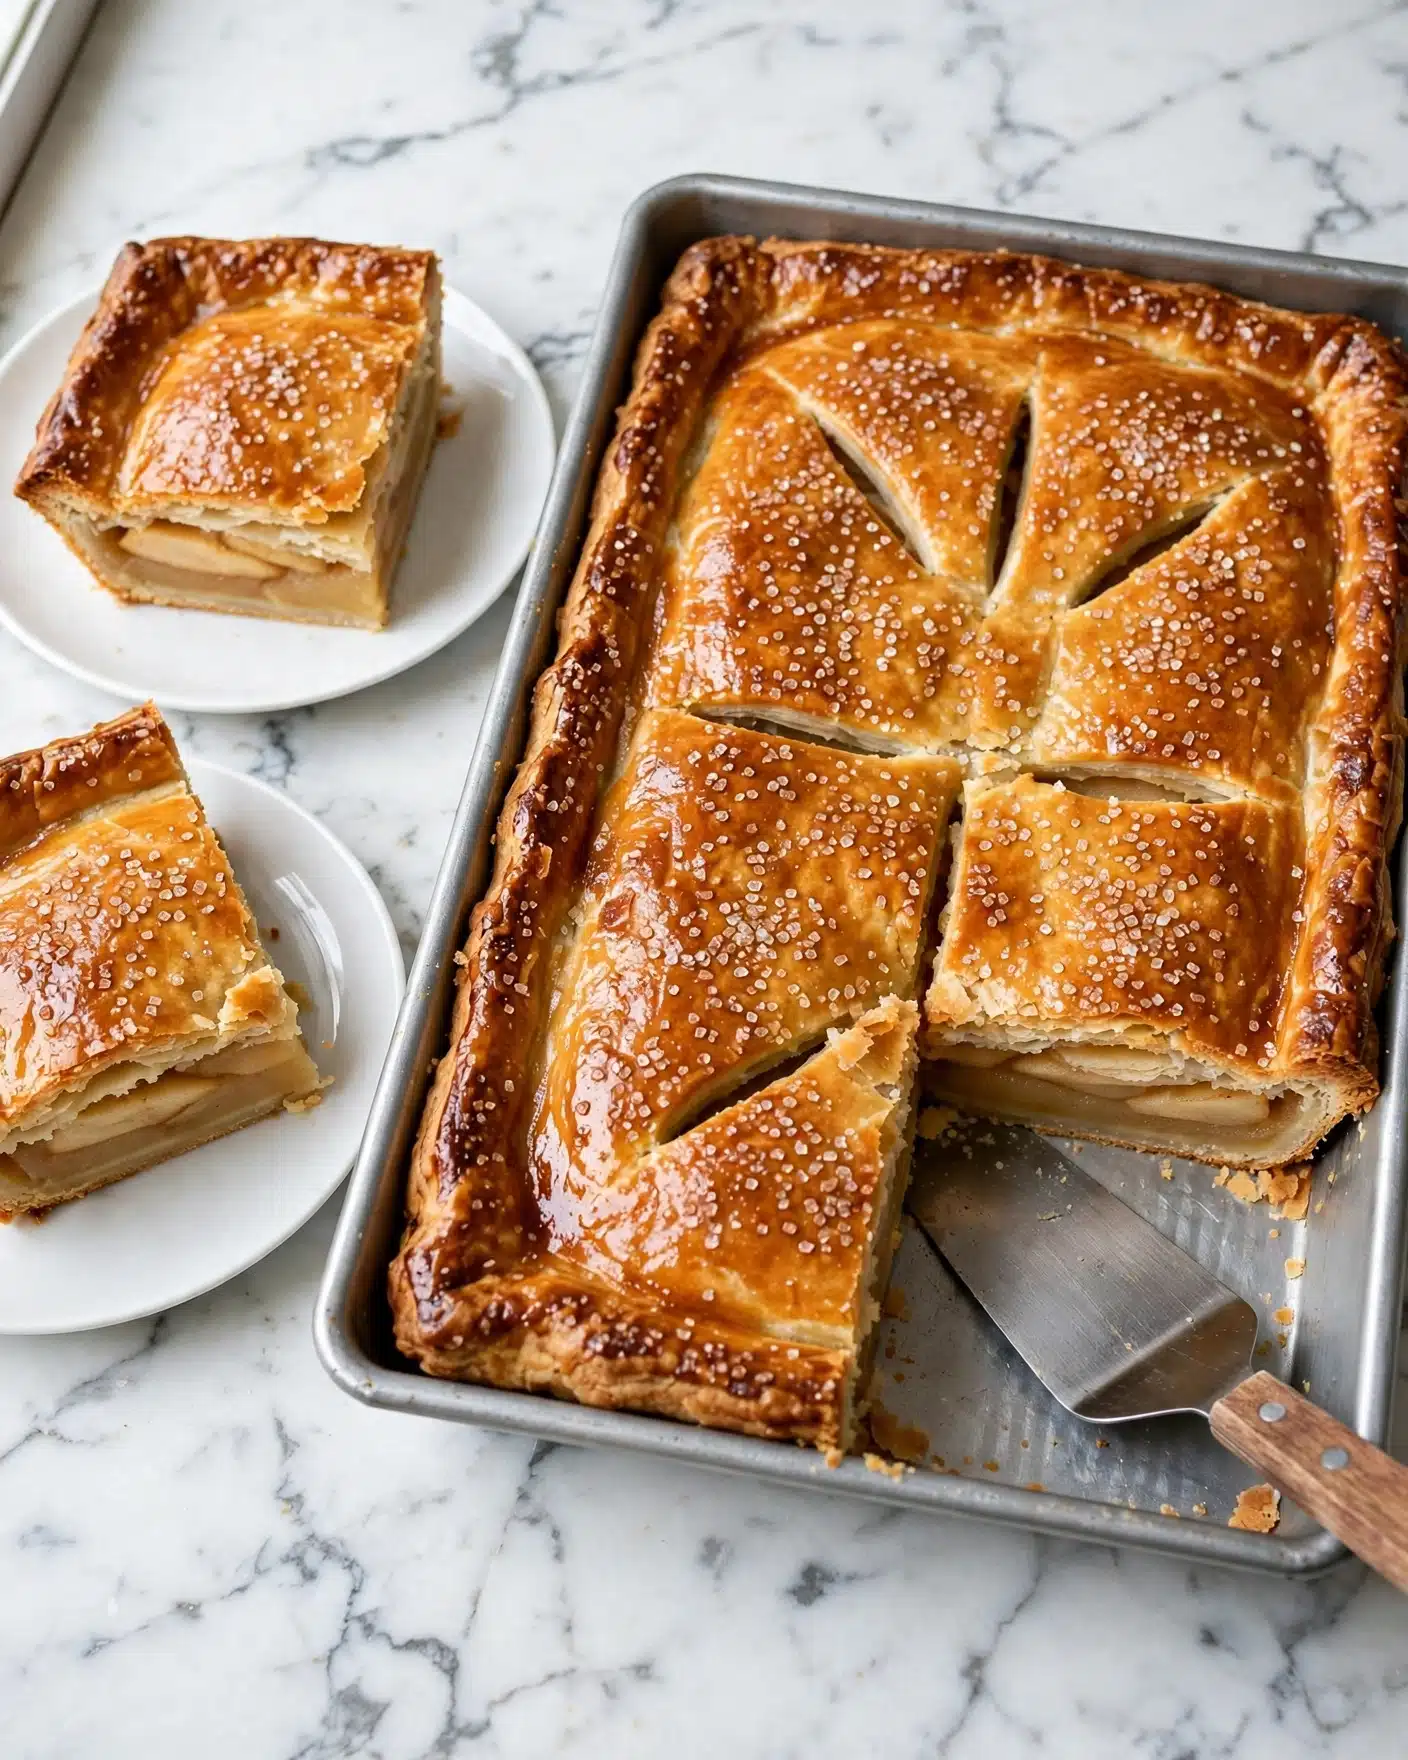
I absolutely adore making this Apple Slab Pie Recipe because it feels like sharing a giant, warm hug with everyone around the table. The rustic charm of a slab pie combined with the sweet-tart apple filling always brings out smiles and happy memories in my home. It’s one of those recipes that’s straightforward enough for any skill level but impressive enough to be the centerpiece of holiday gatherings or weekend family dinners. When I make this pie, I’m reminded how simple ingredients can come together to create something truly special and comforting.
Why You’ll Love This Apple Slab Pie Recipe
What really gets me every time I make this Apple Slab Pie Recipe is the way the flavors balance perfectly. The tartness from the apples cuts through the sweetness of the brown and white sugars, while the warm spices of cinnamon and nutmeg provide that classic cozy vibe. The texture is just right, too—the apples soften without turning mushy, and the double crust is tender yet flaky, adding that wonderful buttery richness. Honestly, I can’t think of another apple dessert that fulfills that nostalgic itch quite the same way.
Plus, the preparation is refreshingly uncomplicated when compared to other pie recipes. The dough comes together quickly, and working with a slab pie means you don’t have to fuss with delicate rounds or lattice tops, which for me, takes the pressure off and makes baking truly enjoyable. This dish is perfect for any occasion: think fall potlucks, holiday feasts, or lazy Sunday afternoons. It stands out because it’s a crowd-pleaser, easy to scale up, and offers that irresistible homemade charm without a ton of hassle.
Ingredients You’ll Need
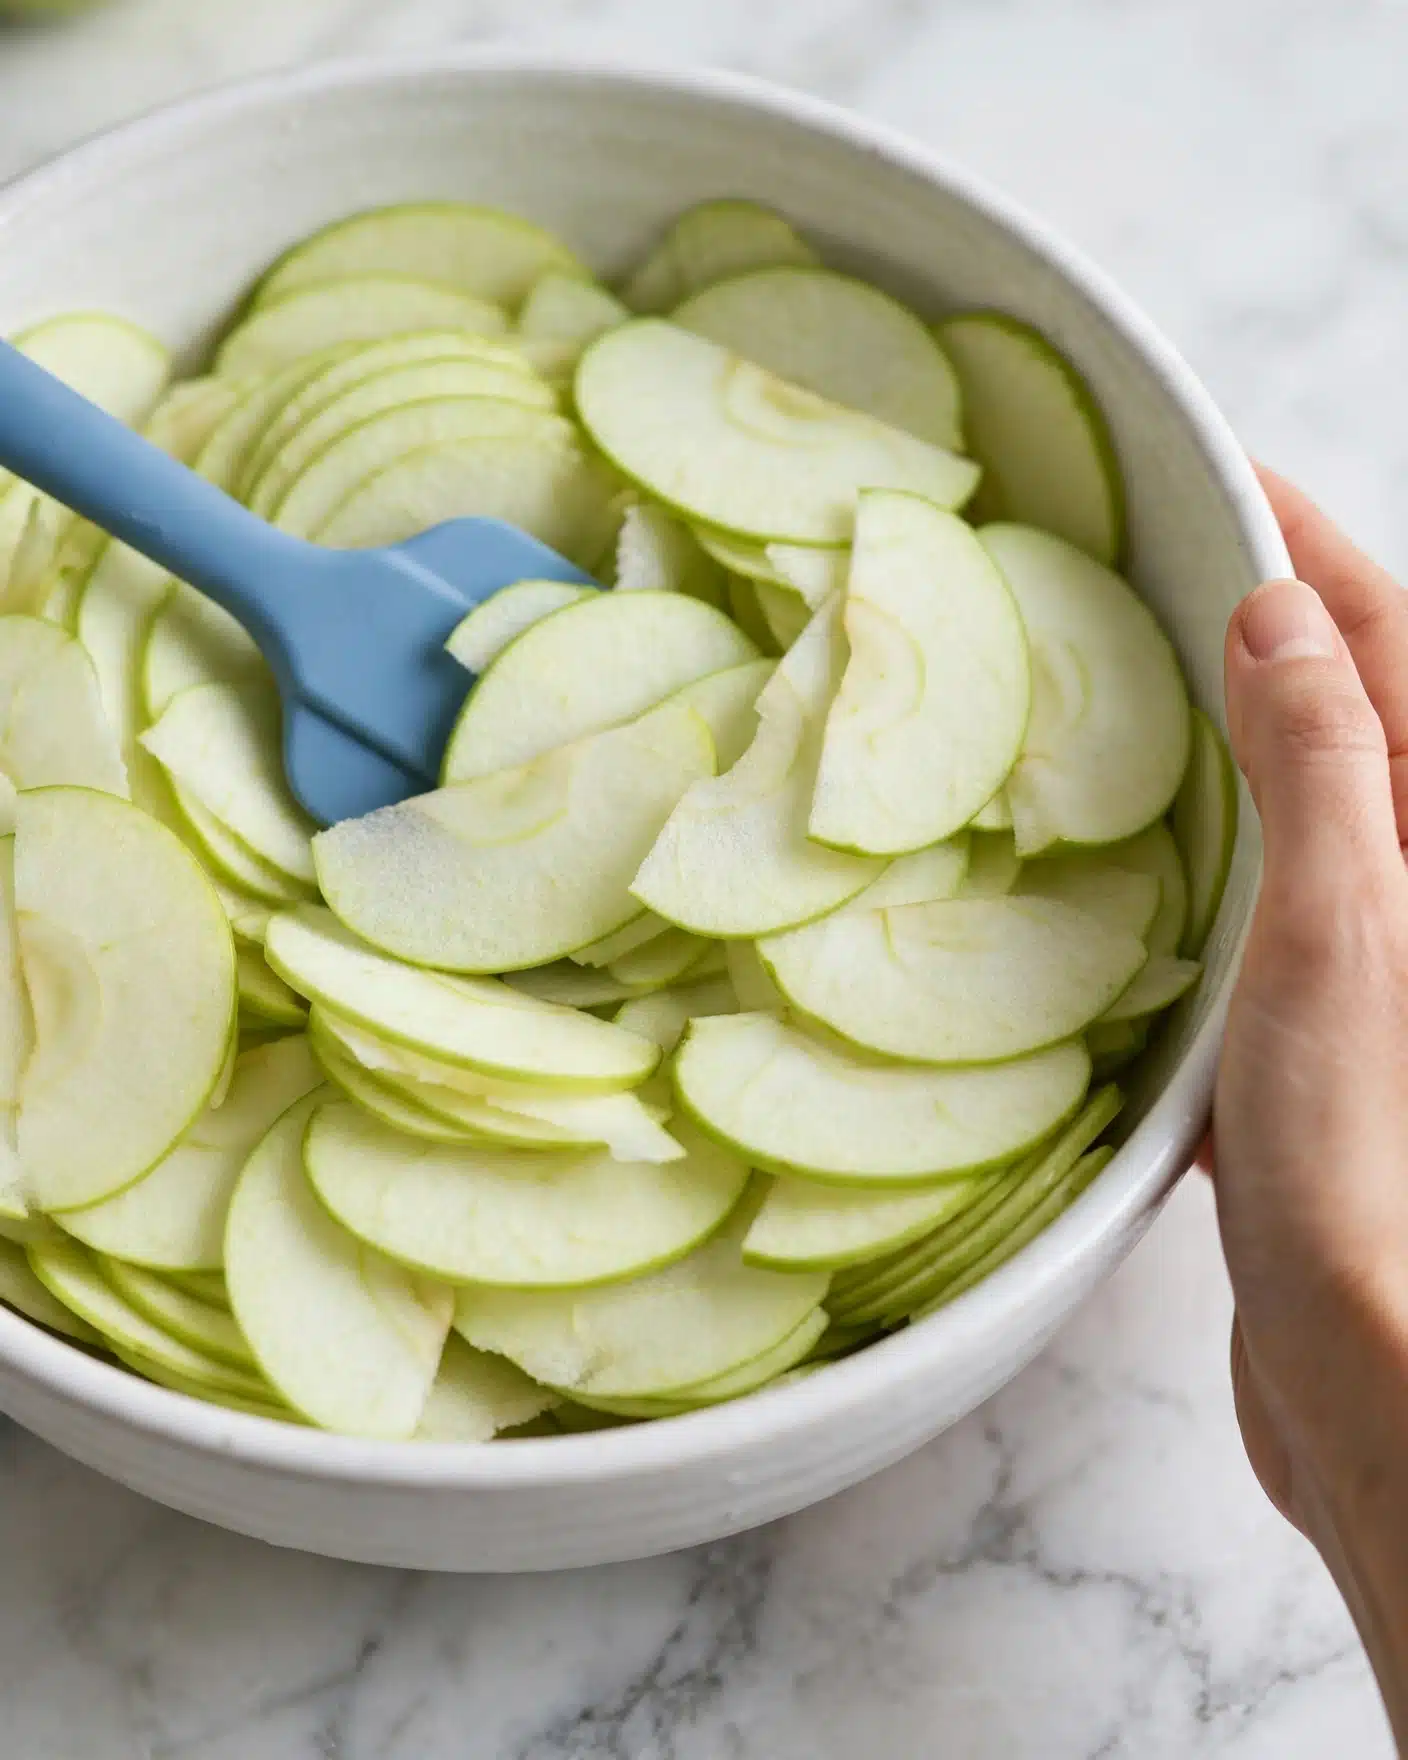
Every ingredient in this Apple Slab Pie Recipe plays an essential role. From the flour that creates the sturdy dough to the lemon juice that keeps the apples bright and fresh, each item contributes beautifully to the final result—both in flavor and texture.
- All-purpose flour: The backbone of the pastry, providing structure for the flaky crust.
- Sugar: Adds just the right touch of sweetness in the dough and filling.
- Salt: Enhances all the flavors and balances the sweetness perfectly.
- Baking powder: Helps create a tender, slightly risen crust.
- Shortening: Gives the pastry its tender flakiness without too much heaviness.
- Egg yolks: Bind the dough and add richness and color.
- Cold water: Keeps the dough from getting sticky and tough; just enough to bring it together.
- Tart apples (about 5 pounds): The star of the show—firm and tangy to hold up well in the filling.
- Lemon juice: Prevents the apples from browning and brightens their flavor.
- Brown sugar: Imparts a deep, caramel-like sweetness to the filling.
- Ground cinnamon and nutmeg: Add warmth and spice that complement the apples beautifully.
- Milk: For brushing the top crust to get that golden, slightly glossy finish.
- Additional sugar for sprinkling: Creates a lovely sweet crunch on top.
Directions
Step 1: Start by making the dough. In a large bowl, combine the flour, sugar, salt, and baking powder. Use a pastry cutter or two butter knives to work the shortening into the flour mixture until it looks like coarse crumbs. This step is important because those little bits of shortening are what make the crust flaky and tender.
Step 2: In a small bowl, whisk together the egg yolks and cold water. Sprinkle this mixture evenly over the dry ingredients. Toss everything gently with a fork to combine. Add more water, one tablespoon at a time if needed, but be careful not to make the dough too wet. You want it to just come together into a ball when pressed, which keeps the pastry tender.
Step 3: Divide the dough in half. On a lightly floured surface, roll out one half to fit your 15x10x1-inch baking pan. It’s okay if your dough is a bit bigger than the pan; you can trim the edges later. Transfer the dough to the pan and press it gently to fit snugly into the corners and sides.
Step 4: Prepare the filling by tossing the peeled and thinly sliced apples with the lemon juice in a large bowl. In another bowl, mix together the sugar, brown sugar, cinnamon, nutmeg, and salt. Sprinkle half of the sugar mixture over the apples and toss well. Arrange half of the apple mixture over the bottom crust, then layer the remaining apples on top and sprinkle with the rest of the sugar-spice mix.
Step 5: Roll out the remaining dough to cover the entire top of the pan. Place it carefully over the filling and seal the edges firmly by pinching with your fingers or pressing down with a fork. Brush the top crust with milk and sprinkle liberally with sugar. Don’t forget this step—it gives the crust that gorgeous golden color and a nice crunchy finish.
Step 6: Using a sharp knife, cut several slits into the top crust to allow steam to escape; this prevents sogginess and helps the filling bubble nicely as it cooks.
Step 7: Bake your pie in a preheated 400°F oven for about 50 minutes, or until the crust is golden brown and the filling is bubbling. Keep an eye on it towards the end to avoid over-browning. Once baked, allow it to cool in the pan for a bit before slicing.
Servings and Timing
This Apple Slab Pie Recipe yields about 24 generous servings, making it perfect for large gatherings or parties. The prep time for dough and filling is around 30 minutes, while the bake time clocks in at approximately 50 minutes, giving you about 1 hour and 20 minutes total including a bit of cooling time. I usually recommend letting it rest for at least 15 minutes before serving to let the filling set beautifully.
How to Serve This Apple Slab Pie Recipe
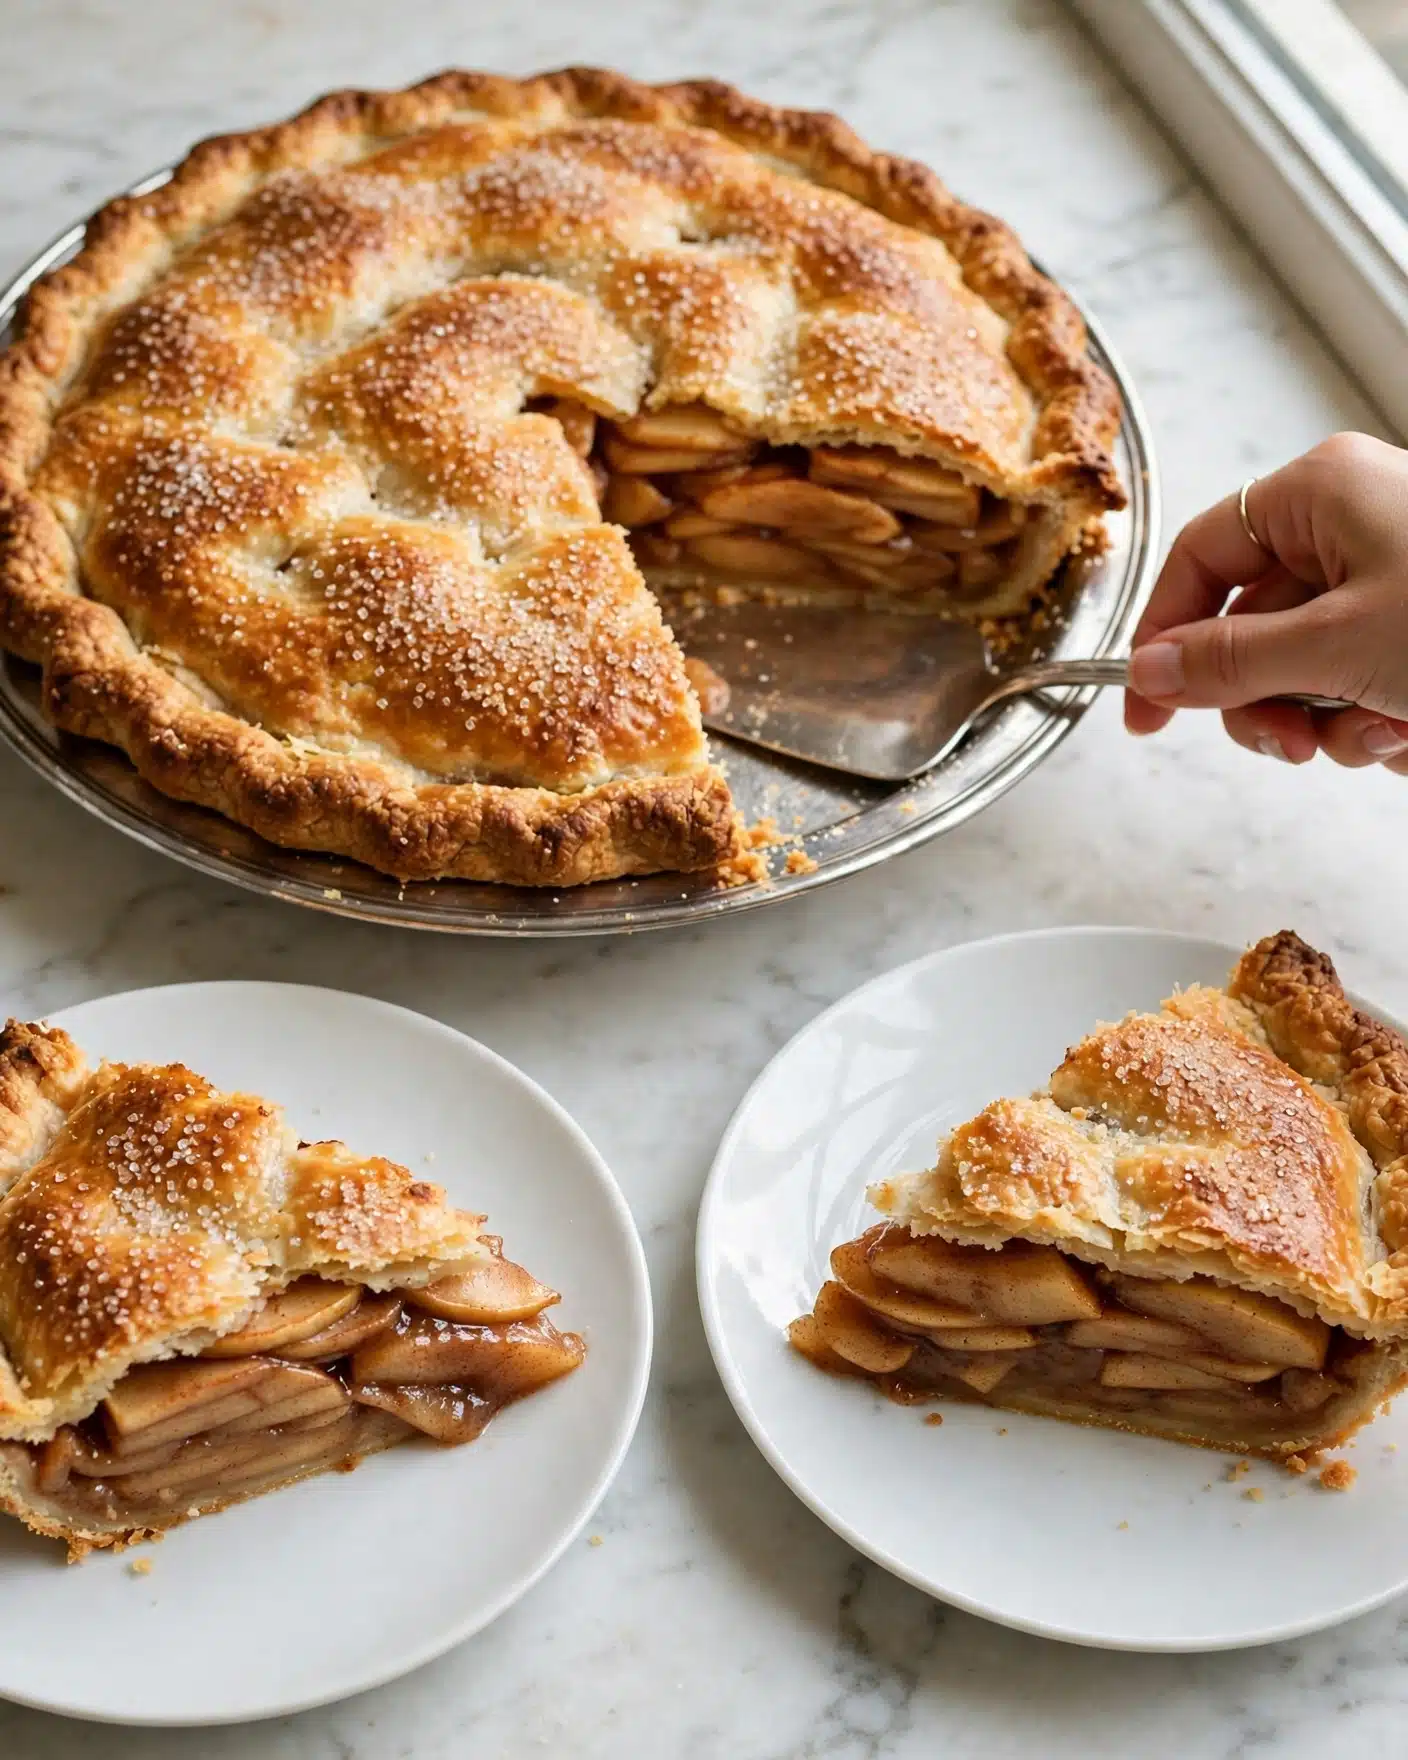
Serving this pie is always a treat. I love to cut it into squares and serve it warm with a big scoop of vanilla ice cream or a dollop of freshly whipped cream to complement the warm, spicy filling. It’s the perfect contrast between hot and cold that never fails to delight guests. For a little extra flair, sprinkle some cinnamon sugar on top of the cream—it’s a little touch that makes the experience even cozier.
If you’re planning for a more casual occasion, this pie also holds up well at room temperature or even cold, making it a flexible dessert for picnics, potlucks, or after-school treats. I like pairing it with a cup of strong coffee or a spiced chai to really bring out those warming spices, but it also pairs beautifully with eggnog or a dry white wine like a Riesling at holiday dinners. For family meals, I recommend serving moderate square portions—roughly 3×3 inches—to balance the richness while letting everyone have seconds.
Variations
One of the things I love about this Apple Slab Pie Recipe is how easy it is to make it your own. If you prefer a gluten-free option, swapping the all-purpose flour for a gluten-free blend works well; just be sure to check the blend includes xanthan gum for structure. For a vegan twist, you can replace shortening with coconut oil and use flax eggs instead of the egg yolks. The texture will be slightly different but still delicious.
Flavor-wise, I sometimes like to add a handful of chopped walnuts or pecans into the filling for a lovely crunch or mix in a splash of bourbon or vanilla extract to deepen the aroma. For a different take on the apples, try using a mix of tart Granny Smith and sweet Fuji apples to add complexity to the filling’s taste. You can even experiment with cooking the filling slightly on the stove before assembling to get a softer texture if you prefer.
Lastly, although the recipe calls for baking, I’ve had success cooking smaller individual slab pies in muffin tins for mini servings, adjusting baking time accordingly. This makes for adorable bite-sized treats that are perfect for parties or gifts.
Storage and Reheating
Storing Leftovers
When I have leftovers, I store the pie in an airtight container or cover it tightly with plastic wrap and aluminum foil. It keeps well in the refrigerator for up to 4 days. I always find that keeping it refrigerated ensures the filling stays fresh and the crust doesn’t get soggy or stale too quickly. It’s great to have on hand for quick desserts or breakfast treats.
Freezing
This Apple Slab Pie Recipe freezes beautifully, which is fantastic if you want to bake ahead. Wrap the cooled pie tightly in plastic wrap and then a layer of foil to prevent freezer burn. It can be frozen for up to 3 months. When you’re ready to enjoy it, thaw overnight in the refrigerator before reheating—this helps the filling set and keeps the crust from getting soggy.
Reheating
For reheating, I prefer warming slices in a 350°F oven for about 15-20 minutes, covered loosely with foil to prevent burning while letting the filling bubble gently. Avoid microwaving if possible, as it tends to make the crust chewy or soggy instead of crisp. If you’re reheating a whole pie, extend the time slightly but keep checking for a warm and bubbly filling with a golden crust. This method always brings back the fresh-from-the-oven magic.
FAQs
Can I use other types of apples besides tart apples?
Absolutely! While tart apples like Granny Smith work best for holding their shape and balancing sweetness, feel free to mix in sweeter varieties such as Fuji or Honeycrisp to add depth to the flavor. Just keep in mind that sweeter apples may require a slight adjustment in sugar to avoid an overly sweet pie.
Is it necessary to cut vents in the top crust?
Yes, cutting vents is essential because it allows steam to escape during baking, which prevents the crust from becoming soggy and the filling from overflowing. Without vents, your pie might end up with a soggy top or runny filling, so don’t skip this crucial step!
Can I prepare the dough ahead of time?
You definitely can! The dough actually benefits from chilling and can be made a day in advance. Wrap it tightly in plastic wrap and refrigerate. When ready to use, just bring it to room temperature for a few minutes before rolling out. This can make your baking day less hectic and improve the dough’s texture.
How do I prevent the crust edges from over-browning?
If you notice the edges browning too fast, I recommend shielding them with aluminum foil or using a crust protector during the last 15-20 minutes of baking. This way, your edges won’t burn while the rest of the pie finishes baking perfectly.
Can I double this recipe for a bigger crowd?
Yes! Since this Apple Slab Pie Recipe is already designed for a large slab, doubling would require very large baking pans or multiple pans. Just keep an eye on bake times as they might need slight adjustments, and ensure your oven can accommodate the size. It’s perfect for potlucks or celebrations where you need to feed many guests.
Conclusion
I can’t wait for you to try this Apple Slab Pie Recipe for yourself. It really is one of those classics that never fails to bring warmth and joy wherever it’s served. Whether you’re a seasoned baker or just starting out, this recipe is simple, satisfying, and guaranteed to become a favorite for your family and friends. Happy baking and enjoy every delicious bite!
PrintApple Slab Pie Recipe
This classic Apple Slab Pie features a buttery, flaky pastry filled with a cozy blend of tart apples, cinnamon, and nutmeg, baked to golden perfection. Ideal for large gatherings, this slab pie offers a rustic charm with its simple preparation and comforting flavors. Perfect for fall, holidays, or anytime you crave a delicious homemade apple dessert.
- Prep Time: 30 minutes
- Cook Time: 50 minutes
- Total Time: 1 hour 20 minutes
- Yield: 24 servings
- Category: Dessert
- Method: Baking
- Cuisine: American
Ingredients
Egg Yolk Pastry
- 5 cups all-purpose flour
- 4 teaspoons sugar
- 1/2 teaspoon salt
- 1/2 teaspoon baking powder
- 1 1/2 cups shortening
- 2 large egg yolks, lightly beaten
- 3/4 cup cold water
Filling
- 5 pounds tart apples, peeled and thinly sliced
- 4 teaspoons lemon juice
- 3/4 cup sugar
- 3/4 cup packed brown sugar
- 1 teaspoon ground cinnamon
- 1/2 teaspoon ground nutmeg
- 1/4 teaspoon salt
For Finishing
- 2% milk (for brushing)
- Additional sugar (for sprinkling)
Instructions
- Start the dough: In a large bowl, combine the flour, sugar, salt, and baking powder. Using a pastry cutter or two butter knives, cut the shortening into the flour mixture until it resembles coarse crumbs.
- Add the wet ingredients: In a separate small bowl, whisk the egg yolks and cold water together. Sprinkle this mixture over the dry ingredients. Toss with a fork to combine. If necessary, add additional water, one tablespoon at a time, just until the dough can form a ball. Avoid adding too much water to prevent a tough pastry.
- Roll out the dough: Divide the dough in half. On a lightly floured surface, roll one half to fit a 15x10x1-inch baking pan. Transfer the dough to the pan and gently press the edges to fit, trimming if needed.
- Add the filling: In a bowl, toss the sliced apples with lemon juice to prevent browning. Arrange half the apple mixture evenly over the dough. In another bowl, combine the sugars, cinnamon, nutmeg, and salt. Sprinkle half of this mixture over the apples. Top with the remaining apples and sprinkle with the remaining sugar mixture.
- Add the top crust: Roll out the remaining dough to fit over the pan. Place it on top of the apple filling and seal the edges by pressing with fingers or a fork. Brush the top crust with 2% milk and sprinkle sugar evenly over it. Use a sharp knife to cut vents in the top crust to allow steam to escape during baking.
- Bake the pie: Preheat your oven to 400°F (204°C). Bake the pie until the crust is golden brown and the filling is bubbly, approximately 50 minutes. Remove from the oven and let cool in the pan. Serve warm, room temperature, or cold as desired.
Notes
- Do not overwater the dough to maintain a tender crust.
- Rolling the dough slightly larger than the pan ensures a good fit and prevents shrinkage.
- Cutting vents in the top crust is essential to avoid sogginess and allow steam to escape.
- Use tart apples such as Granny Smith for a balanced sweet-tart flavor.
- This recipe makes a large slab pie suitable for 24 servings, ideal for parties or gatherings.


