
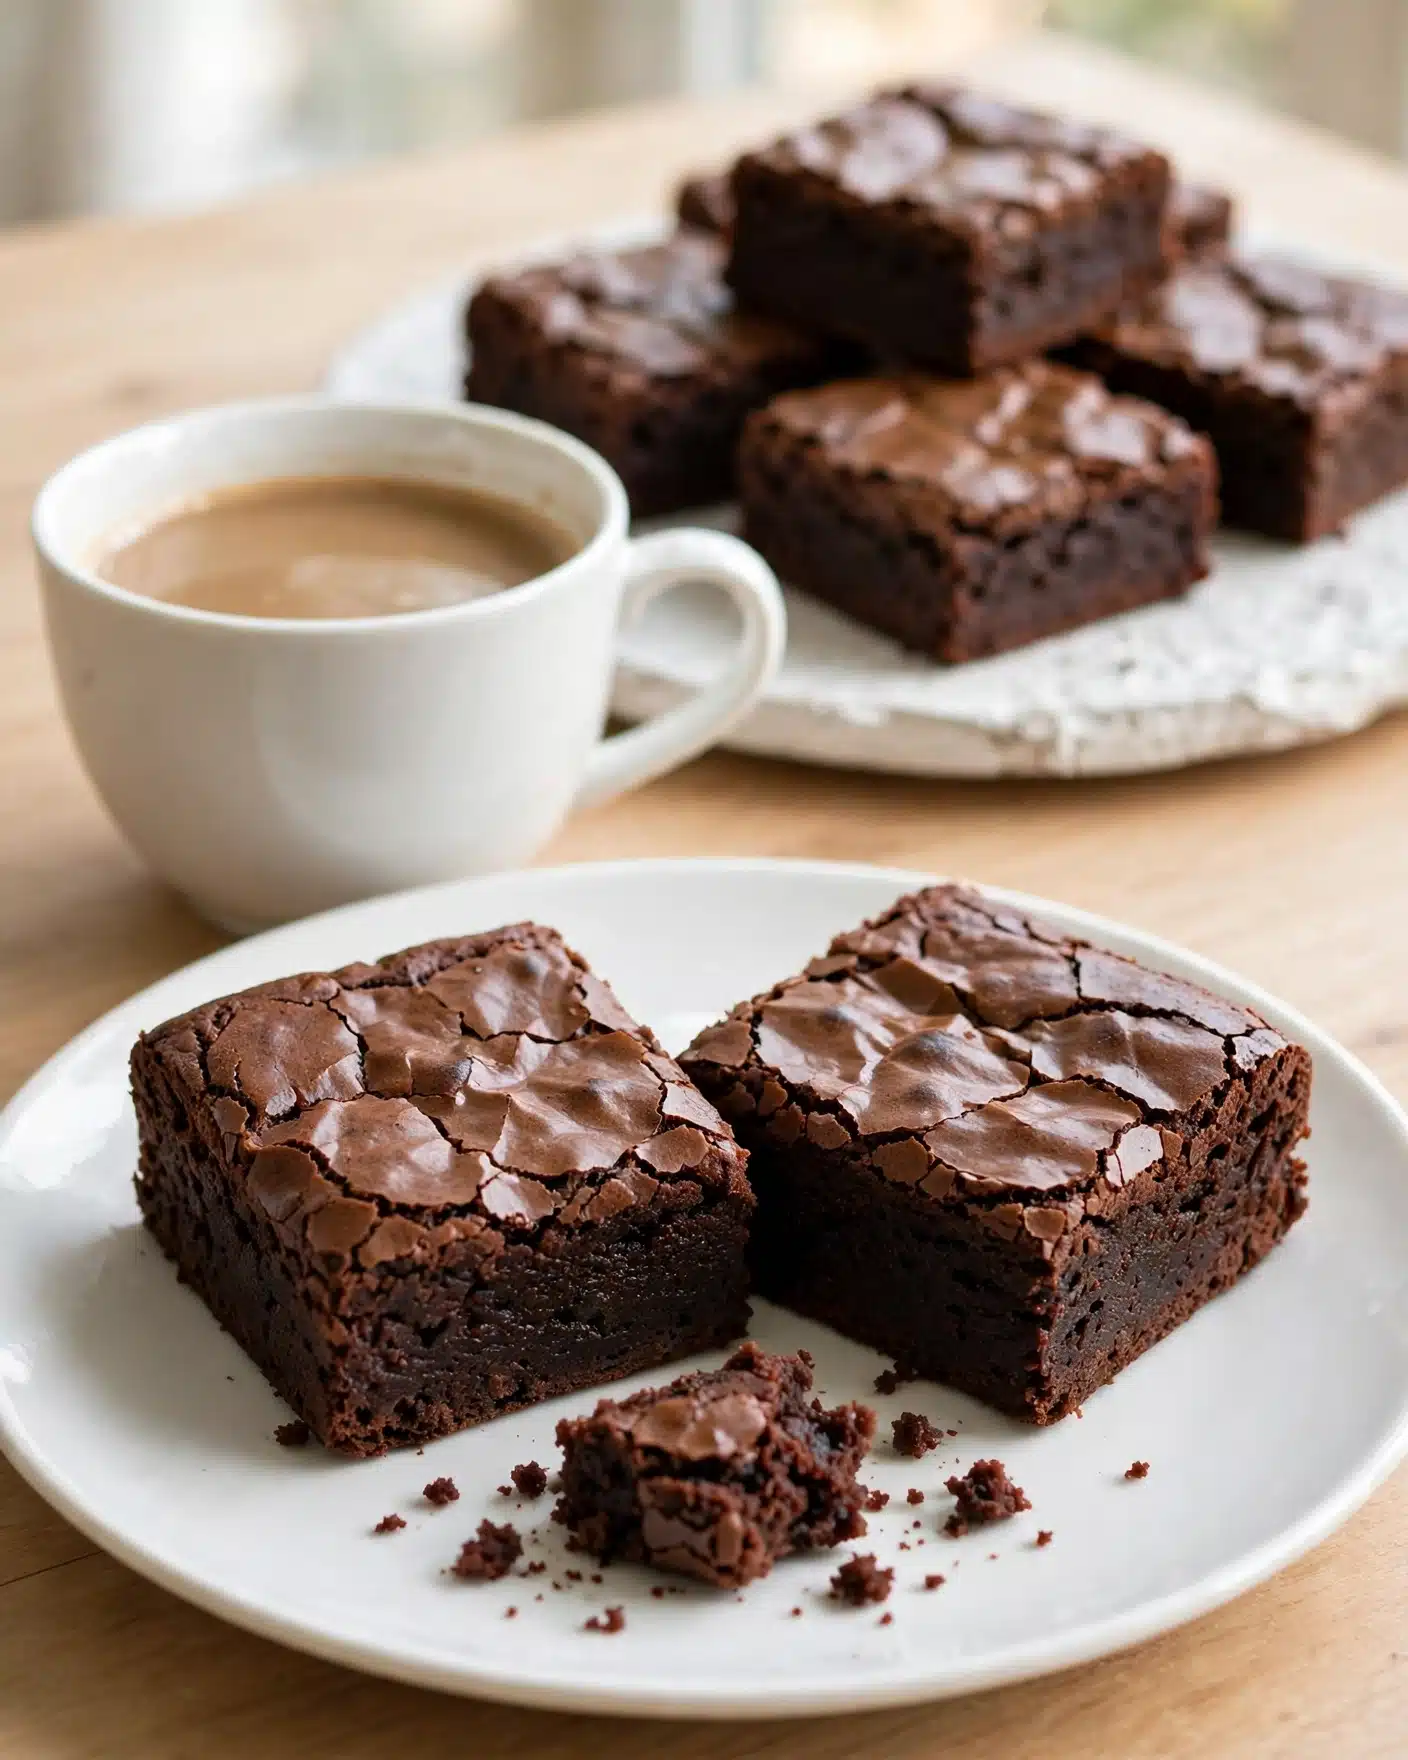
I have always found the perfect chocolate treat in this Fudge Brownies Recipe, and I just love sharing it with friends and family. It hits that divine balance between rich, dense chocolate flavor and a tender, chewy texture that makes every bite incredibly satisfying. I can’t resist the shiny, crackly top that signals just the right amount of sugar and butter working their magic together. Whenever I make these brownies, I know I’m in for a comforting dessert experience that’s universally adored.
Why You’ll Love This Fudge Brownies Recipe
What makes this Fudge Brownies Recipe truly special to me is how intensely chocolatey yet perfectly balanced it tastes. The combination of Dutch-process cocoa with a touch of espresso powder really deepens the flavor beyond ordinary brownies, creating a mature chocolaty richness that never feels too sweet. The melting chocolate chips that ripple throughout add pockets of gooey goodness, making each bite a little surprise that I look forward to every time.
One of the best things about this recipe is how straightforward the preparation is. Even though it feels indulgent and gourmet, the steps are simple and won’t intimidate anyone new to baking. From preheating the oven to folding in the flour and chocolate chips, each part feels manageable and rewarding. Plus, these brownies are perfect for so many occasions—whether it’s a casual weeknight treat, a birthday party, or a holiday dessert tray, they always impress with their rich texture and inviting aroma.
Ingredients You’ll Need
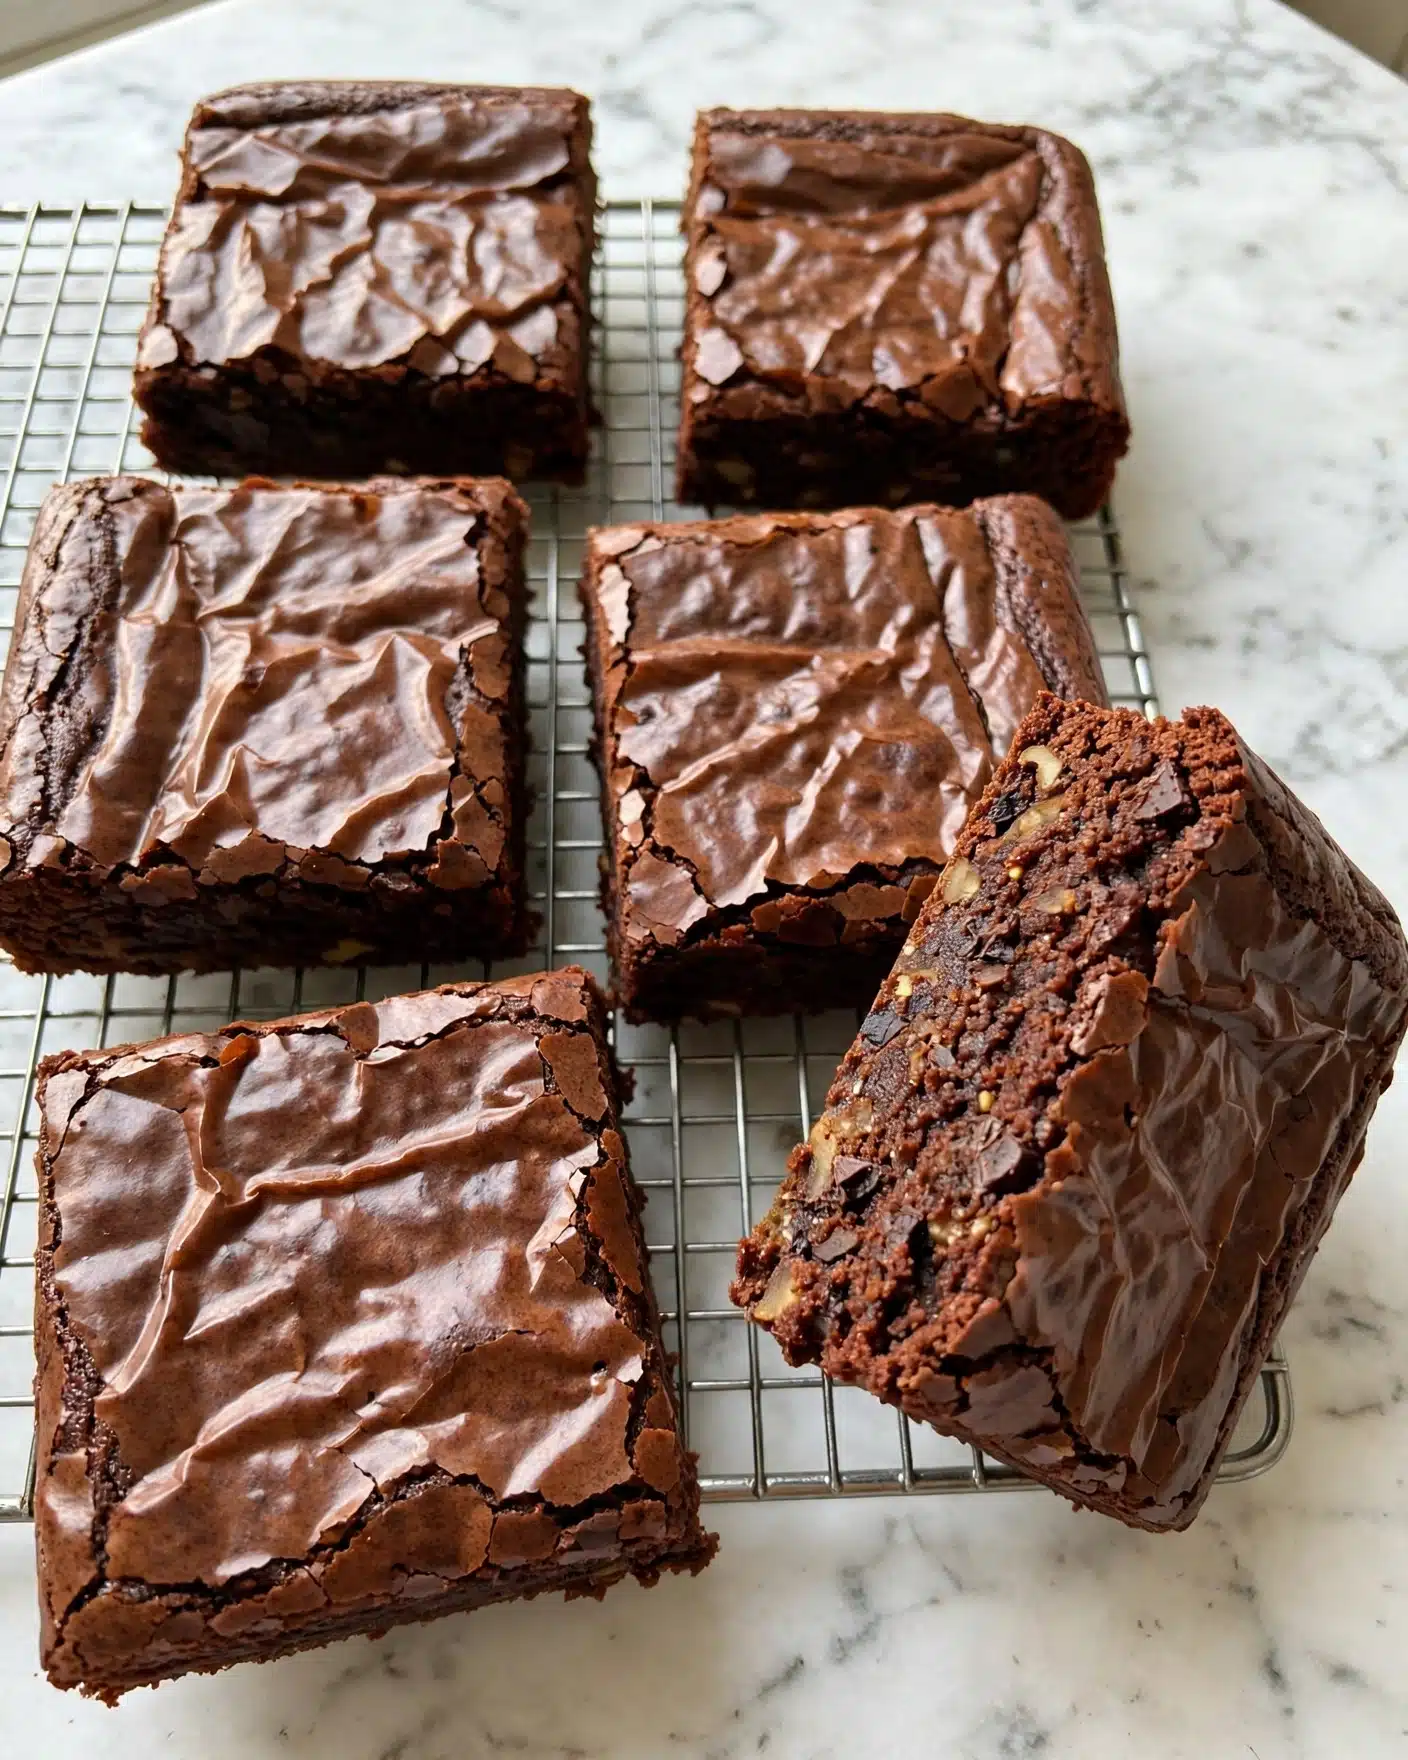
The ingredients in this recipe are wonderfully uncomplicated but absolutely essential for achieving that perfect fudge brownie texture and taste. Each one plays a crucial role in building flavor, texture, and the stunning appearance of these brownies.
- 4 large eggs: Provides structure and moisture to keep the brownies tender and rich.
- 1 1/4 cups (106g) Dutch-process cocoa: Gives a deep, robust chocolate flavor and beautiful color.
- 1 teaspoon table salt: Balances sweetness and enhances the chocolate notes.
- 1 teaspoon baking powder: Adds just enough lift to keep the brownies from being too dense.
- 1 teaspoon espresso powder, optional: Intensifies chocolate flavor without adding coffee taste.
- 1 tablespoon King Arthur Pure Vanilla Extract: Adds warmth and depth to the chocolate mixture.
- 16 tablespoons (227g) unsalted butter: Essential for richness and a shiny, crackly top.
- 2 1/4 cups (447g) granulated sugar: Sweetens generously and helps create that signature brownie crust.
- 1 1/2 cups (180g) King Arthur Unbleached All-Purpose Flour: Creates structure and chewiness without heaviness.
- 2 cups (340g) chocolate chips: Adds melty pockets of chocolate for bite-after-bite bliss.
Directions
Step 1: Preheat your oven to 350°F and lightly grease a 9″ x 13″ pan. For an easy release, I like to grease the pan and then line it with parchment paper, greasing the paper as well. This way, once cooled, I can lift out the entire slab of brownies and cut them neatly.
Step 2: In your stand mixer fitted with the flat beater or a large bowl using a hand mixer, combine the eggs, Dutch-process cocoa, salt, baking powder, espresso powder (if using), and vanilla extract. Beat everything together on medium speed for about one minute until mostly smooth—expect this mixture to be quite thick.
Step 3: Melt the butter in a saucepan over low heat or microwave it in a medium bowl until just melted. Add the sugar and stir until combined. Keep heating briefly until the mixture feels hot to the touch (around 110°F to 120°F), but be careful not to let it bubble. This warming step dissolves some of the sugar, helping to create the brownie’s signature shiny crust.
Step 4: Pour the hot butter and sugar mixture into the cocoa and egg mixture. Stir continuously until smooth and fully incorporated. A dough whisk really comes in handy here to combine everything efficiently without deflating the mixture too much.
Step 5: Add the flour and chocolate chips, stirring gently but thoroughly. Be sure to scrape the sides and bottom of the bowl so no pockets of flour remain hidden. You want a smooth, uniform batter loaded with chocolate chips.
Step 6: Transfer the batter to your prepared pan and use a spatula or knife to smooth the surface evenly, ensuring the batter reaches all edges.
Step 7: Bake for 28 to 32 minutes. The edges should be set and pull away slightly from the pan, while the center remains moist but set. Use the toothpick test: poke the center gently, and you should see moist crumbs but no raw batter. Don’t worry about making a small hole; it’s a sign your brownies are perfectly fudgy.
Step 8: Remove the brownies from the oven and let them cool completely on a wire rack before slicing. This cooling time allows the structure to set properly and makes cutting easier.
Servings and Timing
This recipe yields about 24 generous servings, making it ideal for parties, potlucks, or family gatherings. Preparation time is relatively quick, with about 10 minutes to mix and get everything ready. The baking time ranges from 28 to 32 minutes, depending on your oven and desired fudginess. Add at least 15 to 20 minutes for cooling before cutting and serving, so plan for roughly 40 minutes total from start to finish.
How to Serve This Fudge Brownies Recipe
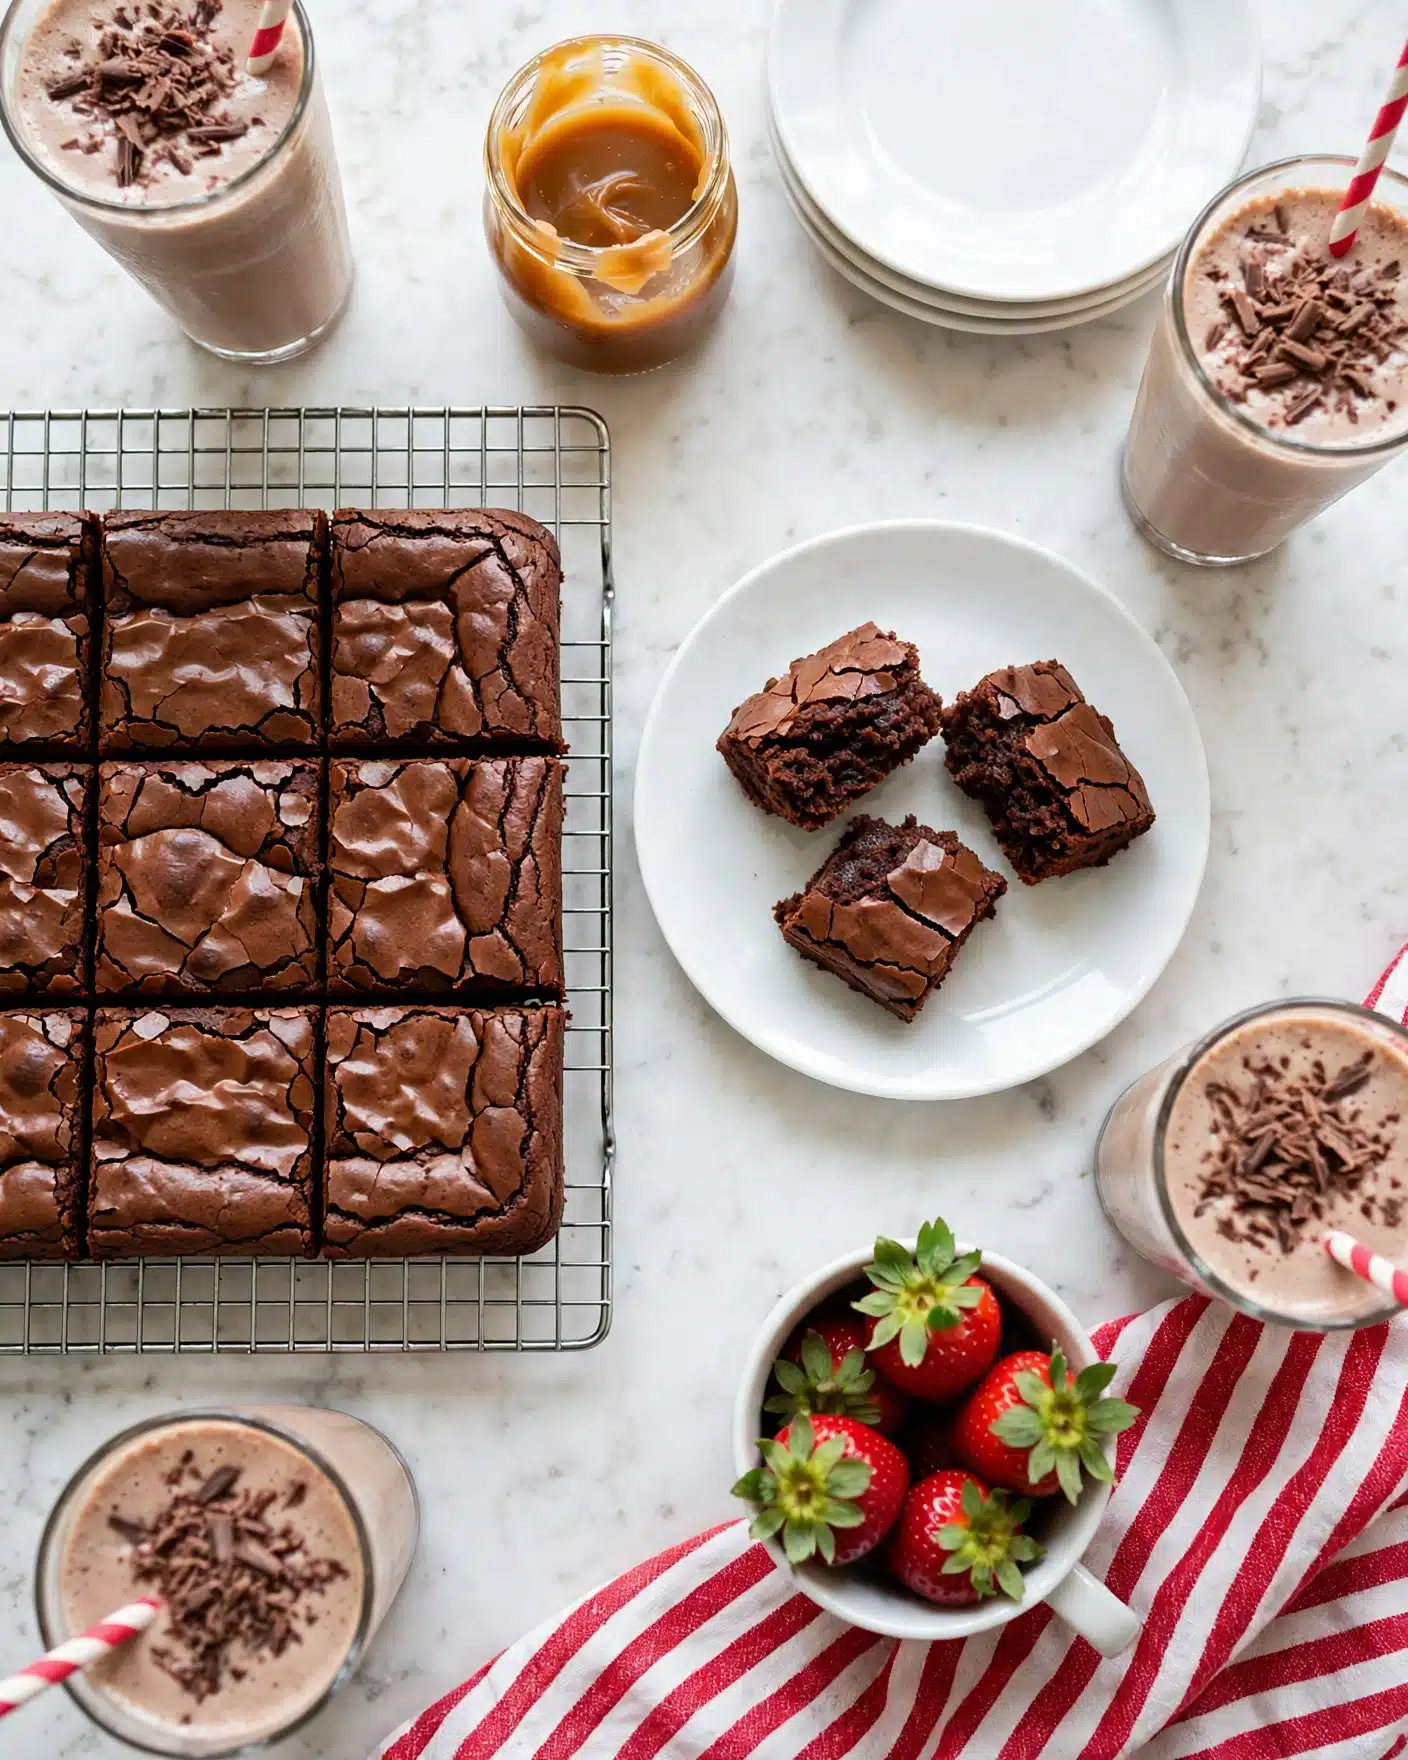
When it’s time to serve these brownies, I love keeping it simple and letting the rich chocolate shine on its own. Room temperature slices are perfect for casual occasions, with their fudgy texture and shiny crust front and center. For a more decadent presentation, I sometimes warm individual pieces slightly and add a scoop of vanilla ice cream alongside—this combo creates a warm-and-cold dessert experience that everyone raves about.
For garnishing, a light dusting of powdered sugar or a drizzle of caramel sauce looks beautiful and adds a little flair. If you’re feeling festive, chopped nuts or a sprinkle of sea salt on top right after baking gives a delightful crunch and contrast. I often serve these brownies at holiday parties or weekend get-togethers because they’re easily cut into bite-sized squares, perfect for sharing and snacking.
As for beverage pairings, I’m always a fan of a bold coffee or espresso alongside these brownies. The bitterness cuts through the sweetness and enhances the chocolate flavor. For an adult twist, try serving with a glass of full-bodied red wine like Zinfandel or a smooth port. If you prefer non-alcoholic options, a rich chocolate milk or even a glass of cold milk is unbeatable comfort fuel with this dessert.
Variations
I love how adaptable this Fudge Brownies Recipe is when it comes to customization. For a gluten-free twist, I swap the all-purpose flour for a gluten-free blend with xanthan gum and the texture stays wonderfully fudgy. You can also make it vegan by replacing the butter with coconut oil, using flax eggs (ground flaxseed mixed with water) in place of the eggs, and dairy-free chocolate chips.
If you want to mix up the flavor a bit, try adding orange zest or a splash of peppermint extract for a festive touch. Swirling in peanut butter or cream cheese before baking adds a rich marbled effect and additional flavor complexity. For those who love a crunch, combining chopped walnuts, pecans, or even toffee bits into the batter is a classic way I like to upgrade the brownies.
Besides baking in the traditional oven, I occasionally use this recipe in a cast-iron skillet or even bake it in muffins cups to create individually sized fudgy brownie bites. The cooking time changes slightly depending on the method, but the results are always delicious and rich.
Storage and Reheating
Storing Leftovers
Once your brownies have fully cooled, I recommend wrapping them tightly in plastic wrap or storing them in an airtight container at room temperature. This keeps them moist and fresh for 5 to 6 days. I prefer cutting them into squares before storing, so they’re ready to grab and enjoy whenever a chocolate craving strikes.
Freezing
These fudge brownies freeze beautifully if you want to keep them longer. Wrap individual or stacked squares tightly in plastic wrap followed by a layer of aluminum foil, or place them in a zip-top freezer bag with the air squeezed out. They keep well for up to 3 months this way. When you’re ready to eat, thaw at room temperature or gently warm them for that freshly baked feel.
Reheating
To enjoy your leftover brownies warm, I find the microwave is the easiest method—15 to 20 seconds on medium power usually does the trick without drying them out. For a slightly crispy top and warm center, reheating a piece in a preheated 325°F oven for about 5 to 7 minutes works wonderfully. Avoid overheating, as that can dry them out or make them crumbly instead of fudgy.
FAQs
Can I use regular cocoa powder instead of Dutch-process cocoa?
Yes, you can substitute regular natural cocoa powder, but keep in mind that it’s more acidic and may slightly alter the flavor and texture. The brownies might taste a bit brighter but still delicious. If you use natural cocoa, consider adding a pinch of baking soda to balance the chemistry.
Is the espresso powder really necessary?
The espresso powder is optional, but I highly recommend it if you want to deepen the chocolate flavor without adding coffee taste. It’s subtle but makes the brownies taste richer and more complex. You can easily leave it out if you prefer, and they’ll still be fantastic.
How do I know when the brownies are perfectly baked?
The key is to look for set edges and a center that looks moist but not liquid. A toothpick or knife should come out with moist crumbs, not wet batter. Remember, these fudge brownies will continue to firm up as they cool, so it’s better to err on the side of slightly underbaked than overbaked.
Can I make this recipe into brownies bites or bars?
Absolutely! You can use a mini muffin pan or smaller baking pan to make bite-sized brownies or thicker bars. Adjust baking time accordingly; start checking for doneness around 18-20 minutes for smaller portions, and expect thicker bars to require a bit longer.
What’s the best way to cut the brownies cleanly?
I find that waiting until the brownies are completely cool before cutting helps a lot. Using a sharp knife warmed under hot water and then wiped dry allows for cleaner cuts. For very fudgy brownies, sometimes a plastic knife works better to prevent sticking.
Conclusion
I truly hope you give this Fudge Brownies Recipe a try—it’s one of my absolute favorites for a reason. It’s rich, indulgent, and surprisingly simple to make, delivering that perfect fudgy texture and intense chocolate flavor that keeps you coming back for more. Whether you’re baking for family, friends, or a special occasion, these brownies are guaranteed to be a crowd-pleaser that brings smiles and happy memories around the table. Happy baking!
PrintFudge Brownies Recipe
These decadent Fudge Brownies deliver a rich, chocolatey experience with a shiny top crust and moist, fudgy center. Made with Dutch-process cocoa, melted butter, and chocolate chips, these brownies are a perfect treat for any chocolate lover. Enhanced with a hint of espresso powder and pure vanilla extract, they offer deep flavor complexity baked to perfection in a 9×13 pan.
- Prep Time: 10 minutes
- Cook Time: 30 minutes
- Total Time: 40 minutes
- Yield: 24 servings
- Category: Dessert
- Method: Baking
- Cuisine: American
Ingredients
Wet Ingredients
- 4 large eggs
- 1 tablespoon King Arthur Pure Vanilla Extract
- 16 tablespoons (227g) unsalted butter
Dry Ingredients
- 1 1/4 cups (106g) Dutch-process cocoa
- 1 teaspoon table salt
- 1 teaspoon baking powder
- 1 teaspoon espresso powder (optional, for enhanced flavor)
- 2 1/4 cups (447g) granulated sugar
- 1 1/2 cups (180g) King Arthur Unbleached All-Purpose Flour
Add-ins
- 2 cups (340g) chocolate chips
Instructions
- Preheat and Prepare Pan: Preheat your oven to 350°F (175°C). Lightly grease a 9″ x 13″ pan. For easy removal, grease the pan, line it with parchment paper, and grease the parchment as well.
- Mix Eggs and Cocoa: In a stand mixer bowl fitted with the flat beater attachment or a large bowl with an electric hand mixer, combine the eggs, Dutch-process cocoa, salt, baking powder, espresso powder (if using), and vanilla extract. Beat on medium speed for about 1 minute until combined and mostly smooth; the mixture will be thick.
- Melt Butter and Combine with Sugar: In a saucepan over low heat or a microwave-safe bowl, melt the butter. Add the granulated sugar and stir to combine. Heat gently until the mixture reaches about 110°F to 120°F and becomes shiny, but avoid boiling. This step helps dissolve sugar and creates the signature shiny crust on the brownies.
- Combine Mixtures: Pour the hot butter and sugar mixture into the egg and cocoa mixture. Stir thoroughly until smooth, using a dough whisk if available for easier mixing.
- Add Flour and Chocolate Chips: Stir in the all-purpose flour and chocolate chips, making sure to scrape the sides and bottom of the bowl to incorporate all ingredients evenly.
- Transfer Batter to Pan: Spread the batter evenly in the prepared pan, smoothing the top for an even bake.
- Bake the Brownies: Bake for 28 to 32 minutes. The edges should be set and the center moist but not raw. Test doneness by inserting a toothpick or sharp knife tip into the center; it should come out with moist crumbs but no raw batter.
- Cool and Serve: Remove the brownies from the oven and cool on a wire rack before cutting into squares and serving.
- Store Leftovers: Store leftover brownies wrapped at room temperature for 5 to 6 days. For longer storage, freeze them well-wrapped.
Notes
- If you want the entire brownie sheet to lift out easily, lining the pan with parchment paper is recommended.
- Heating the butter and sugar mixture helps develop the shiny crust by partially dissolving the sugar.
- Espresso powder is optional but intensifies chocolate flavor without adding a coffee taste.
- Do not overbake; the center should remain moist to retain fudginess.
- Use a dough whisk or sturdy spoon for easier batter mixing.
- Brownies can be frozen for up to 3 months; thaw at room temperature before serving.


