
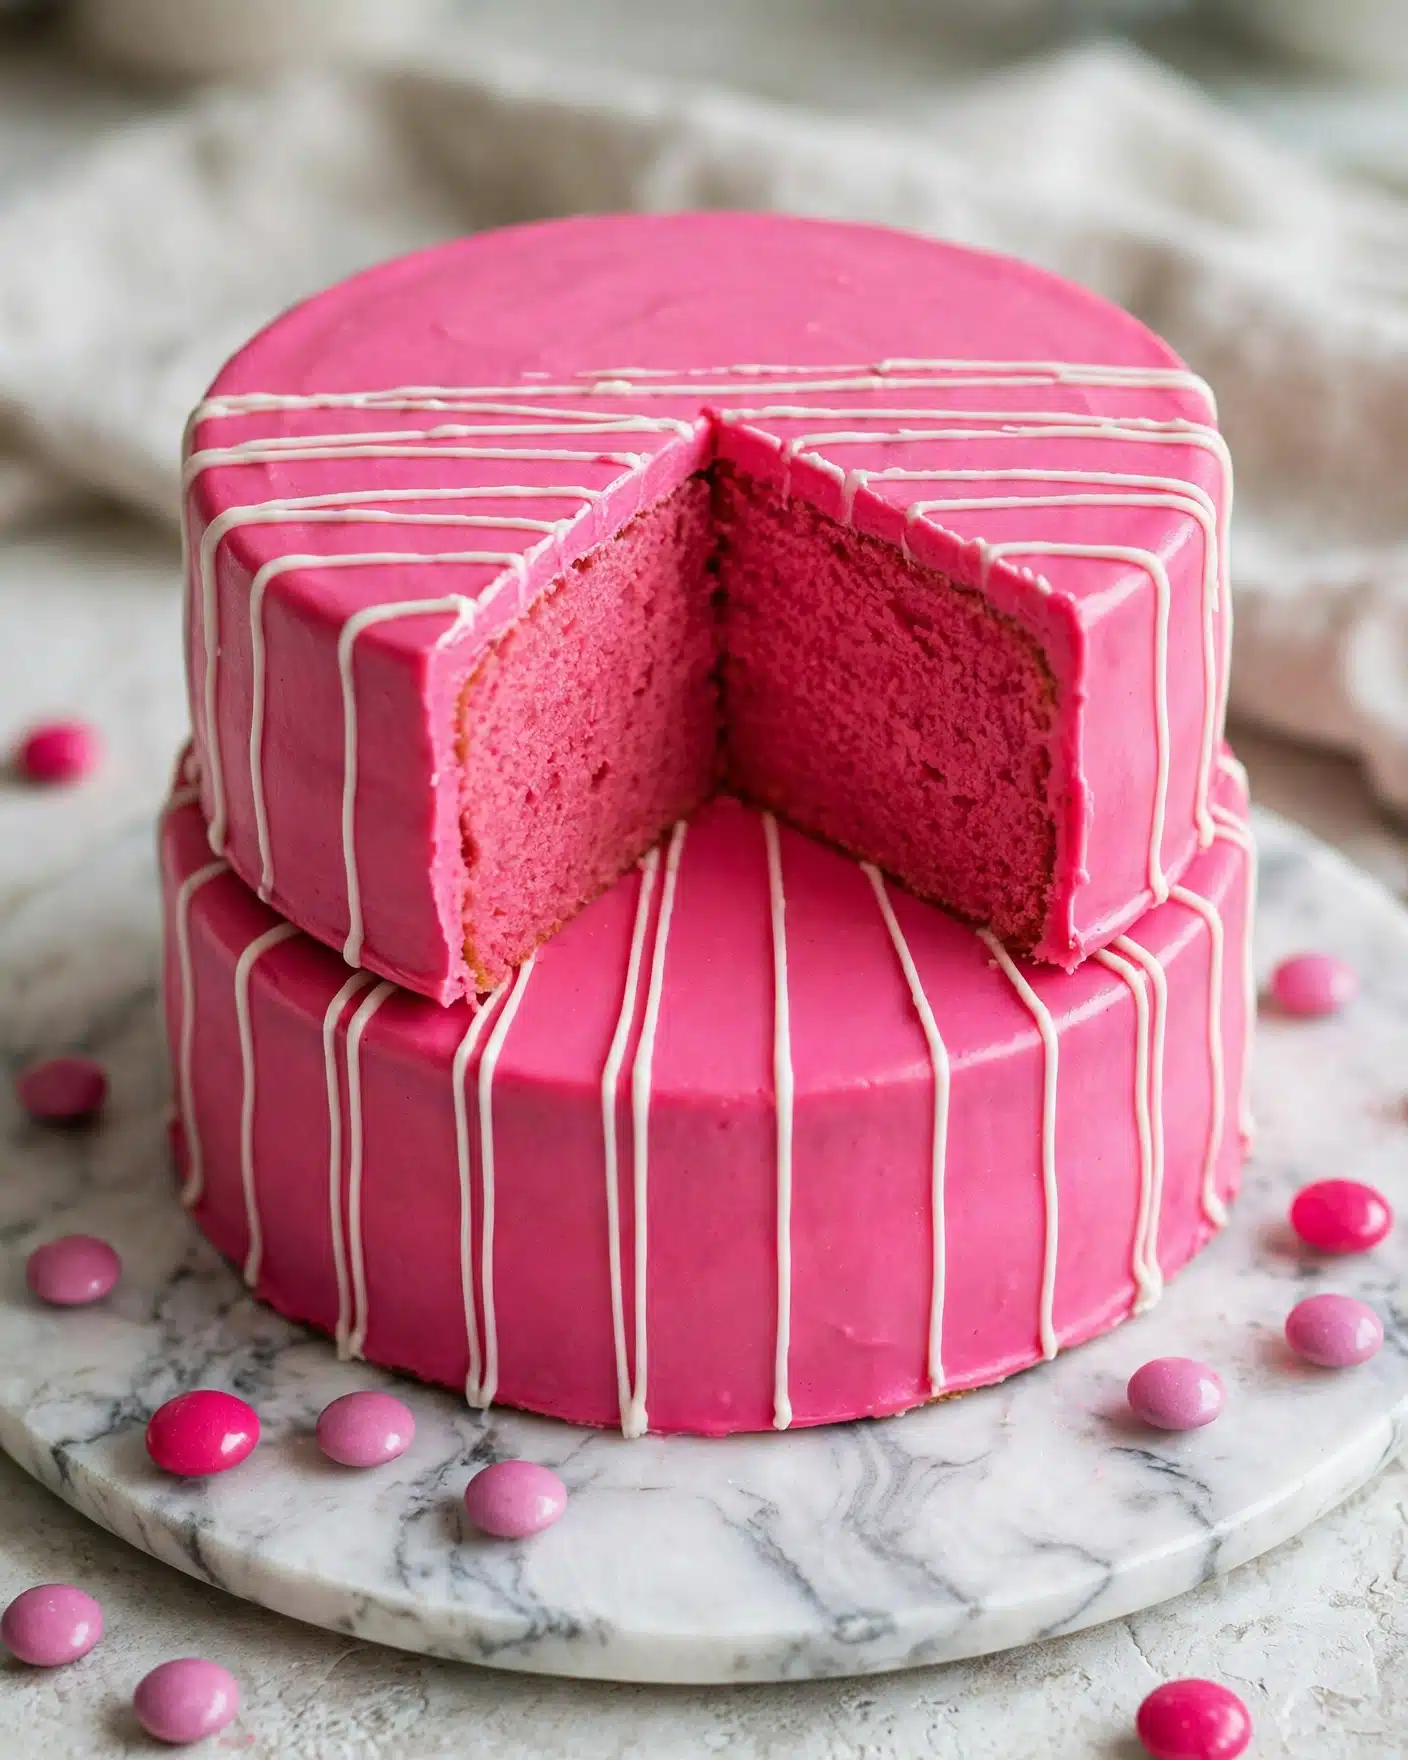
I absolutely adore sharing this Strawberry Cake Pops Recipe because it perfectly combines the sweet, fruity flavor of strawberry cake with the fun, bite-sized experience of cake pops. I love how these treats are as charming to look at as they are delicious to eat, making them a standout dessert for any occasion. The balance of moist cake and creamy frosting enveloped in a smooth candy coating is truly irresistible whenever I make them for friends or family.
Why You’ll Love This Strawberry Cake Pops Recipe
What I find so special about this recipe is the wonderful flavor combination it delivers. The strawberry cake is light and naturally sweet, with just the right hint of tang from the cream cheese frosting mixed in to keep the texture moist and luscious. When dipped in vibrant pink candy melts, the flavor pops as much as the color, making every bite feel like a little celebration. I love how the candy coating adds a delightful snap that contrasts with the softness inside.
Another reason I’m passionate about this recipe is how straightforward and approachable it is. I often recommend it to people who want impressive desserts but don’t want to spend hours in the kitchen. The process is mostly hands-on and fun, especially when using molds for shaping. Plus, these strawberry cake pops are perfect for parties, birthdays, baby showers, or just a cheerful snack to share. They stand out because they look professionally made but come together easily in a little over an hour, which is a win in my book!
Ingredients You’ll Need
These ingredients are simple yet essential, each bringing something unique to the texture, taste, or appearance of your cake pops. Quality candy melts and cream cheese frosting are key to getting that smooth finish and creamy bite that make these pops so memorable.
- 1 strawberry cake mix (and ingredients to make it): This forms the flavorful base and gives the cake pops their signature strawberry taste and moist crumb.
- 3 Tbsp cream cheese frosting: Adds richness, moisture, and binds the cake crumbs to create the perfect cake pop dough.
- 24 oz pink candy melts: Used for coating, they provide a sweet, colorful shell and a satisfying snap when you bite into the pop.
- 4 oz white candy melts: Perfect for decorating and adding elegant accents or contrast to your finished pops.
- 4-6 oz shortening: Mixed with candy melts to thin the chocolate, making it easier to work with and ensuring a glossy, smooth finish.
Directions
Step 1: Prepare your cake batter according to the strawberry cake mix package directions. Bake it in the oven until a toothpick inserted in the center comes out clean. This ensures your cake is baked perfectly without dryness.
Step 2: Once the cake is out of the oven, crumble it into a large mixing bowl or into the bowl of your stand mixer fitted with a paddle attachment. Add 3 tablespoons of cream cheese frosting to the warm cake and mix together until a uniform dough forms. The warmth helps everything blend smoothly.
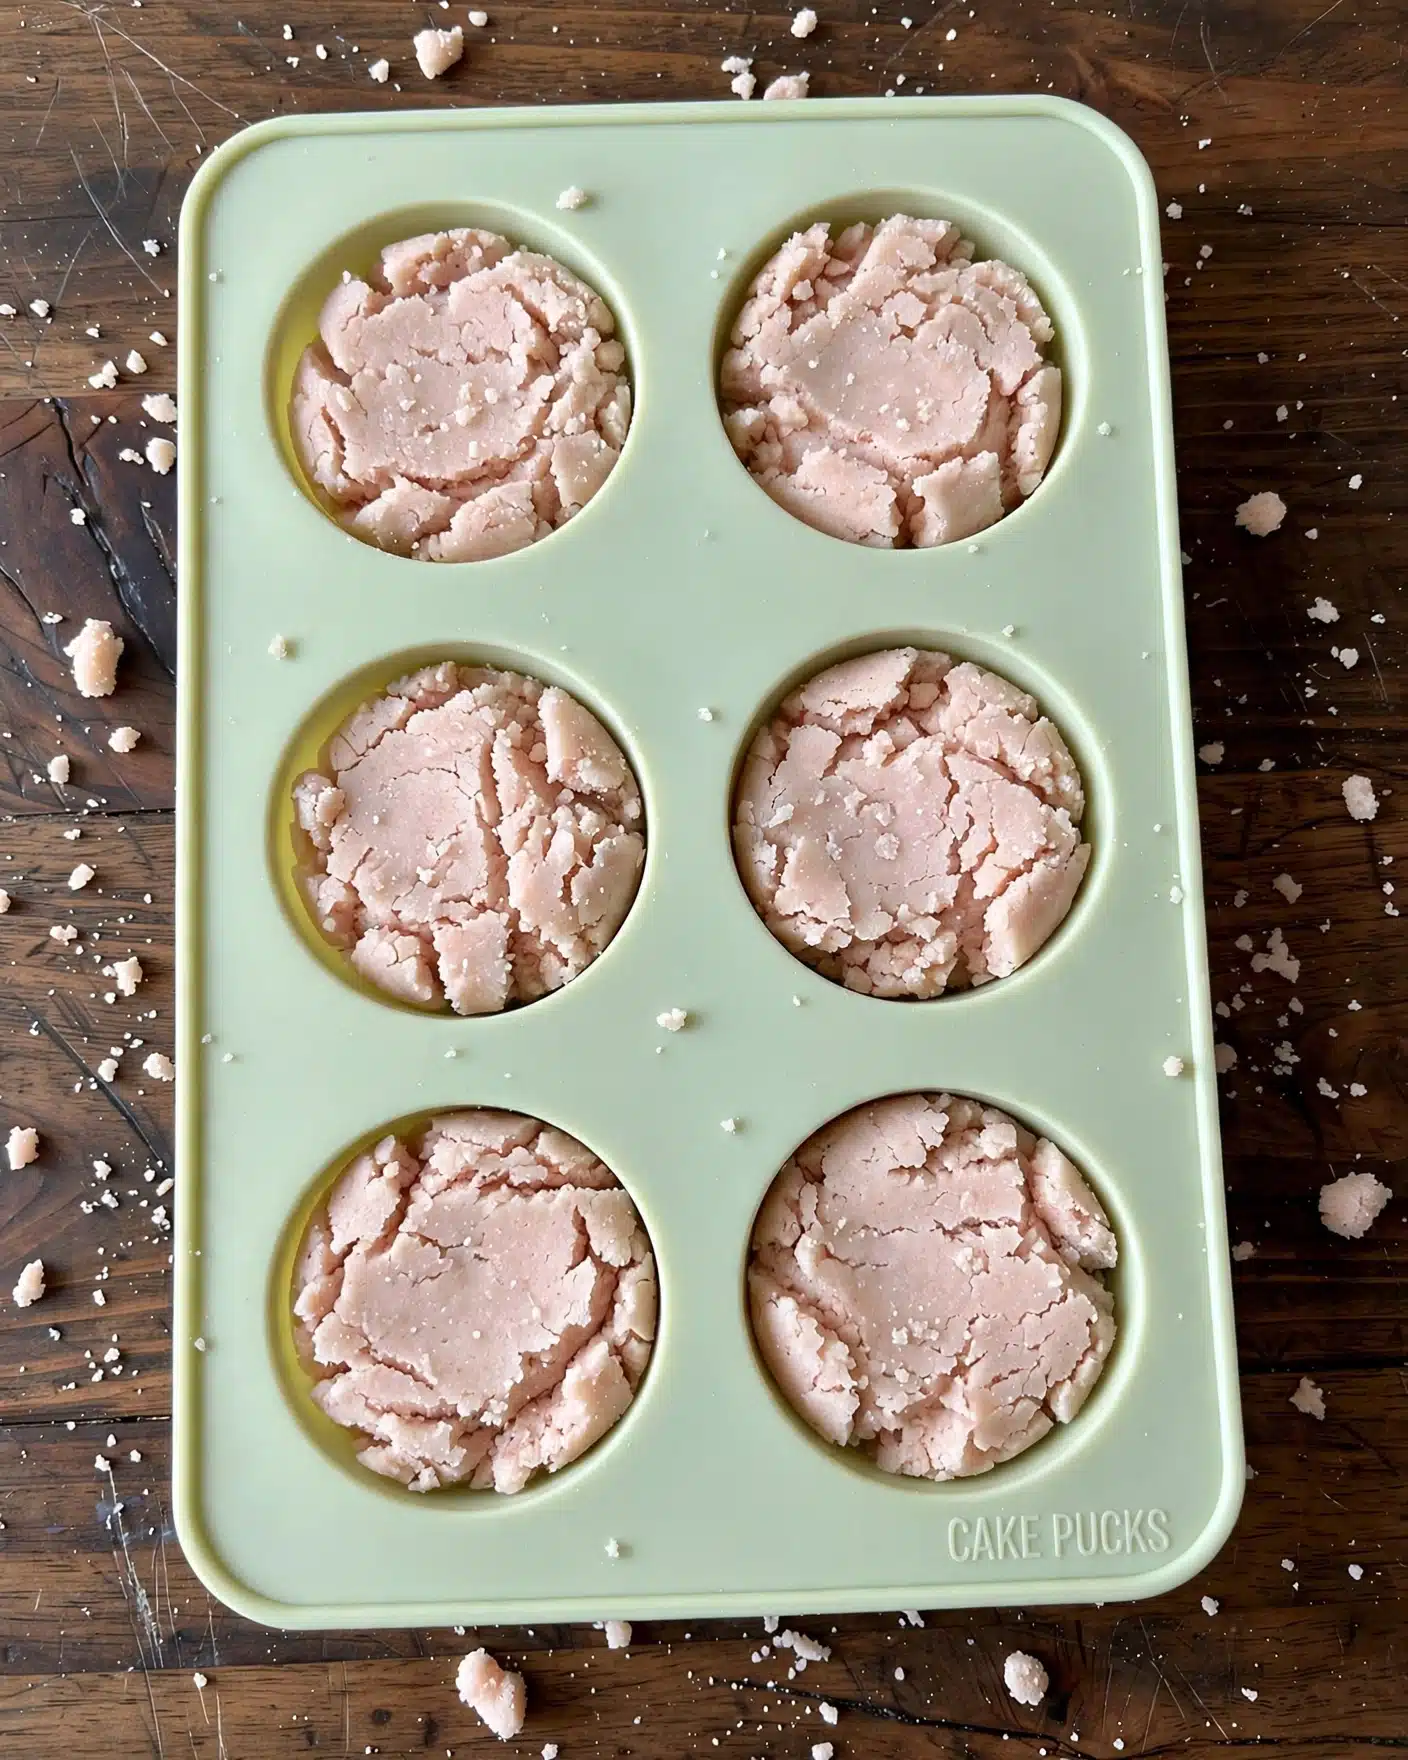
Step 3: Press this cake pop dough firmly into smaller cake pop molds, smoothing off any excess on top. Freeze the molds for 15 to 30 minutes so the mixture firms up, making them easier to coat later on.
Step 4: While the cake pops are chilling, melt about 1 cup of pink candy melts combined with 1 teaspoon of shortening in the microwave. Heat in short bursts, stirring thoroughly between intervals, until the mixture is completely smooth and has a thinner consistency perfect for dipping and molding.
Step 5: Remove the cake pops from the freezer and gently pop them out of their molds. Using larger cake pop molds, pour the melted pink candy melts halfway up each cavity, place the cake pop center inside, and press down firmly so the candy melts surround and encase the cake pop from all sides. Scrape off any excess for a neat, even finish.
Step 6: Place the filled molds in the refrigerator for 10 to 15 minutes to let the candy coating set completely.
Step 7: Carefully pop the finished cake pops out of the molds. Use white candy melts for decorating — I love using a piping bag or toothpick to add delicate drizzles or polka dots. Then, enjoy your beautiful, tasty creations!
Servings and Timing
This Strawberry Cake Pops Recipe yields about 22 delicious cake pops, perfect for sharing around at any party or event. It takes roughly 1 hour and 20 minutes from start to finish, which includes an estimated 10 minutes prep time, 30-35 minutes baking time for the cake, 15-30 minutes chilling in the freezer, plus about 15 minutes to set in the fridge after coating. The process feels well-paced and enjoyable without rushing.
How to Serve This Strawberry Cake Pops Recipe
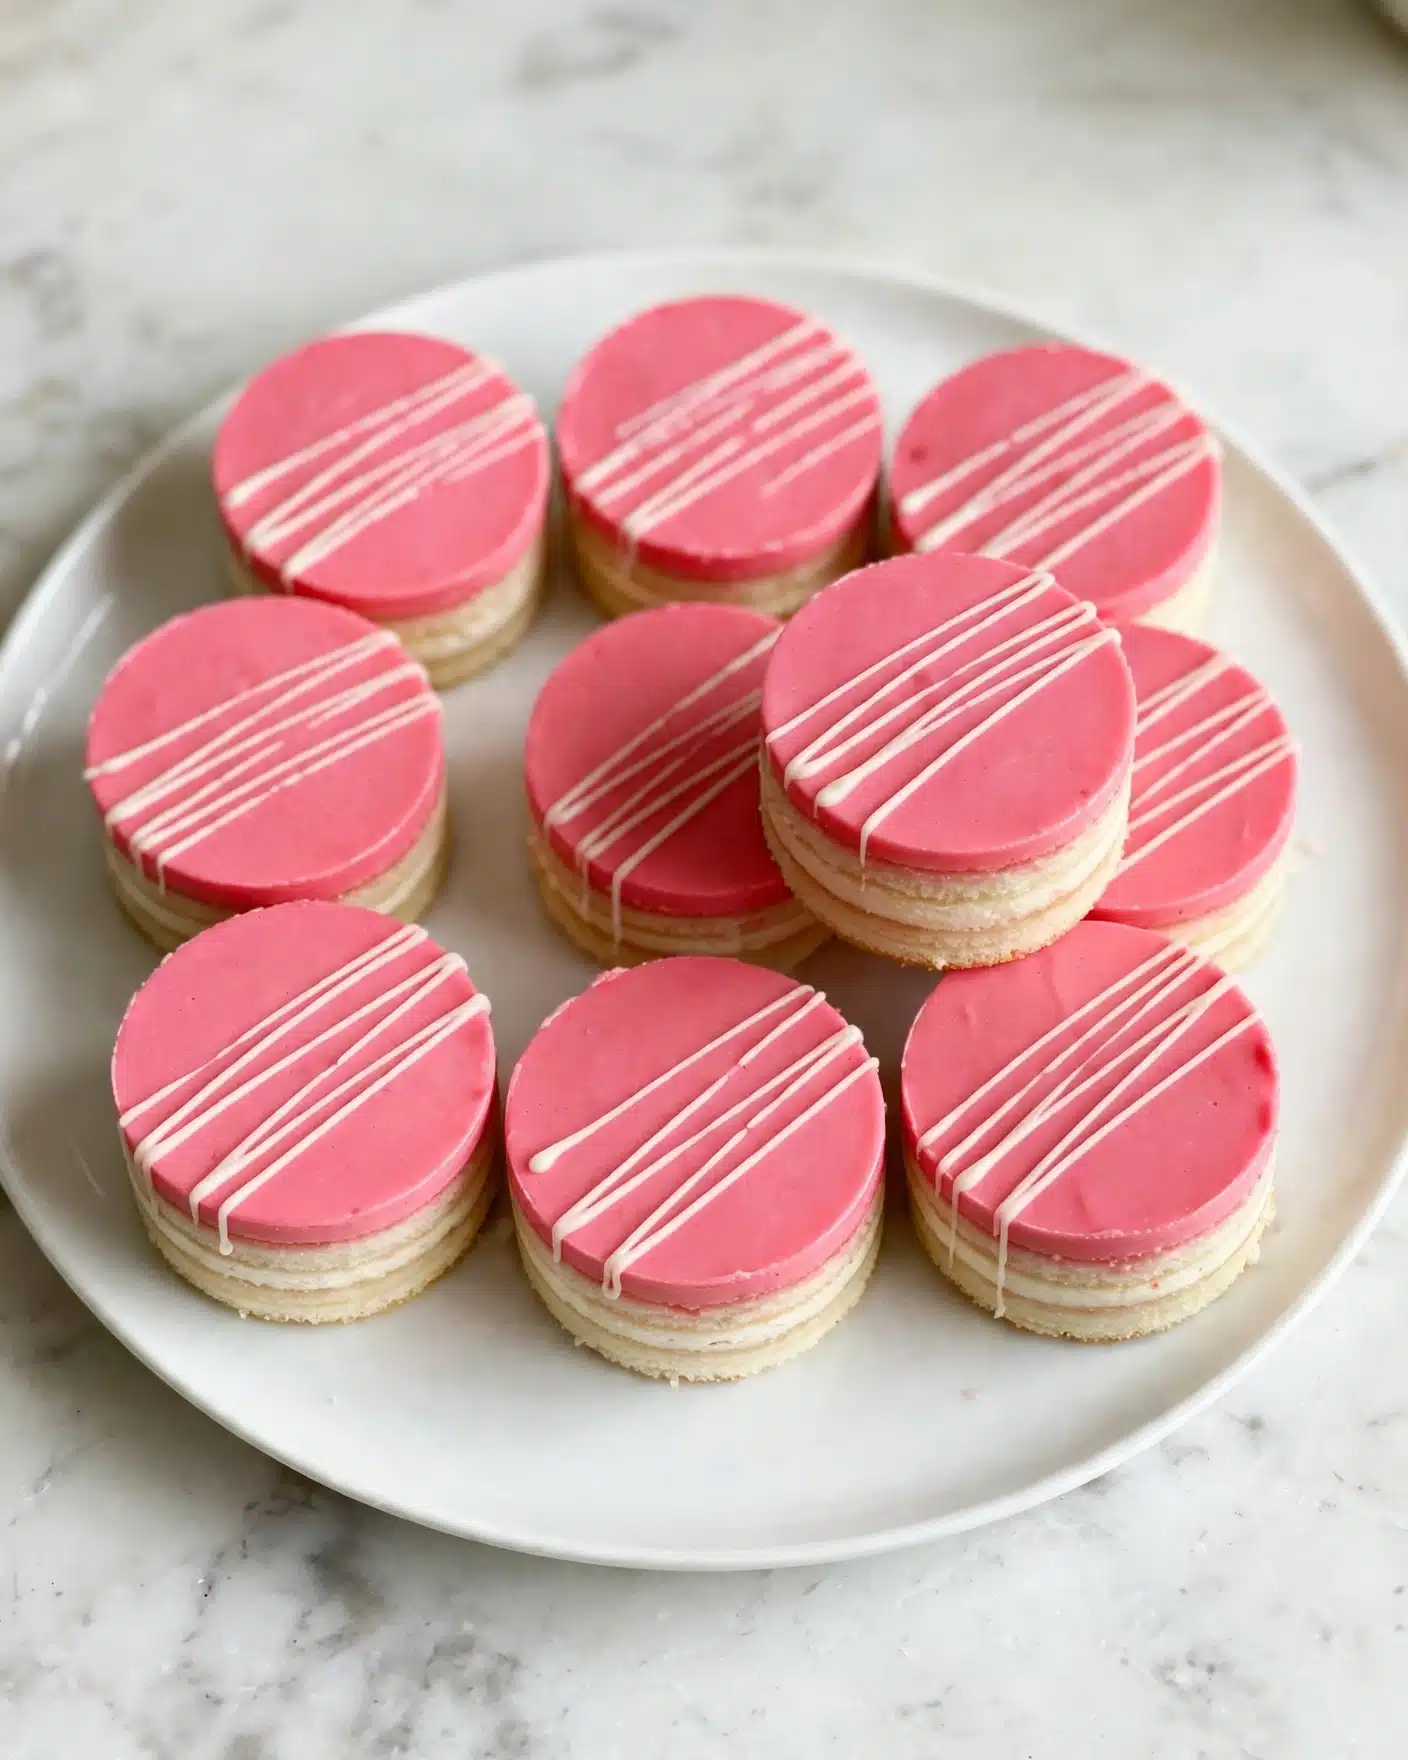
I absolutely love presenting these cake pops on a decorative stand or a colorful platter to really make the pink colors pop. They’re naturally perfect finger foods, so no plates are necessary, which makes serving a breeze at casual get-togethers or elegant gatherings alike. I often add a few sprigs of fresh mint or scatter some edible flower petals around the presentation tray to elevate the look.
For a fun party, I recommend pairing the cake pops with a light sparkling rosé or a fruity lemonade for a refreshing contrast to the sweet bites. If you prefer cocktails, a strawberry mojito complements the cake pops beautifully, enhancing the berry flavors. I find these pops delightful at room temperature, which helps the frosting inside stay creamy without the candy coating becoming too hard.
These strawberry cake pops are wonderful for birthdays, baby showers, or tea parties, but they’re equally fantastic as a surprise treat for weeknight dessert. They’re easy to portion out, so guests can enjoy one or two without feeling overwhelmed. I’ve even packed a few in gift boxes for friends, and they always rave about their taste and presentation.
Variations
One of the things I love about this recipe is how easily it can be customized. If you want a gluten-free version, I suggest starting with a gluten-free strawberry cake mix — just make sure the other ingredients like frosting and candy melts fit your dietary needs too. For a vegan twist, you can use a vegan cake mix, dairy-free cream cheese frosting alternatives, and vegan-friendly candy melts. This way, everyone can indulge without missing out.
If you’d like to experiment with flavors, try adding a teaspoon of lemon zest to the cake dough for a fresh citrus punch, or incorporate tiny chocolate chips into the cake pop mixture for a delightful surprise in each bite. I also enjoy swapping out pink candy melts for classic milk or white chocolate, or even using colored candy melts for holidays like red and green for Christmas or orange and black for Halloween.
For a different technique, you can skip the molds and simply roll the cake pop dough into balls by hand, then dip each ball individually into the melted candy. This hands-on method makes it easier to create custom shapes or slightly bigger pops if desired.
Storage and Reheating
Storing Leftovers
I always store leftover strawberry cake pops in an airtight container at room temperature if I plan to eat them within 2 days. If your home is warm, storing them in the refrigerator is best to keep the candy shell firm and prevent melting. When refrigerated, keep them in a single layer or with parchment paper between layers to avoid sticking. They stay fresh and delicious up to 5 days this way.
Freezing
Strawberry cake pops freeze wonderfully, which I like to do when I want to prepare for a future event. Wrap each pop individually in plastic wrap or place parchment between layers in an airtight freezer container to prevent freezer burn. They keep well frozen for up to 2 months. When you’re ready to serve, thaw them in the refrigerator for several hours or overnight for best texture and flavor.
Reheating
Since cake pops are best enjoyed at room temperature or chilled, I don’t recommend reheating them with heat as it risks melting the candy coating and altering the texture. If you want them less cold, simply allow them to sit out for 20-30 minutes before serving. This way, the frosting inside softens slightly without compromising the outer coating’s integrity.
FAQs
Can I use homemade strawberry cake instead of a mix?
Absolutely! Homemade strawberry cake works just as well, and you can adjust the sweetness and flavors to your liking. Just make sure your cake is fully cooled before mixing with frosting to create the cake pop dough.
What if I don’t have cake pop molds?
You can still make these by rolling the cake and frosting mixture into small balls by hand, chilling them on a baking sheet until firm, then dipping in melted candy melts. It takes a bit more time and care but works perfectly.
Can I add other flavors to the frosting?
Yes, I love experimenting with adding a drop of vanilla or almond extract to the cream cheese frosting for extra depth. Just be mindful of balancing flavor so it complements rather than overwhelms the strawberry base.
Is there a best way to decorate these cake pops?
Using contrasting colored candy melts to drizzle or dot on top adds a pretty touch. You can also add sprinkles or edible glitter right after dipping to give them extra sparkle while the coating is still wet.
How do I prevent cracks in the candy coating?
Make sure your candy melts are fully melted and thinned with shortening for a smooth dip. Also, avoid rapid temperature changes and let the pops set in the fridge gradually to reduce cracking.
Conclusion
I truly hope you enjoy making and eating this Strawberry Cake Pops Recipe as much as I do. They’re such a delightful treat that brightens any gathering or sweet craving with their lovely color and irresistible flavor. Once you try them, I’m confident they’ll become one of your all-time favorite homemade desserts to share with the people you love.
PrintStrawberry Cake Pops Recipe
Delight in these charming Strawberry Cake Pops that combine moist strawberry cake with creamy frosting and a smooth candy coating. Perfectly bite-sized and beautifully decorated, these cake pops are fun to make and even more fun to share at parties or special occasions.
- Prep Time: 20 minutes
- Cook Time: 40 minutes
- Total Time: 1 hour 20 minutes
- Yield: 22 cake pops
- Category: Dessert
- Method: Baking
- Cuisine: American
- Diet: Vegetarian
Ingredients
Cake and Frosting
- 1 strawberry cake mix (including ingredients required to prepare it as per package directions)
- 3 Tbsp cream cheese frosting
Candy Coating
- 24 oz pink candy melts
- 4 oz white candy melts
- 4–6 oz shortening (to thin candy melts)
Instructions
- Prepare the Cake: Follow the instructions on your strawberry cake mix package to prepare the batter. Pour the batter into a baking pan and bake in the oven until a toothpick inserted into the center comes out clean, indicating the cake is fully baked.
- Mix Cake with Frosting: After baking, while the cake is still warm, crumble it into a mixing bowl or a stand mixer fitted with a paddle attachment. Add 3 tablespoons of cream cheese frosting and mix thoroughly until a dough-like consistency is achieved. This cake pop dough should be firm enough to mold.
- Fill Cake Pop Molds and Freeze: Press the cake pop dough into smaller cake pop molds, making sure to scrape off any excess from the top for an even shape. Place the molds in the freezer for 15 to 30 minutes to help the cake pops firm up.
- Melt Pink Candy Coating: While the cake pops are freezing, melt about 1 cup of the pink candy melts with 1 teaspoon of shortening in the microwave. Heat in short bursts and stir regularly until the mixture is smooth and slightly thinned for easier dipping and molding.
- Assemble Cake Pops with Candy Coating: Remove the cake pops from the freezer and carefully pop them out of the smaller molds. Pour melted pink candy melts halfway into a larger cake pop mold, place the cake pop center inside, and press down gently to allow the candy melts to surround and cover the cake evenly. Scrape off any extra candy from the mold surface to create a neat shape.
- Set the Cake Pops: Place the filled larger mold into the refrigerator for 10 to 15 minutes to allow the candy coating to fully set and harden around the cake.
- Decorate and Serve: Once set, remove the cake pops from the mold. Use the remaining white candy melts to decorate your cake pops as desired. Let any additional decorations set before serving and enjoying these delightful treats.
Notes
- Start mixing the cake and frosting while the cake is still warm for easier blending.
- Shortening helps thin the candy melts for a smoother coating and easier handling.
- Freezing the cake pops before coating ensures they stay firm and hold their shape during dipping.
- Decorate with the white candy melts or other edible decorations for a personalized touch.
- If you don’t have molds, you can shape the cake balls by hand and dip them in candy melts using a spoon or fork.


