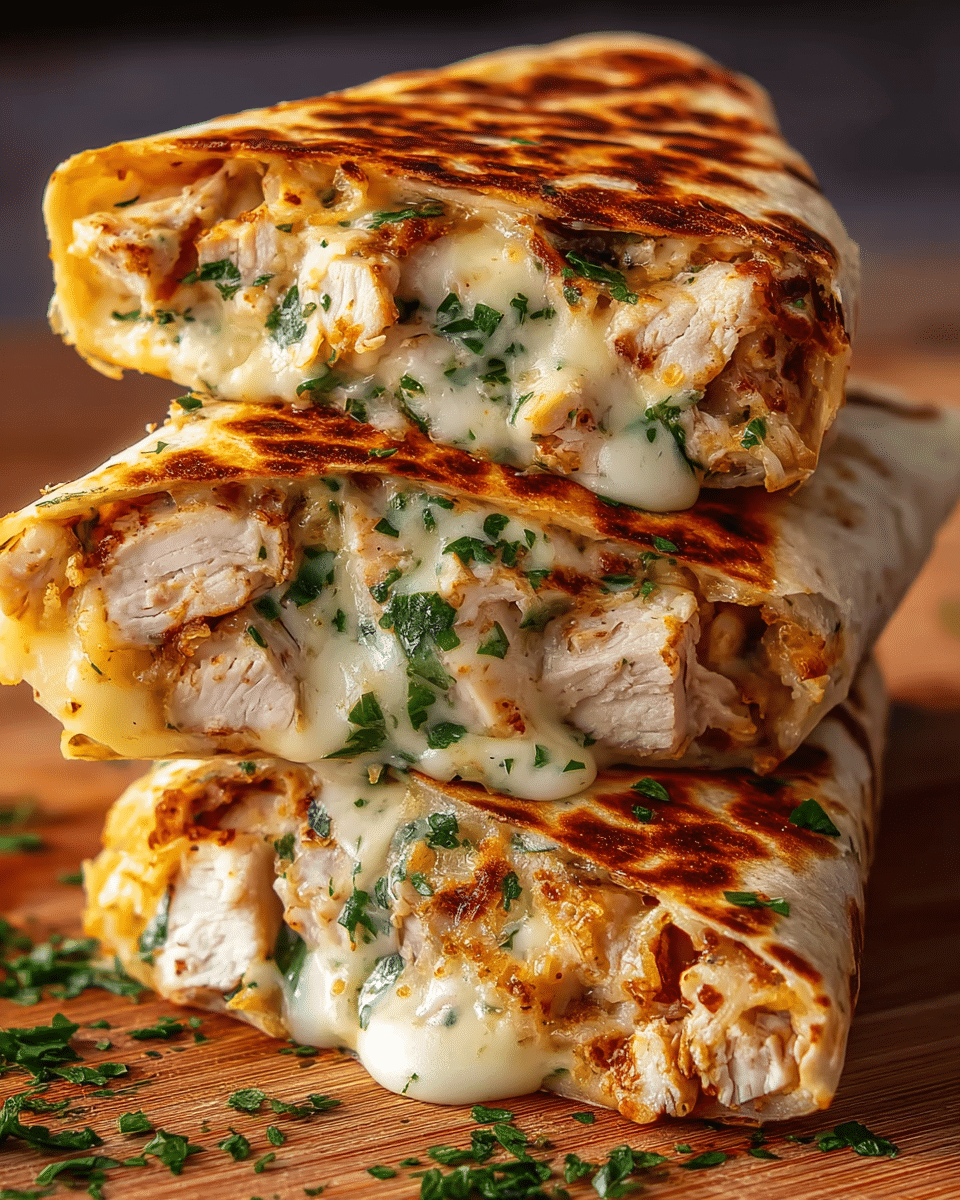
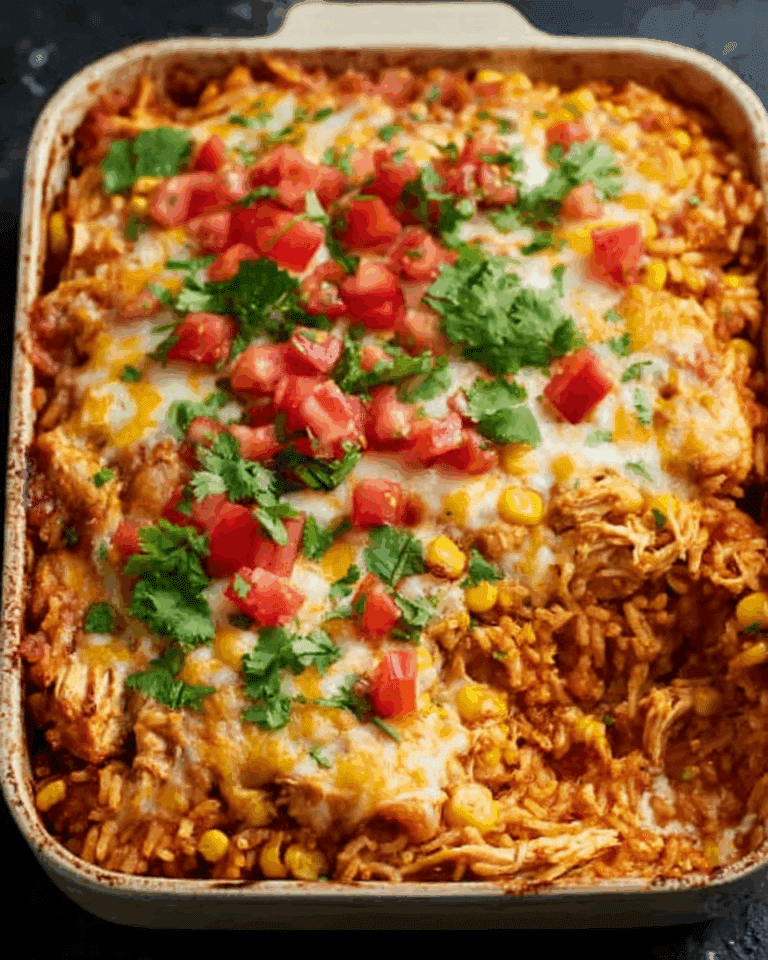
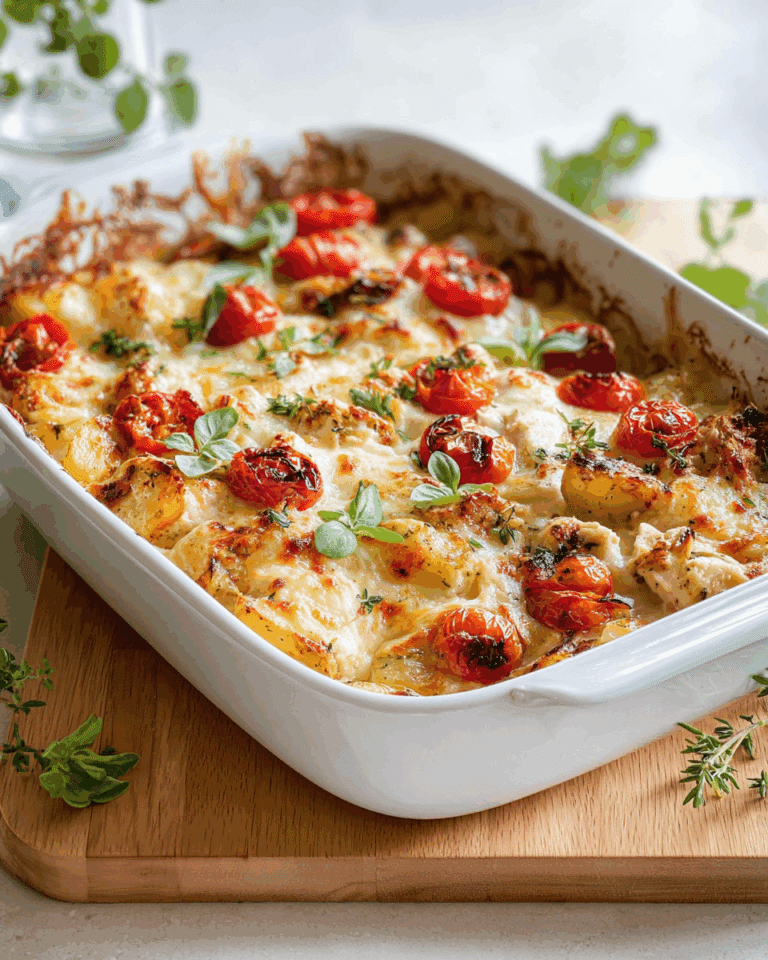
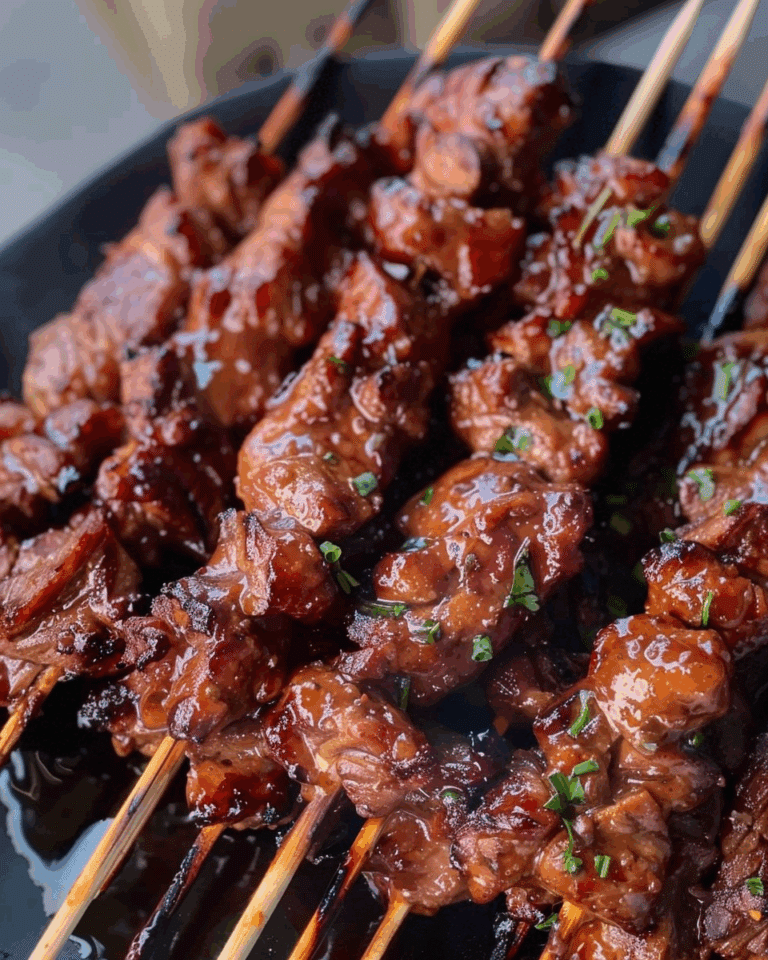
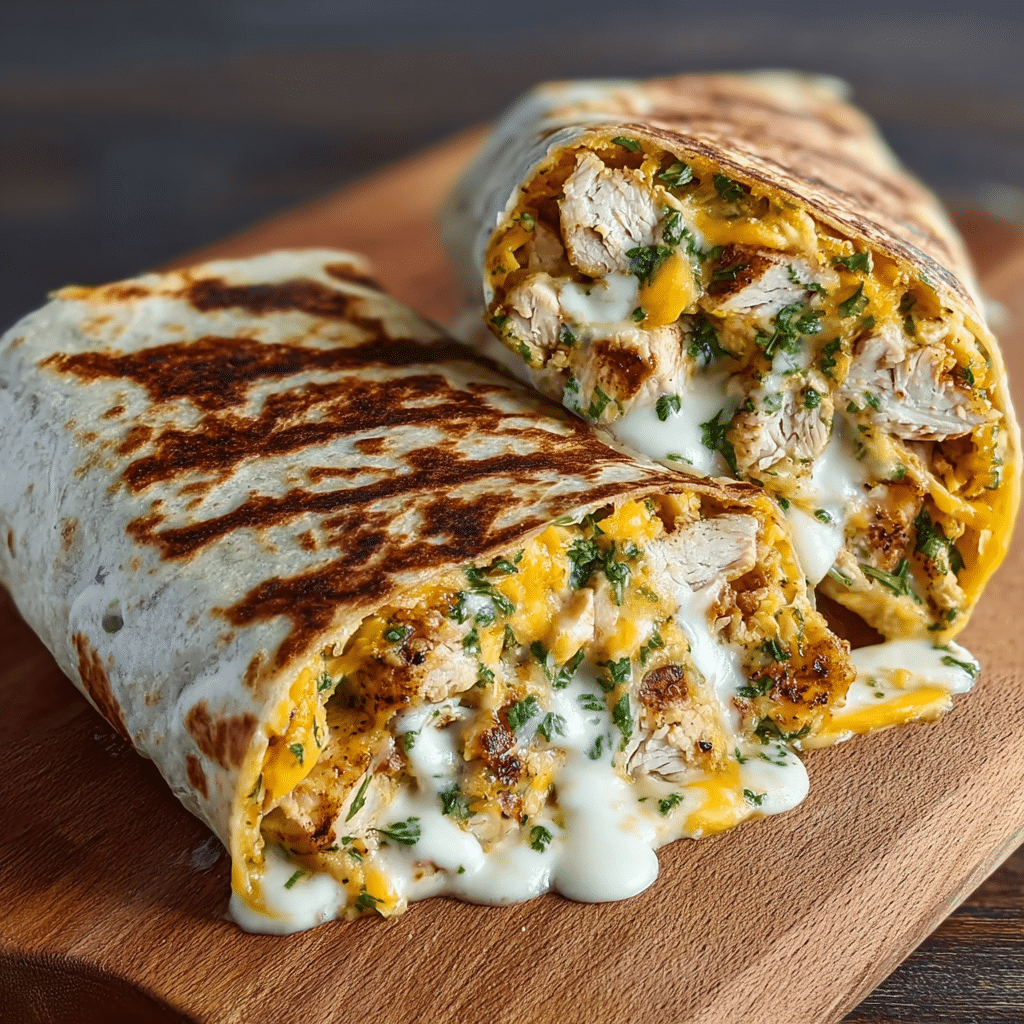
Meet your new obsession: The Best Cheesy Garlic Chicken Wraps! These irresistible wraps feature tender, seasoned chicken tossed in a dreamy blend of cream cheese, mozzarella, and fresh garlic, all bundled up with garden-fresh veggies and swaddled in a soft flour tortilla. Perfect for lunch, dinner, or even a savory snack, they’re as quick to make as they are satisfying. The beauty of these wraps is in their adaptability—use whatever veggies you love, add a little heat, dip or dunk as you please; every bite bursts with bold, delicious flavor and gooey-cheesy comfort. Let’s dive into your next favorite meal!
Ingredients You’ll Need
Gathering your ingredients for The Best Cheesy Garlic Chicken Wraps is a breeze! Each component plays a special role—melty cheese brings richness, the garlic punches up the flavor, juicy chicken satisfies, and those fresh veggies add crunch and color. Here’s what you’ll need and why:
- Chicken Breasts: The star protein, providing hearty texture and soaking up all those cheesy, garlicky flavors beautifully.
- Mozzarella Cheese: For that irresistible melt and stretchy, gooey bite everyone craves in a great wrap.
- Cream Cheese: Softened cream cheese turns the filling into a creamy, decadent mixture that clings to every piece of chicken.
- Fresh Garlic: Minced garlic infuses every bite with that unmistakable zesty aroma and taste.
- Olive Oil: Helps the chicken brown up beautifully while adding subtle richness.
- Italian Seasoning: Brings together classic herbs for a well-rounded, fragrant flavor—a shortcut to deliciousness.
- Salt and Pepper: Essential for seasoning both the chicken and the cheesy filling to perfection.
- Flour Tortillas: The cozy blanket that holds everything together—soft, pliable, and perfect for toasting.
- Fresh Spinach Leaves: Lends crunch, color, and a boost of nutrition, balancing out all that cheese.
- Diced Tomatoes: A pop of juicy freshness that cuts through every creamy, cheesy, garlicky mouthful.
- Fresh Basil (optional): If you want to bring a burst of summery, aromatic goodness to your wraps, don’t skip this!
- Red Pepper Flakes (optional): For the spice lovers—just a pinch gives the wraps a fun, gentle heat.
How to Make The Best Cheesy Garlic Chicken Wraps
Step 1: Cook and Prepare the Chicken
Start by seasoning your chicken breasts generously with salt, pepper, and that magical Italian seasoning. Heat a little olive oil in a skillet and cook the chicken until it’s golden brown and perfectly juicy—about 6-7 minutes per side. Take it off the heat to rest briefly, then dice or shred it so it’s ready to soak up all the cheesy, garlicky goodness later on.
Step 2: Make the Cheesy Garlic Mixture
In a mixing bowl, combine your softened cream cheese, minced garlic, and half the mozzarella cheese. Mix until everything is smooth and creamy—the aroma of fresh garlic hitting warm cheese is absolutely heavenly! This mixture becomes the luscious glue that brings your whole wrap together.
Step 3: Combine Chicken and Veggies
Add your cooked chicken pieces to the cheesy garlic mixture. Toss until everything is beautifully coated; then stir in your spinach, diced tomatoes, and fresh basil if you’re using it. The greens and tomatoes lighten things up and make every bite satisfyingly balanced.
Step 4: Assemble the Wraps
Lay out a flour tortilla and pile on a generous scoop of the cheesy chicken mixture right down the middle. Sprinkle a bit of the remaining mozzarella on top, and if you like things spicy, a pinch of red pepper flakes. The layering here is where you personalize each wrap based on your cravings!
Step 5: Roll Them Up
Fold in the sides of the tortilla to keep your filling from escaping, then roll it up tightly from the bottom. Precision isn’t necessary, just make sure things are snug so every bite gets cheese, chicken, and veggies. Repeat with all your tortillas and filling.
Step 6: Toast for Crispiness (Optional but Recommended!)
Heat a splash of olive oil in your skillet or use a panini press. Place each wrap seam-side down and toast for 2-3 minutes on each side until golden and a bit crispy. This extra step transforms your wraps from good to absolutely unforgettable—it’s all about that crunch and melt!
Step 7: Serve and Enjoy
Slice each wrap in half for easy handling and set them out while they’re still warm. Pair with your favorite dipping sauce—marinara for a zesty tang or ranch for creamy coolness—then bask in the crowd-pleasing applause for The Best Cheesy Garlic Chicken Wraps!
How to Serve The Best Cheesy Garlic Chicken Wraps
Garnishes
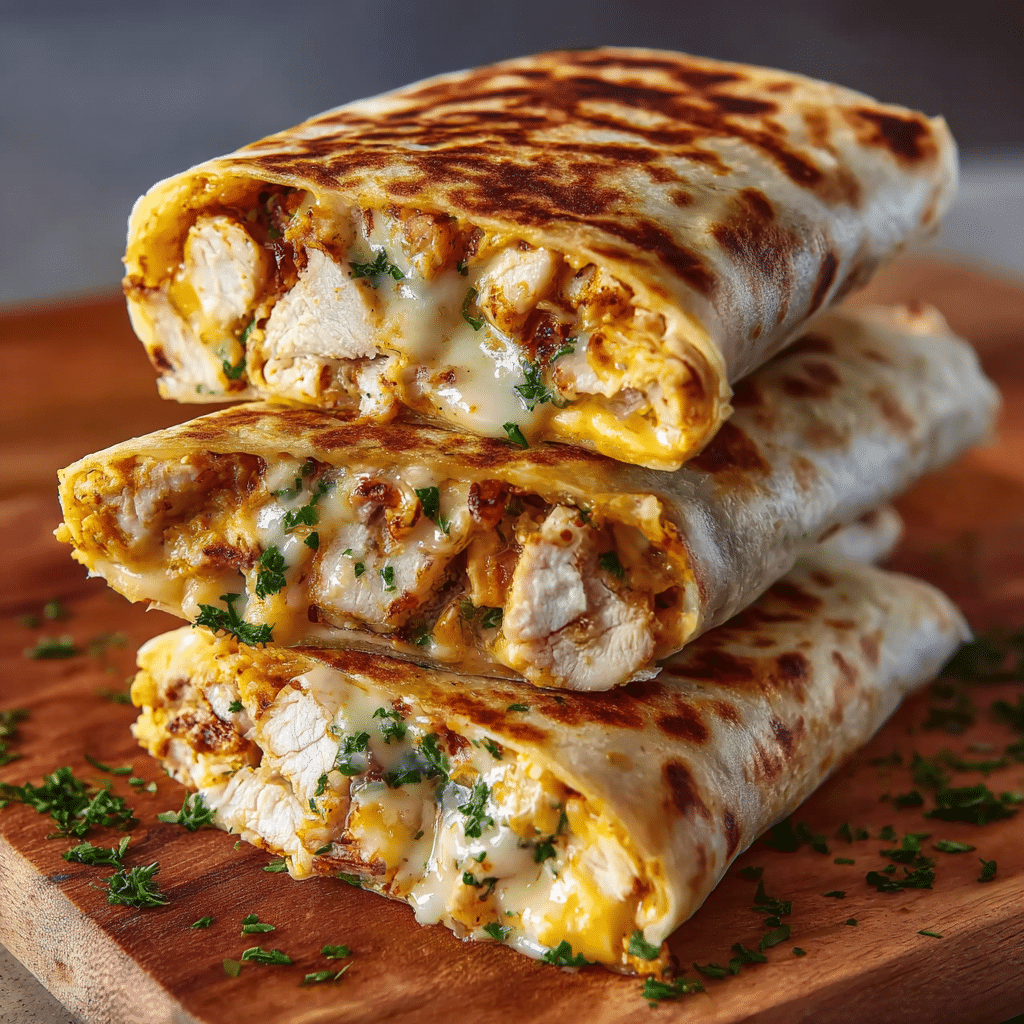
A sprinkle of chopped fresh basil or parsley over the sliced wraps adds a pop of color and garden-fresh aroma. For a little extra flair, dust the tops lightly with grated Parmesan cheese or a small pinch of sea salt. Tiny touches like these elevate The Best Cheesy Garlic Chicken Wraps to bistro-worthy status!
Side Dishes
For a full meal, serve your wraps with crispy sweet potato fries, a fresh green salad tossed in a light vinaigrette, or a bright cucumber-tomato salad. Kids love these wraps paired with carrot sticks and ranch, while adults might savor them alongside seasoned roasted veggies or charred corn on the cob. Add your favorite chips for a casual vibe!
Creative Ways to Present
If you’re serving a crowd, cut each wrap into pinwheels and arrange them on a wooden board with plenty of dipping sauces. Go bento-box style for lunch meal prep, pairing wraps with fruit, pickles, and crunchy veggies. Or wrap them in parchment and twine for picnic-ready, grab-and-go goodness. The Best Cheesy Garlic Chicken Wraps look as fun as they taste!
Make Ahead and Storage
Storing Leftovers
If you have leftovers (though don’t be surprised if these vanish quickly!), let the wraps cool completely. Store them in an airtight container in the refrigerator for up to 3 days. The filling stays creamy, and the wraps remain delightfully satisfying for a grab-and-go lunch or snack the next day.
Freezing
You can absolutely freeze The Best Cheesy Garlic Chicken Wraps! To do so, wrap each one tightly in foil or plastic wrap, then place them in a freezer-safe bag. They’ll keep well for up to 2 months. When you’re ready to enjoy, allow them to thaw overnight in the fridge for best texture.
Reheating
For the best results, reheat wraps in a skillet over medium heat or in a toaster oven—this way, you’ll revive both the crispiness and the gooey cheese. Microwaving works in a pinch, but the tortilla may lose its crunch. Whichever way you pick, just make sure the center is piping hot before you dig in!
FAQs
Can I make The Best Cheesy Garlic Chicken Wraps with rotisserie chicken?
Absolutely! Using shredded rotisserie chicken is a great shortcut and packs plenty of flavor. Just skip the cooking step and add your rotisserie chicken straight into the cheesy garlic mixture.
What tortillas work best for these wraps?
Large flour tortillas are ideal since they’re sturdy enough to hold all the filling and soft enough to roll without cracking. Whole wheat or low-carb options work beautifully too!
Can I make these wraps vegetarian?
Definitely! Simply swap the chicken for sautéed mushrooms, cooked chickpeas, or a mix of roasted veggies. The cheesy garlic mixture ties everything together no matter your filling choice.
How do I keep the wraps from getting soggy?
If making ahead, let the filling cool before wrapping and avoid overfilling. Toasting right before serving adds crispiness, and storing wraps wrapped in paper towels helps absorb excess moisture.
Are The Best Cheesy Garlic Chicken Wraps spicy?
Not as written, but you can easily add heat by sprinkling in red pepper flakes or a little chopped jalapeño. You’re in control—make it as mild or as bold as you like!
Final Thoughts
If you’re ready to upgrade your meal routine, give The Best Cheesy Garlic Chicken Wraps a try! With their melty cheese, bold garlic, and endless ways to customize, these wraps are sure to earn a spot in your regular meal rotation. Your tastebuds (and your family and friends) will thank you!
PrintThe Best Cheesy Garlic Chicken Wraps Recipe
Looking for a quick and delicious meal? Try these Cheesy Garlic Chicken Wraps! With tender chicken, gooey cheese, and fresh veggies wrapped in a soft tortilla, they’re perfect for busy lives. Easy to prepare and customizable to fit any dietary needs, these wraps offer tons of flavor in every bite. Serve with your favorite dips and sides for a complete meal. Get inspired and elevate your weeknight dinners! #CheesyGarlicChicken #Wraps #EasyMeals #MealPrep #HealthyEating
- Prep Time: 15 minutes
- Cook Time: 20 minutes
- Total Time: 35 minutes
- Yield: 4 servings
- Category: Main Dish
- Method: Pan Fry
- Cuisine: American
- Diet: Gluten Free
Ingredients
Chicken:
- 2 boneless, skinless chicken breasts
Cheese Mixture:
- 1 cup shredded mozzarella cheese
- 1/2 cup cream cheese, softened
- 3 cloves garlic, minced
Seasoning and Vegetables:
- 1 tablespoon olive oil
- 1 teaspoon Italian seasoning
- Salt and pepper, to taste
- 4 large flour tortillas
- 1 cup fresh spinach leaves
- 1/2 cup diced tomatoes
- 1/4 cup chopped fresh basil (optional)
- 1/2 teaspoon red pepper flakes (optional, for heat)
Instructions
- Prepare the Chicken: Season the chicken breasts with salt, pepper, and Italian seasoning. Cook until golden brown, then dice or shred.
- Make the Cheesy Garlic Mixture: Combine cream cheese, garlic, and half of mozzarella cheese until creamy.
- Combine Ingredients: Add chicken to cheesy mixture. Mix in spinach, tomatoes, and basil.
- Assemble the Wraps: Spread chicken mixture on tortillas. Roll up tightly.
- Toast the Wraps (optional): Toast wraps in a skillet or panini press until crispy.
- Serve: Cut wraps in half and serve warm with marinara sauce or ranch dressing for dipping.
Nutrition
- Serving Size: 1 wrap
- Calories: 390
- Sugar: 3g
- Sodium: 610mg
- Fat: 18g
- Saturated Fat: 8g
- Unsaturated Fat: 8g
- Trans Fat: 0g
- Carbohydrates: 27g
- Fiber: 2g
- Protein: 29g
- Cholesterol: 90mg

