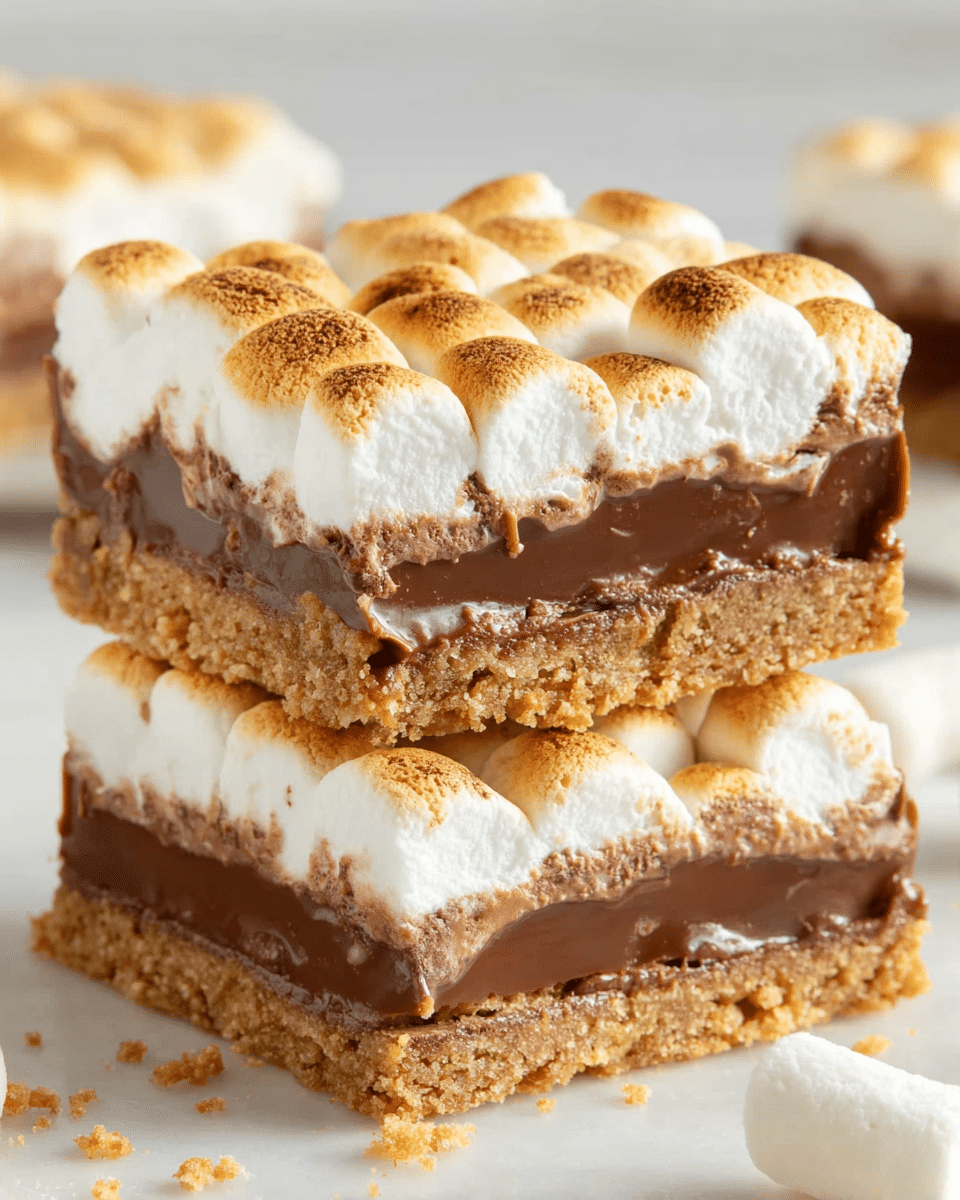
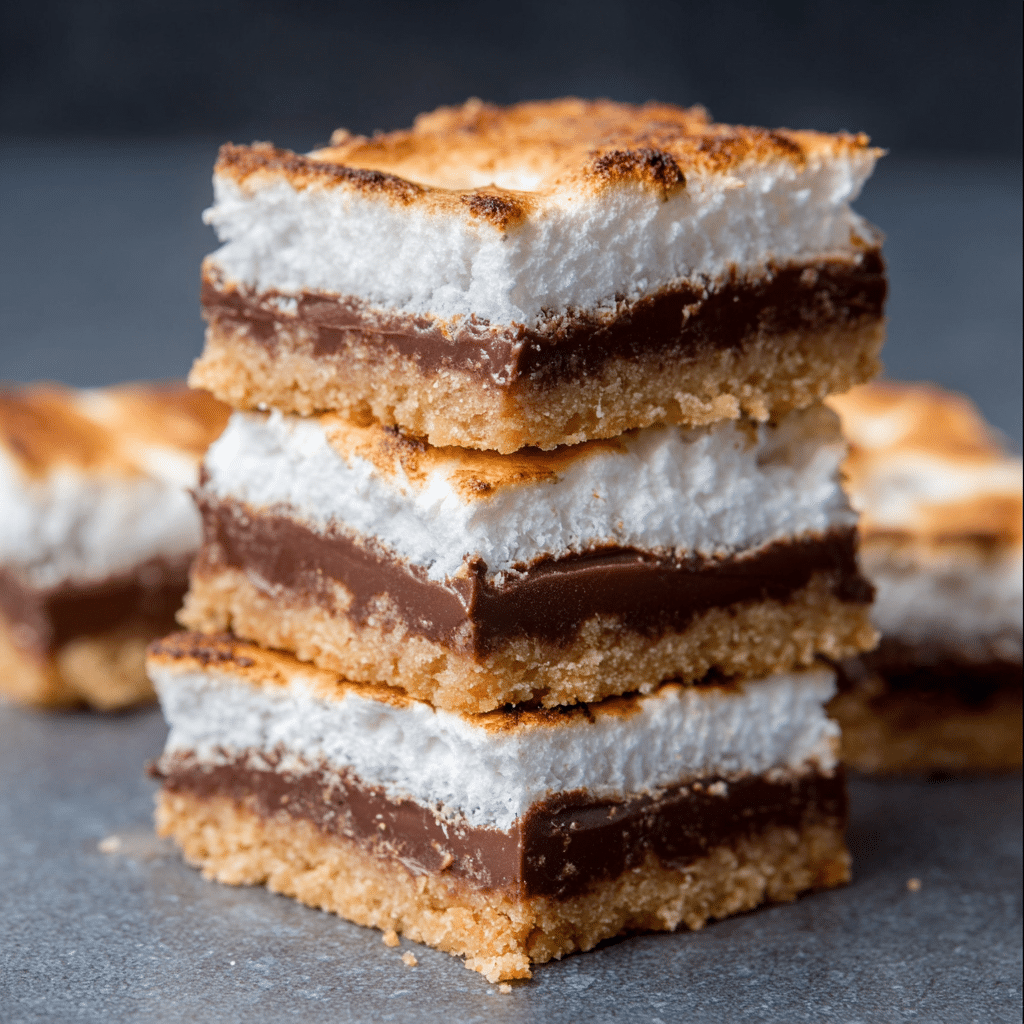
If you’ve ever wished you could bring the magic of a campfire into your kitchen, these S’mores Bars are the answer to your cravings! Every bite is packed with gooey marshmallow, pools of melted chocolate, and that signature crunch from sweet graham crackers. They’re outrageously easy to make—no tent, bug spray, or smoky clothes required—and guarantee a crowd-pleasing treat that taps right into your favorite backyard memories. Whether you’re baking with kids, need a simple potluck dessert, or just want a fun, comforting snack, these S’mores Bars bring the nostalgia of summer nights straight to your oven.
Ingredients You’ll Need
You’ll be amazed how just a few pantry staples transform into a treat so irresistible. Each ingredient is carefully chosen to layer on classic flavors, and together, they make these S’mores Bars worthy of repeat dessert status.
- Graham cracker crumbs: These form the buttery, crunchy base and recreate that essential campfire flavor.
- Powdered sugar: Adds sweetness and helps the crust hold together with just the right texture.
- Butter (melted): Binds everything together, creating a rich, golden crust with a touch of indulgence.
- Hershey’s chocolate bars: Classic milk chocolate bars melt into dreamy puddles for that perfect ooze.
- Mini marshmallows: Toasted on top, these give the bars their iconic gooeyness and golden tops—just like the real thing!
How to Make S’mores Bars
Step 1: Prepare the Pan
Preheat your oven to 350°F and give your 9 x 13-inch pan a generous coat of non-stick butter spray. This step ensures your S’mores Bars release easily, so you get neat, sticky squares without any bits left behind. A little prep now means happier serving later!
Step 2: Mix and Press the Crust
In a medium bowl, combine the graham cracker crumbs, powdered sugar, and melted butter. Stir with a spoon until all the crumbs are evenly moistened. Then, pour the crumb mixture into your prepared pan, distributing it evenly and pressing down firmly with your fingers along the bottom and up the sides. The more you compact, the better your crust will hold together!
Step 3: Bake the Crust
Slide the pan into the oven and bake for 5 to 8 minutes. You’re looking for the edges to turn a light golden brown—this boost of heat helps set the crust so it’s sturdy enough for all that melty goodness on top. Once you see color, pull the pan out and let it cool briefly.
Step 4: Add the Chocolate Layer
Arrange the Hershey’s bars over the cooled crust, breaking them as needed to ensure an even layer that covers the surface. Return the pan to the oven for about 3 minutes. The chocolate should look shiny and just start to melt, which makes it easier to spread that next layer of marshmallows.
Step 5: Top with Marshmallows
Let the chocolate cool for 1 to 2 minutes, then sprinkle the mini marshmallows right over the top. Tile them in close so every bite is gooey and golden. Don’t worry if it looks like a lot—the marshmallows will melt and puff up beautifully!
Step 6: Broil for the Finish
Set your oven to broil, slide the pan back in, and keep a close eye on things. It should take about 2 minutes for the marshmallows to puff and brown. Be vigilant; they go from golden to burnt quickly! As soon as they’re toasted to your liking, pull the pan out and let everything cool completely before cutting.
Step 7: Slice and Serve
Once the bars are fully cool (trust me, it’s worth the wait!), run a sharp knife under hot water, dry it, and slice your S’mores Bars into tidy squares. The heated knife helps cut through sticky marshmallows and melty chocolate for those perfect bakery-style edges.
How to Serve S’mores Bars
Garnishes
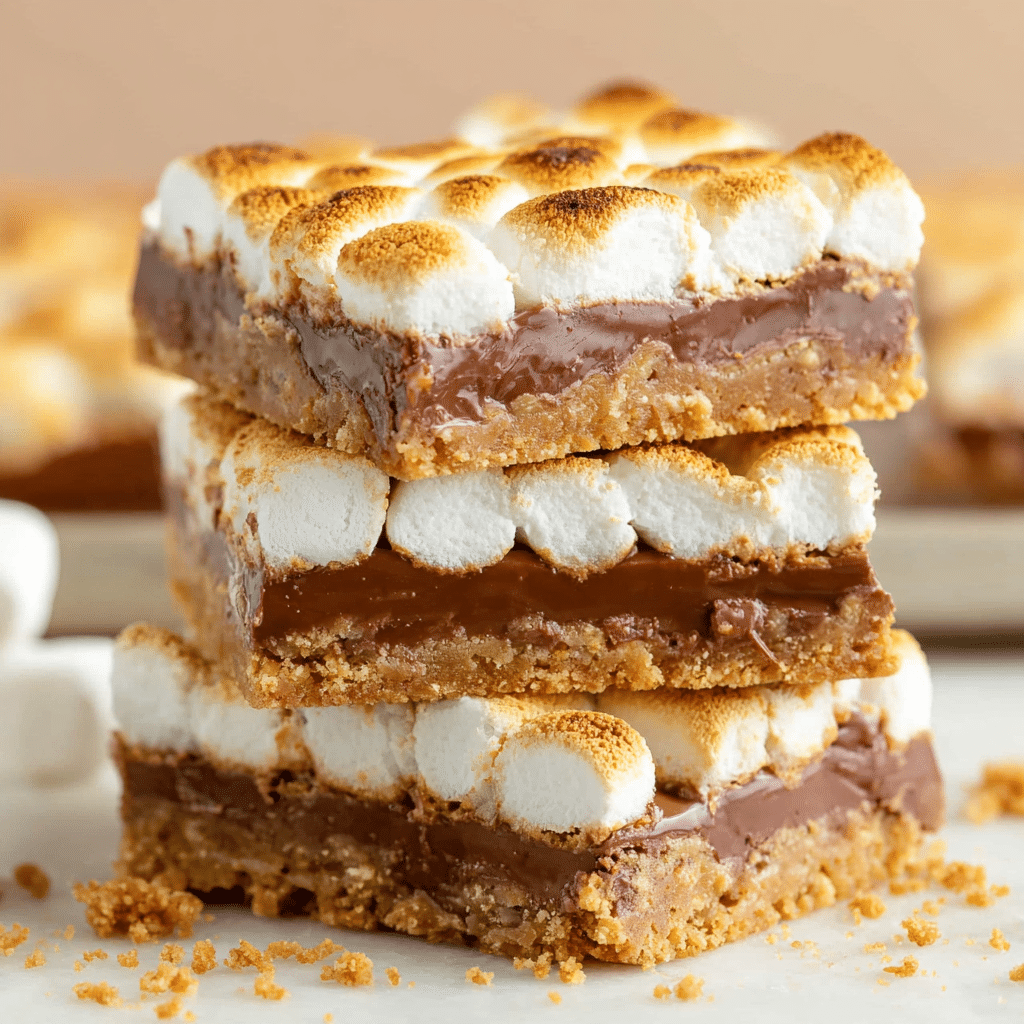
Add a sprinkle of flaky sea salt on top just before serving for a grown-up twist, or drizzle with a little melted chocolate for extra drama. Crumbled graham crackers or even a few mini chocolate chips make delightful, crunchy garnishes that echo those signature layers.
Side Dishes
Serve these bars alongside a scoop of vanilla ice cream or a big glass of cold milk to tame all that sweet, gooey richness. For parties, you can pair S’mores Bars with a platter of fresh berries to provide a refreshing contrast—and a little splash of color!
Creative Ways to Present
Stack S’mores Bars on a rustic wooden board for a campfire-inspired dessert spread or wrap individual bars in parchment and twine for grab-and-go treats. For special occasions, press the cut bars gently into muffin liners and serve them cupcake-style—easy to handle and super cute!
Make Ahead and Storage
Storing Leftovers
Store leftover S’mores Bars in an airtight container at room temperature for up to 3 days. If your kitchen is particularly warm, you can store them in the fridge to keep the chocolate firm and marshmallows fresh.
Freezing
You can freeze these bars for longer storage. Cut the fully cooled bars, separate layers with wax paper, and place them in a freezer-safe container. They’ll keep beautifully for up to 2 months—just thaw at room temperature when you’re ready to serve.
Reheating
If you love that just-melted texture, pop a S’mores Bar in the microwave for 10 to 15 seconds before eating. The chocolate and marshmallows will become gooey all over again. Just be careful not to overheat or the marshmallows will puff up and get messy!
FAQs
Can I use large marshmallows instead of mini?
Mini marshmallows create an even, easily layered top, but if you only have large ones, you can chop them up or cut them in half. Just make sure they’re distributed evenly so you get gooey marshmallow in every bite!
What’s the best way to crush graham crackers for the crust?
You can use a food processor for super fine crumbs, or place the crackers in a zip-top bag and smash with a rolling pin for a fun, no-mess option. The finer the crumbs, the better they’ll stick together with the butter and sugar.
Can I swap the chocolate bars for chocolate chips?
Absolutely! Chocolate chips melt well, and mixing milk and semi-sweet chips adds more complexity. Just use about 11 ounces (about 2 cups) in place of the bars for great results in your S’mores Bars.
How do I keep the marshmallows from burning under the broiler?
Keep a very close watch during broiling—don’t walk away! Broil with the oven door slightly ajar, and rotate the pan if needed for even browning. Once they’re toasted, remove the S’mores Bars promptly.
Can I make S’mores Bars gluten free?
Yes, just substitute gluten-free graham crackers for the crust. Brands and sizes vary, so check that you have about 2 cups of crumbs, and proceed as usual. The rest of the ingredients are naturally gluten free!
Final Thoughts
If you’re looking for a delicious way to relive summer campfire memories, these S’mores Bars deliver all the nostalgia and none of the hassle. Give them a try next time a sweet tooth strikes or you want to wow friends at your next get-together—your inner child (and everyone else) will thank you!
PrintS’mores Bars Recipe
Indulge in the irresistible combination of gooey marshmallow, melted chocolate, and crunchy graham crackers with these delicious S’mores Bars. Perfect for a sweet treat or a crowd-pleasing dessert.
- Prep Time: 10 minutes
- Cook Time: 15 minutes
- Total Time: 25 minutes
- Yield: 16 bars
- Category: Dessert
- Method: Baking
- Cuisine: American
- Diet: Vegetarian
Ingredients
Graham Cracker Crust:
- 2 cups graham cracker crumbs
- ½ cup powdered sugar
- 8 to 12 tablespoons butter, melted
Layers:
- 4 Hershey’s chocolate bars (4.4-ounce bars)
- 10 ounces mini marshmallows (1 package)
Instructions
- Preheat the oven: Preheat to 350°F and grease a 9 x 13-inch pan.
- Mix crust ingredients: Combine graham cracker crumbs, powdered sugar, and melted butter in a bowl.
- Press crust into pan: Press mixture firmly into the pan to form the crust.
- Add chocolate: Layer chocolate bars on top of the crust.
- Bake: Bake until chocolate begins to melt.
- Add marshmallows: Top with mini marshmallows.
- Broil: Broil for 2 minutes until marshmallows brown.
- Cool and serve: Let cool, then cut into bars and serve.
Notes
- If using whole graham crackers, crush them in a Ziploc bag or food processor.
- Add melted butter gradually to achieve the right crust consistency.
- Check crust at the lower end of the baking time due to oven variations.
- Keep layers flat for even baking; consider using a kitchen torch for browning marshmallows.
- For clean cuts, heat knife before slicing through the marshmallows.
Nutrition
- Serving Size: 1 bar
- Calories: 280
- Sugar: 22g
- Sodium: 150mg
- Fat: 12g
- Saturated Fat: 7g
- Unsaturated Fat: 4g
- Trans Fat: 0g
- Carbohydrates: 40g
- Fiber: 1g
- Protein: 2g
- Cholesterol: 15mg

