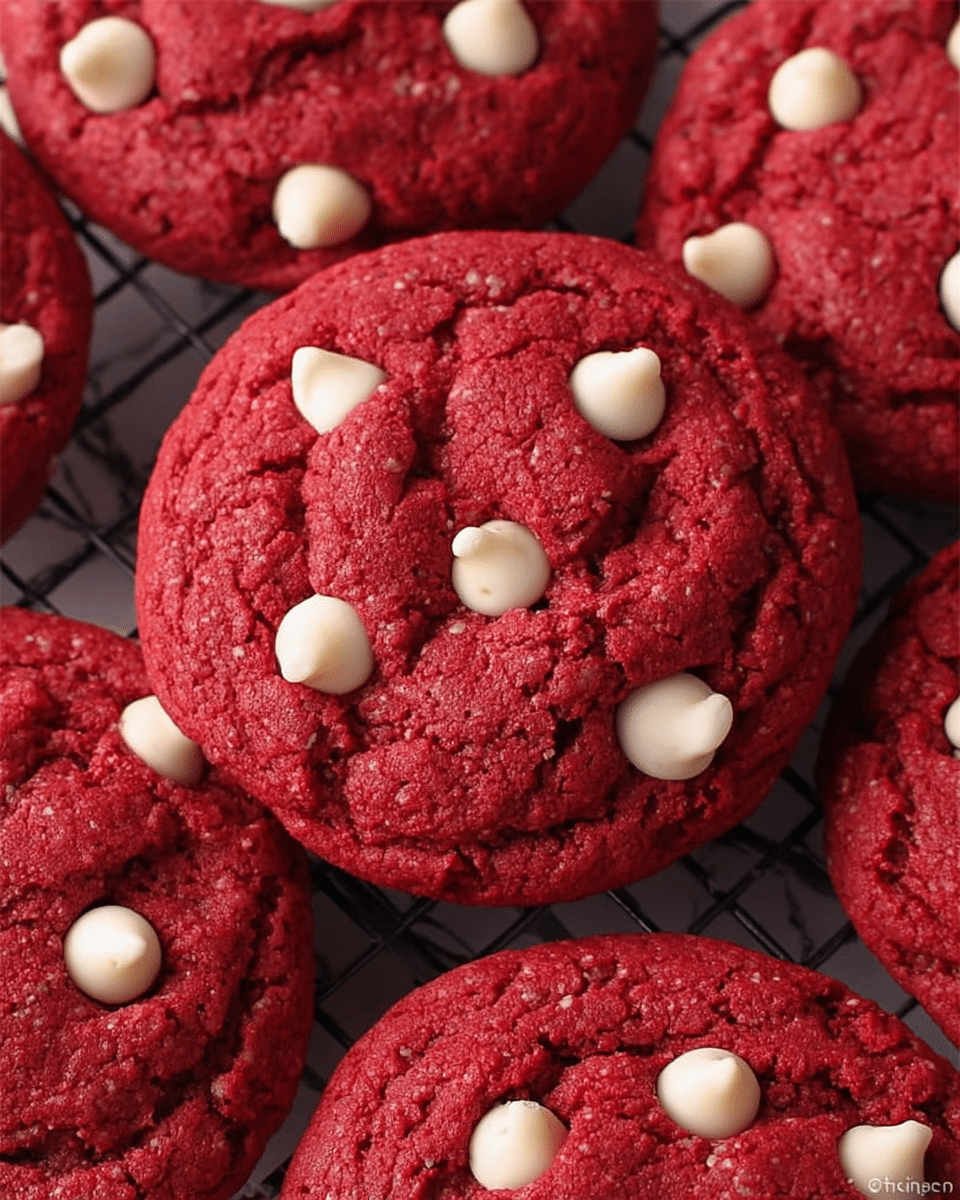
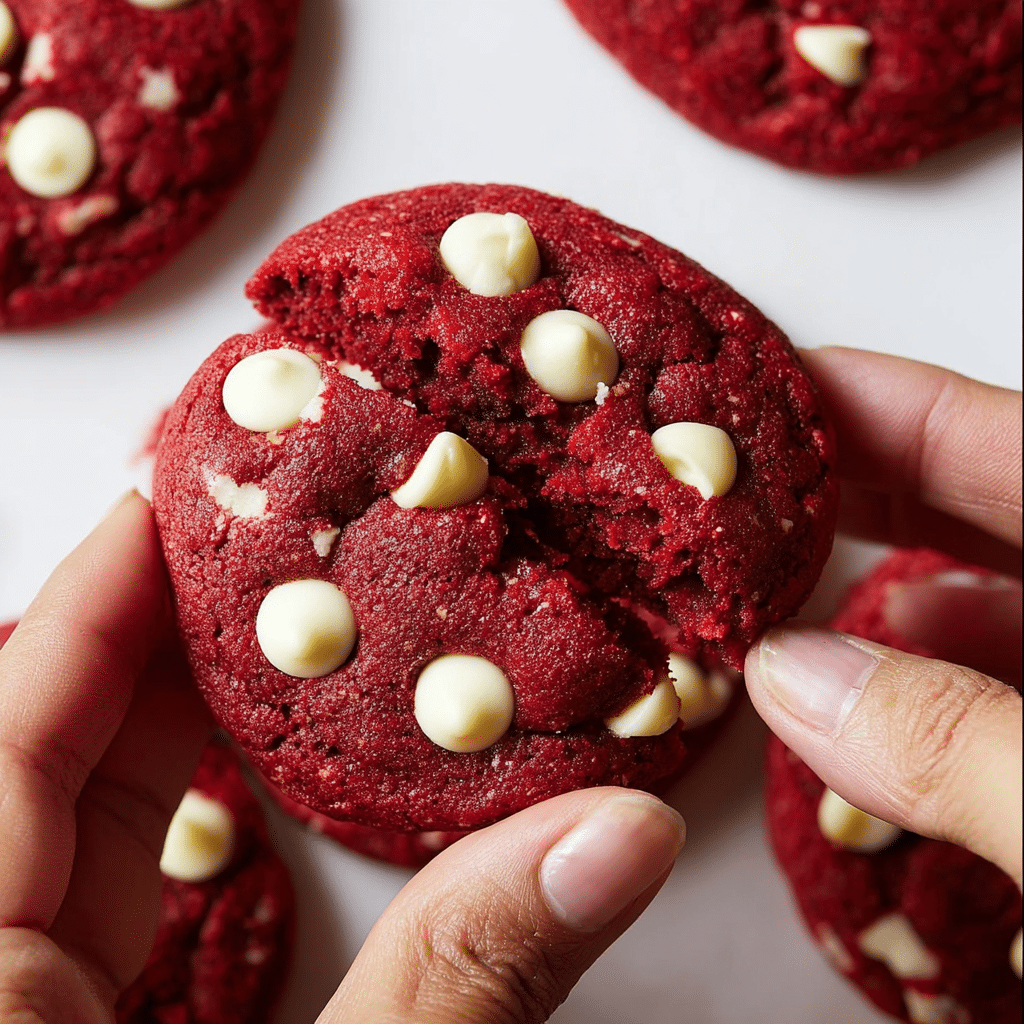
If you’re craving something rich, velvety, and just the right kind of chocolatey, these Red Velvet Muffins are about to become your new favorite bake. With their signature deep crimson crumb, plush texture, and sweet finish of white chocolate chips, each bite feels like a joyful little celebration. Whether you’re making them for a special brunch, a holiday treat, or as a just-because indulgence, these muffins are a guaranteed crowd-pleaser. Plus, they’re simple enough for beginners but decadent enough to impress any guest. Get ready to fall head-over-heels for Red Velvet Muffins!
Ingredients You’ll Need
What makes these Red Velvet Muffins truly unforgettable is how a handful of simple, everyday ingredients come together to create magic. Every item in this list builds flavor, texture, or that signature vibrant color you know and love.
- All-Purpose Flour: The foundation of your muffins, creating a tender crumb and structure.
- Unsweetened Cocoa Powder: Adds a subtle chocolate note for classic red velvet flavor.
- Baking Powder: Gives your muffins a beautiful, even rise.
- Baking Soda: Works with the buttermilk for a light, fluffy interior.
- Salt: Enhances all the flavors and balances the sweetness.
- Neutral Baking Oil: Keeps the muffins moist without adding extra flavor.
- Unsalted Butter (melted & cooled): Brings richness and a melt-in-your-mouth texture.
- Granulated Sugar: Sweetens and helps with that delicate crumb.
- Large Eggs (room temperature): Binds everything together for structure and lift.
- Red Gel Food Coloring: Just a teaspoon or two delivers the classic vibrant red hue.
- Vanilla Extract: Rounds out the flavor profile with fragrant depth.
- Buttermilk (room temperature): Adds tang, tenderness, and helps react with baking soda for a soft muffin.
- White Chocolate Chips: Sweet pops of creamy chocolate in every bite.
How to Make Red Velvet Muffins
Step 1: Combine Dry Ingredients
Grab a medium mixing bowl and whisk together your flour, cocoa powder, baking powder, baking soda, and salt. Whisking ensures everything is beautifully blended, so your Red Velvet Muffins bake up with even color and texture throughout each muffin.
Step 2: Mix the Wet Ingredients
In a separate large bowl, whisk the melted and cooled butter, neutral oil, granulated sugar, eggs, vanilla extract, and a generous swirl of red gel food coloring. This vibrant liquid base is the secret to both the plushness and color that set Red Velvet Muffins apart.
Step 3: Combine Wet and Dry with Buttermilk
Place a mesh strainer over your wet mixture and carefully sift in the dry ingredients, alternating with buttermilk. Start and finish with the dry mixture, adding buttermilk in between—this process prevents overmixing and helps keep the crumb soft. Use a gentle hand and fold just until everything is combined.
Step 4: Rest the Batter
Cover the bowl with a clean kitchen towel or lid and let the batter rest at room temperature for 30 minutes. This important step lets the glutens relax and hydrate, making the muffins extra tender. If you need to wait longer, just tuck the covered bowl into the fridge. Right before baking, gently fold in the white chocolate chips.
Step 5: Fill Your Muffin Cups
Line 1 to 2 muffin pans with cupcake liners. Using a 3-tablespoon cookie scoop, fill each liner with batter. For those bakery-style tall tops, try only filling every other cup in the pan. This little trick allows the muffins to rise higher and look picture-perfect.
Step 6: Bake to Perfection
Slide your muffin pans into a preheated 375 F (190 C) oven and bake for 18 to 22 minutes. Peek in at the 18-minute mark and check doneness with a toothpick; if it comes out mostly clean with just a few moist crumbs, they’re ready! As soon as they emerge from the oven, you can press a few extra white chocolate chips on top if you like. Let them cool briefly, then transfer to a wire rack—or enjoy a warm one right away!
How to Serve Red Velvet Muffins

Garnishes
Take your Red Velvet Muffins up a notch by adding a sprinkle of powdered sugar or a drizzle of melted white chocolate before serving. Fresh berries or a dollop of cream cheese frosting on the side also pair beautifully, making them look as fantastic as they taste.
Side Dishes
These muffins shine alongside a fresh fruit salad, a cup of creamy Greek yogurt, or even a cool glass of milk. For a brunch spread, serve them next to scrambled eggs and crispy bacon for a decadent sweet-and-savory balance.
Creative Ways to Present
For special occasions, arrange the muffins on a tiered cake stand and top each with a swirl of whipped cream and a few blueberries or strawberries for contrast. For a fun twist, try baking mini Red Velvet Muffins for a bite-sized treat that’s perfect on dessert platters or as edible party favors.
Make Ahead and Storage
Storing Leftovers
Place any leftover Red Velvet Muffins in an airtight container once they’ve cooled to room temperature. They’ll stay fresh and moist at room temperature for up to three days, so you can savor the treat all week long.
Freezing
If you want to save muffins for later, wrap each one individually in plastic wrap or freezer-safe bags, then stash them in the freezer. They’ll keep beautifully for up to two months, and the white chocolate stays creamy after reheating.
Reheating
When ready to enjoy, simply let your muffins thaw at room temperature or give them a quick 10- to 15-second zap in the microwave. They’ll taste almost as good as fresh, especially if you warm them just enough to melt the white chocolate chips inside!
FAQs
Can I use a different type of chocolate instead of white chocolate chips?
Absolutely! Dark or milk chocolate chips work just as well, giving your Red Velvet Muffins a deeper chocolate richness. You can even try a mix for extra variety in every bite.
Is there a substitute for buttermilk?
If you don’t have buttermilk on hand, make your own by adding 1 tablespoon of lemon juice or white vinegar to 1 cup of milk. Let it sit for five minutes—voila, homemade buttermilk ready to go!
Can I turn this recipe into a loaf or cake?
Yes, you can bake the same batter as a loaf or as cupcakes. For a loaf, increase the bake time and keep a close eye, checking with a toothpick for doneness. The flavors will hold up beautifully!
What’s the secret to the bright, classic red color?
Red gel food coloring is key—it creates that bold, vibrant red without thinning out your batter, so your muffins always come out perfectly hued.
How can I make these muffins gluten-free?
Simply substitute a 1:1 gluten-free baking flour blend for the all-purpose flour. Everything else can stay exactly the same, so everyone can enjoy your Red Velvet Muffins!
Final Thoughts
There’s a certain joy that comes from sharing a platter of fresh, homemade Red Velvet Muffins—especially when every bite is as soft, decadent, and eye-catching as these. Give them a try and don’t be surprised if they become your new go-to for weekdays and special days alike. Happy baking!
PrintRed Velvet Muffins Recipe
Delicious, moist Red Velvet Muffins with a hint of cocoa and white chocolate chips, perfect for a delightful treat or special occasion.
- Prep Time: 20 minutes
- Cook Time: 20 minutes
- Total Time: 1 hour
- Yield: 12 muffins
- Category: Dessert
- Method: Baking
- Cuisine: American
- Diet: Vegetarian
Ingredients
Dry Ingredients:
- 2 cups (240 g) all-purpose flour
- ¼ cup (20 g) unsweetened cocoa powder
- 2 teaspoons baking powder
- ¼ teaspoon baking soda
- ½ teaspoon salt
Wet Ingredients:
- ¼ cup (59 ml) neutral baking oil
- ¼ cup (57 g) unsalted butter, melted and cooled slightly
- 1 cup (200 g) granulated sugar
- 2 large eggs, room temperature
- 1 – 2 teaspoons red gel food coloring
- 2 teaspoons vanilla extract
- 1 cup (237 ml) buttermilk, room temperature
- 1 cup (170 g) white chocolate chips
Instructions
- Dry Ingredients: Whisk flour, cocoa powder, baking powder, baking soda, and salt in a mixing bowl.
- Wet Ingredients: Whisk melted butter, oil, sugar, eggs, vanilla, and red food coloring in another bowl. Sift dry ingredients into wet, alternating with buttermilk until just combined. Rest batter, then fold in white chocolate chips.
- Cover and rest batter at room temperature. Preheat oven to 375 F (190 C). Scoop batter into lined muffin pans. Bake for 18-22 minutes until a toothpick comes out with moist crumbs. Cool and enjoy!
Nutrition
- Serving Size: 1 muffin
- Calories: 280
- Sugar: 20g
- Sodium: 200mg
- Fat: 12g
- Saturated Fat: 6g
- Unsaturated Fat: 5g
- Trans Fat: 0g
- Carbohydrates: 38g
- Fiber: 1g
- Protein: 4g
- Cholesterol: 45mg

