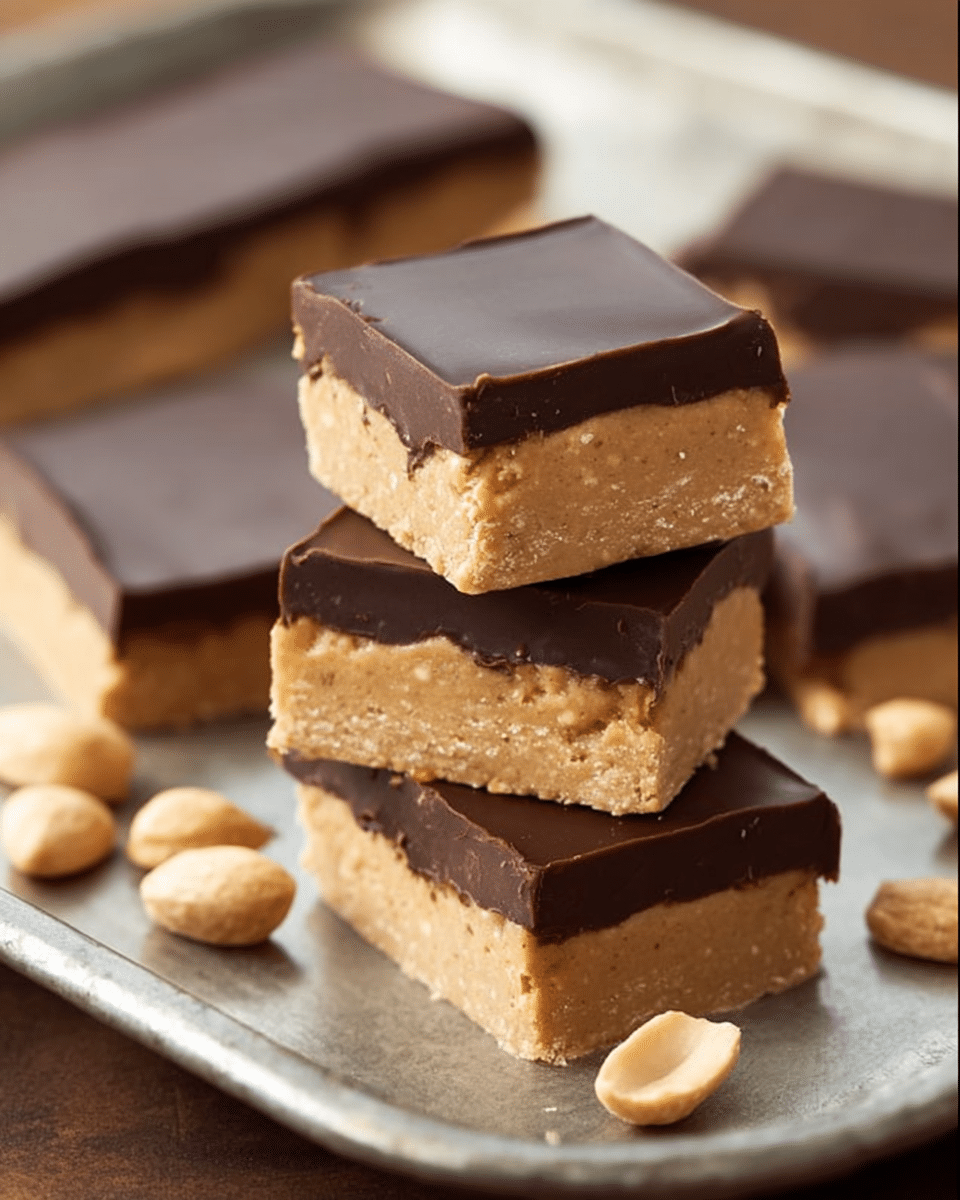
Say hello to your new favorite snack: Protein Bars! These bars are everything you want in a homemade treat—quick, easy, nourishing, and totally customizable to fit your cravings. With just four wholesome ingredients and minimal prep time, this recipe has quickly become my go-to for those busy days when I need a delicious pick-me-up. Whether you want them to fuel your afternoon, boost your morning, or serve as a post-workout reward, you’ll love having these tasty, chewy Protein Bars stashed in your fridge or freezer.
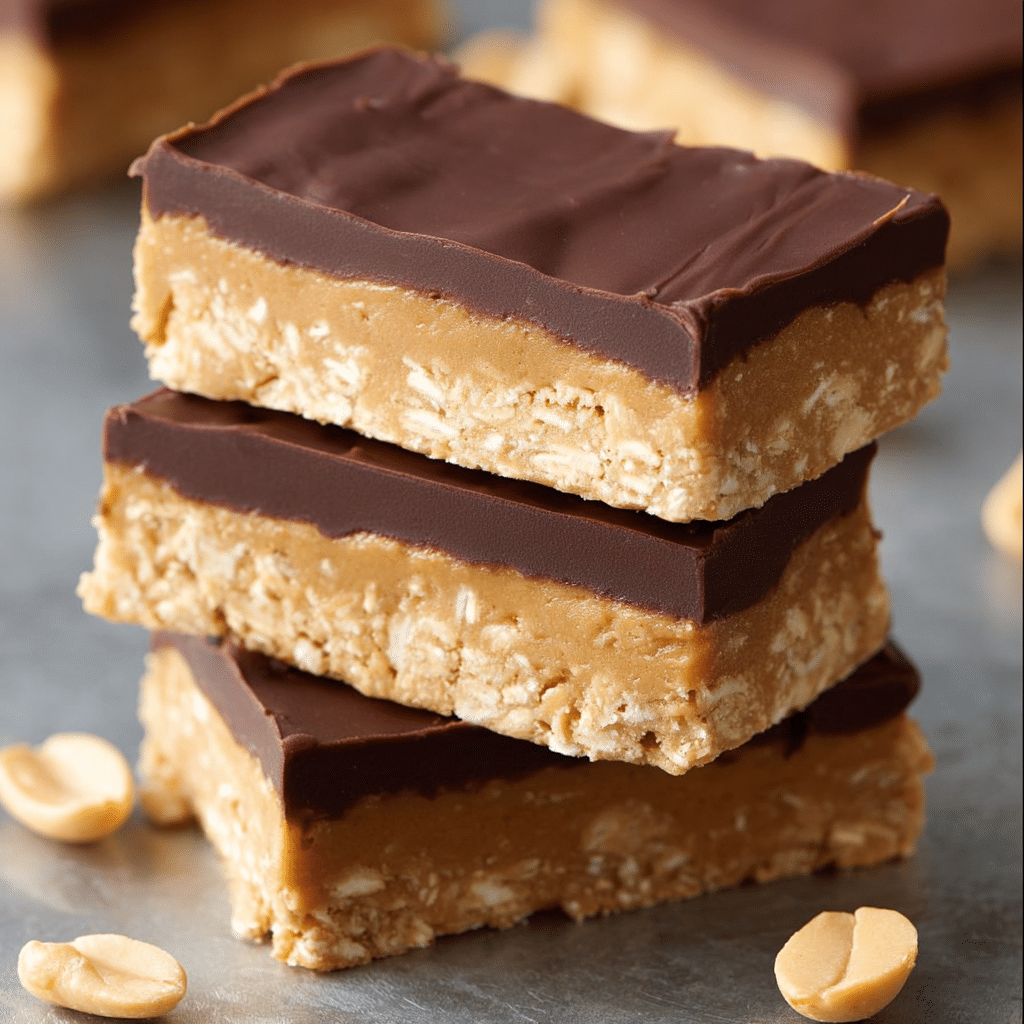
Ingredients You’ll Need
One of the best things about this recipe is that the ingredient list is beautifully short, but each addition packs a punch in both nutrition and flavor. With their rich textures and subtle sweetness, these ingredients blend together to create the perfect base for all your Protein Bar dreams.
- Peanut Butter (or allergy-friendly substitute): The glue that binds everything together and gives these bars their irresistibly creamy, nutty taste. Try almond or sunflower seed butter for an easy swap!
- Protein Powder: The muscle of the recipe—use your favorite brand, but make sure you love the taste since it’s front and center here!
- Pure Maple Syrup or Honey: Adds natural sweetness and moisture, making the bars soft without being sticky or cloying.
- Salt: Just a pinch makes every flavor pop—don’t skip it! It balances the sweetness and enhances the nutty undertones.
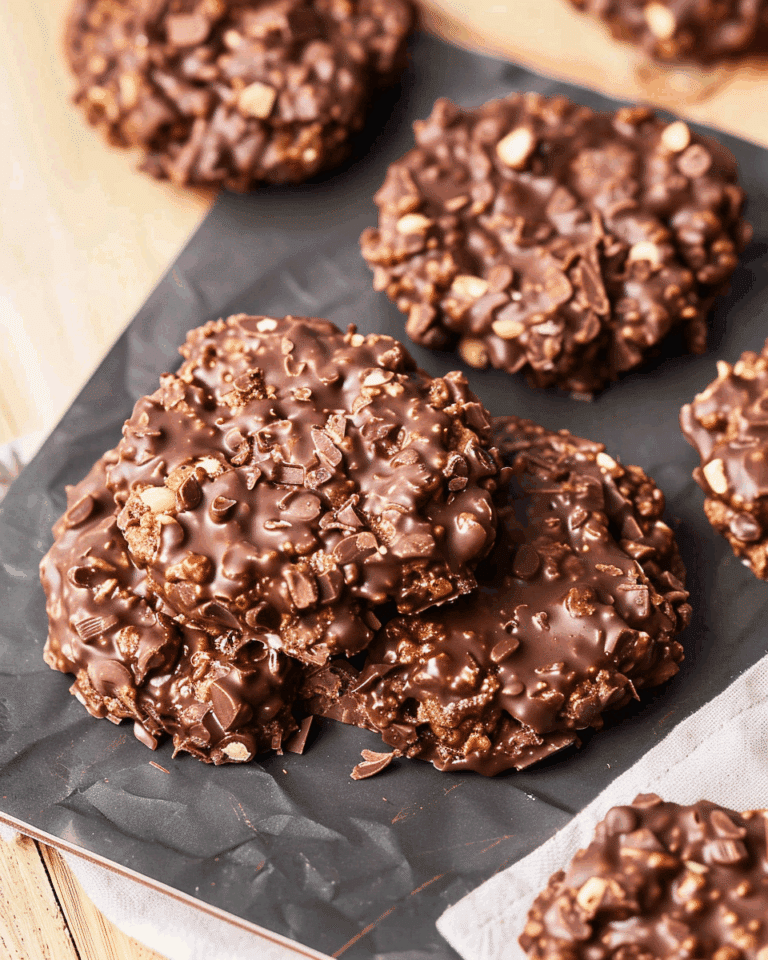
- Melted Chocolate Chips (optional): For all the chocolate lovers out there, a glossy chocolate layer or drizzle turns your bars into a true treat.
How to Make Protein Bars
Step 1: Combine the Base Ingredients
Start by grabbing a large mixing bowl, then add your peanut butter, protein powder, maple syrup (or honey), and salt. Give everything a thorough stir—you want the mixture to come together into a thick dough. If the dough feels a bit dry, add an extra drizzle of maple syrup; if too sticky, a little more protein powder does the trick. The goal is a cohesive dough you can shape with your hands.
Step 2: Shape and Press
Now comes the fun, hands-on part! Either scoop the dough and shape it into bars using your hands, or opt for the easy route: press the dough into a parchment-lined 8×8-inch pan for perfectly even bars. Use the back of a spoon or spatula to smooth the top, pressing firmly so your Protein Bars hold together well when cut.
Step 3: Optional Chocolate Topping
If you’re going for that gorgeous chocolate finish, melt your chocolate chips (a quick burst in the microwave or a gentle melt on the stovetop does the job). For a silky-smooth topping, stir in a teaspoon or two of coconut oil. Either drizzle the melted chocolate over the pan and spread it, or dip individual bars—whatever feels most fun. The chocolate will set beautifully once chilled.
Step 4: Chill and Cut
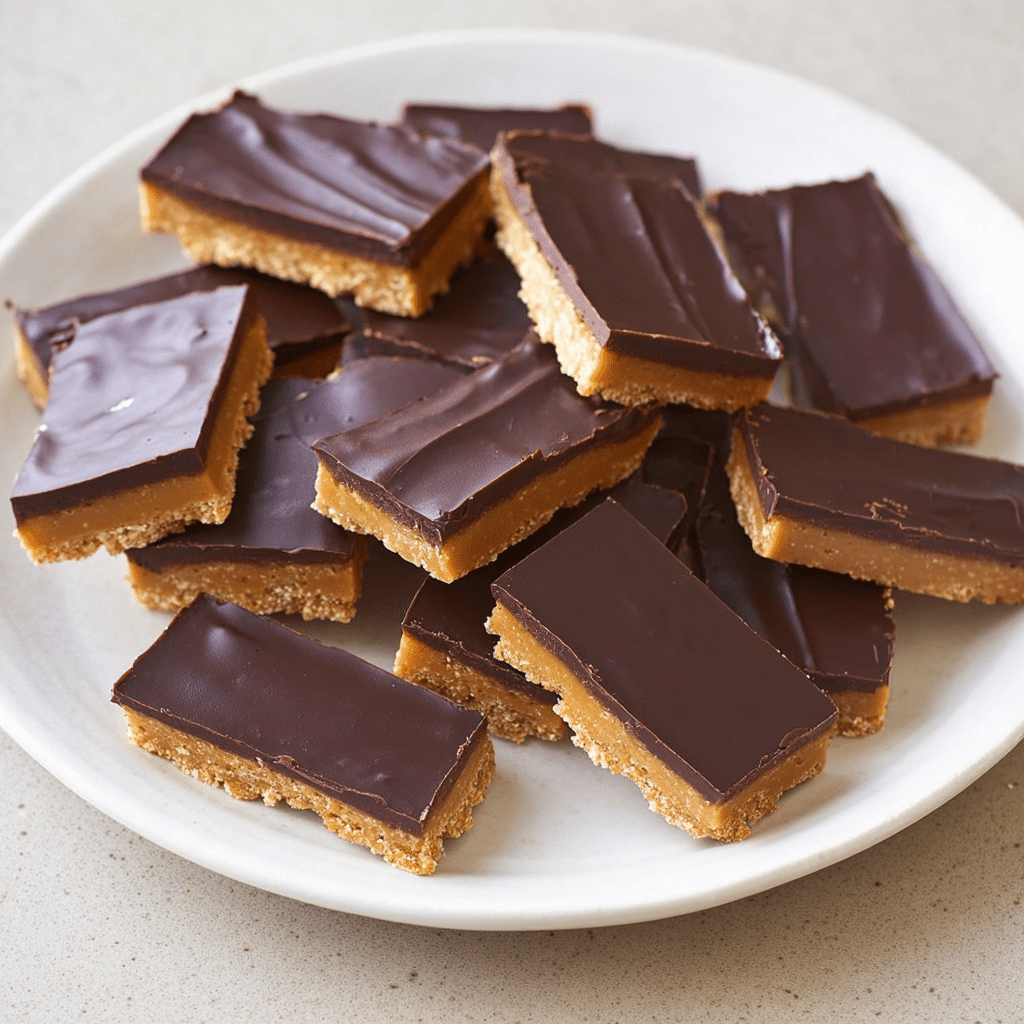
Pop the pan or shaped bars in the fridge for at least 30 minutes. This firms everything up and makes slicing a breeze. Once set, lift out (thanks, parchment paper!) and slice into bars—aim for 10 to 16, depending on your preferred size.
How to Serve Protein Bars
Garnishes
You can keep your Protein Bars classic, or jazz them up with simple garnishes: try a sprinkle of flaky sea salt, a dusting of chopped nuts, or even a scattering of toasted coconut. These extra touches not only amp up the flavor but make the bars look downright irresistible.
Side Dishes
Serve your bars alongside a chilled smoothie, a cup of Greek yogurt, or some sliced fresh fruit for a complete snack or a light breakfast. They also make a great companion to your favorite cup of coffee or tea—hello, easy morning routine!
Creative Ways to Present
Feeling playful? Cut your Protein Bars into fun shapes using cookie cutters, or stack them in mason jars for a pretty gift. You can even wrap individual bars in parchment paper and tie with twine for a snack that’s both grab-and-go and Instagram-ready.
Make Ahead and Storage
Storing Leftovers
Leftover Protein Bars store wonderfully in the fridge. Pop them in an airtight container, separating layers with parchment to prevent sticking. They’ll stay fresh and chewy for up to one week—assuming you don’t eat them all before then!
Freezing
Absolutely! These bars freeze like a dream. Arrange them in a single layer (or separated by parchment) in a container or freezer bag, and freeze for up to three months. Thaw them in the fridge or on the counter whenever you want a quick protein boost.
Reheating
No need to reheat these bars—just enjoy them straight from the fridge or at room temperature! If you have frozen them, let them thaw for 20–30 minutes for the perfect, fudgy texture.
FAQs
Can I use a different nut butter if I have a peanut allergy?
Absolutely! Almond butter, cashew butter, or sunflower seed butter all work beautifully and maintain the creamy consistency. Just make sure it’s the drippy kind, not super thick, for best results.
What kind of protein powder is best for this recipe?
Choose a protein powder you love the taste of—unsweetened is preferred for flexibility, but vanilla or chocolate flavors are delicious, too. Both plant-based and whey protein work well here, so use what suits your dietary needs.
How can I make these Protein Bars vegan?
Go the vegan route by using a plant-based protein powder, maple syrup instead of honey, and dairy-free chocolate chips. It’s a super simple swap that keeps all the chewy, chocolatey goodness!
What are some fun flavor variations?
Mix-ins are your friend! Fold in mini chocolate chips, dried cranberries, shredded coconut, or a handful of chopped nuts for new textures and flavors. You can also add a dash of cinnamon, espresso powder, or orange zest for an unexpected twist.
Do I need to bake these bars?
No baking required—one of the biggest perks of this recipe! Everything comes together in a bowl, sets in the fridge, and is ready to eat. Perfect for summer days when you want a protein snack without heating up the kitchen.
Final Thoughts
If you’re looking for a speedy, nutritious, and endlessly adaptable snack, these Protein Bars are the answer. Give them a try—you’ll be amazed at how quickly they’re devoured and how easy it is to personalize each batch. Happy snacking!
PrintProtein Bars Recipe
Enjoy a simple and customizable protein bars recipe that requires just four main ingredients. These protein bars offer a healthy and delicious snack option.
- Prep Time: 5 minutes
- Total Time: 5 minutes
- Yield: 10 – 16 protein bars
- Category: Snack
- Method: Mixing
- Cuisine: N/A
- Diet: Vegetarian
Ingredients
Peanut Butter Protein Bars:
- 1 1/2 cups peanut butter or allergy-friendly substitute
- 3/4 cup protein powder (90g)
- 1/4 cup pure maple syrup or honey
- 1/2 tsp salt
- 4 oz melted chocolate chips (optional)
Instructions
- Prepare the Dough: Combine all ingredients except optional chocolate chips to form a dough.
- Shape the Bars: Shape the dough into bars by hand or press into a lined 8×8 pan. Refrigerate until firm, then cut into bars.
- Add Chocolate Coating: Optionally, spread melted chocolate over the bars before chilling, or dip the bars individually in chocolate sauce. Chill to set.
Notes
- Experiment with different protein powder flavors for varied tastes.
- For a smoother chocolate coating, consider adding 2 tsp of oil to the melted chocolate.
Nutrition
- Serving Size: 1 protein bar
- Calories: 160 kcal
- Sugar: 2.9g
- Sodium: 78mg
- Fat: 11g
- Saturated Fat: 1.5g
- Unsaturated Fat: 9.5g
- Trans Fat: 0g
- Carbohydrates: 5.8g
- Fiber: 1.8g
- Protein: 12g
- Cholesterol: 0mg

