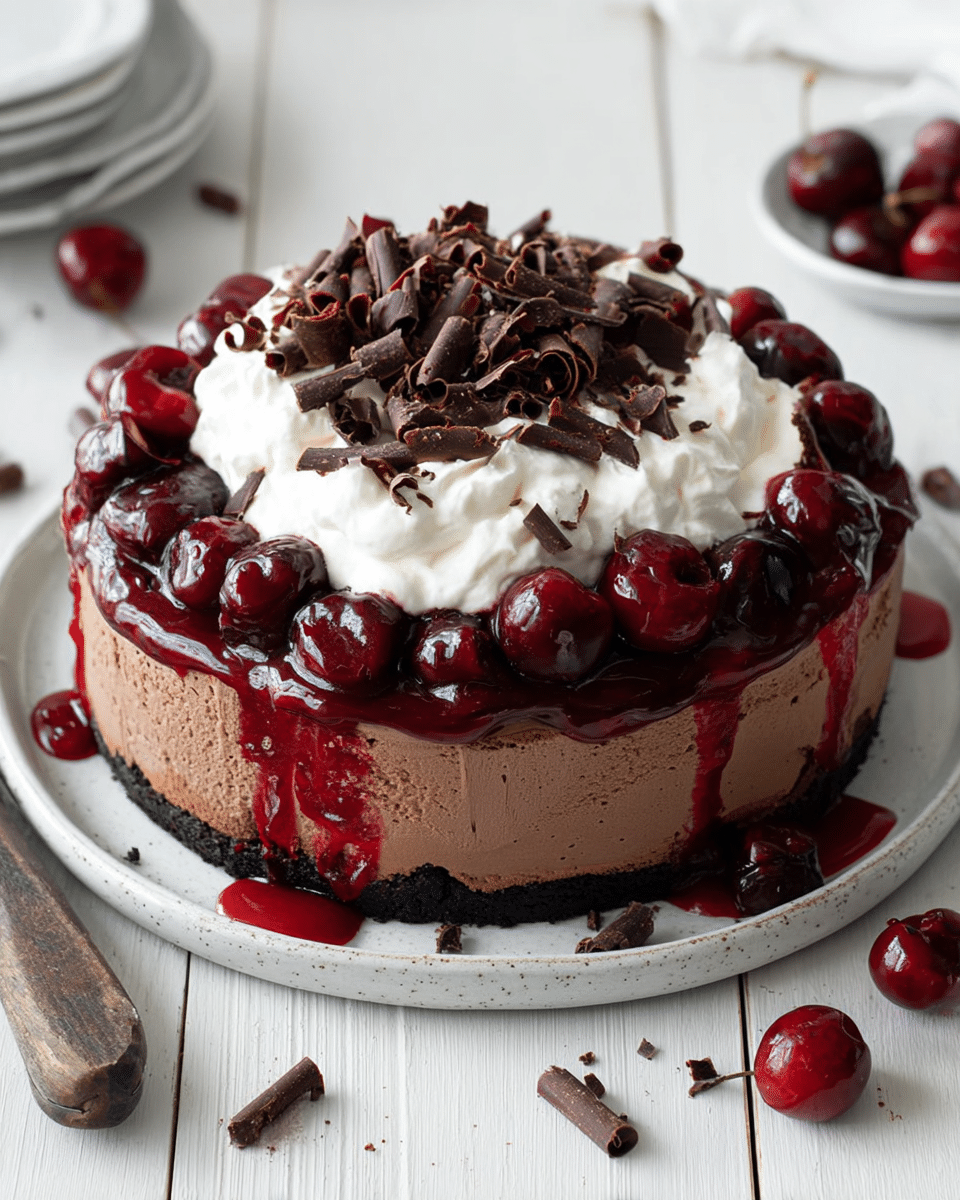
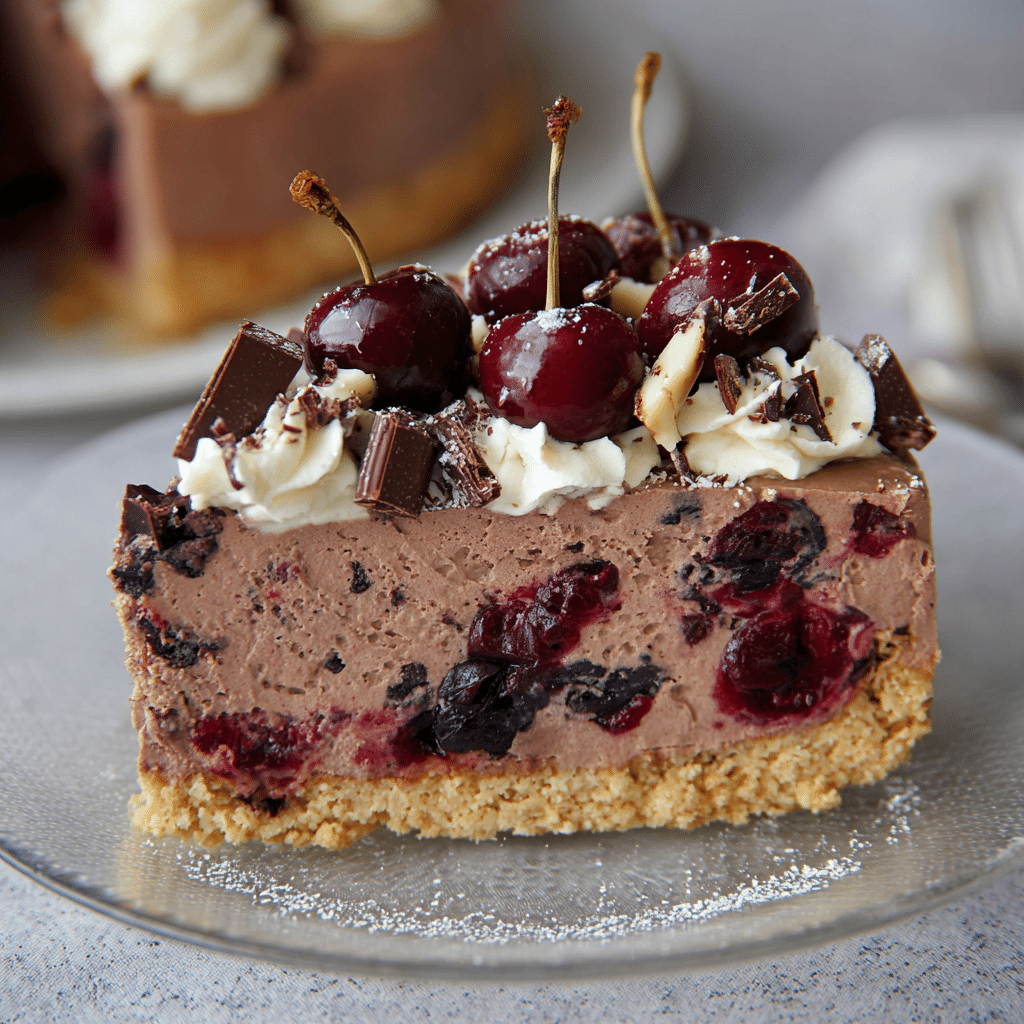
If you’re searching for the ultimate show-stopper dessert that’s rich, decadent, and requires zero oven time, look no further than this No Bake Black Forest Cheesecake. Layer upon luscious layer—silky chocolate and vanilla cream cheese filling, a crunchy Oreo crust, thick clouds of whipped cream, ruby-black cherry topping, and dramatic chocolate curls—work together for the perfect bite. It’s inspired by a bakery classic but made even simpler and more joyful to share, whether for family birthdays or just a weekend treat. Trust me, your dessert table will never be the same!
Ingredients You’ll Need
The beauty of this recipe is how each ingredient brings its own special touch to the party. The list may be short, but every single item—down to the last cherry—is essential for achieving maximum chocolate-cherry bliss and that signature cheesecake texture.
- Pre-made Oreo pie crust: This ready-to-use shell gives a crunchy, chocolatey foundation—no baking, no fuss, and lots of flavor.
- Cream cheese, room temperature: Make sure it’s soft for a super-smooth, lump-free filling that’s the backbone of this dessert.
- Granulated sugar: Sweetens the filling and balances the tang from the cream cheese and sour cream.
- Full-fat sour cream: Adds creaminess and a subtle tang, making the cheesecake extra luscious.
- Vanilla extract: Infuses the filling with warmth and rounds out the chocolate and cherry notes.
- Semi-sweet baking bar (chopped): Melts into the chocolate layer for deep, intense cocoa flavor—Ghirardelli brand gives amazing results!
- Tub whipped topping, thawed: Folds in lightness for a melt-in-your-mouth texture that’s signature for No Bake Black Forest Cheesecake.
- Canned cherry pie filling: Adds that iconic fruit boost; choose a “more fruit” variety so the cherry flavor really shines through.
- Chocolate curls (optional garnish): Homemade curls add gorgeous drama and a tasty finishing touch.
- For the Chocolate Curls: Semi-sweet chocolate baking bar and vegetable shortening—these make glossy, beautiful curls that won’t shatter.
How to Make No Bake Black Forest Cheesecake
Step 1: Prep the Crust
Start by removing the plastic cover from your Oreo crust (it’s going to become your pie’s handy lid later, so set it aside). With this simple move, you’re already halfway to dessert glory—no oven preheating required!
Step 2: Whip Up the Cream Cheese Filling
In a large mixing bowl, beat the room-temperature cream cheese and granulated sugar together with a hand mixer. Give it a good 60 seconds—this is where the magic happens, transforming dense cream cheese into light, creamy goodness. Scrape the sides of the bowl if you need, and keep mixing until it’s fluffy and smooth.
Step 3: Add Sour Cream and Vanilla
Pour in the sour cream and vanilla extract. Beat everything together just until it’s perfectly blended. This quick mix brings in even more creaminess and the warm flavor notes that make this cheesecake a real treat.
Step 4: Divide and Conquer
Carefully split the cream cheese mixture evenly between two bowls, creating one for chocolate and one for vanilla. This is how you’ll get those classic Black Forest layers!
Step 5: Melt the Chocolate
Pop your chopped semi-sweet chocolate into a microwave-safe bowl. Microwave at 60% power for 1 minute, stir, then zap it another 30 seconds to 1 minute as needed. Once silky-smooth, let it cool slightly so it doesn’t melt your filling.
Step 6: Mix the Chocolate Layer
Fold the melted chocolate gently into one bowl of the cream cheese mixture, incorporating it until you have a uniform, chocolatey blend. Suddenly, it’s not just a cheesecake—it’s dessert alchemy!
Step 7: Add the Whipped Topping
Take the thawed whipped topping and split it between the two bowls: half into the chocolate, half into the plain cream cheese. Gently fold it in, keeping everything light and airy. These swirled, soft clouds will set up into a creamy, mousse-like texture.
Step 8: Layer the Fillings
Spread the chocolate layer evenly into the base of the Oreo crust. Then spoon the vanilla layer on top, smoothing it all the way to the edges. These stunning layers are what make this No Bake Black Forest Cheesecake such a showstopper when sliced.
Step 9: Chill the Cheesecake
Pop the pie in the fridge, covering it with that plastic lid you saved earlier. It needs at least 8 hours (or overnight) to set. This wait is the hardest part, but trust me—it ensures perfectly sliceable, cloud-light creaminess!
Step 10: Cherry Topping Time
After chilling, take a generous cup of cherry pie filling (with lots of cherries, not just the syrup). Pile it up in the center of your cheesecake, leaving a ring at the edge for those fancy chocolate curls. It’s a celebration of color and sweet-tart flavor.
Step 11: Make the Chocolate Curls
Melt the chocolate and shortening together, spread thinly over an upside-down baking sheet, and freeze briefly. Use a straight spatula to gently push and curl the chocolate into beautiful spirals. If they break, just let the chocolate warm up a smidge and try again. Keep the curls frozen until you’re ready to sprinkle them over the finished No Bake Black Forest Cheesecake.
How to Serve No Bake Black Forest Cheesecake
Garnishes
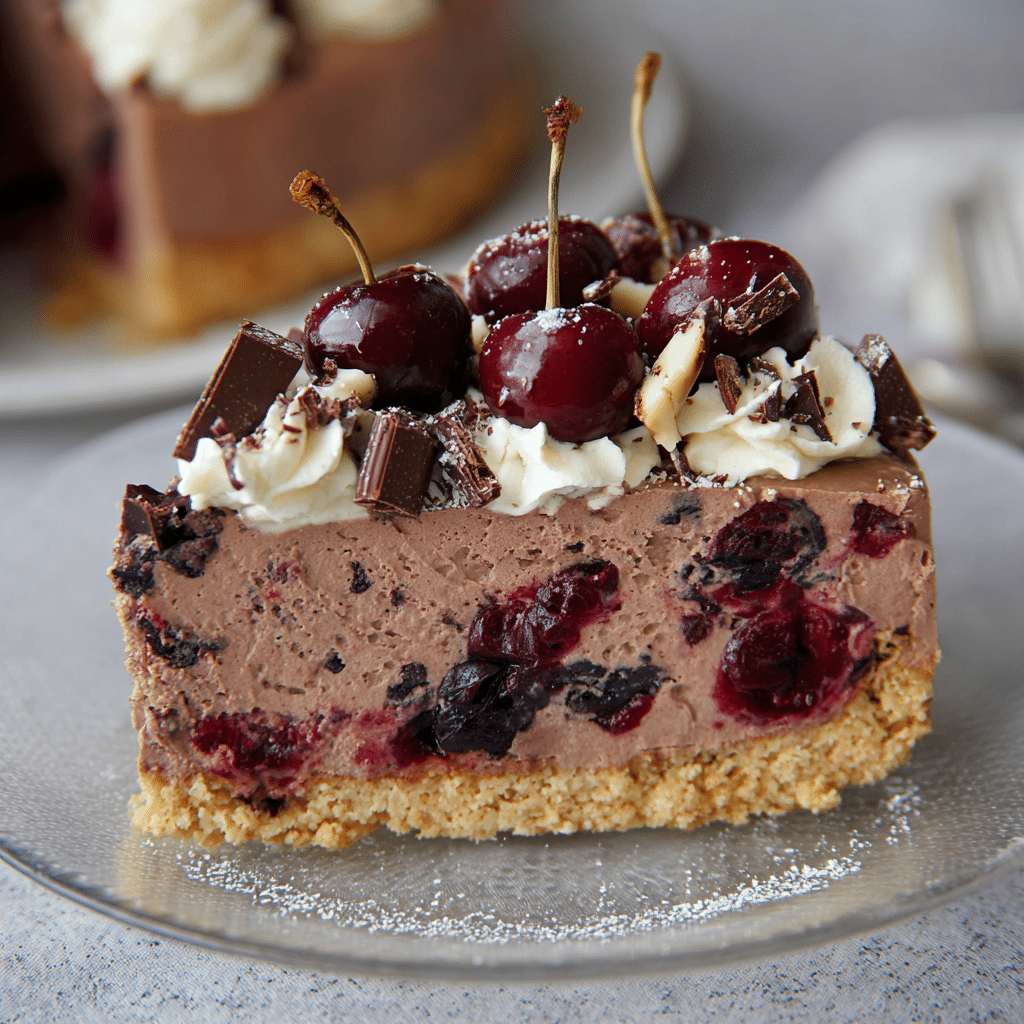
The crowning touch comes from those chilled chocolate curls draped over the mound of cherries, offering a lovely contrast in both color and texture. You can scatter on extra mini chocolate chips or a dusting of cocoa powder for a dramatic effect. If you reserved any extra cherry pie filling, add a spoonful to individual slices for even more bursts of fruit flavor.
Side Dishes
A dessert this rich deserves some great company! Pair your No Bake Black Forest Cheesecake with a scoop of vanilla bean ice cream, or serve it alongside a tall glass of cold milk or fresh-brewed coffee. For a lighter touch, a simple bowl of fresh berries or a tart fruit sorbet would make a delightful contrast.
Creative Ways to Present
Want to make your celebration even more festive? Try making individual cheesecakes in small mason jars or dessert glasses—perfect for parties! Dress up each piece with a swirl of whipped cream, a single cherry on top, and the shiniest chocolate curl you can create. For birthdays or special occasions, add a crackle of edible glitter or a sprinkle of gold leaf for a truly memorable No Bake Black Forest Cheesecake.
Make Ahead and Storage
Storing Leftovers
Leftovers—if you have them!—are a breeze to keep. Simply flip over the original crust’s plastic cover, press down gently, and pop the cheesecake back in the fridge. No Bake Black Forest Cheesecake will stay creamy and fresh for up to 4 days, making it easy to sneak a slice whenever the craving hits.
Freezing
You can freeze this cheesecake whole or by the slice. Place in an airtight, freezer-safe container and freeze for up to one month. Thaw overnight in the refrigerator before serving; just wait to add the cherry topping and chocolate curls until after it has thawed for the best look and texture.
Reheating
No actual reheating needed—just allow chilled or frozen No Bake Black Forest Cheesecake to rest at room temperature for 10-15 minutes before serving to soften slightly and bring out the full flavors. Keep the cheesecake cold until just before enjoying!
FAQs
Can I use homemade whipped cream instead of store-bought topping?
Absolutely, you can whip your own heavy cream until stiff peaks form and use it in place of the tubbed topping. Just be sure to measure carefully so the filling keeps its light, airy texture. Homemade whipped cream adds a fresh, slightly richer taste to your No Bake Black Forest Cheesecake.
What if I can’t find “more fruit” cherry pie filling?
If your cherry pie filling is heavy on syrup, use two cans and a slotted spoon to pick out just the cherries. You’ll get that burst of fruitiness without overwhelming the cheesecake with excess gel. Reserve the leftover syrup for spooning over slices or stirring into beverages!
Can I make this recipe gluten-free?
Yes! Swap out the regular Oreo crust for a gluten-free chocolate cookie crust available at many grocery stores. Always double-check ingredient labels to make sure all components are safe for anyone with gluten sensitivities.
Is this dessert kid-friendly to make?
Definitely! Kids love to help with folding the layers and adding cherries and chocolate curls. Just handle the chocolate melting step yourself for safety. Let them get creative with garnishes for their own mini masterpieces.
How far in advance can I make a No Bake Black Forest Cheesecake?
You can prepare your cheesecake up to two days ahead, keeping it tightly covered in the refrigerator. Hold off on adding the cherry topping and chocolate curls until just before serving for the freshest look and best flavor.
Final Thoughts
If you adore make-ahead desserts that impress everyone at first sight (and first bite), you’ll absolutely love this No Bake Black Forest Cheesecake. Each forkful is pure delight—creamy, fruity, and chocolatey in perfect harmony. Gather your ingredients, invite a few helpers, and get ready to dish up a dessert your family will request again and again!
PrintNo Bake Black Forest Cheesecake Recipe
Indulge in the rich and decadent flavors of this no-bake black forest cheesecake, featuring layers of velvety cream cheese, whipped cream, cherry pie filling, and chocolate curls. A perfect blend of sweetness and creaminess in every bite!
- Prep Time: 15 minutes
- Total Time: 8 hours 15 minutes
- Yield: 8 servings
- Category: Dessert
- Method: No-Bake
- Cuisine: American
- Diet: Vegetarian
Ingredients
For the Cheesecake:
- 6 ounces pre-made Oreo pie crust
- 12 ounces cream cheese, room temperature
- ½ cup granulated sugar
- ¾ cup full-fat sour cream
- 1½ teaspoons vanilla extract
- 3 ounces semi-sweet baking bar, chopped (Ghirardelli brand)
- 8 ounces tub whipped topping, thawed
- 1 cup canned cherry pie filling (Duncan Hines/Comstock more fruit)
- Chocolate curls, optional garnish
For the Chocolate Curls:
- 4 ounces semi-sweet chocolate baking bar, broken into small pieces (Ghirardelli brand)
- 1 tablespoon vegetable shortening (Crisco)
Instructions
- Prepare the Cheesecake: Remove plastic cover from Oreo crust. Beat cream cheese and sugar until fluffy. Add sour cream and vanilla. Fold in melted chocolate. Divide mixture and fold in whipped topping. Layer chocolate and plain mixtures in crust.
- Chill the Cheesecake: Cover with plastic lid and refrigerate for 8 hours.
- Top with Cherry Filling: Spread cherry pie filling over chilled cheesecake.
- Make Chocolate Curls: Melt chocolate and shortening, spread thin, freeze, and create curls.
Notes
- Choose ‘more fruit’ canned cherry pie filling for less gel coating.
- Use the plastic cover for storage.
- Ensure cream cheese is at room temperature for a smooth mixture.
Nutrition
- Serving Size: 1 slice
- Calories: 569 kcal
- Sugar: 31g
- Sodium: 303mg
- Fat: 36g
- Saturated Fat: 20g
- Trans Fat: 2g
- Carbohydrates: 57g
- Fiber: 4g
- Protein: 8g
- Cholesterol: 46mg

