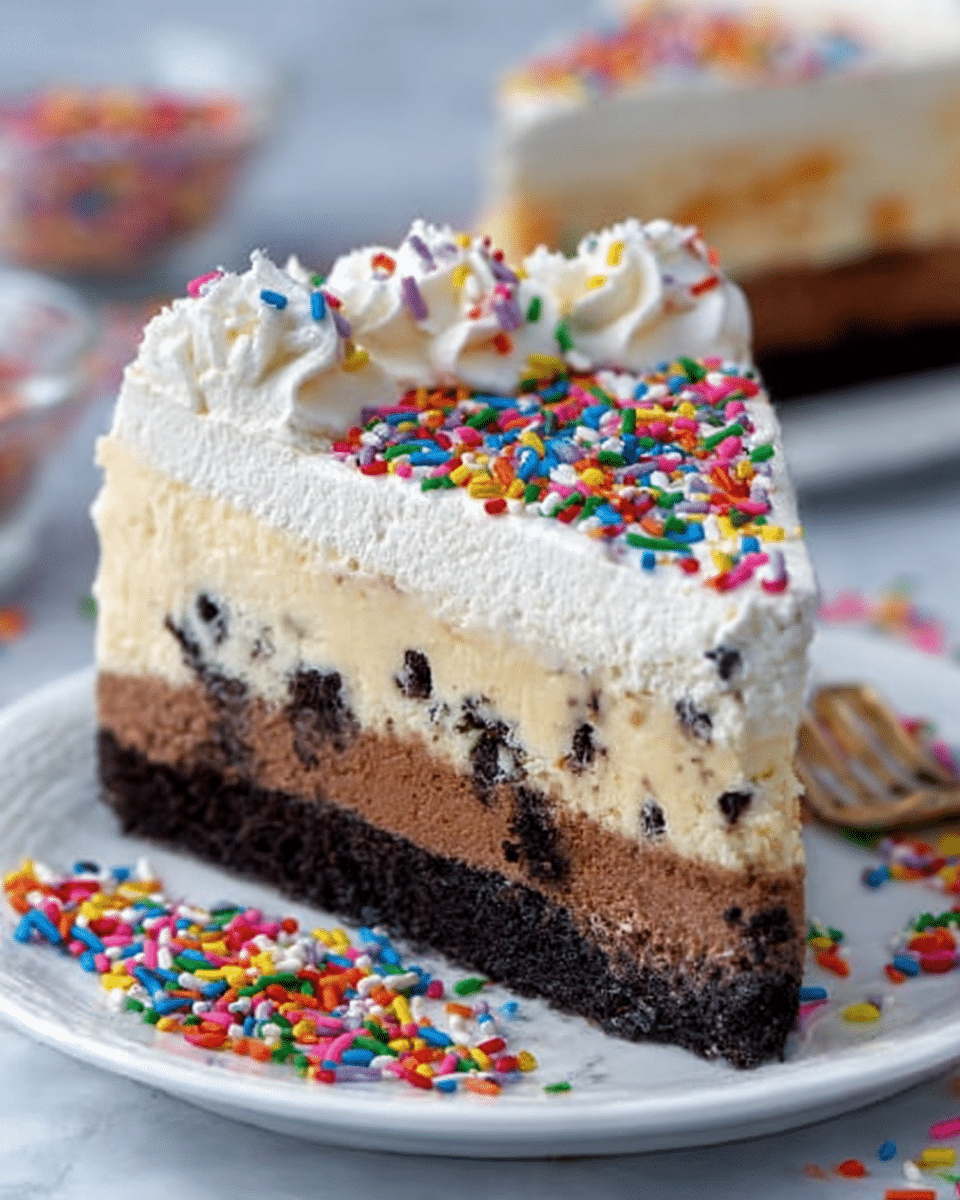
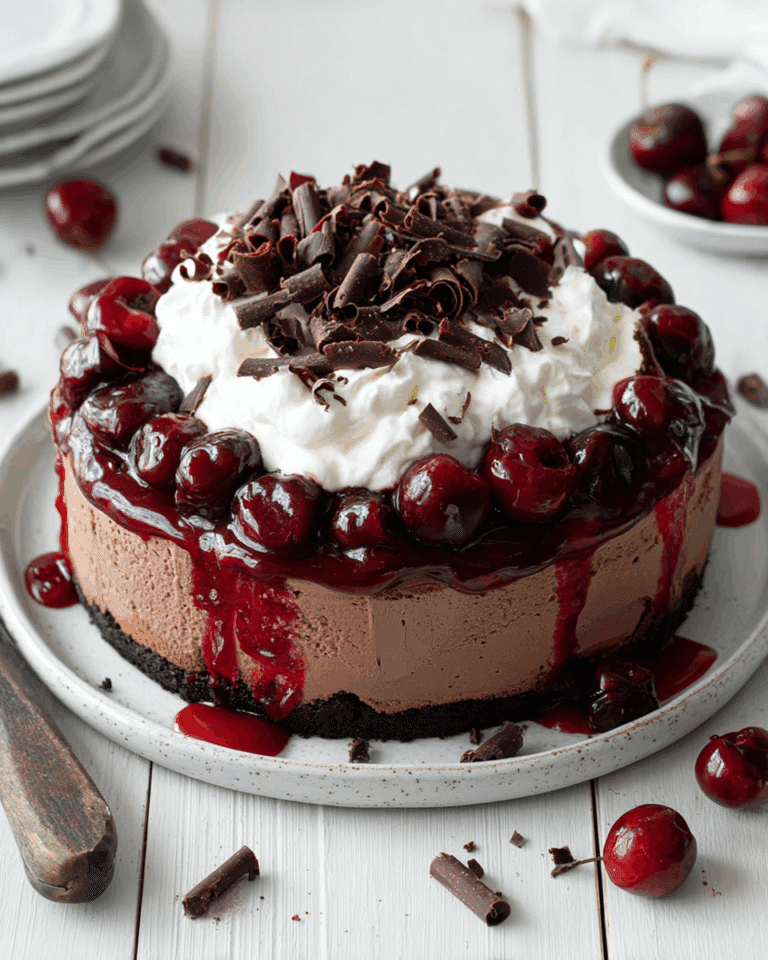
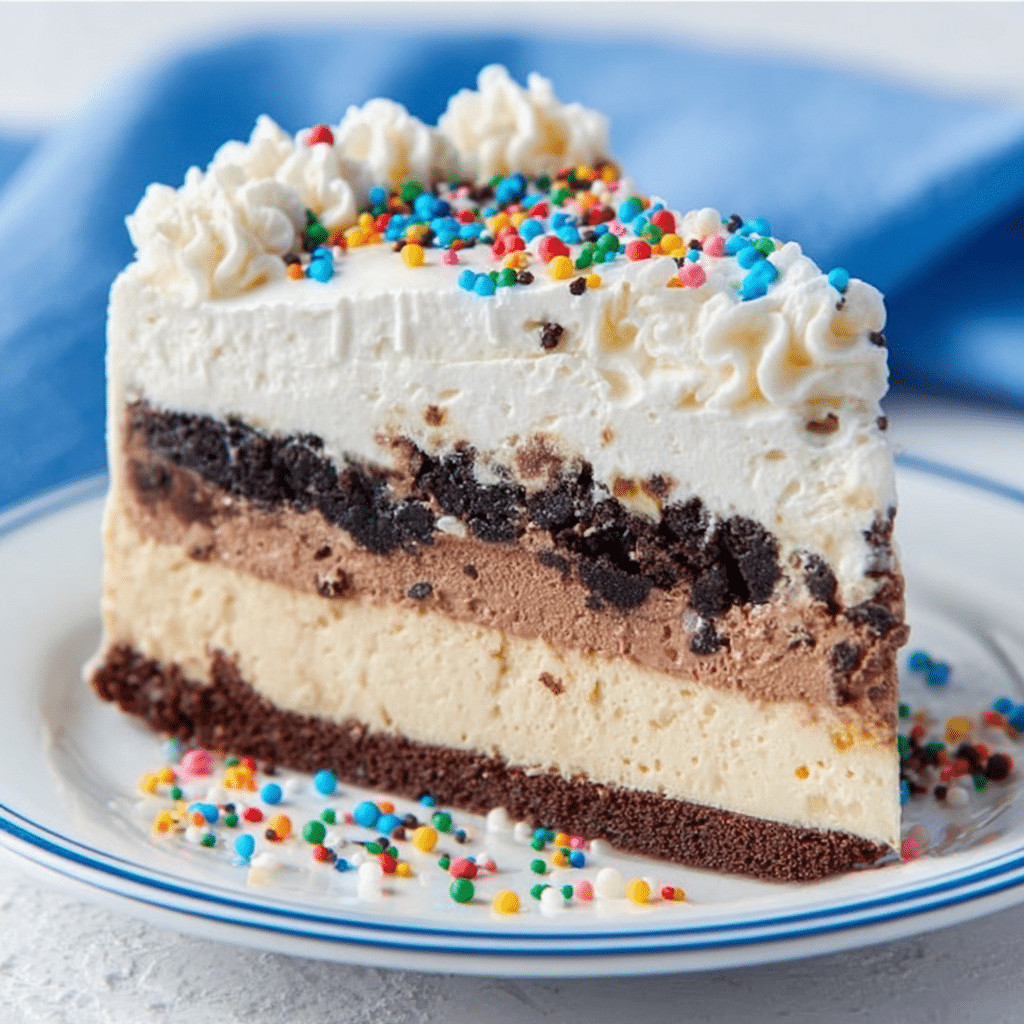
There’s something irresistibly nostalgic about a Copycat Dairy Queen Ice Cream Cake—the creamy layers, the chocolate cookie crunch, and that fluffy whipped frosting, all stacked into the ultimate frozen treat! This classic favorite is everything you crave from a store-bought frozen cake, but better, because you made it yourself in your kitchen. Whether you’re celebrating a birthday or just want to wow your friends and family, this ice cream cake brings smiles all around. From the first fudge-filled bite to the last sprinkle-dusted forkful, it’s a crowd-pleaser you’ll revisit whenever you need a show-stopping dessert.
Ingredients You’ll Need
One of the best things about this Copycat Dairy Queen Ice Cream Cake is just how simple the ingredient list is. Each part—cookies, ice cream, fudge, and whipped cream—plays a huge role in building the perfect combination of flavors and textures, so don’t be tempted to skip a single one!
- Crushed chocolate sandwich cookies: These add that iconic crunchy center and rich chocolaty flavor you remember from every slice as a kid.
- Salted sweet cream butter: This binds the cookies together and gives them extra flavor depth.
- Chocolate ice cream: Go for the best quality you can find for a deep, classic taste and creamy texture.
- Vanilla ice cream (vanilla bean is amazing!): The perfect mellow complement to the chocolate, with lovely specks from the real vanilla.
- Hot fudge topping: Warm it gently for that ultra-smooth, luscious fudge layer that everyone looks forward to.
- Cold heavy cream: Whipped up fresh, it creates a cloud-like frosting you won’t get from store-bought cakes.
- Powdered sugar: This sweetens the whipped cream and helps it hold its shape for decorating.
- Clear vanilla flavoring: Keeps the whipped cream white and adds that signature sweet aroma.
- Colorful sprinkles (optional): These give your cake that celebratory Dairy Queen flair, so don’t be shy with them!
How to Make Copycat Dairy Queen Ice Cream Cake
Step 1: Prepare Your Pan
Line a 9-inch springform pan with plastic wrap to make unmolding the finished cake a snap. Set it aside so you’re ready for assembly when your layers are done. If you don’t have a springform, a regular round cake pan lined generously with wrap works just as well.
Step 2: Make the Cookie Crunch Layer
Preheat your oven to 350°F, then line a 10×15-inch baking sheet with parchment paper. Crush your chocolate sandwich cookies (cream and all!) and stir in the melted salted butter. Spread this mixture in an even layer on your prepared baking sheet and bake for 7 to 8 minutes until fragrant and slightly toasted. Let the crumbs cool completely—this is the secret to that signature crunchy layer!
Step 3: Chocolate Ice Cream Layer
While the cookie crumbs bake, take out your chocolate ice cream and let it soften at room temperature for around 15 to 20 minutes. This makes it easy to spread smoothly in your pan. Once softened, press the entire quart evenly into the bottom of the lined springform pan. Return it to the freezer for at least 30 minutes to 1 hour so it can firm up before adding the next layer.
Step 4: Hot Fudge Layer
Remove the lid from your jar of hot fudge and gently microwave it for 20 to 25 seconds—just enough to loosen but not make it runny. Use a silicone spatula to spread a thick, even layer of fudge right over the chilled chocolate ice cream. As soon as it’s spread, sprinkle on your cooled cookie crumbs, pressing them down lightly to adhere. Freeze everything again for another hour.
Step 5: Vanilla Ice Cream Layer
Take out the vanilla ice cream and let it sit for about 15 to 20 minutes, so it’s easy to work with. Spoon the softened vanilla ice cream over the chilled cookie layer and spread it evenly to cover the entire cake. At this point, it’s really starting to look like the real thing! Freeze the whole cake for 4 to 6 hours, or overnight, to fully set those beautiful layers.
Step 6: Whipped Cream Frosting
About half an hour before you want to frost the cake, chill your mixing bowl (metal works best) in the freezer. Pour in the cold heavy cream, powdered sugar, and clear vanilla flavoring. Beat on medium to combine, then crank up to high and whip until stiff peaks form—about 3 to 4 minutes. Scoop out about a cup of frosting into a piping bag fitted with a star tip if you love decorating details.
Step 7: Frost and Decorate
Work quickly from here—ice cream melts fast! Take the cake from the freezer, remove the springform ring, carefully peel off the plastic wrap, and place the cake on your serving platter. Use a spatula to cover the top and sides with whipped cream frosting, then pipe decorative swirls or shells around the top edge. Last but not least, shower with plenty of colorful sprinkles for that unmistakable Copycat Dairy Queen Ice Cream Cake look! Tuck the finished cake back in the freezer until you’re ready to serve.
How to Serve Copycat Dairy Queen Ice Cream Cake
Garnishes
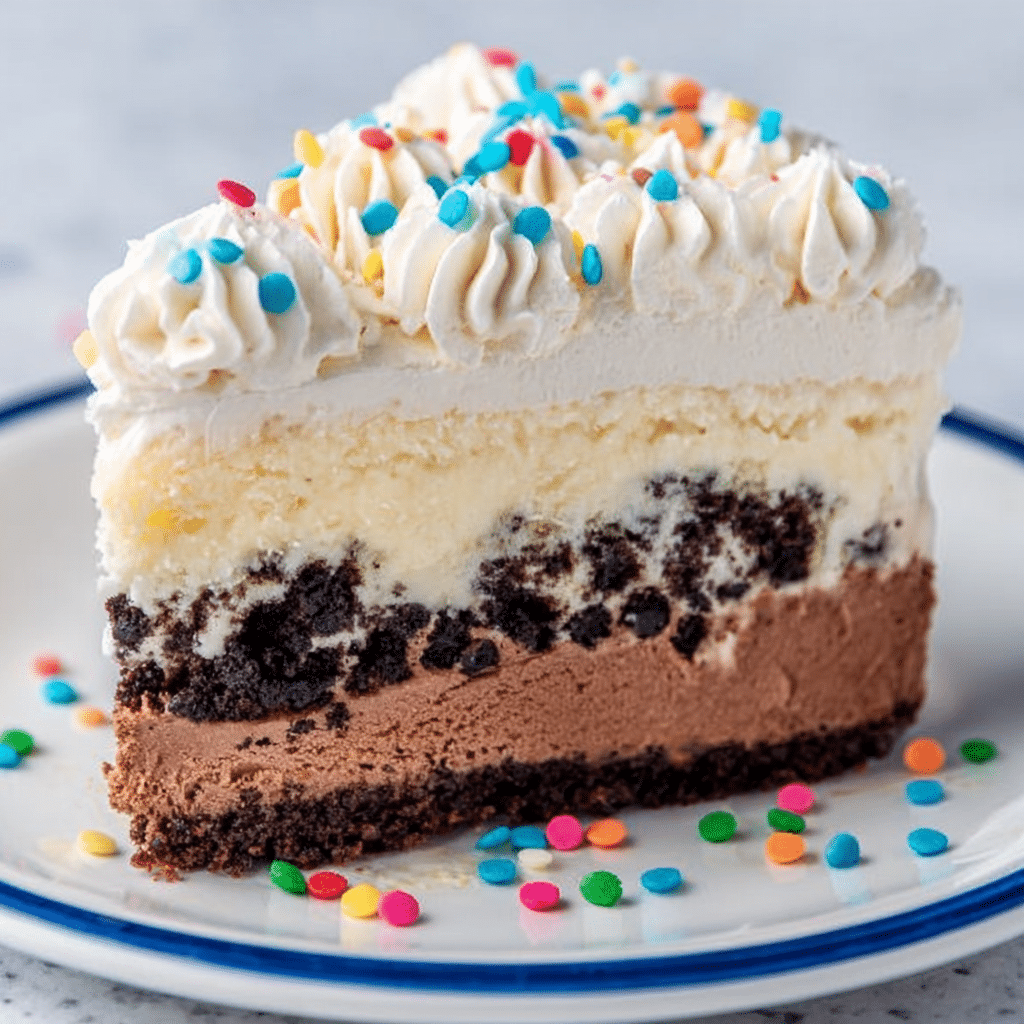
A flourish of whipped cream rosettes and a heavy sprinkle of rainbow sprinkles make every slice feel like a celebration. If you love a bit of extra chocolate, a light dusting of shaved chocolate or even a drizzle of extra hot fudge just before serving takes it over the top. Don’t forget, a cherry on top adds a little retro ice cream shop touch!
Side Dishes
Because Copycat Dairy Queen Ice Cream Cake is so rich and satisfying, I love pairing it with bowls of fresh berries or sliced fruit. Strawberries and raspberries cut through the sweetness beautifully, or you can offer small bowls of extra cookies or fudge sauce on the side for guests who love to customize their plate.
Creative Ways to Present
Take your presentation up a notch by slicing the cake into wedges and layering them with extra whipped cream and fruit in parfait glasses for a fun twist. Or, cut your ice cream cake into small squares and serve on toothpicks for a playful dessert platter at parties. Individual mini cakes using cupcake pans are adorable for birthday parties and totally Instagram-ready!
Make Ahead and Storage
Storing Leftovers
Leftover Copycat Dairy Queen Ice Cream Cake should always be stashed tightly wrapped in the freezer. I recommend wrapping well with both plastic wrap and foil to protect it from freezer burn and preserve all those luscious layers and flavor.
Freezing
This ice cream cake actually gets better after a good overnight freeze, so don’t hesitate to make it ahead for special occasions! For longer-term storage, keep the cake in an airtight container or wrap slices individually. It will easily keep for up to two weeks while staying delicious.
Reheating
Luckily, there’s no reheating needed! If the cake is quite hard straight from the freezer, let it sit at room temperature for 10 to 15 minutes before slicing. Dip your knife in hot water, wipe it dry, and it’ll glide through the layers for perfect servings.
FAQs
Can I use different ice cream flavors for this recipe?
Absolutely! Feel free to make the Copycat Dairy Queen Ice Cream Cake your own by swapping out chocolate and vanilla for your favorite flavors—think cookies and cream, strawberry, or even mint chip for a fresh twist.
What if I don’t have a springform pan?
No worries! Just line a regular round cake pan with plenty of plastic wrap, leaving enough to overhang the edges. This makes it super easy to lift the cake out once it’s frozen solid and ready to decorate.
How do I crush the cookies if I don’t have a food processor?
A zip-top bag and a rolling pin work wonders—seal the cookies in the bag and roll back and forth until you have uniform crumbs. Kids love helping with this step (and maybe sneaking a few cookies, too).
Can I make this cake dairy-free?
Yes! There are fantastic dairy-free ice creams, whipped toppings, and fudge sauces available today. Simply use your preferred substitutes, and you’ll still get a delicious, allergy-friendly version of Copycat Dairy Queen Ice Cream Cake.
How long before serving should I decorate the cake?
It’s best to decorate the cake within an hour or two of serving, but you can also frost and garnish the entire cake in advance. Just make sure to return it to the freezer immediately so the whipped cream holds its gorgeous peaks.
Final Thoughts
If you’ve never made your own Copycat Dairy Queen Ice Cream Cake, there’s truly nothing more satisfying than cutting into those beautiful layers and serving up big, joyful slices. Don’t wait for a special occasion—treat yourself and your loved ones to this nostalgic dessert anytime you want to create a little magic. Happy scooping!
PrintCopycat Dairy Queen Ice Cream Cake Recipe
Indulge in the deliciousness of this homemade Copycat Dairy Queen Ice Cream Cake. Layers of chocolate and vanilla ice cream, hot fudge, cookie crumbs, and whipped cream make this a delightful treat for any occasion.
- Prep Time: 20 minutes
- Cook Time: 10 minutes
- Total Time: 8 hours 30 minutes
- Yield: 12 servings
- Category: Dessert
- Method: Freezing, Baking
- Cuisine: American
- Diet: Vegetarian
Ingredients
Cookie Layer
- 20 crushed chocolate sandwich cookies (with the cream center)
- 4 tablespoons salted sweet cream butter, melted
Ice Cream Layer
- 1 quart chocolate ice cream
- 1 quart vanilla ice cream (preferably vanilla bean)
Hot Fudge Layer
- 11.75 ounces hot fudge topping
Whipped Cream Frosting Layer
- 2 cups cold heavy cream
- 1¼ cups powdered sugar
- 1½ teaspoons clear vanilla flavoring
- Colorful sprinkles (optional garnish)
Instructions
- Prepare Cookie Layer: Preheat oven to 350°F. Mix crushed cookies with melted butter, spread on a baking sheet, and bake.
- Create Ice Cream Layer: Spread chocolate ice cream in a springform pan and freeze. Add hot fudge layer and cookie crumbs.
- Add Vanilla Ice Cream: Spread thawed vanilla ice cream over the cookie layer and freeze.
- Make Whipped Cream Frosting: Whip heavy cream, powdered sugar, and vanilla until stiff peaks form.
- Assemble Cake: Frost the cake with whipped cream, decorate with sprinkles, and freeze until ready to serve.
Notes
- If you don’t have a springform pan, use a round cake pan lined with plastic wrap.
- Crush cookies easily in a food processor or Ziploc bag with a rolling pin.
- Use a warm knife to slice through the layers for neat servings.
Nutrition
- Serving Size: 1 slice
- Calories: 645 kcal
- Sugar: 58g
- Sodium: 242mg
- Fat: 39g
- Saturated Fat: 23g
- Unsaturated Fat: 13g
- Trans Fat: 1g
- Carbohydrates: 69g
- Fiber: 2g
- Protein: 8g
- Cholesterol: 116mg

