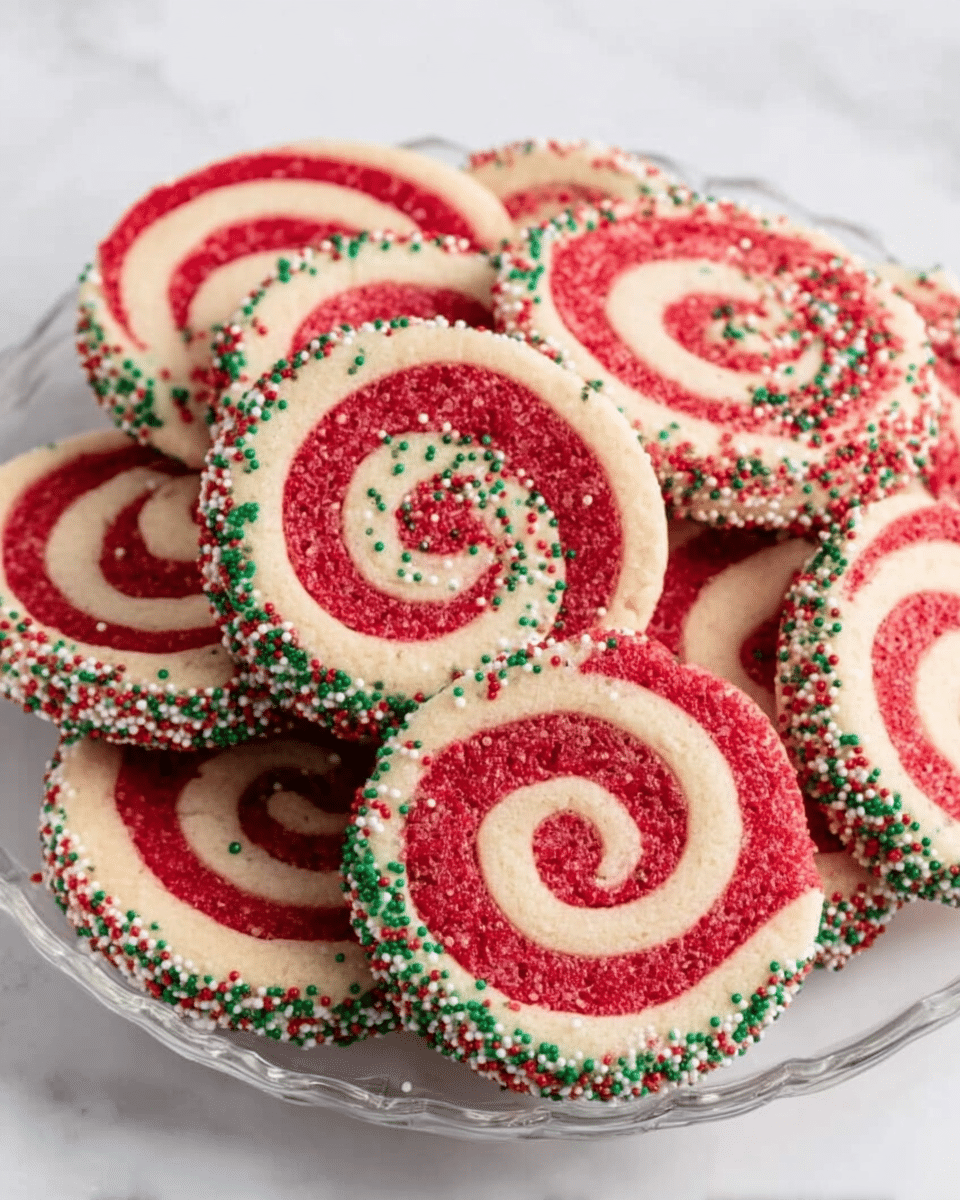
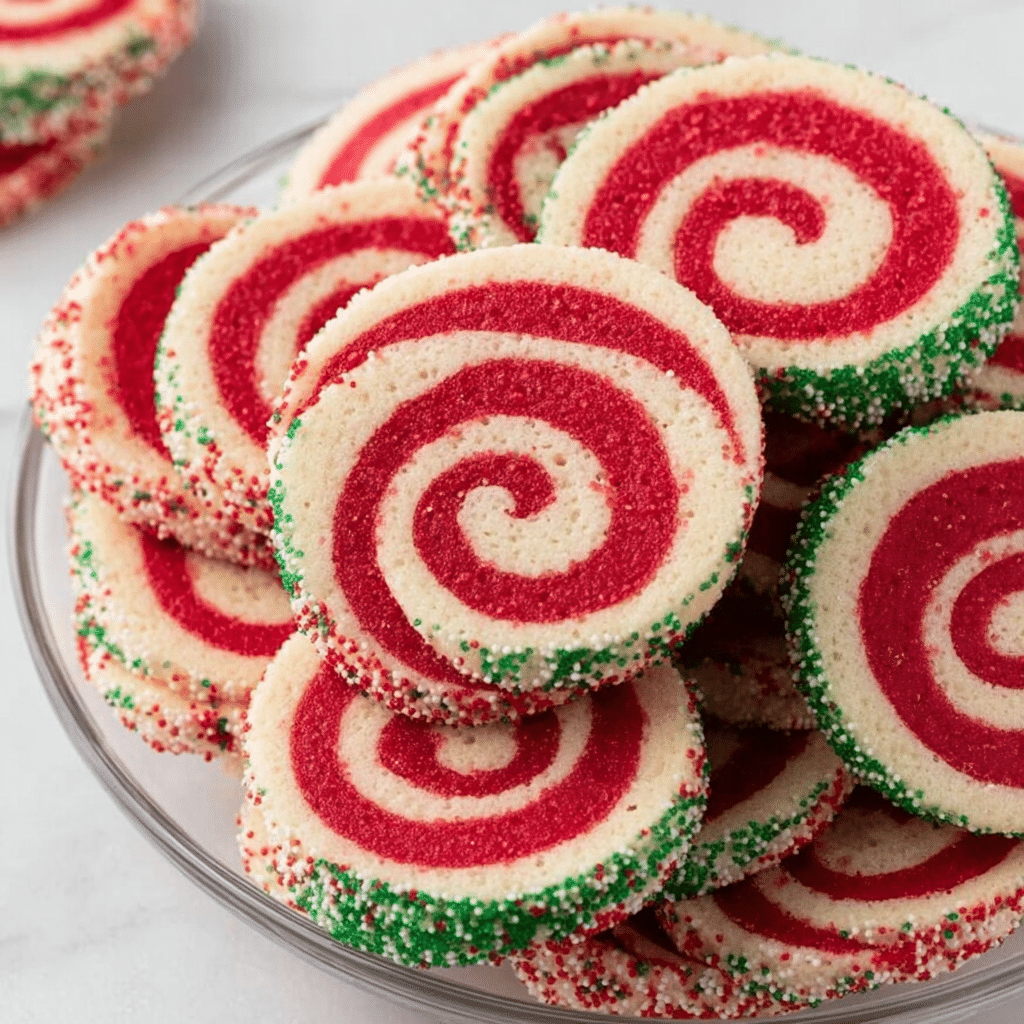
These Pinwheel Cookies are a holiday showstopper, boasting swirls of vibrant red and vanilla dough in every bite. But there’s so much more than eye-catching color here: they’re irresistibly tender, buttery, and sweet, with the kind of delicate crunch and soft center that makes you want “just one more.” Sharing these cookies feels like handing out little edible gifts, and once you try making them, they’ll become a family tradition year after year.
Ingredients You’ll Need
Gathering your ingredients for Christmas Pinwheel Cookies is a breeze, but each one is crucial for creating that signature festive look and taste! Let’s talk about what you’ll need and why each item is essential for perfect results.
- Granulated sugar: The heart of sweetness, sugar gives your cookies structure and that crave-worthy flavor.
- Salted butter (softened): Adds rich, creamy texture and perfect balance to every bite; using salted butter enhances the flavor even more.
- Vanilla extract: Just a splash brings warmth and depth to the cookie base, making the aroma dreamy.
- Large egg: Binds everything together for that perfect, tender crumb.
- All-purpose flour: Gives your cookies their structure, making them easy to handle and roll into those classic swirls.
- Baking powder: Ensures just enough lift so your cookies are soft but still hold their shape.
- Red liquid food coloring: The magic touch for creating the festive red swirl—feel free to use gel if you want even brighter color!
How to Make Christmas Pinwheel Cookies
Step 1: Cream the Butter, Sugar, and Vanilla
Start by beating your sugar, softened butter, and vanilla extract in the bowl of your stand mixer until the mixture is creamy and fluffy, about two minutes. This step ensures that your base is light, well-mixed, and perfectly smooth—a key for the final texture of your Christmas Pinwheel Cookies.
Step 2: Add the Egg
Scrape down the sides of the bowl with a rubber spatula, then blend in the egg until everything is just combined. The egg brings everything together and sets your dough up for that ideal cookie consistency.
Step 3: Mix in Dry Ingredients
Add the flour and baking powder, mixing on low speed just until you no longer see streaks of flour. Be careful not to overmix—this keeps your cookies tender rather than tough.
Step 4: Divide and Color the Dough
Divide the dough in half, removing one portion to rest on a sheet of parchment paper. To the remaining dough in the mixer, add the red food coloring and mix on low until it turns a uniform, vibrant red. This is where that iconic Christmas Pinwheel Cookies swirl begins!
Step 5: Shape and Chill the Dough
Divide both the red and plain dough halves again so you have two of each color. Shape each into a rectangle, wrap separately in plastic wrap, and let them chill in the fridge for 30 minutes. The chilling step is key—it will make your dough easier to handle, helping those sharp, beautiful swirls hold their shape.
Step 6: Roll Out the Dough and Layer
Once chilled, roll each piece of dough out between sheets of parchment to roughly an 11×7-inch rectangle. Stack a red layer atop a plain one for two sets, and for variety, stack the red dough on the bottom for the other two. Trim the edges with a knife for neat layers that look extra professional.
Step 7: Roll into Logs and Chill Again
Now, gently roll each dough rectangle into a tight log. This is where the swirling magic happens! Wrap the logs in plastic wrap and chill them in the fridge for at least 1 to 2 hours (or overnight, if you want to bake the next day). This step helps the cookies keep their neat spiral and makes slicing a breeze.
Step 8: Slice and Bake
When you’re ready to bake, preheat your oven to 350°F and line a baking sheet with parchment paper. Take one dough log out of the fridge, slice it into ¼- to ½-inch-thick rounds, and space them an inch apart on the sheet. Bake for 9 to 11 minutes, until the edges are just barely turning golden—don’t overbake! Let them cool briefly on the sheet, then move to a wire rack to finish cooling.
Step 9: Repeat and Enjoy!
Repeat the slicing and baking process for the remaining dough log. Once cooled, your Christmas Pinwheel Cookies are ready to dazzle family and friends alike. They’re especially pretty with a coat of colorful sprinkles on the outside!
How to Serve Christmas Pinwheel Cookies
Garnishes
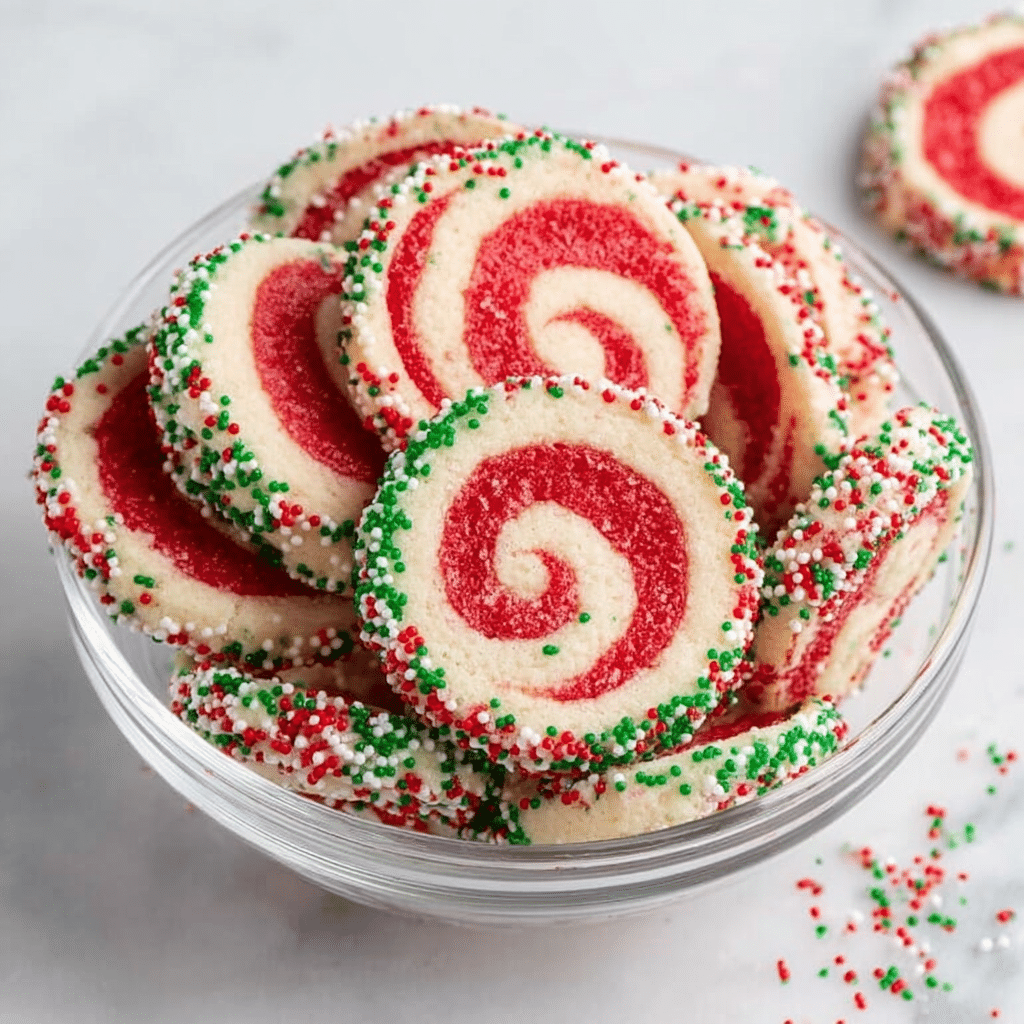
If you want to take your Christmas Pinwheel Cookies over the top, roll the dough logs in a blanket of holiday sprinkles before slicing and baking. You can also dust finished cookies with powdered sugar or add a white chocolate drizzle for extra flair. These tiny touches add sparkle and even more festive cheer to your cookie tray.
Side Dishes
Pair these cookies with mugs of hot chocolate, spiced cider, or even peppermint tea for a cozy treat. For a dessert platter, add them alongside other holiday favorites like gingerbread men, fudge, or chocolate-dipped pretzels. Their vibrant swirls make them stand out among other treats!
Creative Ways to Present
Layer your Christmas Pinwheel Cookies in clear glass jars tied with ribbon for delightful edible gifts. Or, stack them in cellophane bags with festive tags for hostess presents and party favors. They also look beautiful displayed on a tiered stand amid fresh pine sprigs and red berries, adding instant cheer to any table.
Make Ahead and Storage
Storing Leftovers
Once baked, keep your Christmas Pinwheel Cookies fresh by storing them in an airtight container at room temperature for up to a week. Layer with parchment or wax paper to prevent the swirls from sticking together and to maintain that fabulous look.
Freezing
These cookies freeze beautifully! After slicing the dough into cookies (before baking), arrange them on a tray and freeze until solid. Transfer the frozen slices to a freezer bag, label, and keep up to two months. You can bake them straight from the freezer—just add a minute or two to the baking time.
Reheating
If your cookies have been stored or frozen, you can refresh them by popping them in a 300°F oven for about 3-4 minutes. This warms them up slightly and brings back that just-baked texture that makes Christmas cookies irresistible.
FAQs
Can I use gel food coloring instead of liquid?
Absolutely! In fact, gel food coloring can make your red swirl even more vibrant without adding extra liquid to the dough. Start with a small amount and add more as needed to get that festive look.
Is it necessary to chill the dough twice?
Yes, chilling the dough is crucial for both handling and creating perfect swirls. The first chill firms up the dough for rolling, while the second ensures neat slices that hold their shape during baking.
How do I avoid overbaking the cookies?
Keep a close eye on your Christmas Pinwheel Cookies—just as the edges turn golden, they’re done! Remember, every oven is a little different, so start checking at the nine-minute mark to keep them soft and tender.
Can I use different colors for other holidays?
Definitely! Swap out the red for green, blue, or even rainbow hues for any occasion you like. The simple sugar cookie dough takes color beautifully, making these cookies as versatile as they are festive.
How can I make the spiral even neater?
Roll the dough gently but tightly, and don’t skip trimming the edges for straight lines. The chill time absolutely helps—you’ll get a sharp, beautiful pinwheel every time when the dough is firm and cold while slicing.
Final Thoughts
There’s something magical about sharing a plate of Christmas Pinwheel Cookies—they bring joy to any holiday gathering and are guaranteed to be the first treat to disappear. Whether you’re baking for family, friends, or your own sweet tooth, I promise this recipe will quickly become a seasonal favorite. Happy baking and merry, swirly celebrations!
PrintChristmas Pinwheel Cookies Recipe
These fun, festive Christmas pinwheel cookies are perfect for the holidays with layers of swirled sugar cookie dough for the ultimate sweet treat!
- Prep Time: 20 minutes
- Cook Time: 10 minutes
- Total Time: 3 hours
- Yield: 36 cookies
- Category: Dessert
- Method: Baking
- Cuisine: American
- Diet: Vegetarian
Ingredients
For the Dough:
- 1¼ cups granulated sugar
- 1 cup salted butter, softened
- 1½ teaspoons vanilla extract
- 1 large egg
- 3 cups all-purpose flour
- ½ teaspoon baking powder
- ½ teaspoon red liquid food coloring
Instructions
- In the bowl of a stand mixer, add the sugar, butter, and vanilla extract. Beat on medium until creamy, about 2 minutes.
- Scrape down the sides of the bowl. Add the egg and continue mixing until combined.
- Add the flour and baking powder and mix until no streaks of flour are visible.
- Divide the dough in half and add food coloring to one half. Chill both halves for 30 minutes.
- Roll out each half of the dough into rectangles. Layer the red and plain dough, roll into a log, and chill for 1-2 hours.
- Preheat the oven to 350°F. Slice the dough into cookies and bake for 9-11 minutes.
- Cool the cookies on a wire rack. Enjoy!
Notes
- Don’t skip the chilling time. This will help them keep their rolled shape.
- Optional: Roll the log in colorful sprinkles before slicing.
- These cookies taste best if they are not overcooked, so watch them carefully.
Nutrition
- Serving Size: 1 cookie
- Calories: 112 kcal
- Sugar: 7g
- Sodium: 43mg
- Fat: 5g
- Saturated Fat: 3g
- Unsaturated Fat: 0.3g
- Trans Fat: 0.2g
- Carbohydrates: 15g
- Fiber: 0.3g
- Protein: 1g
- Cholesterol: 19mg

