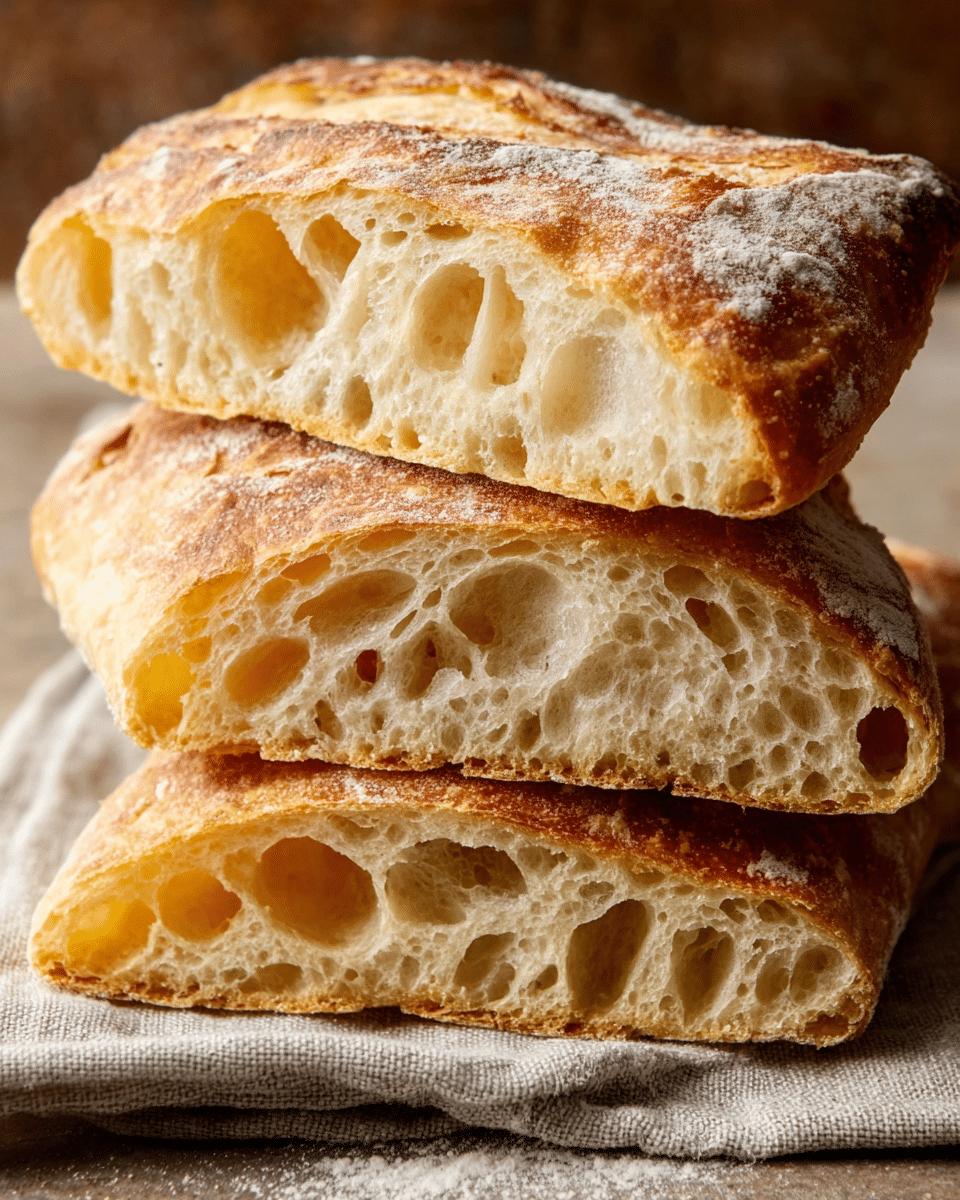
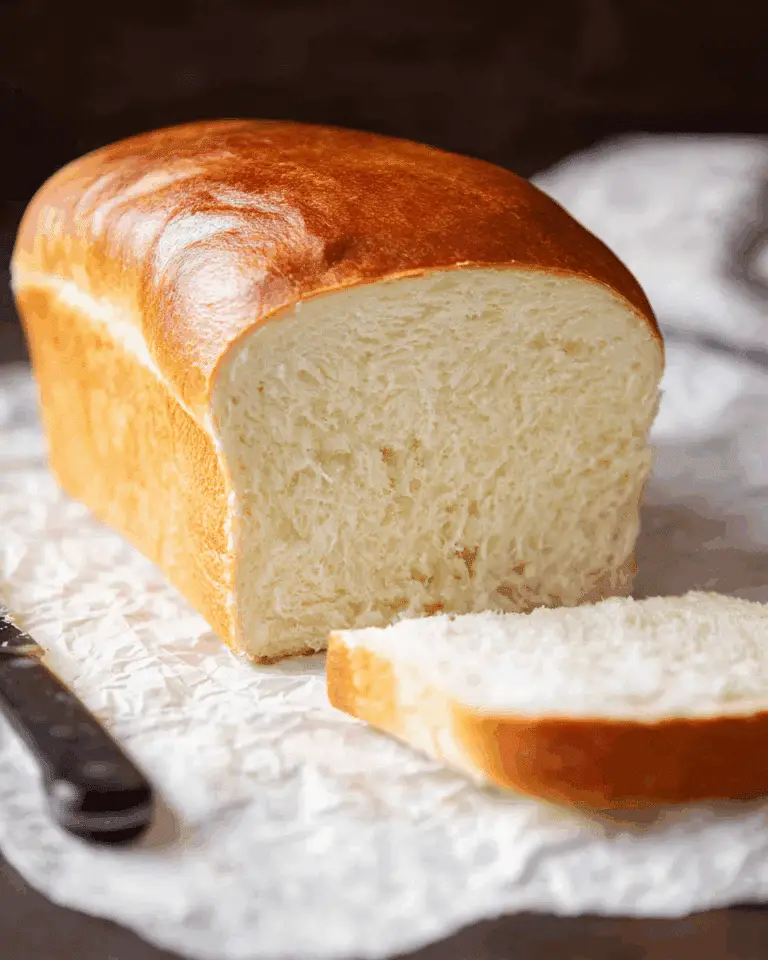
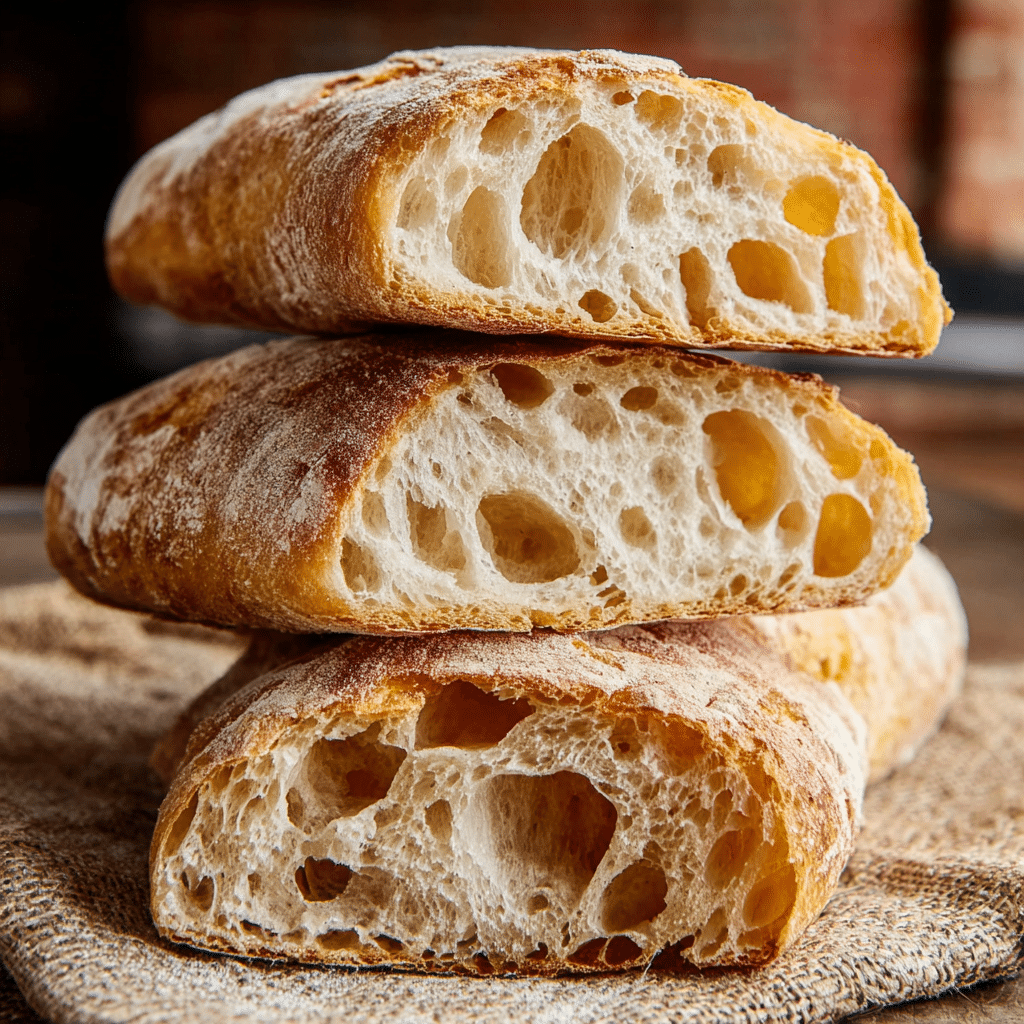
There’s something undeniably magical about baking bread at home, and if you haven’t tried The Best Ciabatta Recipe yet, you’re truly in for a treat. Imagine golden, rustic loaves with that signature thin, crisp crust and pillowy-soft, airy center—the kind you can tear apart by hand, letting the heady aroma fill your kitchen. From sandwich lovers to soup-dipping aficionados, this recipe delivers on every front, with a simplicity that makes artisan bread-making accessible for any home baker. Trust me, once you try this, you’ll wonder why you ever bought ciabatta from a store.
Ingredients You’ll Need
The secret to The Best Ciabatta Recipe lies in its minimalism. Every ingredient here serves an important role in developing the bread’s delicate structure, flavor, and deep golden color. Gather these pantry staples, and you’re halfway to bakery-worthy loaves that will wow your senses.
- All-purpose flour: The foundation of the loaf—choose a good-quality flour for perfect crumb and chewiness.
- Instant yeast: This brings the ciabatta to life; instant yeast ensures a strong, consistent rise every time.
- Warm water: Hydration is key for ciabatta’s trademark open crumb; make sure your water is pleasantly warm, not hot.
- Salt: Just a couple of teaspoons bring out the bread’s subtle flavors and give structure to the dough.
- Extra virgin olive oil: Adds richness, depth, and that lovely golden sheen—don’t skip the drizzle before baking!
How to Make The Best Ciabatta Recipe
Step 1: Combine the Dry Ingredients
Start by adding the all-purpose flour and salt to a large mixing bowl. Give them a quick whisk or stir—this simple step ensures the salt is evenly distributed, preventing concentrated spots in your finished loaf. It’s the kind of small detail that sets The Best Ciabatta Recipe apart.
Step 2: Activate the Yeast
In a second bowl, dissolve the instant yeast in the warm water, letting it sit for a minute or two until slightly cloudy. The warm water helps kickstart the yeast’s fermentation magic, so your dough gets that light, airy lift.
Step 3: Make the Dough
Gradually add the yeast mixture into the flour bowl. Mix using a sturdy spoon or your hand until a shaggy, sticky dough forms. Don’t worry if it looks rustic—that’s what you want. The dough should be soft and a little sticky, which is crucial for that true ciabatta texture.
Step 4: Knead Until Smooth
Turn the dough onto a floured surface and knead it for about 10 minutes. It may be a bit tacky at first, but with patience, you’ll feel it transform into a smooth and elastic ball. This kneading step is where ciabatta’s signature chew starts to develop—so embrace the process!
Step 5: First Rise
Put your kneaded dough into a greased bowl, swirling it around so it’s lightly coated with oil. Cover the bowl with a clean towel or plastic wrap and let it rise in a warm, draft-free spot for about an hour, or until it has doubled in volume. This is when the dough builds all those lovely bubbles inside.
Step 6: Shape the Loaves
Once the dough has puffed up, gently punch it down to release excess air. Divide it into two portions and shape each half into a loose oval. There’s no need to fuss for perfect shapes here—rustic is the goal! Place the loaves on a parchment-lined baking sheet, spacing them apart.
Step 7: Second Rise
Cover the shaped loaves with a towel and let them rise again for another 30 to 45 minutes. They’ll relax, puff up prettily, and develop that signature ciabatta shape. Meanwhile, preheat your oven to 425°F (220°C) so it’s ready for a dramatic oven spring.
Step 8: Bake to Perfection
Right before baking, give the tops a generous drizzle of extra virgin olive oil and a sprinkle of sea salt. Slide the tray into your hot oven and bake for 20 to 25 minutes. Watch for those golden, crackly tops and that tantalizing bakery scent—once they’re deeply golden, they’re ready! Cool for at least 15 minutes before slicing to keep the airy crumb intact.
How to Serve The Best Ciabatta Recipe
Garnishes
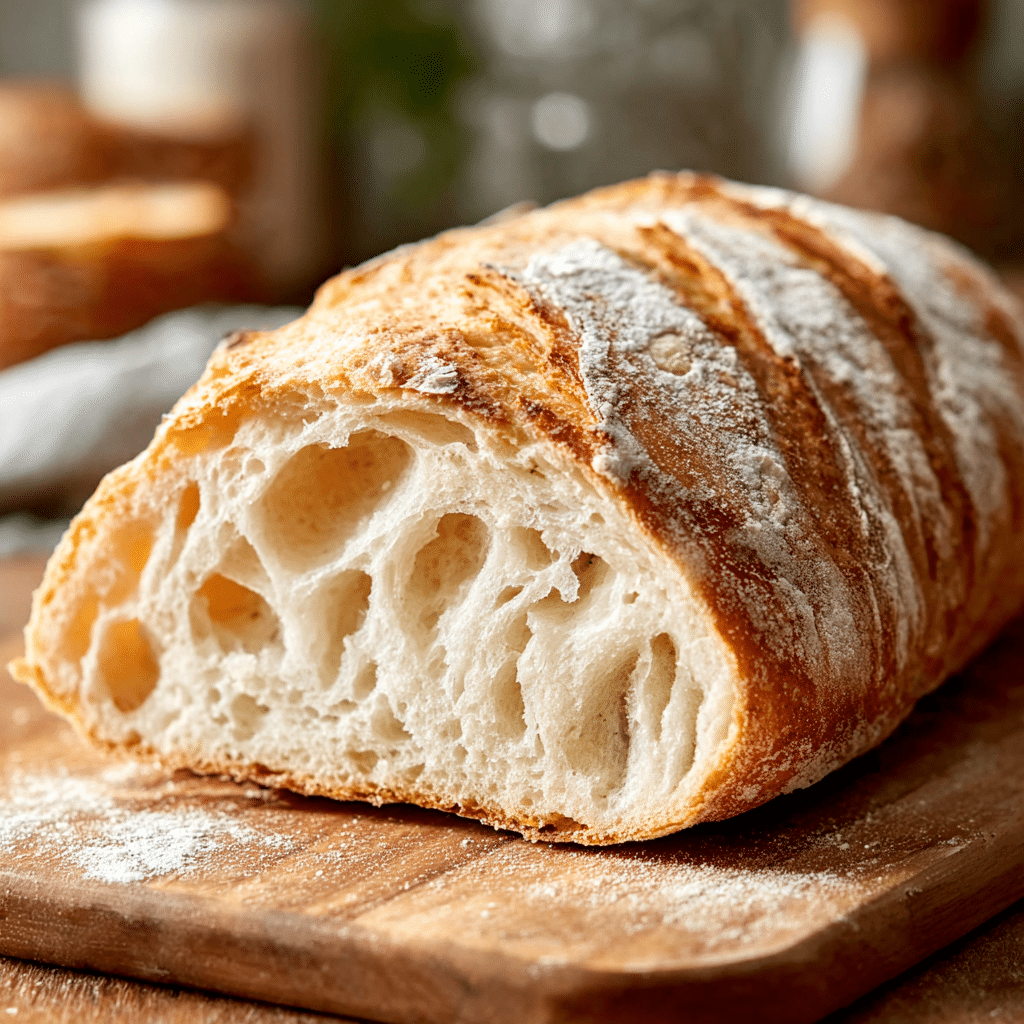
The transformation from bakery loaf to table centerpiece comes with a simple finishing touch: drizzle with more olive oil and, if you love a bit of heat, add a crack of black pepper or freshly chopped rosemary. These little extras play up the ciabatta’s deep flavor and rustic charm.
Side Dishes
The Best Ciabatta Recipe makes an irresistible partner for savory soups and salads, especially classics like tomato basil soup or a crisp panzanella. It’s divine for building Italian-inspired sandwiches—think prosciutto, mozzarella, and sun-dried tomatoes tucked into the pillowy bread.
Creative Ways to Present
Turn slices into addictive bruschetta topped with juicy tomatoes and basil, or cube day-old leftovers for ultra-crunchy homemade croutons. The possibilities are endless: slice for antipasto platters, serve warm with a herby olive oil dip, or pile chunks into a rustic bread basket for the whole table to share.
Make Ahead and Storage
Storing Leftovers
Once cooled, store your leftover ciabatta in a paper bag or loosely wrapped in a clean cloth at room temperature. This keeps the crust crisp while protecting the interior’s moisture. If you prefer, an airtight container works as well, just note the crust may soften slightly—but it’s still delicious!
Freezing
The Best Ciabatta Recipe freezes beautifully. Wrap loaves or slices tightly in foil or plastic wrap, then seal in a freezer bag. They’ll keep their flavor and texture for up to two months—perfect for make-ahead convenience or impromptu bread cravings.
Reheating
For the freshest experience, revive stored or thawed ciabatta by popping it in a preheated 350°F (175°C) oven for 5-10 minutes. This refreshes the crumb and brings back that irresistible, just-baked aroma and crisp crust. Slices can also be toasted directly from frozen for quick, gourmet results.
FAQs
What makes ciabatta different from other breads?
Ciabatta is known for its unique open crumb—those big, airy holes throughout—and a thin, crisp crust. The higher hydration dough and gentle handling set it apart from typical sandwich breads, making it rustic, chewy, and ideal for so many uses.
Can I use bread flour instead of all-purpose flour?
Absolutely! Bread flour has a higher protein content, which can lead to an even chewier texture and more pronounced structure in The Best Ciabatta Recipe. Either flour will yield a gorgeous loaf, but feel free to experiment to see which you like best.
Do I need special equipment for this recipe?
No special tools are required. A mixing bowl, sturdy spoon, and a baking sheet lined with parchment paper are all you need. If you have a stand mixer with a dough hook, you can use that for kneading, but working by hand gives the dough a lovely, artisan feel.
How do I know when ciabatta is fully baked?
The loaves should be deeply golden brown with a hollow sound when tapped on the bottom. You can also insert an instant-read thermometer into the center; fully baked ciabatta will register about 200°F (93°C). Letting it cool before slicing ensures the crumb sets beautifully inside.
Why is my dough so sticky?
That’s actually a great sign! Ciabatta dough is wetter and stickier than many other bread doughs, which is what creates those big, glorious holes. Dust your hands and surface with a little extra flour as needed, but don’t be tempted to add too much or you’ll lose that signature airy texture.
Final Thoughts
There’s nothing quite like the pride and pleasure of sharing a homemade loaf, and The Best Ciabatta Recipe makes that feeling accessible to everyone. If you’ve ever dreamed of conjuring up golden, crackling bread from your own oven, this is your invitation—grab your flour, roll up your sleeves, and let this recipe become your new go-to favorite.
PrintThe Best Ciabatta Recipe
Learn how to make the best homemade ciabatta bread with this easy recipe. This rustic Italian bread has a crisp crust and a chewy crumb, perfect for sandwiches or dipping in olive oil.
- Prep Time: 20 minutes
- Cook Time: 25 minutes
- Total Time: 2 hours
- Yield: 2 loaves
- Category: Bread
- Method: Baking
- Cuisine: Italian
- Diet: Vegetarian
Ingredients
Dough:
- 4 cups all-purpose flour (500g)
- 1 ½ tsp instant yeast (5g)
- 1 ¾ cups warm water (410ml)
- 2 tsp salt (10g)
- 3 tbsp extra virgin olive oil (45ml)
Instructions
- Combine Dry Ingredients: In a large mixing bowl, combine flour and salt.
- Activate Yeast: In another bowl, dissolve yeast in warm water.
- Mix Dough: Gradually mix the yeast mixture into the flour until a shaggy dough forms.
- Knead: Knead on a floured surface for about 10 minutes until smooth.
- Rise: Place dough in a greased bowl, cover, and let rise for about an hour or until doubled.
- Shape: Punch down the dough, divide it into two pieces, and shape each into an oval loaf.
- Final Rise: Let loaves rise on a parchment-lined baking sheet for another 30-45 minutes.
- Bake: Preheat oven to 425°F (220°C), drizzle loaves with olive oil, sprinkle with sea salt, then bake for 20-25 minutes until golden brown.
Nutrition
- Serving Size: 1 slice (50g)
- Calories: 130
- Sugar: 0.5g
- Sodium: 200mg
- Fat: 3g
- Saturated Fat: 0.5g
- Unsaturated Fat: 2g
- Trans Fat: 0g
- Carbohydrates: 22g
- Fiber: 1g
- Protein: 3g
- Cholesterol: 0mg

