There’s nothing quite as homey as a bubbling apple pie on a chilly day, and with this Freezer Apple Pie Filling you can capture that cozy aroma and fresh-picked flavor anytime you crave it. This recipe is a brilliant make-ahead solution that lets you stock your freezer with bags of luscious, cinnamon-kissed apples—perfect for pie, crisps, or even just spooned warm over ice cream. Whether you’re dealing with an abundance of apples from orchard picking or just love knowing you’re only steps away from homemade pie, this freezer apple pie filling will be your new best friend in the kitchen.
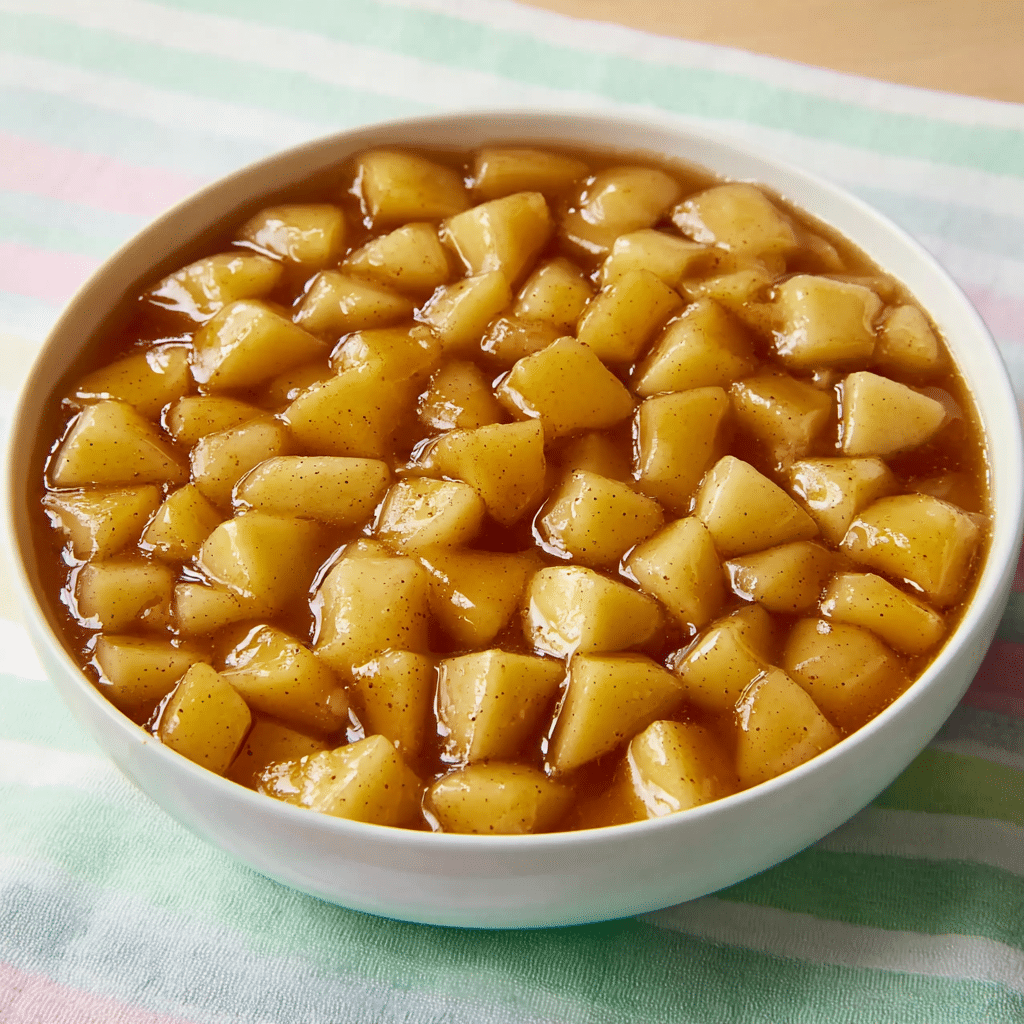
Ingredients You’ll Need
Simple ingredients are the heart of this recipe. Every single component not only adds to the flavor but ensures the filling freezes and bakes to perfection. Here’s what makes this Freezer Apple Pie Filling so special:
- Lemon: Adds just the right touch of brightness and stops the apples from turning brown.
- Apples (about 7 pounds, Granny Smith preferred): Provide the tartness, structure, and that classic apple pie bite.
- Granulated Sugar: Sweetens the filling and helps amplify the apples’ natural flavor.
- Brown Sugar: Gives a deeper sweetness with a caramel note that pairs beautifully with spices.
- Cornstarch: Thickens the sauce, making that perfect, sliceable pie filling.
- Cinnamon: The signature spice that delivers warmth and comfort in every bite.
- Salt: Balances all the sweetness and makes the flavors pop.
- Ground Nutmeg: Adds subtle aromatic depth that takes the filling from good to unforgettable.
- Water: Creates the luscious, silky base for your apples to simmer in.
How to Make Freezer Apple Pie Filling
Step 1: Prepare Your Apples
Start by zesting and juicing your lemon—this quick job pays off in a big way with fresh flavor. Peel your apples and slice them fairly thick (think about eight slices per apple), then toss them immediately with the lemon juice and zest. This keeps the apples beautifully golden and adds a spark of brightness, setting the stage for irresistible Freezer Apple Pie Filling.
Step 2: Make the Syrup Base
Grab your largest pot and stir together both sugars, cornstarch, cinnamon, salt, nutmeg, and water. Place it over medium-high heat and whisk constantly as it comes to a boil. Once it’s thickened and bubbling—about two minutes—you’re ready to bring in the apples. This luscious syrup is what makes the filling set up beautifully when baked.
Step 3: Simmer the Apples
Add those lemony apple slices to the hot syrup, cover the pot, and reduce the heat to low. Let the mixture simmer for about 10 minutes. You want your apples to begin softening but not lose their bite; the magic happens when they’re tender but not mushy, as they’ll finish cooking off in the oven later.
Step 4: Cool and Portion
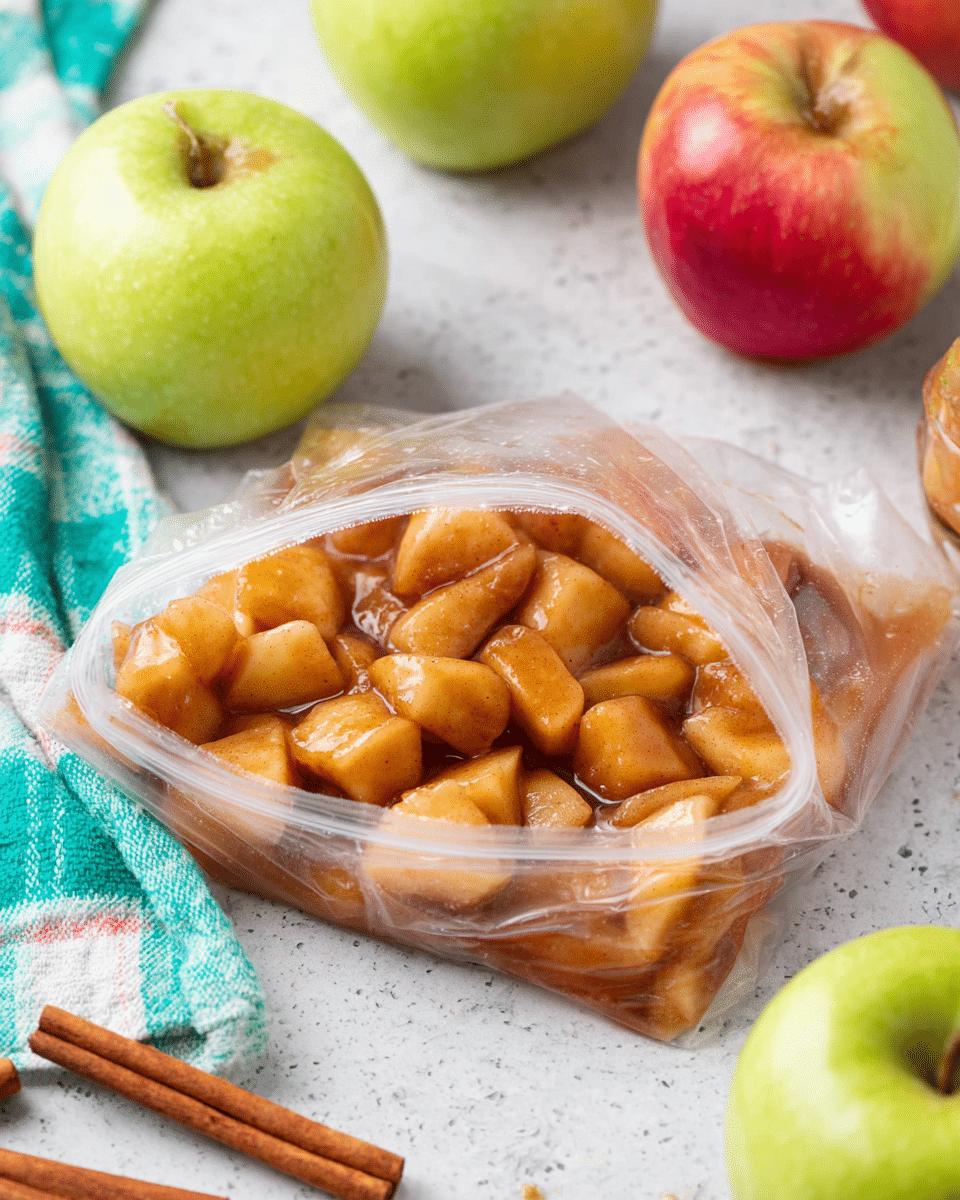
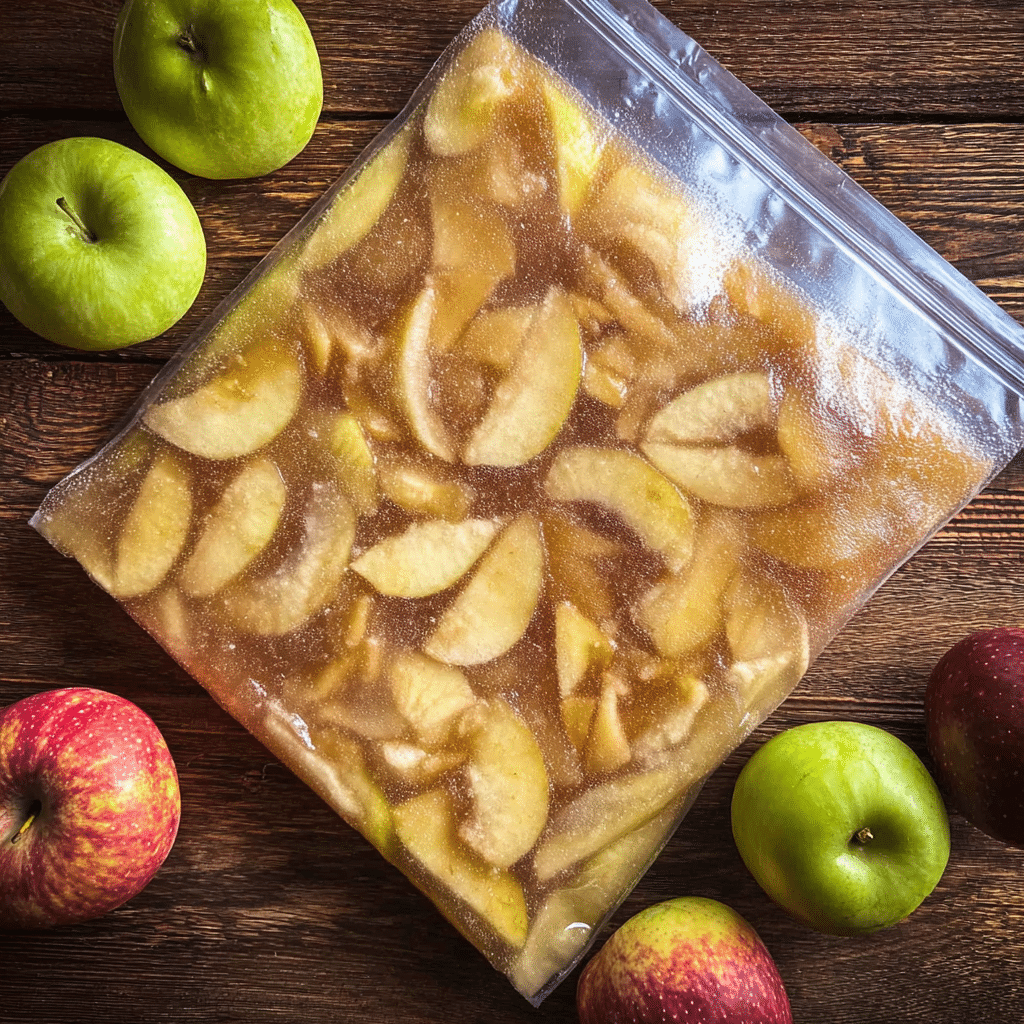
Take the pot off the heat and keep it covered while the mixture cools for 30–40 minutes. Stir every so often to release extra steam and check for that perfect soft-but-structured texture. Once cooled, ladle equal portions (usually about 2 ½ cups each) into four or five freezer bags, laying them flat so they freeze evenly. This method makes your Freezer Apple Pie Filling super convenient to stack and store.
Step 5: Freeze
Allow the filled bags to cool completely on the counter before popping them in the freezer. Your Freezer Apple Pie Filling is now ready to make your dessert dreams come true, anytime within the next year!
How to Serve Freezer Apple Pie Filling
Garnishes
The right garnish can make your pie sing. Try a sprinkle of coarse sugar over the crust before baking for that classic crunch, or a generous dollop of whipped cream once it comes out of the oven. A dusting of powdered sugar adds elegance, and for a little twist, a scoop of cinnamon ice cream is absolute heaven with warm apple pie.
Side Dishes
Pair your dessert with something light and fresh, like a crisp green salad if serving after dinner. A hot cup of coffee or chai tea beautifully complements the spices in this Freezer Apple Pie Filling. If you’re going all out, a sharp cheddar cheese wedge on the side (a classic pairing!) adds a delightful savory note.
Creative Ways to Present
Of course, this filling makes a knockout apple pie, but don’t stop there! Spoon warm Freezer Apple Pie Filling over pancakes or waffles for a brunch that’ll earn you serious points. Layer it in parfait glasses with granola and yogurt, or fill hand pies for quick treats. Even a simple bowlful topped with crispy oat crumble makes for a weeknight dessert worth celebrating.
Make Ahead and Storage
Storing Leftovers
If you find yourself with leftover filling (lucky you!), simply pop the cooled portion into an airtight container and refrigerate. It’ll stay perfectly fresh for up to five days, and can be enjoyed over oatmeal or even stirred into yogurt for a quick treat.
Freezing
What’s so fabulous about Freezer Apple Pie Filling is how effortlessly it stores—stack your flat freezer bags for up to a year, and you’ll always have homemade goodness just a defrost away. Make sure to label them with the date so you can keep track of that orchard-fresh flavor.
Reheating
When you’re ready to use the filling, simply thaw a bag overnight in the fridge, or gently warm it in a saucepan if you’re in a hurry. If baking straight from frozen, just add a few extra minutes to your baking time. The filling will bubble and thicken perfectly whether you use it thawed or straight from the freezer.
FAQs
Can I use different apple varieties?
Absolutely! While Granny Smith keeps things tart and firm, feel free to mix in sweeter apples like Honeycrisp or Fuji for depth of flavor. The key is using apples that hold up well to baking.
How long does Freezer Apple Pie Filling last?
If properly stored in airtight freezer bags, this filling can last up to one year in the freezer without any loss of flavor or texture. Try to use within that window for best results.
Can I use this filling for recipes other than pie?
Definitely! This Freezer Apple Pie Filling shines in crisps, cobblers, turnovers, and even as a topping for ice cream or pancakes. Its versatility means you’ll always find new ways to enjoy it.
Do I need to cook the filling again when baking a pie?
No need! The filling is partially cooked, so just add it straight into your pie crust and bake as usual. The apples will finish softening and the sauce will thicken as the pie bakes.
How do I avoid a soggy pie crust with this filling?
For best results, thaw the filling in the fridge before baking, and consider brushing your bottom pie crust with a little egg white or sprinkling with flour before adding the mixture. This helps form a barrier and keeps the crust flaky and tender.
Final Thoughts
If you love the idea of homemade pie without the fuss every time, you have to give this Freezer Apple Pie Filling a try. It puts delicious desserts right at your fingertips all year long, and I promise every bite tastes just like love and comfort. Happy baking!
PrintFreezer Apple Pie Filling Recipe
This freezer apple pie filling recipe is a convenient way to preserve the delicious flavors of apples to enjoy in pies throughout the year. With a perfect blend of spices and sweetness, this filling is a must-have for any baking enthusiast.
- Prep Time: 15 minutes
- Cook Time: 16 minutes
- Total Time: 1 hour 11 minutes
- Yield: 4-5 batches
- Category: Dessert
- Method: Baking
- Cuisine: American
- Diet: Vegetarian
Ingredients
For the Apple Filling:
- 1 lemon
- 7 pounds apples (approximately 22–24 cups, preferably Granny Smith)
- 1 cup granulated sugar
- 1 cup brown sugar
- 1 cup cornstarch
- 1 tablespoon cinnamon
- ½ teaspoon salt
- ¼ teaspoon ground nutmeg
- 6 cups water
Instructions
- Zest & Juice the Lemon: Begin by zesting and juicing the lemon, then set aside.
- Prepare the Apples: Peel and slice the apples into thick slices, about 8 slices per apple. Toss the apple slices with the lemon juice and zest, then set aside.
- Prepare the Filling: In a large pot, combine both sugars, cornstarch, cinnamon, salt, nutmeg, and water. Bring to a boil over medium-high heat, whisking constantly, and let it boil for 2 minutes until thick and bubbly.
- Add the Apples: Stir in the apple slices, cover, and reduce heat to low. Let simmer for about 10 minutes until the apples begin to soften. They should be soft but not mushy.
- Cool and Store: Remove from heat, keep covered, and let cool for 30-40 minutes. Ladle equal amounts into 4-5 freezer bags (approximately 2 ½ cups per bag). Cool on the counter before freezing for up to a year.
Notes
- This recipe yields enough filling for 4-5 pies.
- The freezer apple pie filling can be stored in the freezer for up to 1 year.
Nutrition
- Serving Size: 1 serving
- Calories: 118
- Sugar: 23g
- Sodium: 42mg
- Fat: 0.1g
- Saturated Fat: 0g
- Unsaturated Fat: 0g
- Trans Fat: 0g
- Carbohydrates: 30g
- Fiber: 2g
- Protein: 0.3g
- Cholesterol: 0mg

