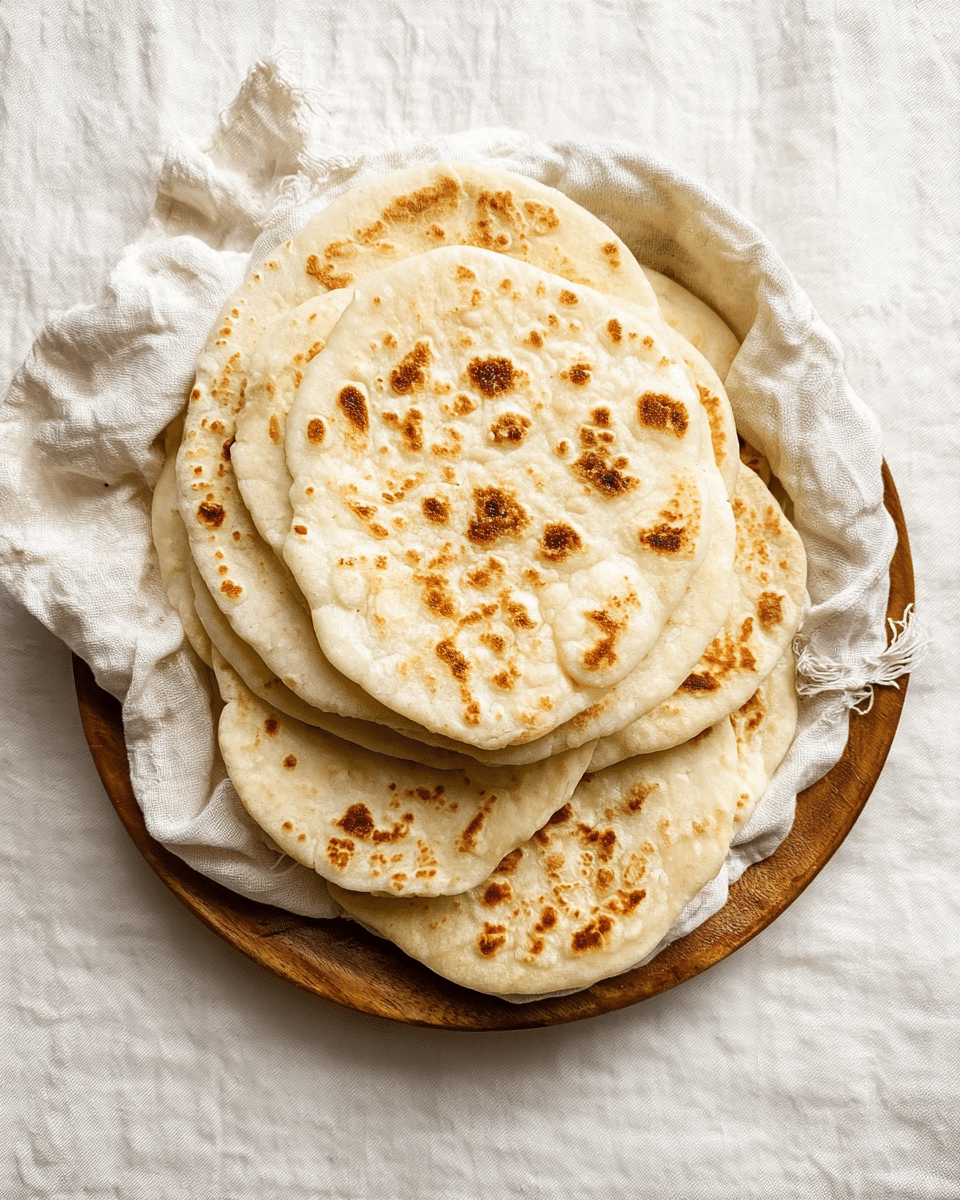
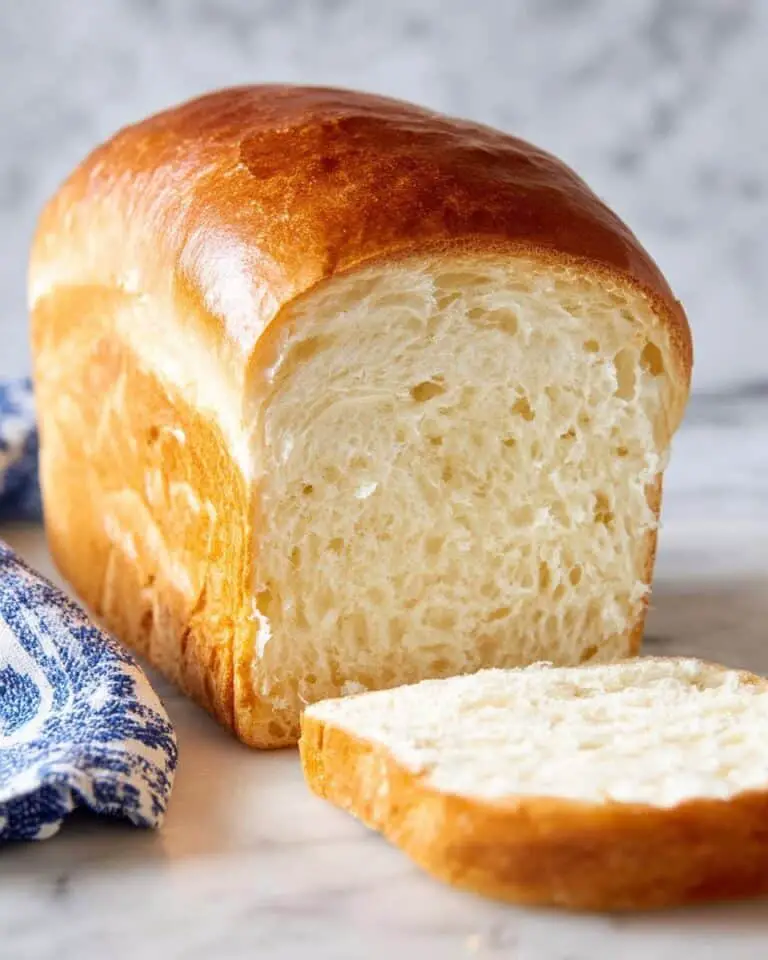
If you’ve ever wanted to fill your kitchen with the smell of freshly baked flatbread and enjoy soft, pillowy pockets that beat anything store-bought, you’ll love this Homemade Pita Bread (Chewy & Soft). This amazing recipe brings an irresistible fluffiness with a hint of chew, making each bite just as satisfying as the next. Whether you’re scooping up hummus, piling them with fillings, or munching them fresh from the skillet, this is one of those bakes that transforms even a simple meal into something magical.
Ingredients You’ll Need
Baking Homemade Pita Bread (Chewy & Soft) proves how the simplest ingredients, chosen thoughtfully, make for outstanding bread. Each one plays a role, whether it’s creating tenderness, adding flavor, or building that iconic pocket.
- Water (302g): Use lukewarm water for the perfect dough consistency and to wake up the yeast for a lively rise.
- Yeast (14g, about 1 1/2 tbsp): This is the secret to those airy pockets and a beautiful, billowy texture—instant or active dry both work!
- Olive Oil (35g, about 2 1/2 tbsp): A healthy glug adds flavor and keeps your pita wonderfully soft.
- Sugar (12.5g, 1 tbsp): Just a touch to feed the yeast and give a subtle golden color to the finished bread.
- Flour (480g, plus extra for kneading): All-purpose works beautifully—don’t forget the extra for dusting your hands and work surface.
- Salt (10g): Balances the flavors and brings out the very best in your dough.
- Greek Yogurt (67g): This is your ticket to extra chew and softness—trust me, it makes a world of difference!
How to Make Homemade Pita Bread (Chewy & Soft)
Step 1: Bloom the Yeast
Begin by pouring your warm water into the stand mixer bowl—make sure it’s just slightly warm to the touch. Add in the yeast, sugar, and olive oil, then let them mingle for 3 minutes. The yeast will start bubbling and releasing that delightful, bready aroma, promising that something good is on the way.
Step 2: Mix Dry Ingredients
While the yeast is waking up, go ahead and mix your flour and salt in another bowl. This not only distributes the salt evenly, but it also helps you avoid clumps later on—no one wants a sneaky pocket of salt in their pita!
Step 3: Combine and Work the Dough
Add your flour mixture and Greek yogurt to the yeast mixture, and run the stand mixer on low for just a minute or so. You’re aiming for a shaggy, slightly sticky mass—don’t worry, it will come together fully as you knead. The yogurt starts transforming the dough here, even before your hands get involved.
Step 4: Knead the Dough
Turn your dough out onto a lightly floured surface and give it some love—knead for about 5 minutes. Keep a little extra flour handy to stop things getting gluey. By the end, you’ll have a dough that’s smooth, just a bit tacky, and ready for a nice long nap.
Step 5: First Proof
Pop the dough in a clean, lightly oiled bowl, cover with plastic wrap and a towel, and set it aside for about an hour and a half to two hours. This is when the magic happens—your dough should grow to twice its original size, taking on all that pillowy lightness you crave in good pita.
Step 6: Divide and Shape
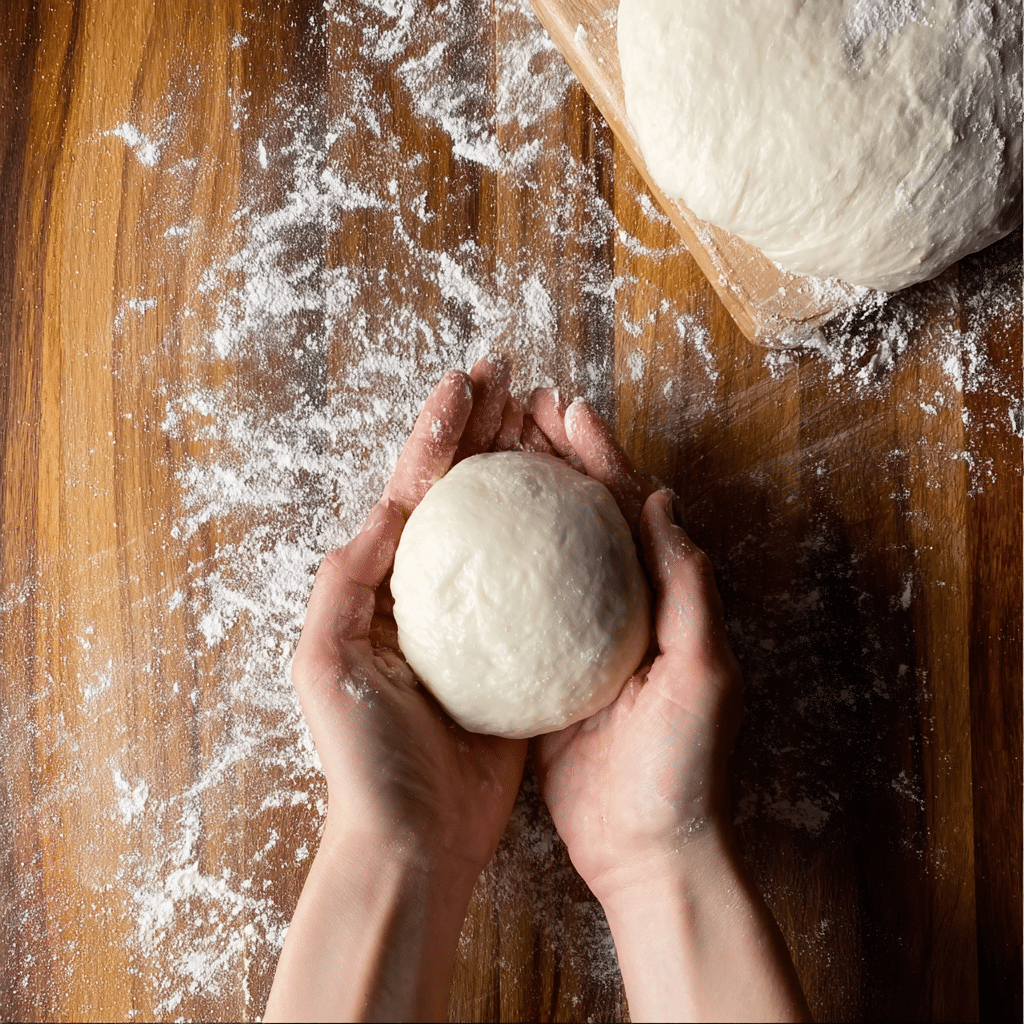
Once doubled, gently dump out the dough onto a floured surface. Weigh and divide it into eight equal pieces (110–112g each). For each lump, gather the edges and tuck them into the center, then roll gently between cupped hands to make a tight, smooth ball. This keeps the pita even and ensures each one puffs beautifully.
Step 7: Second Rest
Arrange your balls on a lightly oiled tray, giving them space so they won’t stick together. Cover them with plastic wrap and let them rest for at least 15, but no more than 30 minutes. A quick rest allows the dough to relax, which makes rolling them out much easier.
Step 8: Roll Out the Pitas
On a floured surface, flatten each ball into a thick disc with your fingertips, then gently roll out to about 7–8 inches wide and a quarter-inch thick. Rotate the dough as you roll, flipping it occasionally, to keep each round even and perfectly circular. You’ll feel the dough “relax” under your rolling pin—it’s so satisfying!
Step 9: Cook on the Skillet
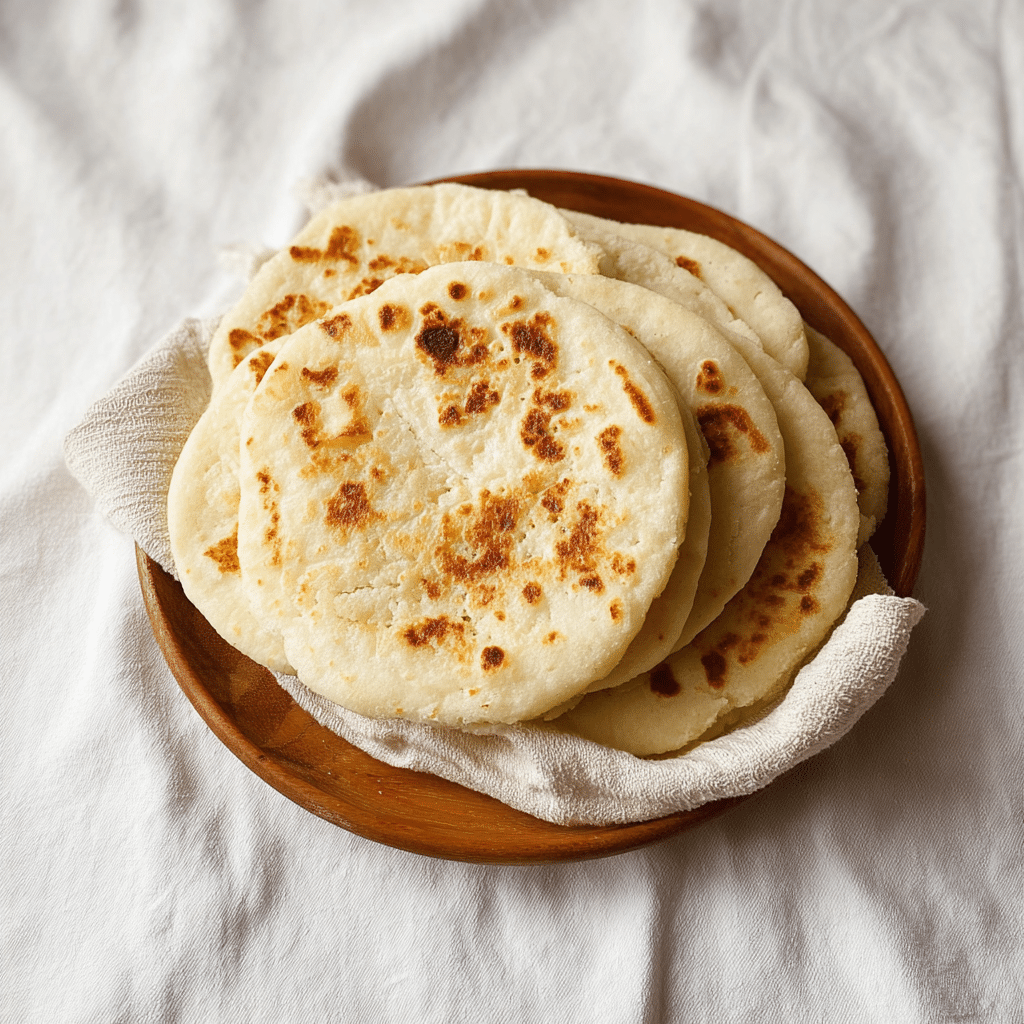
Preheat a skillet over medium-high heat until it’s very, very hot. Working with your first rolled-out pita, cook it in the dry skillet, flipping every 12 to 15 seconds. You’ll start to see air pockets forming, and with a gentle press from a spatula, the whole bread should puff up gloriously. Once it’s fully puffed and lightly browned, transfer to a towel-lined plate. Repeat for all the pitas—and try not to eat them all straight away!
How to Serve Homemade Pita Bread (Chewy & Soft)
Garnishes
Fresh out of the skillet, Homemade Pita Bread (Chewy & Soft) is a showstopper on its own, but a sprinkle of flaky sea salt, a brush of olive oil, or a dusting of za’atar makes it even more irresistible. For extra flair, rub a raw garlic clove over the surface while still warm—the aroma is intoxicating!
Side Dishes
Pita and dips are a match made in heaven. Pair with classic hummus, baba ghanoush, or cooling tzatziki. It’s also a winner alongside Middle Eastern stews, salads like fattoush, or any soup that’s just begging for dunking.
Creative Ways to Present
Cut pitas into wedges and toast for crunchy chips, or stuff the pockets with anything from falafel to grilled veggies, chicken shawarma, or tabbouleh. Stack them in a bread basket still warm, wrapped in a towel, and watch them disappear at any gathering.
Make Ahead and Storage
Storing Leftovers
Leftover Homemade Pita Bread (Chewy & Soft) stores beautifully! Allow the pitas to cool completely before wrapping snugly in foil or plastic wrap, then pop them in an airtight container. They’ll stay soft at room temperature for a day or two—perfect for snacking on the fly.
Freezing
If you want to stretch out the joy, freeze your pitas. Wrap each one individually in plastic and slide them into a freezer bag—squeeze out as much air as possible. They’ll taste just as fabulous, even after a month or two in the freezer.
Reheating
To revive that plush, chewy texture, sprinkle a tiny bit of water over each pita and warm in a hot oven (or toaster oven) for a minute or two, or zap briefly in the microwave wrapped in a damp towel. They’ll come out soft, warm, and every bit as inviting as fresh off the skillet.
FAQs
Why didn’t my pita bread puff up?
The pocket forms thanks to steam, so make sure your skillet is very hot before you start cooking. If the dough is rolled too thin or thick, or if the skillet temperature isn’t high enough, the result might be flatter pitas. Give your dough its full resting time for best results, and don’t be afraid to practice—it’s always delicious!
Can I make Homemade Pita Bread (Chewy & Soft) without Greek yogurt?
Absolutely! While Greek yogurt adds extra chew and softness, you can substitute it with plain yogurt or simply leave it out—your pitas will still taste fantastic, just a little less rich.
Is this recipe suitable for a bread machine?
You can use a bread machine to mix and proof the dough, but it’s best to shape and cook the pita breads by hand on a hot skillet for authentic results. The machine helps with convenience, but the magic happens on your stove!
What kind of flour works best?
All-purpose flour gives reliably great results, but bread flour can amp up the chew if you like that texture. Whole wheat flour is an option for a heartier, more rustic bread, though you may want to mix it half-and-half with all-purpose at first.
Can I use this dough for other recipes?
Definitely! Once you master Homemade Pita Bread (Chewy & Soft), you’ll find the dough is fantastic for mini pizzas, flatbread sandwiches, or even rolled up as wraps. Let your creativity (and your cravings) guide you!
Final Thoughts
I truly hope you give this Homemade Pita Bread (Chewy & Soft) a try—there’s nothing quite like watching each round of dough turn into a golden, puffed masterpiece before your eyes. It’s a simple joy that brings warmth to any meal and, honestly, there’s nothing better than sharing it with the people you love. Happy baking!
PrintHomemade Pita Bread (Chewy & Soft) Recipe
Learn how to make delicious homemade pita bread that is chewy and soft. This Middle Eastern classic will elevate your meals with its fresh, warm pockets ready to be filled with your favorite ingredients.
- Prep Time: 1 hour
- Cook Time: 20 minutes
- Total Time: 3 hours 20 minutes
- Yield: 8 pitas
- Category: Bread
- Method: Baking
- Cuisine: Middle Eastern
- Diet: Vegetarian
Ingredients
For the Pita Bread:
- 302 g water
- 14 g yeast (1 1/2 tbsp)
- 35 g olive oil (2 1/2 tbsp)
- 12.5 g sugar (1 tbsp)
- 480 g flour + extra for kneading and rolling
- 10 g salt
- 67 g Greek yogurt
Instructions
- Blooming the Yeast: In a stand mixer, combine warm water, yeast, sugar, and olive oil. Let sit for 3 minutes.
- Preparing the Dough: Mix flour and salt in a separate bowl. Add flour mixture and Greek yogurt to the water bowl. Mix until shaggy but not dry.
- Kneading and Proofing: Knead the dough for 5 minutes, then let it proof for 1 1/2 to 2 hours until doubled in size.
- Shaping the Pitas: Divide dough, shape into balls, and let rest for 15-30 minutes. Roll out dough into circles.
- Cooking the Pitas: Heat a skillet, cook the pitas until they puff up, flipping every 12-15 seconds.
Nutrition
- Serving Size: 1 pita
- Calories: 210
- Sugar: 2g
- Sodium: 345mg
- Fat: 5g
- Saturated Fat: 1g
- Unsaturated Fat: 3g
- Trans Fat: 0g
- Carbohydrates: 35g
- Fiber: 2g
- Protein: 6g
- Cholesterol: 0mg

