Get ready to relive sweet memories with this classic Caramel Apple Dip recipe! It’s luxuriously creamy, perfectly sweet, and balanced with a kiss of vanilla. If you grew up scooping crisp apple slices into a dreamy blend of cream cheese and caramel-like sugar, this is the nostalgic treat you remember. Whether you’re gathering friends for game night, need a quick dessert for the family, or just want to add a bit of fun to snack time, Caramel Apple Dip is the ultimate crowd-pleaser that never fails to delight apple lovers of all ages.

Ingredients You’ll Need
This irresistible dip comes together with just a handful of pantry staples, each one bringing its own touch of magic. Simple as they are, these ingredients combine for a lush, velvety dip you’ll want to make on repeat.
- Cream Cheese (8 ounces, softened): This is the base of the dip, lending that signature tangy creaminess.
- Brown Sugar (3/4 cup, packed): Brown sugar brings lush caramel flavor and extra depth, melting beautifully into the dip.
- Granulated Sugar (1/4 cup): Adds the perfect level of sweetness and lightens the overall flavor.
- Vanilla Extract (1 teaspoon): A little bit of vanilla rounds out the flavors and adds warm, aromatic notes.
- Sliced Apples (for serving): Choose a variety of apples for both a festive look and a mix of sweet-tart flavors; serve right before dipping for max crunch.
How to Make Caramel Apple Dip
Step 1: Blend the Base
Start off by adding your softened cream cheese, brown sugar, granulated sugar, and vanilla extract into the bowl of a stand mixer (or a medium mixing bowl if using a hand mixer). Using the paddle attachment or beaters, mix everything together on medium speed until the dip is completely smooth and no lumps remain. Take your time here—this is what gives Caramel Apple Dip its silky, spreadable texture!
Step 2: Get It Chilled
Transfer the finished dip into a pretty serving dish or bowl. Cover and let it chill in the refrigerator until you’re ready to serve. Even just 15–30 minutes will help it thicken slightly, giving you that ultimate scoopable consistency that clings to every apple slice.
Step 3: Prep Your Apples
Meanwhile, wash and slice your apples. For a festive touch, use a mix of red and green apples—think tart Granny Smith and sweet Honeycrisp. If you want to keep the slices from browning, soak them briefly in a salt water solution (2 cups water plus 1/4 teaspoon salt), rinse, and pat dry. Arrange them in a rainbow on your serving platter just before it’s time to dip.
Step 4: Serve and Enjoy
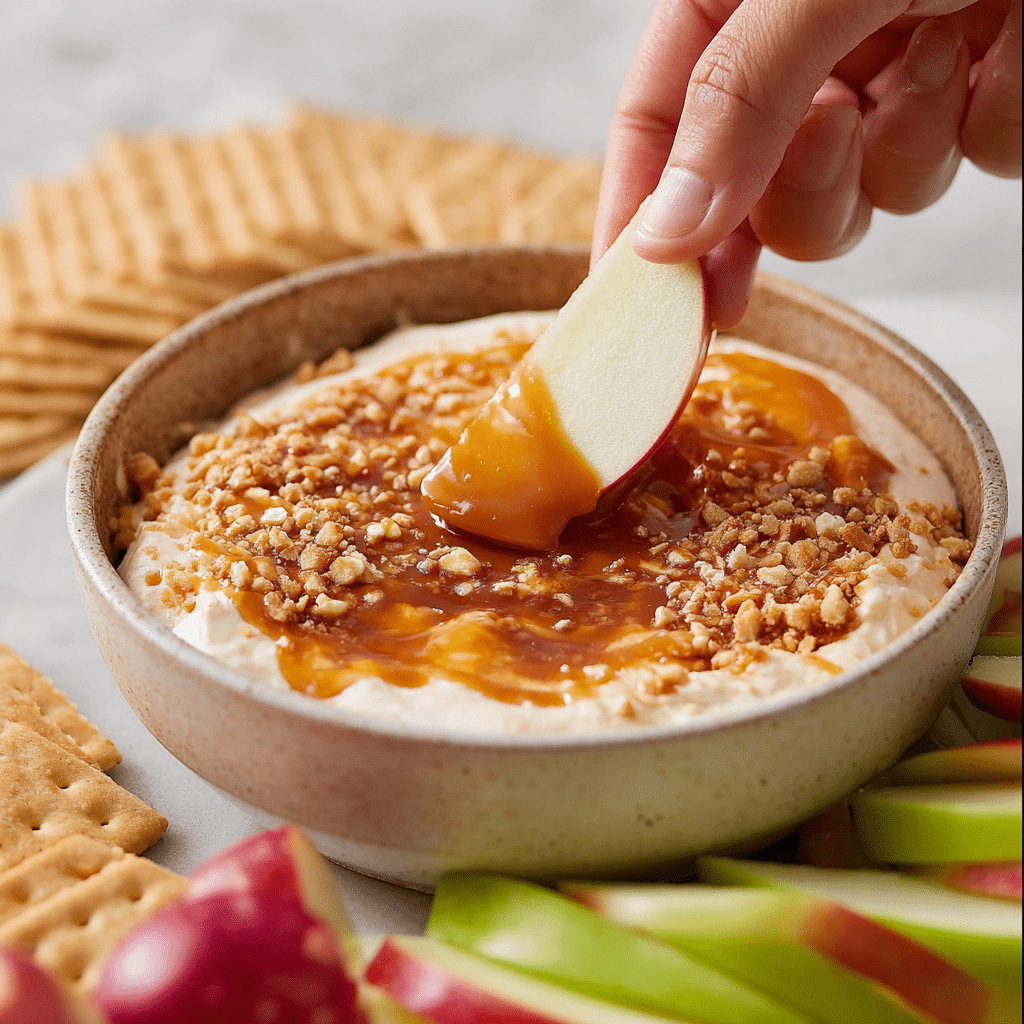
Set out your chilled Caramel Apple Dip with the freshly sliced apples. Grab a spoon, get your apples ready, and swoop that first juicy slice into the creamy, caramel-kissed dip. Share, devour, and repeat!
How to Serve Caramel Apple Dip

Garnishes
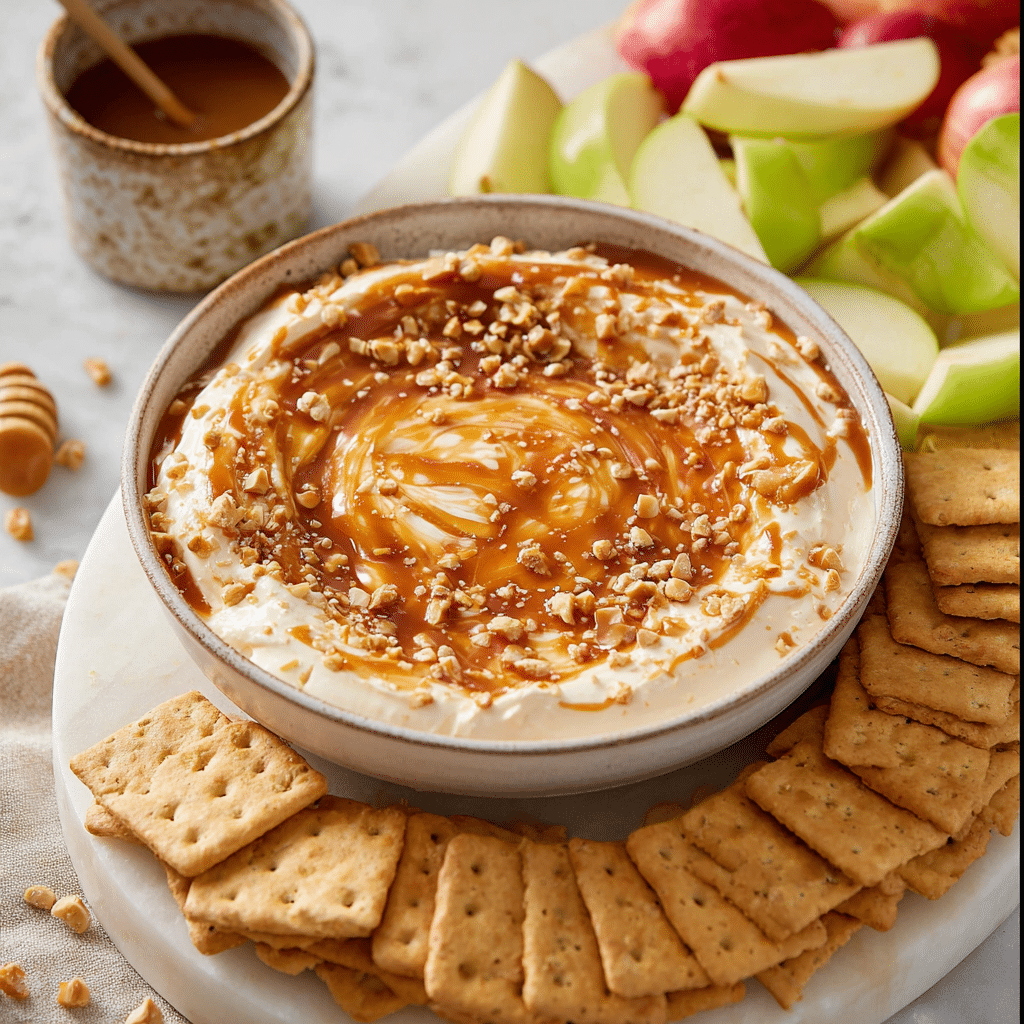
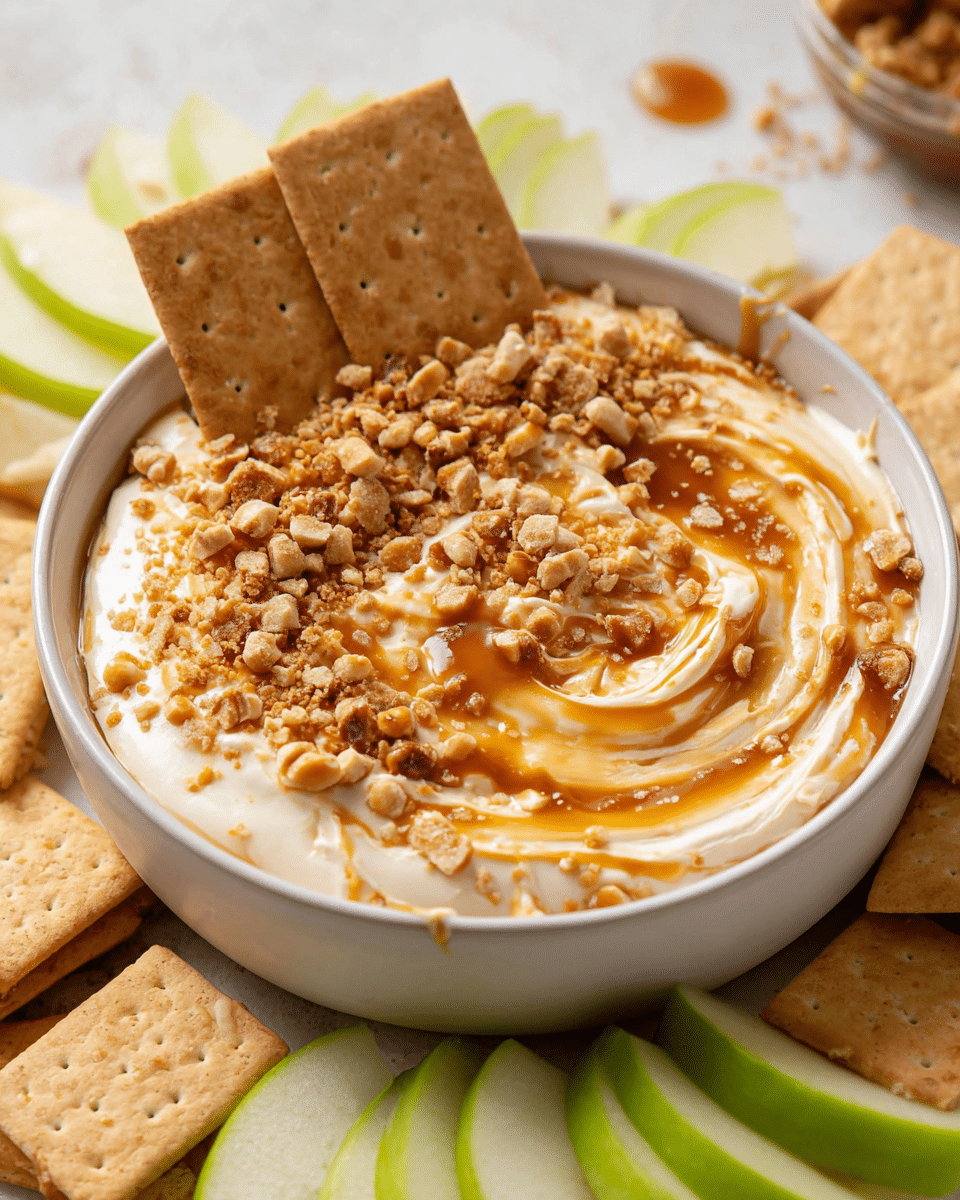
Take things up a notch by adding a sprinkle of mini chocolate chips, a drizzle of real caramel sauce, a handful of chopped nuts, or even a dash of cinnamon on top of the dip just before serving. These finishing touches add texture and a touch of flair, making your Caramel Apple Dip look as impressive as it tastes.
Side Dishes
While apples are the classic, consider offering graham crackers, pretzels, strawberries, or thin cookies for extra dipping options. It makes things feel like a dip party—and who doesn’t love a dip party?
Creative Ways to Present
For a stunning presentation, try layering the dip in individual mini jars, or swirling extra caramel and chocolate sauce through the top for a marbled effect. Arrange the sliced apples in a spiral or fan around the dip for a show-stopping appetizer or dessert tray. For a special touch at fall gatherings, serve the dip inside a hollowed-out apple!
Make Ahead and Storage
Storing Leftovers
Got leftovers? Just cover the dish with plastic wrap or transfer the Caramel Apple Dip to an airtight container and refrigerate. It’ll keep well for up to four days. If you notice any separation, just give it a good stir before serving again.
Freezing
While this dip is best enjoyed fresh, you can freeze it if needed. Transfer to a freezer-safe container, press a piece of plastic wrap right onto the surface to help prevent ice crystals, and seal tightly. Thaw it overnight in the fridge and stir well before serving; the texture may be slightly softer, but the flavor will still be delicious.
Reheating
If you’d like to serve your Caramel Apple Dip slightly warmer, gently stir it in a microwave-safe bowl in 15-second bursts until just softened (don’t overheat or it could separate). A quick mix brings it back to creamy perfection for dipping.
FAQs
Can I make Caramel Apple Dip ahead of time?
Absolutely! Prepare the dip up to two days in advance, cover, and store in the refrigerator until you’re ready to serve. Simply stir before serving to keep it smooth and creamy.
What are the best apples to use for dipping?
A mix of sweet and tart apples is my favorite way to go. Granny Smith, Honeycrisp, Pink Lady, and Gala apples all work beautifully—plus, using both red and green apples adds a gorgeous pop of color.
Can I use low-fat cream cheese?
Yes! Low-fat or Neufchâtel cream cheese can be swapped in for regular cream cheese if you prefer a lighter Caramel Apple Dip. The result will still be creamy and tasty, though slightly less rich.
Is this dip gluten-free?
The Caramel Apple Dip itself is naturally gluten-free, but be sure to serve it with gluten-free dippers (like apples, gluten-free cookies, or pretzels) if necessary for your guests.
Can I double or halve this recipe?
Definitely! The recipe is super flexible—double it for parties, or easily halve it if you want just a small batch. Adjust ingredient amounts accordingly, and follow the same method for delicious results.
Final Thoughts
Nothing brings people together quite like a bowl of homemade Caramel Apple Dip and a plate of crisp apple slices! Whether you grew up with this sweet treat or you’re trying it for the first time, it’s sure to spark joy at your next gathering. Give it a try—you might just find yourself looking for excuses to make it again and again!


