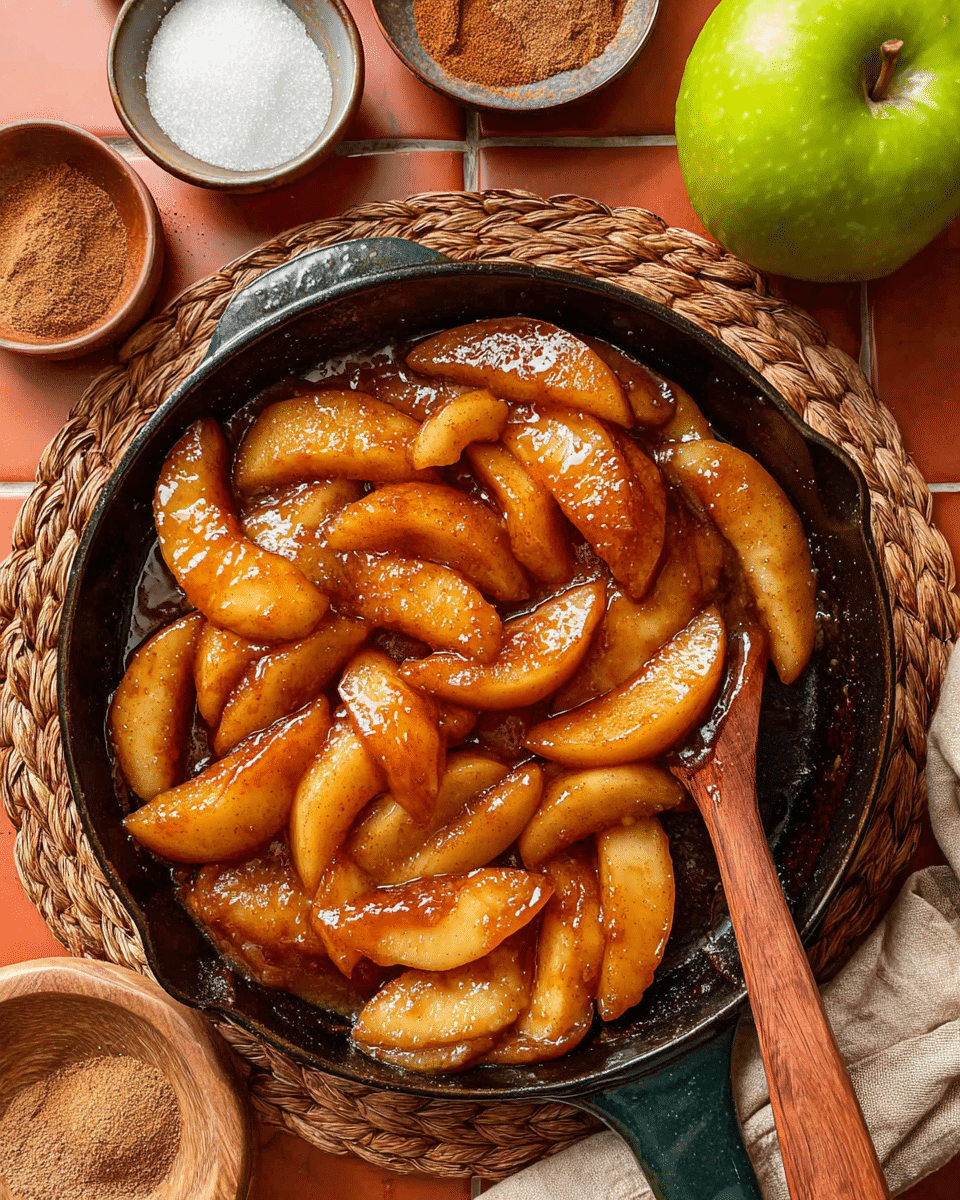
If you’re looking for a quick yet utterly soul-soothing treat, Fried Apples are a classic that guarantees huge smiles at any table. Slices of tart Granny Smith apples are gently sautéed until they turn irresistibly tender, then coated in a rich brown sugar-cinnamon glaze. These Fried Apples bring out the very best of fall flavors, but honestly, they’re welcome year-round as a cozy dessert, a decadent breakfast topping, or even a whimsical side dish. Trust me, once you experience the caramelized aroma wafting from the skillet, you’ll be making these again and again.
Ingredients You’ll Need
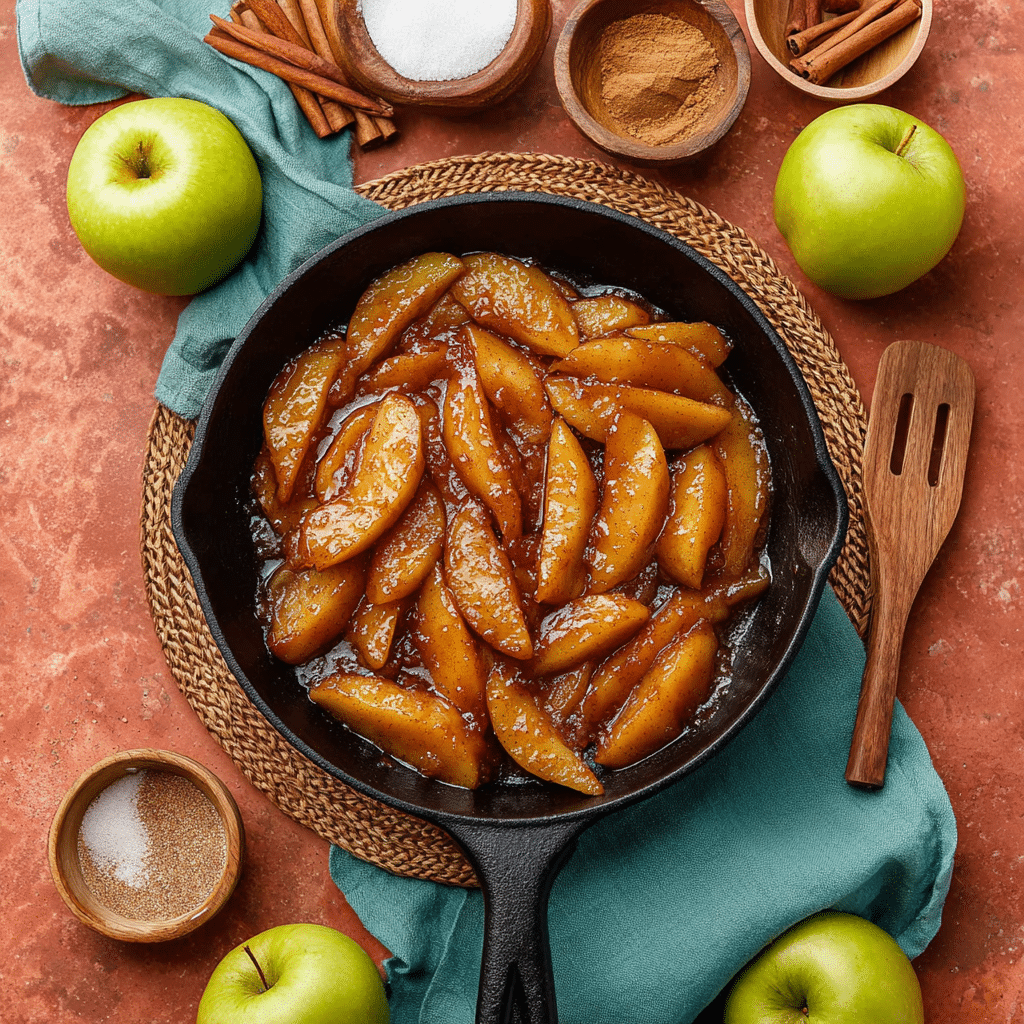
Part of the beauty of Fried Apples is how the simplest ingredients come together to make magic. Each one is essential – from the apples’ tartness to the lush sweetness of brown sugar. Here’s what you’ll need, and why each element matters.
- Granny Smith apples: The tartness and firmness of Granny Smiths hold up perfectly to frying and keep things from getting mushy or overly sweet.
- Unsalted butter: Melts into pure velvet, creating a luscious sauce and helping the apples caramelize just right.
- Light or dark brown sugar: Brings deep caramel notes with every bite; dark brown sugar gives a bolder molasses flavor, while light keeps it a bit more mellow.
- Ground cinnamon: Warms everything up with its quintessential autumn spice – you can’t have Fried Apples without it!
- Ground nutmeg: Just a dash adds a slightly nutty, aromatic dimension that rounds out the sweetness.
- Fine sea salt: Don’t skip this – a pinch brightens and balances the flavors in every spoonful.
- Vanilla extract: Adds that final dose of comfort and pulls all the sweet, spicy flavors together at the end.
How to Make Fried Apples
Step 1: Prep the Apples
Start by peeling, coring, and slicing your Granny Smith apples into wedges about half an inch thick. The thinner you slice, the more quickly they’ll cook; the trick is to keep them uniform so they turn beautifully tender together. This step may feel meditative – take your time, savoring the tart apple scent that signals the cozy treat to come!
Step 2: Melt the Butter
Set a large cast iron skillet over medium heat and add the unsalted butter. Let it melt slowly, swirling the pan to coat the bottom. The golden aroma of melting butter sets the stage for the entire batch of Fried Apples, promising rich flavor and a beautiful caramelized finish.
Step 3: Add and Coat the Apples
Slide the sliced apples into the skillet, followed right away by the brown sugar, cinnamon, nutmeg, and sea salt. Stir gently to coat every slice with that glossy, spiced mixture. In just a few seconds, you’ll see the beginnings of a luscious glaze and smell the first hints of caramelizing sugar wafting into your kitchen.
Step 4: Cook Until Tender
Continue to cook the apples over medium heat, stirring occasionally, for 10 to 15 minutes. Watch as they soften and soak up the glaze, becoming fork-tender while still holding their shape. Keep an eye out – you want them pliant but not mushy. The sauce should grow slightly thick and glossy, clinging lovingly to each slice.
Step 5: Finish with Vanilla
Once your apples are perfectly tender, remove the skillet from the heat and gently stir in the vanilla extract. This last step infuses the whole pan with a gentle sweetness and incredible aroma. Serve your Fried Apples right away while they’re piping hot and glossy!
How to Serve Fried Apples
Garnishes
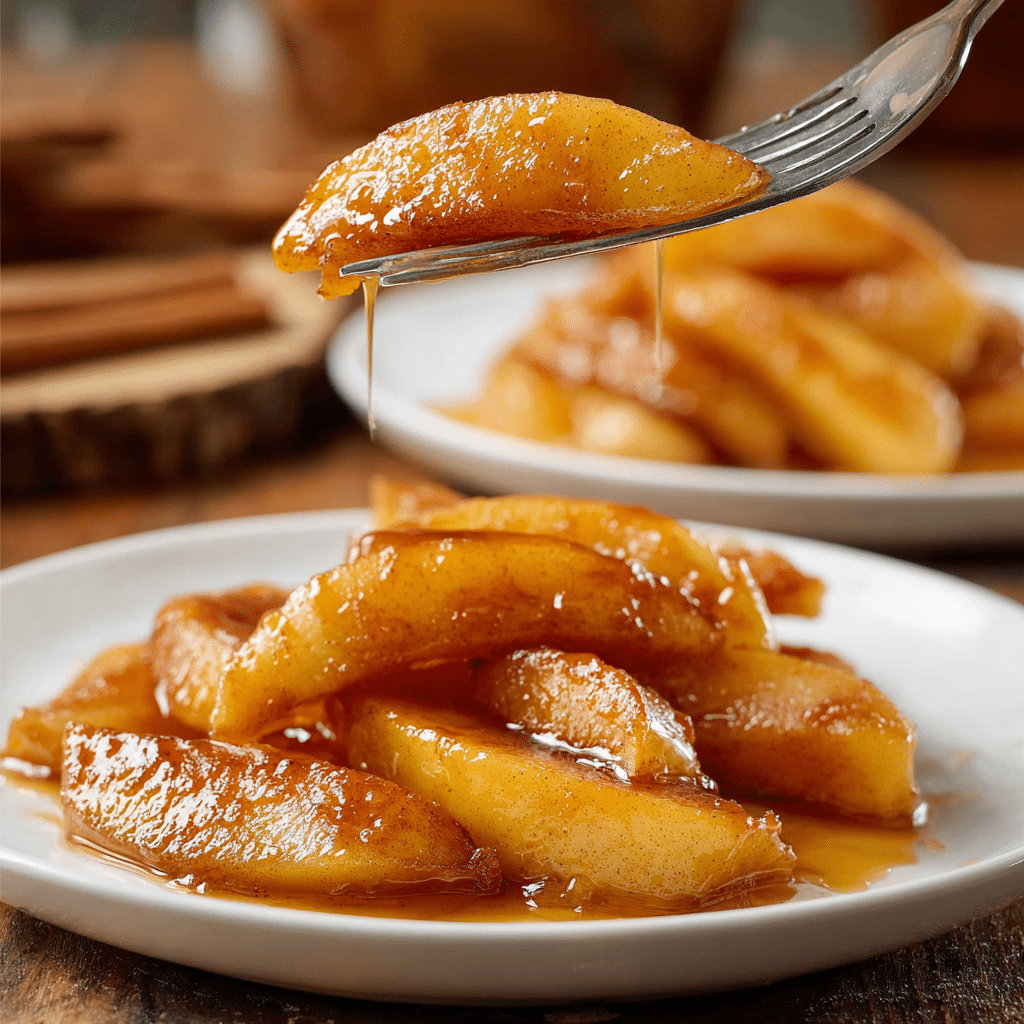
Dress your Fried Apples to impress! A sprinkle of toasted pecans or walnuts adds crunch, while a dusting of extra cinnamon or a swirl of whipped cream gives things a little flourish. For true decadence, a scoop of vanilla ice cream melting over the top creates the ultimate warm-and-cold dessert experience.
Side Dishes
You’ll be amazed at how versatile Fried Apples can be. They make a dreamy side alongside roast pork or ham, and they’re right at home next to fluffy pancakes, classic French toast, or a cozy bowl of oatmeal at brunch. If you’re a fan of breakfast-for-dinner, these apples are your new best friend.
Creative Ways to Present
Don’t stop at just serving in a bowl! Try spooning Fried Apples over warm biscuits, folding them into crepes, or layering them in parfait glasses with yogurt and granola. You can even use them as a pie filling or stir them into your morning porridge for a guaranteed smile with every bite.
Make Ahead and Storage
Storing Leftovers
Got extras? Lucky you! Fried Apples keep beautifully in an airtight container in the refrigerator for up to four days. The flavors deepen as they rest, so leftovers the next day are every bit as delightful (if not more so).
Freezing
If you want to have Fried Apples ready for busy days or unexpected guests, freeze them! Cool completely, transfer to a freezer-safe container, and tuck away for up to three months. Thaw overnight in the fridge when you’re ready to enjoy them again.
Reheating
To bring back that freshly-made magic, reheat Fried Apples in a skillet over low heat, stirring gently until they’re warmed through and the sauce gets glossy again. You can also pop them in the microwave for a quick fix, but nothing beats the stovetop for reviving their just-cooked texture.
FAQs
Can I use a different type of apple?
Absolutely! While Granny Smith apples are popular for Fried Apples because they hold their shape and add a nice tartness, varieties like Honeycrisp, Pink Lady, or Fuji work well for sweeter, softer results. Mix and match for your favorite flavor combination!
Do I need a cast iron skillet?
Cast iron helps with even heating and contributes to those irresistible caramelized edges, but any heavy-bottomed skillet will work in a pinch. Just make sure your pan can handle medium heat without sticking.
Can I make Fried Apples ahead of time?
You sure can. Prepare them as directed, then cool and store. When you’re ready to serve, just gently reheat and enjoy! They taste fantastic reheated and the spices meld even more overnight.
What’s the difference between Fried Apples and apple pie filling?
Great question! Fried Apples are a little thicker and saucier, with less liquid and no crust. They are meant to be enjoyed on their own or as a topping, rather than baked in a pie. The texture is tender and rich, with a pronounced spiced syrup.
Are these gluten free?
Yes, this Fried Apples recipe is completely gluten free as written. Always check individual ingredient labels to make sure there’s no cross-contamination if you’re serving someone with celiac or severe gluten sensitivity.
Final Thoughts
If you’ve never tried homemade Fried Apples, now’s your moment! They’re quick, incredibly easy, and taste like a giant hug in a bowl. Try them warm from the skillet and I promise, you’ll want to find new ways to enjoy their comforting charm year after year.
PrintFried Apples Recipe
This simple Fried Apples recipe is irresistibly delicious and so easy to make! Tender apples coated in a sweet brown sugar-cinnamon glaze are amazing on their own or served with a scoop of vanilla ice cream, on top of breakfast favorites or as a cozy side dish. As versatile as they are delicious!
- Prep Time: 5 minutes
- Cook Time: 13 minutes
- Total Time: 18 minutes
- Yield: 5 servings
- Category: Dessert
- Method: Frying
- Cuisine: American
- Diet: Vegetarian
Ingredients
Apples:
- 5 Granny Smith apples
Butter Mixture:
- 8 tablespoons unsalted butter
- ½ cup light brown sugar or dark brown sugar, packed
- 1½ teaspoon ground cinnamon
- ½ teaspoon ground nutmeg
- ½ teaspoon fine sea salt
- 1 teaspoon vanilla extract
Instructions
- Prepare Apples: Peel, core, and slice the apples into wedges about ½ inch thick.
- Melt Butter: In a large cast iron skillet, melt the butter over medium heat.
- Cook Apples: Add the apple slices, brown sugar, cinnamon, nutmeg, and salt to the skillet. Stir to coat the apples. Continue cooking over medium heat, stirring occasionally, for 10 to 15 minutes until the apples are tender but still hold their shape.
- Finish: Remove from the heat and gently stir in the vanilla extract. Serve immediately while warm.
Notes
- Store leftovers in an airtight container in the fridge for up to 4 days.
- Reheat in a skillet over low heat or in the microwave until warmed through.
- Tools and Equipment (affiliate links): Apple Peeler | Cast Iron Skillet
- For more information, recipe tips, and frequently asked questions, refer to the post above.
Nutrition
- Serving Size: 1 serving
- Calories: 344 kcal
- Sugar: 40g
- Sodium: 243mg
- Fat: 19g
- Saturated Fat: 12g
- Unsaturated Fat: 6g
- Trans Fat: 1g
- Carbohydrates: 47g
- Fiber: 5g
- Protein: 1g
- Cholesterol: 48mg

