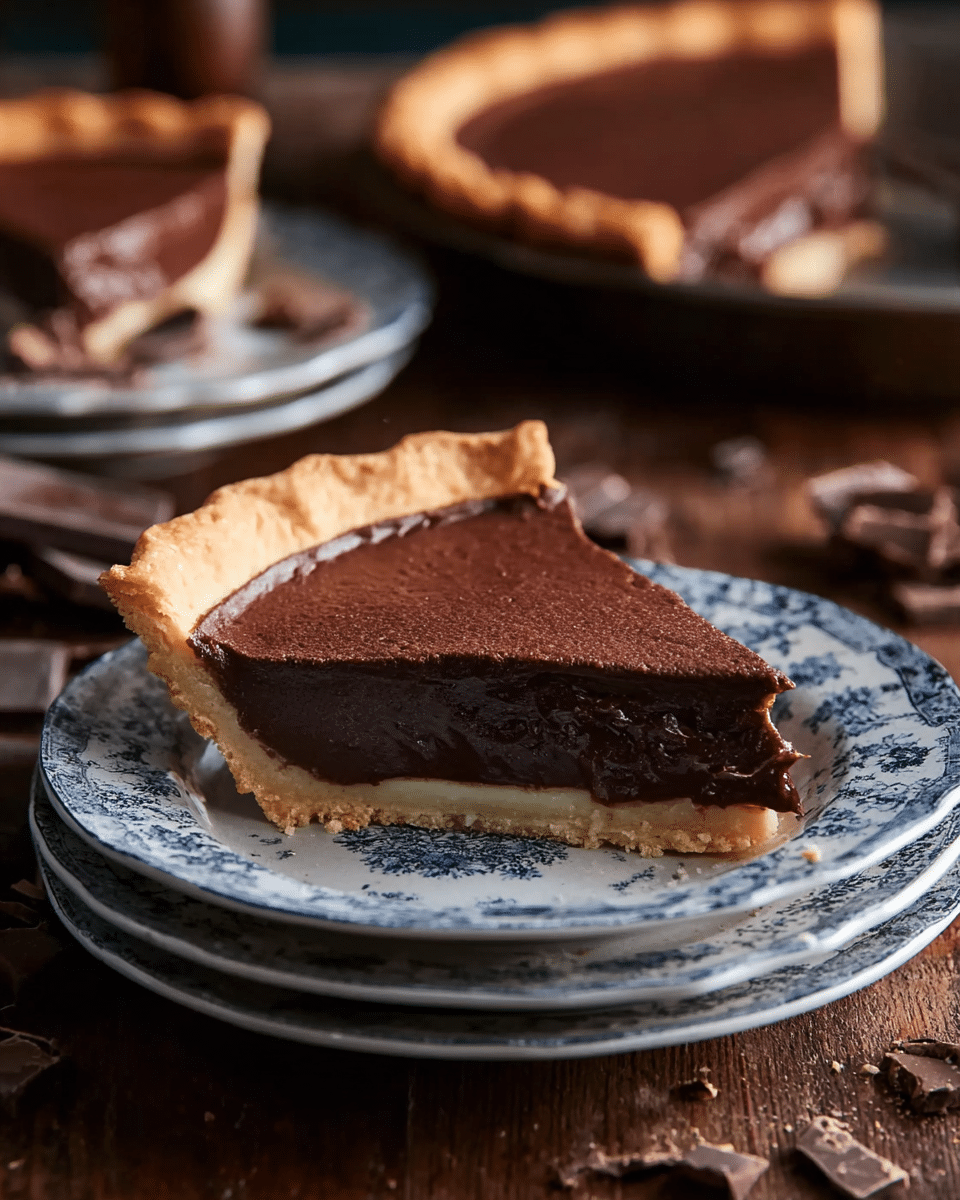
This Old Fashioned Chocolate Pie is the ultimate comfort dessert, rich with chocolate flavor and a silk-smooth, pudding-like filling nestled in a tender pie crust. Every bite is proof that you don’t need fancy techniques or a mile-long ingredient list to achieve chocolate nirvana; this pie is pure nostalgia, made for sharing with family or savoring solo when a chocolate craving refuses to quit. Whether you’re making it for a holiday, a Sunday treat, or a late-night indulgence, Old Fashioned Chocolate Pie always promises a little taste of home.
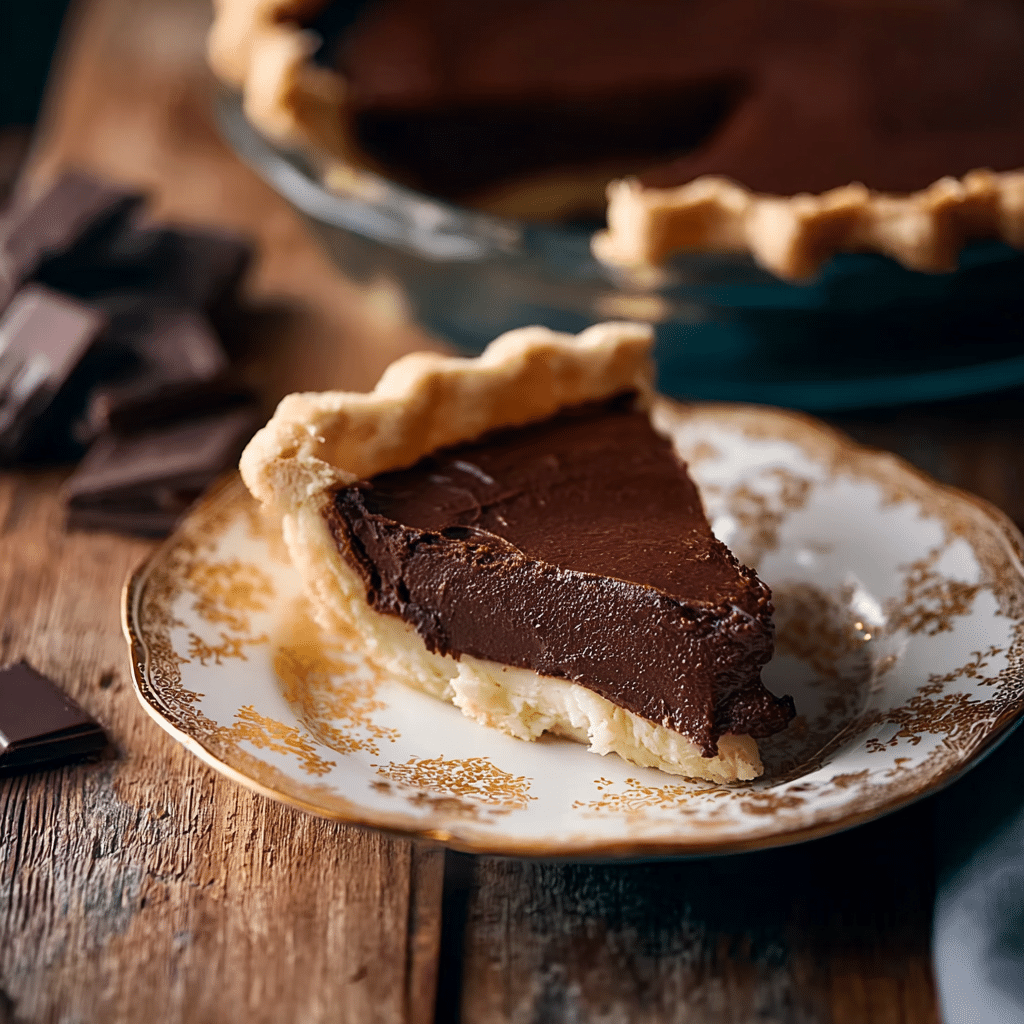
Ingredients You’ll Need
The beauty of this recipe is in its simplicity—just seven pantry staples that each play their part in creating a pie that’s creamy, decadent, and perfectly chocolatey. No mystery additives; just real ingredients with real flavor!
- Flour: Provides the structure and helps thicken the filling, giving it that dreamy, custard-like texture.
- Cocoa Powder: The key to deep chocolate flavor; use a good-quality unsweetened cocoa for best results.
- Sugar: Sweetens the pie perfectly and balances the richness of the cocoa and eggs.
- Egg Yolks: Make the filling luxurious and creamy, adding richness and a beautiful yellow hue.
- Milk: Creates the perfect consistency—whole milk will make it even more luscious, but any variety works.
- Vanilla Extract: Enhances all the flavors and brings comforting warmth to the finished pie.
- Pie Crust: Frozen or refrigerated, baked according to package directions for that golden, flaky base.
How to Make Old Fashioned Chocolate Pie
Step 1: Bake the Crust
Start by preparing your pie crust. Whether you use a frozen or refrigerated crust, follow the package directions until it’s perfectly golden. A well-baked crust is essential for holding the chocolate filling and preventing any sogginess, so don’t rush this part!
Step 2: Sift and Combine Dry Ingredients
In a medium bowl, sift together the flour, cocoa powder, and sugar to banish any lumps. This simple step ensures a smooth, lump-free filling and helps the cocoa powder blend more evenly for that signature chocolatey bite.
Step 3: Add Egg Yolks
Whisk the egg yolks right into the dry mixture. The result is a thick, sandy-looking mix—don’t worry, it all comes together beautifully when you add the milk.
Step 4: Stir in Milk Gradually
Slowly pour in the milk a little at a time, whisking constantly. This gentle approach prevents lumps and lets you control the consistency, making sure your filling is perfectly smooth and creamy.
Step 5: Cook the Chocolate Filling
Pour your mixture into a medium saucepan and cook over medium heat, stirring constantly. Watch closely as the mixture thickens—when it’s the texture of pudding and coats the back of your spoon, you’re right where you want to be.
Step 6: Finish with Vanilla
Take the pan off the heat and stir in the vanilla extract. That last splash adds a layer of warmth and rounds out the chocolate flavor, transforming the pie from good to unforgettable.
Step 7: Fill and Chill
Pour the hot chocolate filling into your baked crust, smoothing out the top. Let the pie chill in the refrigerator for at least an hour (or up to 24 hours for extra flavor!). That cold rest sets the filling and heightens the Old Fashioned Chocolate Pie’s signature creaminess.
How to Serve Old Fashioned Chocolate Pie
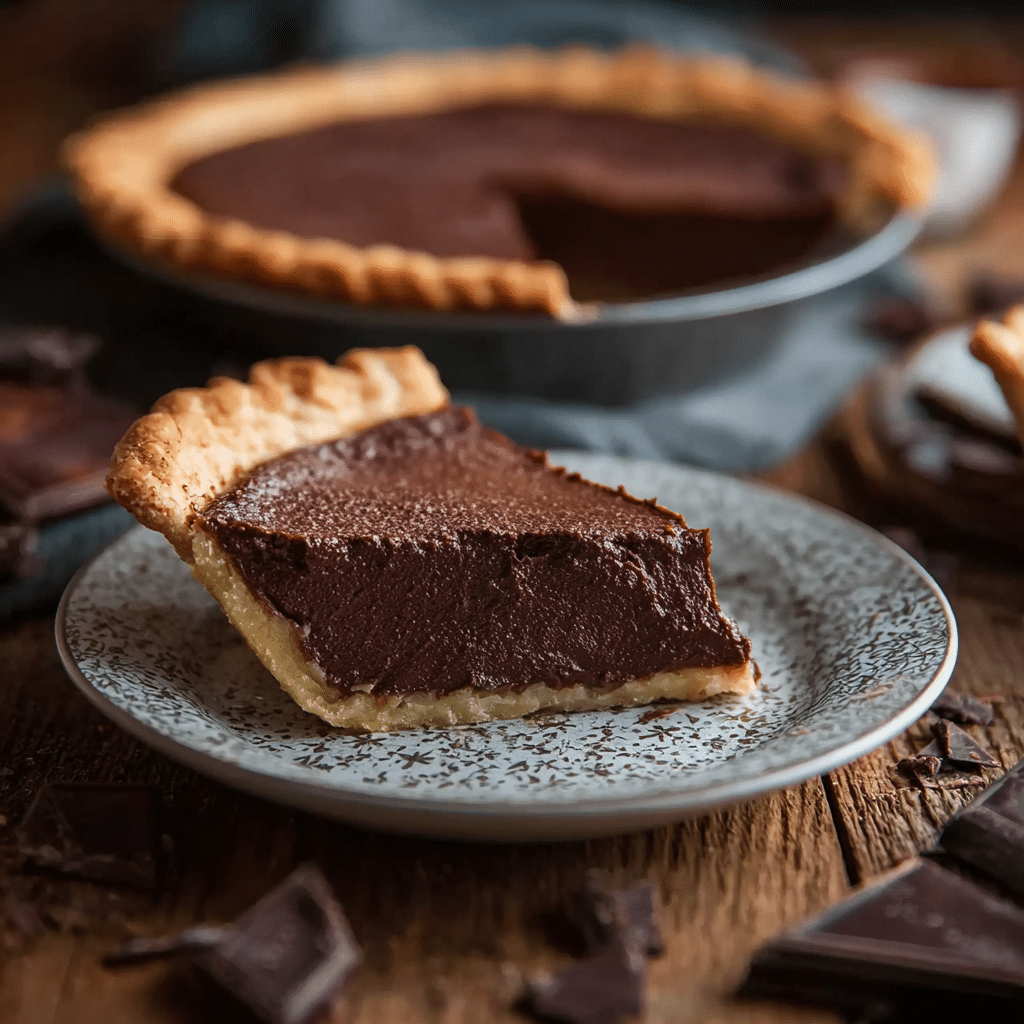
Garnishes
The finishing touches can turn this humble pie into a show-stopper! A billowy cloud of whipped cream, a dusting of cocoa powder, or a few chocolate shavings add elegance and extra flavor. Even a simple sprinkle of powdered sugar is a classic.
Side Dishes
Light, refreshing sides help balance the richness of Old Fashioned Chocolate Pie. Try fresh berries, a tart fruit salad, or a scoop of vanilla ice cream. A strong cup of coffee or a glass of cold milk never hurts, either!
Creative Ways to Present
Cut the pie into small squares for a dessert buffet, layer with additional whipped cream in jars for a whimsical parfait, or serve mini-pies if you’re feeling ambitious. Let your creativity run wild, and make it your own signature dessert!
Make Ahead and Storage
Storing Leftovers
Old Fashioned Chocolate Pie holds up beautifully in the fridge. Cover tightly with plastic wrap or a fitted lid and store for up to three days. The flavors seem to deepen overnight, making that next-day slice even more irresistible!
Freezing
If you want to get a head start, you can freeze the pie (without whipped cream topping) for up to one month. Wrap it securely in plastic wrap and foil. Thaw overnight in the refrigerator before serving for best texture and taste.
Reheating
This pie is at its best served cold or at room temperature. If you accidentally froze it, just let it slowly come to room temp on the counter or in the fridge. Avoid microwaving—it can turn the filling runny and the crust soggy.
FAQs
Can I use a homemade crust instead of store-bought?
Absolutely! If you have a homemade pie crust you love, it will make your Old Fashioned Chocolate Pie even more special. Just be sure it’s fully baked before adding the filling.
Is this pie very sweet?
It’s sweet but balanced, thanks to the cocoa and eggs. If you prefer a bittersweet dessert, try using a bit less sugar or a darker cocoa.
Can I make this pie dairy-free?
Yes! Substitute your favorite plant-based milk (like almond or oat) and be sure your crust fits your needs. The results are still wonderfully creamy and chocolate-forward.
Why is my filling lumpy or runny?
Lumpy filling usually means the dry ingredients weren’t sifted well or the milk was added too quickly. If it’s runny, it may not have cooked long enough—give it time to thicken to a pudding-like consistency before adding it to the crust.
How far ahead can I make this pie?
You can make Old Fashioned Chocolate Pie a full day ahead! In fact, letting it chill overnight deepens the chocolate flavor and makes slicing cleaner and easier.
Final Thoughts
There’s something magical about Old Fashioned Chocolate Pie—a recipe that brings people together and never goes out of style. Whether you’re sharing with loved ones or sneaking a secret slice for yourself, this pie is a little moment of happiness. Give it a try, and let it become one of your family’s favorites, too!
PrintOld Fashioned Chocolate Pie Recipe
Indulge in this rich and creamy Old Fashioned Chocolate Pie that’s a chocolate lover’s dream. Made from scratch with just seven simple ingredients, this pie is quick to whip up and perfect for satisfying your sweet tooth cravings.
- Prep Time: 10 minutes
- Cook Time: 10 minutes
- Total Time: 1 hour 20 minutes
- Yield: 8 slices
- Category: Dessert
- Method: Baking
- Cuisine: American
- Diet: Vegetarian
Ingredients
Pie Crust:
- 1 frozen or refrigerated pie crust, prepared according to package directions
Filling:
- 6 tablespoons flour
- 3 tablespoons cocoa powder
- 1 cup sugar
- 3 egg yolks
- 2 cups milk
- 1 teaspoon vanilla extract
Instructions
- Prepare Pie Crust: Follow package directions to prepare a frozen or refrigerated pie crust.
- Mix Dry Ingredients: In a medium bowl, sift together flour, cocoa powder, and sugar.
- Add Eggs: Mix egg yolks into the dry ingredients.
- Combine with Milk: Slowly stir in milk, pouring it in gradually.
- Cook: Transfer the mixture to a saucepan and cook over medium heat until thickened.
- Flavor and Chill: Remove from heat, add vanilla extract, stir, then transfer to the pie crust. Chill in the refrigerator for 1 to 24 hours.
- Serve: Enjoy your Old Fashioned Chocolate Pie!
Notes
- For a richer flavor, you can use whole milk instead of reduced-fat milk.
- Top with whipped cream or chocolate shavings before serving for an extra touch.
Nutrition
- Serving Size: 1 slice
- Calories: 182
- Sugar: 28g
- Sodium: 30mg
- Fat: 4g
- Saturated Fat: 2g
- Unsaturated Fat: 2g
- Trans Fat: 0g
- Carbohydrates: 34g
- Fiber: 1g
- Protein: 4g
- Cholesterol: 79mg

