
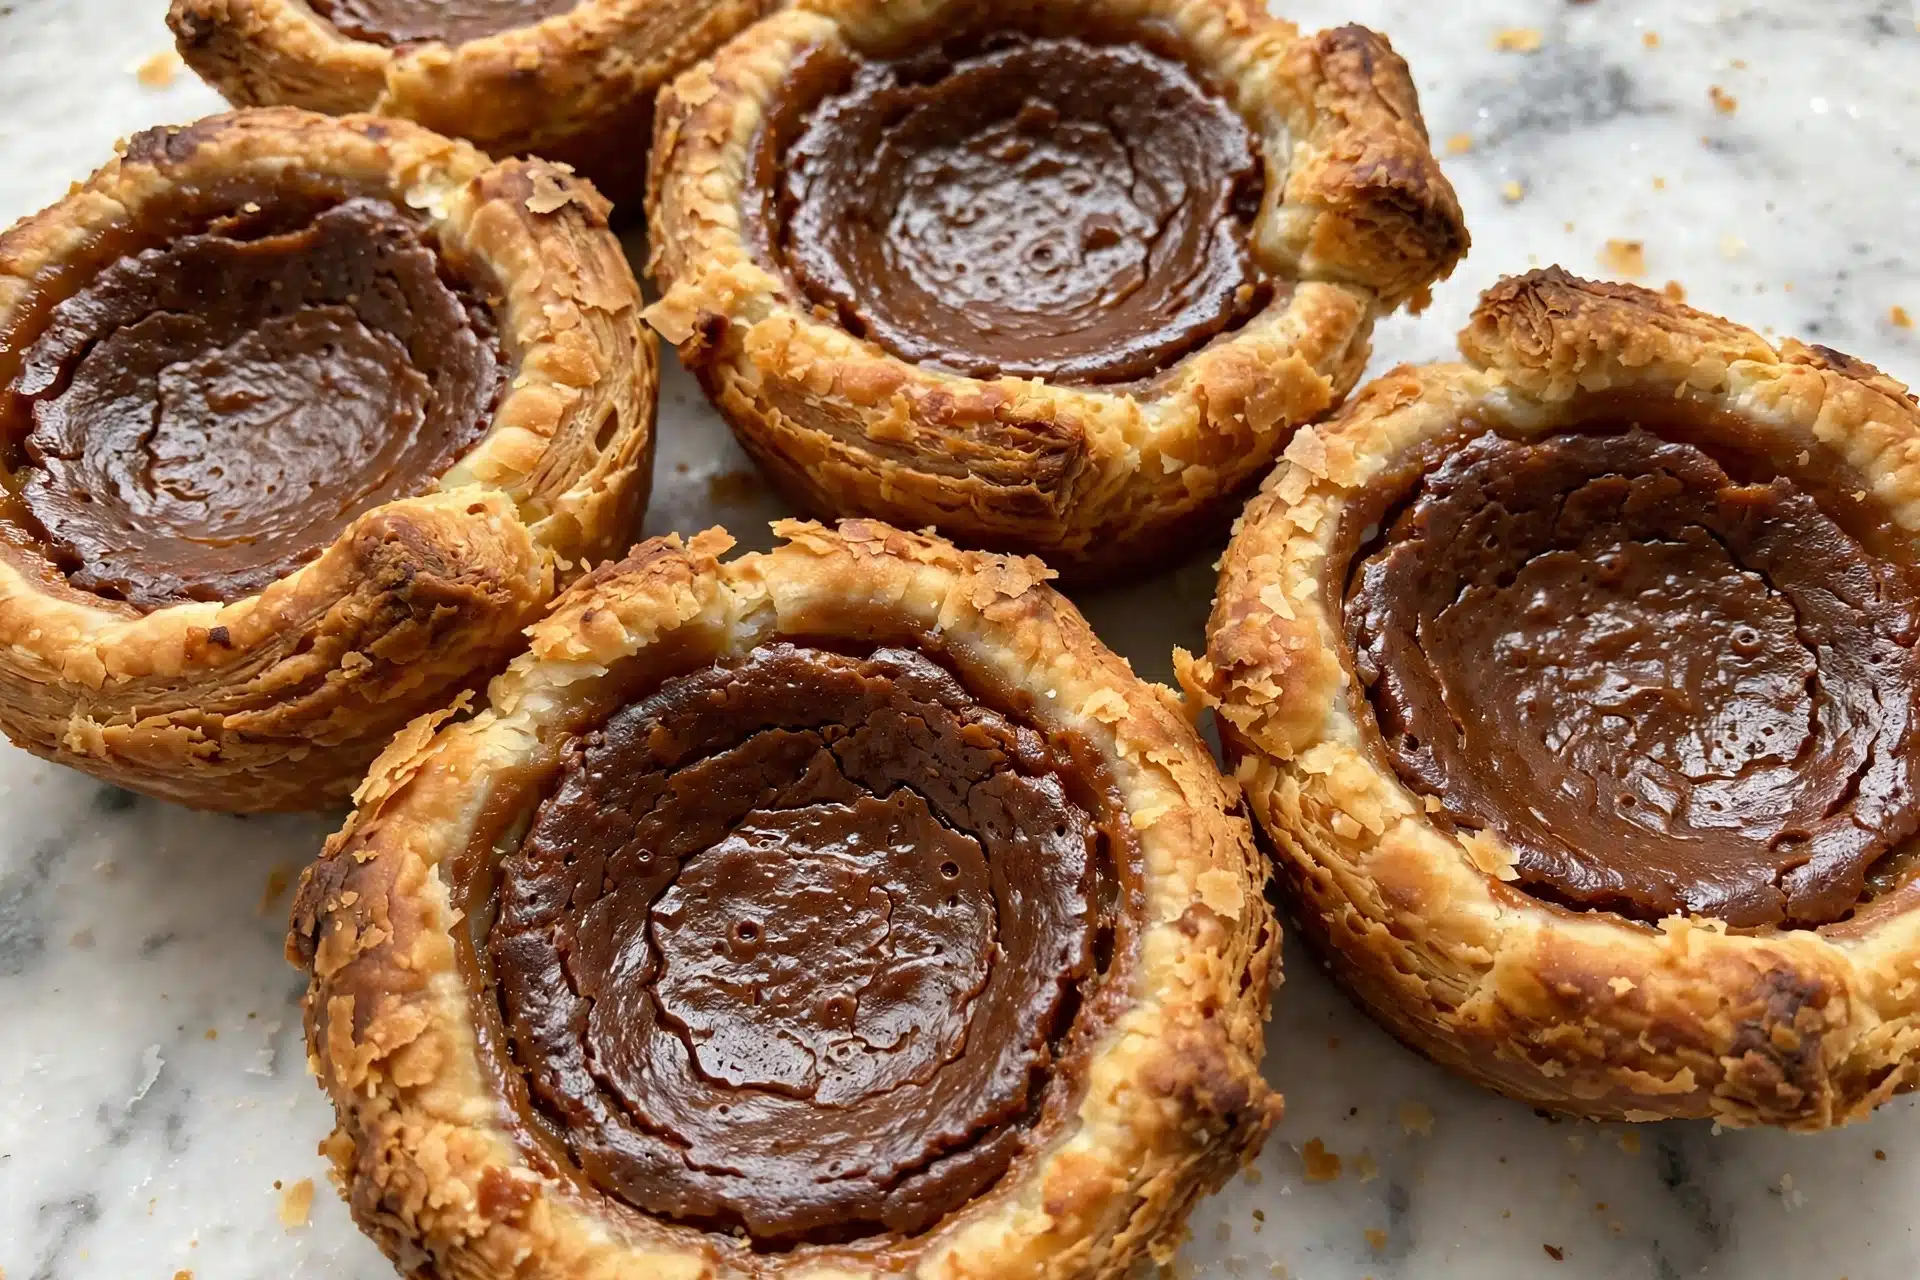
I absolutely adore making and sharing this Butter Tarts Recipe because the moment you bite into one, you get that irresistible combination of buttery, flaky crust with a gooey, caramel-like filling that just melts in your mouth. It’s a classic Canadian treat that brings back memories of cozy kitchens and family gatherings. Every time I bake these little tarts, I feel like I’m creating a little piece of happiness to enjoy with friends or keep all to myself. They’re surprisingly simple to prepare but taste like you spent hours perfecting them!
Why You’ll Love This Butter Tarts Recipe
What really sets this Butter Tarts Recipe apart for me is the perfect balance of textures and flavors. The crust is wonderfully flaky and buttery without being too heavy, making each bite delightfully light, while the filling has just the right amount of sweetness and that classic sticky, caramel consistency that I crave. The little hint of vanilla and that subtle touch of saltiness makes the flavors pop in the best way imaginable. Honestly, once you make these, it’s hard to go back to any other tart or pie filling.
I also love how approachable this recipe is. Even though the tarts feel like a fancy bakery treat, the process isn’t complicated at all — just a little rolling, mixing, chilling, and baking. It’s perfect for all skill levels, whether you’re an experienced baker or just diving into desserts. I’ve found these tarts are ideal for Sunday brunches, holiday gatherings, or as a thoughtful homemade gift when you’re invited to a friend’s house. They’re the kind of dessert that always brings smiles around the table.
Ingredients You’ll Need
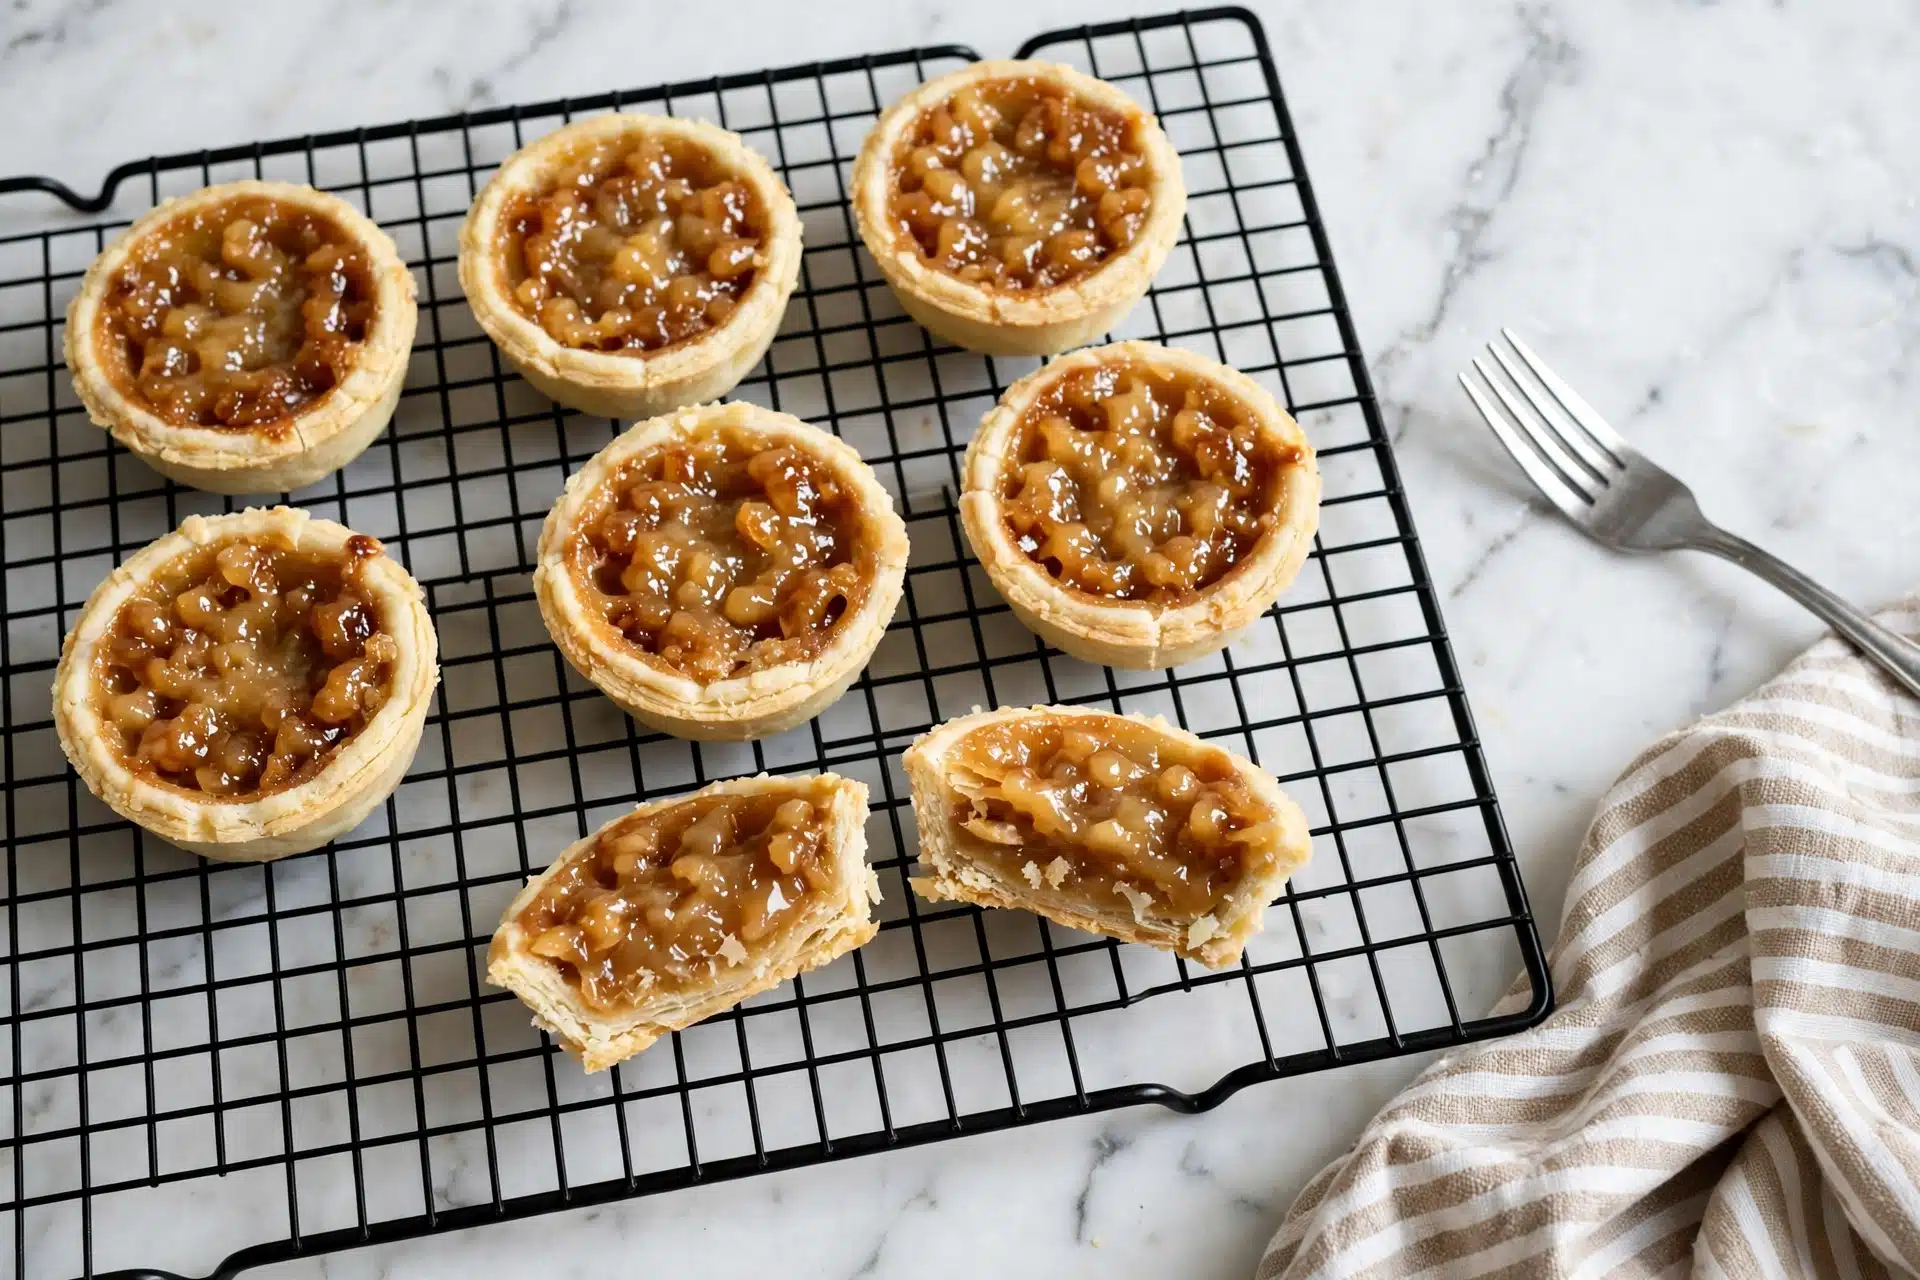
All the ingredients for this Butter Tarts Recipe are simple yet essential to achieving that perfect outcome. Each one plays a crucial role—whether it’s providing structure, sweetness, or that unmistakable buttery richness that makes these tarts so addictive.
- 2 1/2 cups all-purpose flour: Provides the sturdy yet tender base for the crust that holds all the delicious filling.
- 1 tablespoon granulated sugar: Adds just a touch of sweetness to balance the crust’s flavor.
- 1 teaspoon kosher salt: Enhances the overall flavors and balances the sweetness.
- 1 cup cold butter (cut into 1/2″ cubes): Key to making a flaky, buttery dough that melts in your mouth.
- 2 tablespoons distilled white vinegar: Helps tenderize the dough and add a subtle tang.
- 6 tablespoons (or more) ice cold water: Brings the dough together without making it tough.
- 1 cup packed light brown sugar: Gives the filling its rich, caramel sweetness.
- 6 tablespoons softened butter: Adds creaminess and flavor to the filling.
- 1 large egg: Binds the filling ingredients and gives it that custardy texture.
- 1 teaspoon pure vanilla extract: Infuses warmth and depth into the filling.
- 1/4 teaspoon kosher salt: Balances the sweetness and enhances the richness of the filling.
Directions
Step 1: In a large bowl, whisk together the flour, granulated sugar, and salt until fully combined. This ensures your dry ingredients are evenly distributed before adding butter.
Step 2: Add the cold butter cubes to the dry mixture. Using your hands, gently work the butter into the flour until it resembles coarse peas. Be careful not to overwork it—small pea-sized chunks of butter in the dough are what create that beautiful flakiness.
Step 3: Mix in the distilled white vinegar and start adding ice cold water, about a tablespoon at a time. Stir just until the dough comes together into a ball. If it feels too dry, add another tablespoon of water, but avoid making it too sticky.
Step 4: Shape the dough into a flat disk, wrap it tightly in plastic wrap, and chill in the refrigerator for at least 1 hour. This resting period helps relax the gluten and solidifies the butter again for an optimal crust texture.
Step 5: When ready, lightly flour your workspace and roll out the dough to about 1/4 inch thick. Using a 4-inch round cutter, cut out 12 circles. Don’t worry if you have scraps – simply reroll them to get all your circles.
Step 6: Place each circle gently into the cups of a standard 12-cup muffin tin, pressing down so they fit snugly but don’t stretch the dough too thin. Chill the dough-lined muffin tin for at least 30 minutes to prevent shrinking during baking.
Step 7: Preheat your oven to 425 degrees Fahrenheit. While it heats, prepare the filling by combining the brown sugar and softened butter in a medium bowl with a rubber spatula until creamy and smooth.
Step 8: Add in the egg, vanilla extract, and kosher salt, stirring until everything is fully incorporated and the filling is glossy.
Step 9: Carefully spoon the filling into each chilled tart shell, filling about halfway up the sides. They will puff and spread during baking, so resist overfilling.
Step 10: Bake the tarts for 15 to 17 minutes until the crust is golden and the center of the filling is just slightly jiggly – that’s how you know it’s perfectly gooey inside.
Step 11: Let the tarts cool in the pan for a bit, then gently loosen with an offset spatula or a small paring knife to remove without breaking. Enjoy warm or at room temperature!
Servings and Timing
This Butter Tarts Recipe yields 12 delightful individual tarts, perfect for a crowd or to keep as treats throughout the week. Preparation time is about 40 minutes including mixing, rolling, and chilling the dough, with an additional chilling time of at least 1 hour to rest the dough. Baking time is relatively quick at 15 to 17 minutes. Overall, from start to finish, you’re looking at approximately 2 hours and 30 minutes, including chilling and cooling times, which makes it a great recipe to plan for a leisurely baking day.
How to Serve This Butter Tarts Recipe
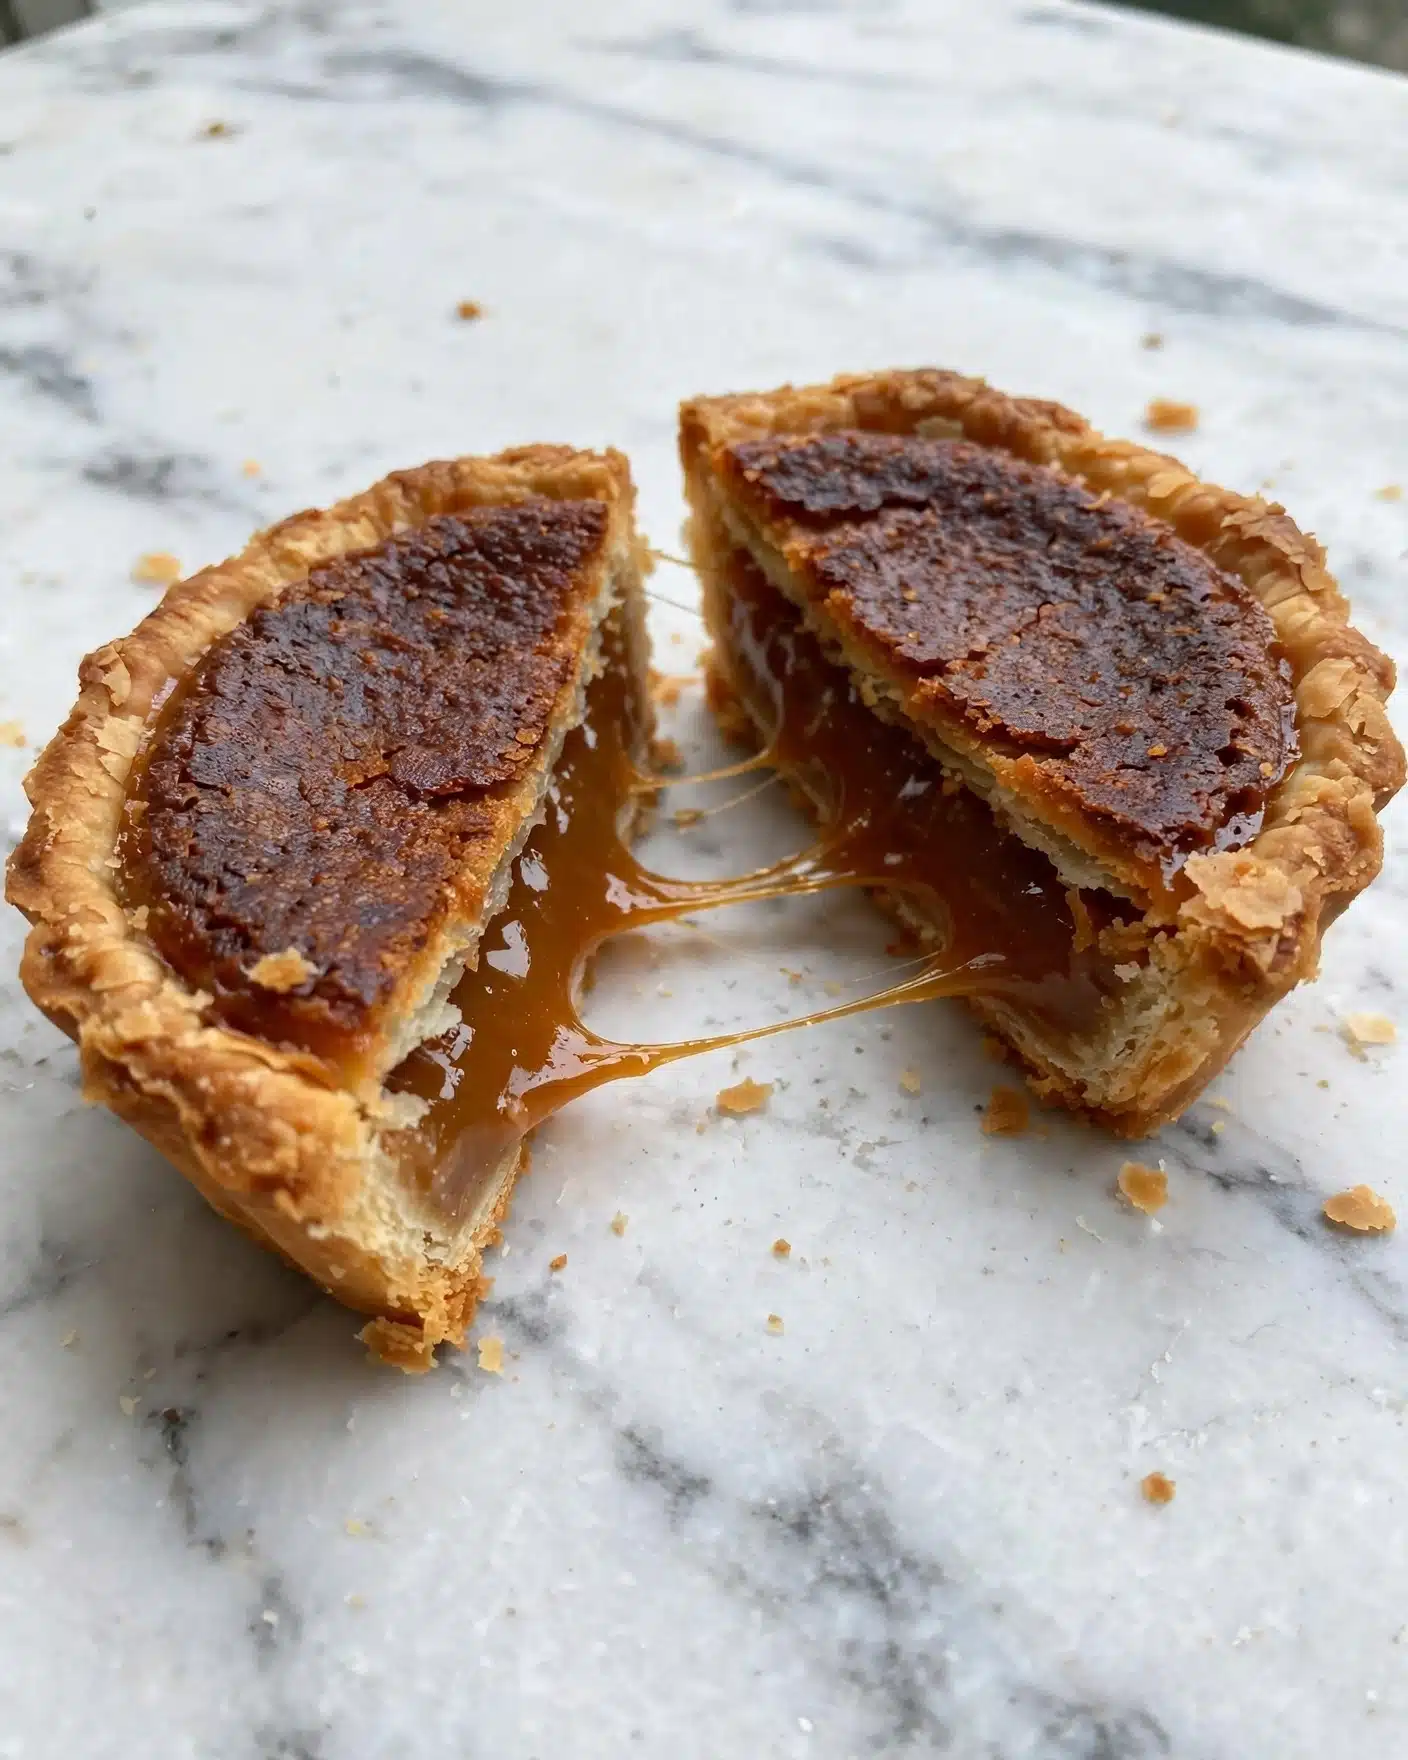
When I serve these butter tarts, I love pairing them with a scoop of vanilla bean ice cream or a dollop of lightly whipped cream to complement the rich sweetness. If you’re feeling festive, a sprinkle of toasted pecans or a dusting of cinnamon on top adds a beautiful finishing touch and a little texture that makes every bite more interesting.
These tarts shine at room temperature or just slightly warmed, which allows the gooey filling to be perfectly luscious without being too runny. For presentation, I often arrange them on a pretty dessert platter, scattered with fresh berries to add color and a touch of brightness.
If you want to elevate your serving experience, I highly recommend pairing them with a lightly sweet white wine like a Riesling or a glass of spiced apple cider, especially during colder months. For a non-alcoholic option, a rich, creamy chai latte or a freshly brewed cup of black tea balances the sweetness beautifully. These tarts truly make any family gathering, holiday party, or simple afternoon treat feel extra special.
Variations
I love experimenting with this Butter Tarts Recipe to suit different tastes and dietary needs. For example, you can substitute the all-purpose flour with a gluten-free blend if you need a gluten-free version, just be sure to add a binding agent like xanthan gum if your blend doesn’t have it already.
If you prefer a vegan take, swapping the butter with coconut oil or a plant-based margarine in both the crust and filling works well, and you can replace the egg with a flax egg or a commercial egg replacer. The flavor will be slightly different but still deliciously satisfying.
For flavor variations, I sometimes add chopped pecans or walnuts to the filling for a nutty crunch or toss in a handful of raisins for a traditional twist. You could also sprinkle a little cinnamon or nutmeg into the filling to warm up the spice profile. If you want to try a different method, baking these tarts in a mini tart pan instead of muffin tin gives a crisper crust and a more elegant shape.
Storage and Reheating
Storing Leftovers
After enjoying these butter tarts, any leftovers should be stored in an airtight container at room temperature if you plan to eat them within 1 to 2 days. For longer storage, keep them in the fridge, where they will stay fresh for up to 4 days. I recommend placing parchment paper between layers to avoid sticking and preserve the crust texture.
Freezing
You absolutely can freeze Butter Tarts! For best results, freeze them uncovered on a baking sheet at first until hard, then transfer to a freezer-safe container or bag with parchment between layers. Frozen tarts will keep well for up to 3 months. When you’re ready to enjoy, thaw them overnight in the refrigerator prior to reheating.
Reheating
The best way to reheat leftover Butter Tarts is to warm them gently in a preheated oven at 300 degrees Fahrenheit for about 5-7 minutes. This restores the crispness of the crust and warms the filling without overcooking it. Avoid microwaving if possible, as it tends to make the crust soggy and the filling overly hot or rubbery.
FAQs
Can I make the dough ahead of time?
Yes! In fact, chilling the dough for at least 1 hour is essential for the best texture, but you can make the dough up to 2 days ahead. Just keep it tightly wrapped and refrigerated until you’re ready to roll it out and assemble the tarts.
What can I use instead of vinegar in the dough?
If you don’t have distilled white vinegar on hand, you can substitute it with lemon juice or even apple cider vinegar in equal amounts. The acid helps tenderize the dough by relaxing the gluten, so some acidic ingredient is helpful.
Are butter tarts gluten-free or can they be made gluten-free?
Traditional butter tarts are not gluten-free because of the all-purpose flour in the crust. However, you can use a gluten-free flour blend designed for baking in place of regular flour. Just add any necessary binders as indicated by the blend to maintain structure and texture.
Can I add nuts or raisins to the filling?
Definitely! Many classic butter tart recipes include raisins or chopped nuts like pecans or walnuts. I like adding about 1/3 cup directly into the filling before pouring it into the crust for added texture and flavor variety.
Why does my butter tart filling sometimes leak or bubble over?
This usually happens if the filling is overfilled or baked at too low a temperature, causing it to become too runny. Make sure to fill only halfway up the sides of the crust and bake at the recommended 425 degrees Fahrenheit until the centers are still slightly jiggly but set around the edges.
Conclusion
I truly hope you enjoy making and savoring this Butter Tarts Recipe as much as I do. It’s one of those timeless desserts that feels both comforting and impressive, perfect for sharing or simply indulging on a quiet afternoon. Trust me, once you bake these buttery little treasures, they’ll quickly become a favorite to return to again and again. Happy baking and even happier tasting!
PrintButter Tarts Recipe
Classic Canadian Butter Tarts with a flaky homemade crust and a sweet, gooey filling of brown sugar, butter, and vanilla. These delightful tarts feature a rich, caramelized center that’s slightly chewy and irresistibly delicious, perfect for a cozy dessert or special occasion.
- Prep Time: 1 hour 30 minutes
- Cook Time: 17 minutes
- Total Time: 1 hour 47 minutes
- Yield: 12 servings
- Category: Dessert
- Method: Baking
- Cuisine: Canadian
Ingredients
For the Dough
- 2 1/2 cups all-purpose flour, plus more for rolling
- 1 tablespoon granulated sugar
- 1 teaspoon kosher salt
- 1 cup (2 sticks) cold butter, cut into 1/2-inch cubes
- 2 tablespoons distilled white vinegar
- 6 tablespoons ice cold water (or more as needed)
For the Filling
- 1 cup packed light brown sugar
- 6 tablespoons butter, softened
- 1 large egg
- 1 teaspoon pure vanilla extract
- 1/4 teaspoon kosher salt
Instructions
- Make the Dough: In a large bowl, whisk together the flour, granulated sugar, and kosher salt. Add the cold, cubed butter and use your hands to work it into the flour mixture until the butter pieces resemble peas. Stir in the distilled white vinegar and ice cold water, adding more water 1 tablespoon at a time if necessary, until a dough forms. Shape the dough into a disk, wrap it tightly in plastic wrap, and chill for at least 1 hour.
- Roll and Cut Dough: On a lightly floured surface, unwrap the chilled dough and roll it out to about 1/4 inch thickness. Use a 4-inch round cookie cutter to cut out 12 circles from the dough. Reroll scraps as needed to make all 12 circles.
- Line Muffin Tin: Arrange the dough circles into the cups of a standard 12-cup muffin tin, gently pressing down to fit snugly into each cup. Refrigerate the lined muffin tin for at least 30 minutes, or up to 1 hour, to firm up while preparing the filling.
- Prepare Filling: Preheat your oven to 425°F (220°C). In a medium bowl, combine the light brown sugar and softened butter with a rubber spatula until smooth. Beat in the egg, vanilla extract, and kosher salt until fully incorporated.
- Fill the Tart Shells: Divide the filling evenly among the chilled tart shells, filling each about halfway up the sides of the dough.
- Bake the Tarts: Bake in the preheated oven for 15 to 17 minutes, or until the crust is golden brown and the centers of the tarts are still slightly jiggly. This ensures a gooey texture inside.
- Cool and Serve: Remove the tarts from the oven and allow them to cool in the muffin tin. Once cooled slightly, use an offset spatula or paring knife to carefully remove the tarts from the tin. Serve warm or at room temperature.
Notes
- The dough can be made up to 2 days ahead; keep it wrapped and chilled.
- Adding vinegar to the dough helps tenderize the crust and prevents toughness.
- If your filling seems too thick, you can add a splash of water or cream to loosen it slightly.
- Butter tarts are best enjoyed fresh but can be stored in an airtight container for up to 3 days.
- For a variation, add chopped pecans or raisins to the filling.


