
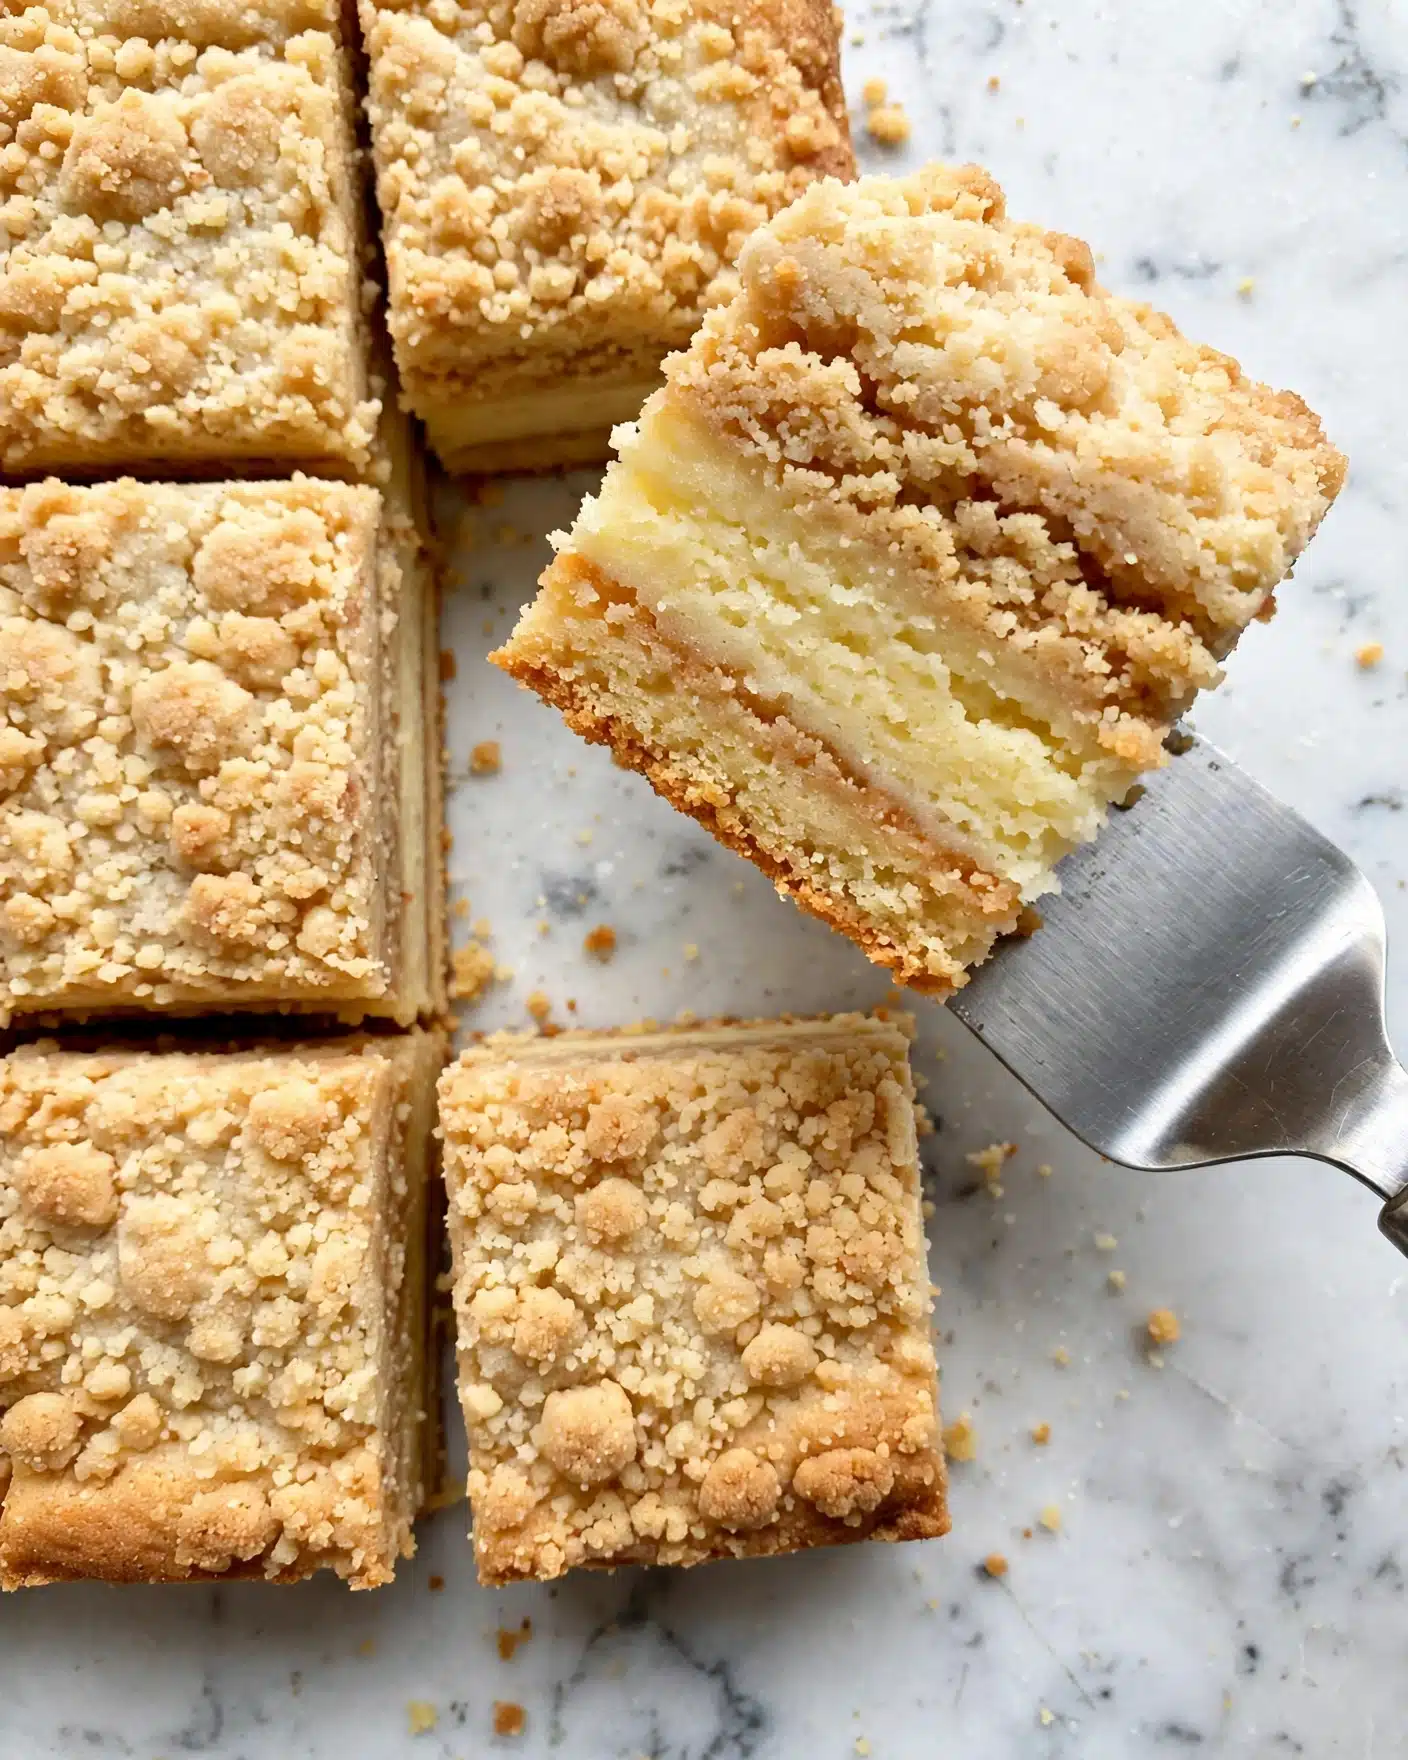
I absolutely adore this Addicting Caramel Apple Crisp Bars Recipe because it brings together the warm, cozy flavors of autumn in one irresistible bite. The tender apples layered with rich, buttery caramel and a crumbly, cinnamon-spiced crust create a symphony of textures and tastes that never fail to brighten my day. Whenever I make this recipe, it fills my kitchen with the most inviting aroma and fills our table with smiles and happy sighs.
Why You’ll Love This Addicting Caramel Apple Crisp Bars Recipe
What truly makes this recipe stand out for me is the perfect balance between the tartness of fresh apples and the luscious sweetness of caramel. Every bite delivers layers of flavor — the buttery crust with cinnamon and brown sugar, the silky caramel sauce, and the crisp-tender apple slices all blend effortlessly. It’s like having a homemade dessert that tastes both elegant and comforting, which appeals to all ages.
Another reason I love this recipe is how straightforward it is, despite tasting like something you’d find in a fancy bakery. The steps are simple to follow, and the ingredients are pantry staples you can always trust. Plus, the convenient 9×13 pan size makes it perfect for sharing with family, bringing to potlucks, or just saving some for later. I often bring these bars to holiday parties, and they’re always a crowd-pleaser that’s gone before the night is over.
Ingredients You’ll Need
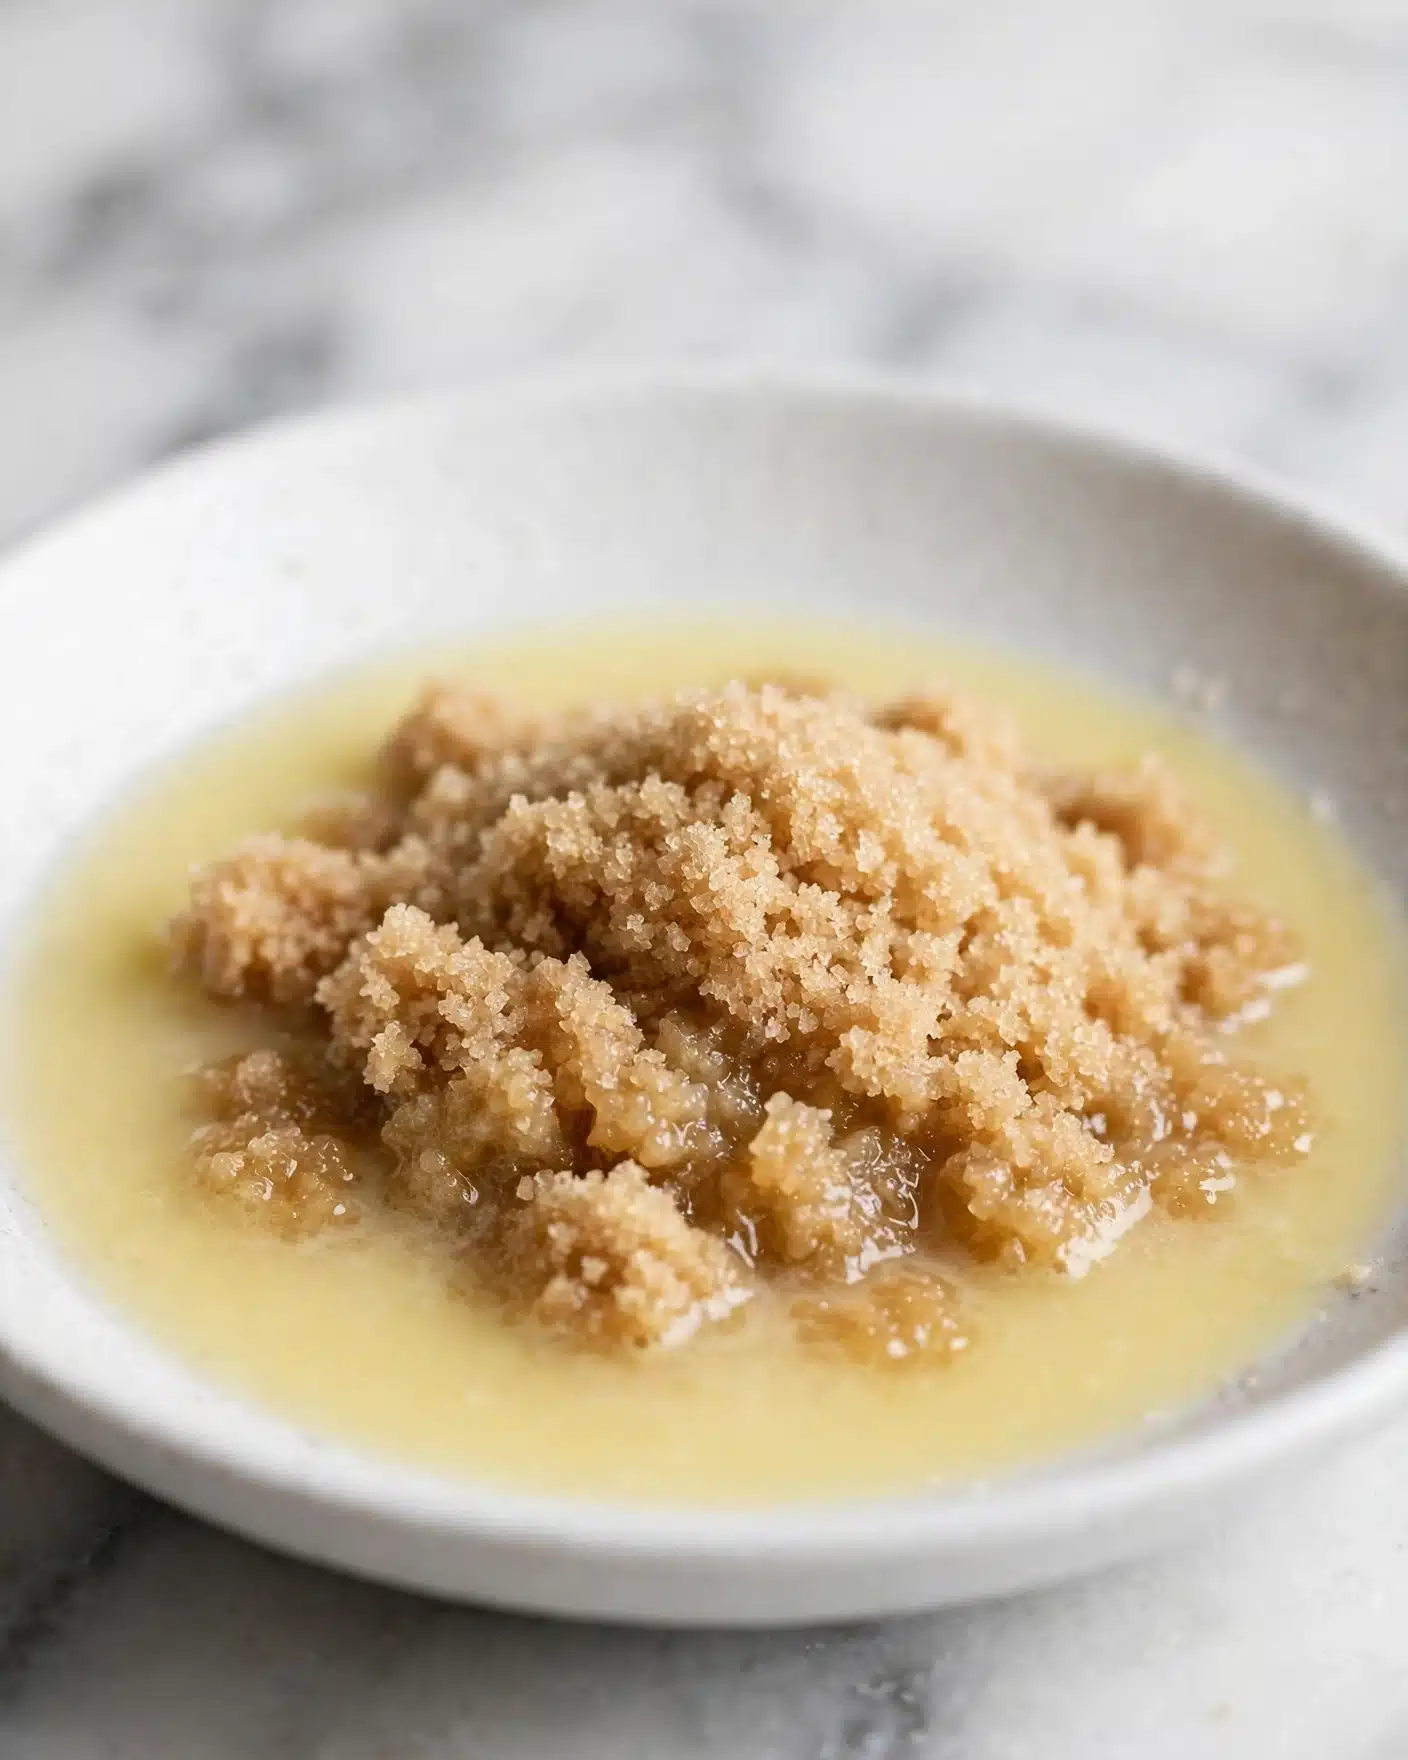
The beauty of this recipe is in its simplicity and the way each ingredient plays a vital role in crafting that perfect harmony of taste and texture. From the soft, fragrant butter to the tart, thinly sliced apples and the rich caramel sauce, every element is essential.
- 3/4 cup butter, softened: Provides richness and helps create that tender, crumbly crust.
- 3/4 cup light brown sugar: Adds warmth and moisture to the crust with its subtle molasses flavor.
- 1 teaspoon cinnamon: Infuses the crust with cozy spice, pairing beautifully with the apples.
- 1/2 teaspoon salt: Balances sweetness and enhances all the other flavors.
- 1/2 teaspoon baking soda: Helps the crust rise just enough for a perfect texture.
- 2 cups flour: The foundation for the crumbly crust; I use all-purpose flour, but you can experiment!
- 4 small apples: Thinly sliced to provide that crisp-tender fruit layer that’s full of fresh flavor.
- 1/4 cup butter: Melted to create the luxurious caramel sauce.
- 1/4 cup brown sugar: Works with white sugar to build a deep, complex caramel flavor.
- 1/4 cup cream or half and half: Adds creaminess to the caramel, making it silky and smooth.
- 1/4 cup sugar: Balances the caramel’s sweetness and helps with the perfect golden color.
Directions
Step 1: Preheat your oven to 350 degrees Fahrenheit. This sets the stage for a perfectly baked crust that won’t be soggy or hard.
Step 2: In a mixing bowl, beat together the softened butter and light brown sugar with an electric mixer until the mixture is creamy and smooth. This step is crucial for a light, tender crust texture.
Step 3: Mix in the cinnamon, salt, baking soda, and flour until you get a crumbly dough. Don’t overwork it; the crumbs are the key to the crisp texture you want later.
Step 4: Set aside one cup of this crumb mixture for sprinkling on top later. Then, press the remaining mixture firmly and evenly into a parchment-lined 9×13 baking pan to form the crust base.
Step 5: Bake the crust for 12 minutes. It should look set and just starting to turn golden on the edges – this ensures a sturdy base for the juicy apples and caramel.
Step 6: While the crust bakes, prepare the apples. Quarter them and remove cores and seeds. Then slice the quarters as thin as you can, ideally with a mandoline slicer for consistent paper-thin slices, but a sharp knife works too.
Step 7: To make the caramel, melt 1/4 cup butter in a saucepan over medium heat. Stir in the brown sugar and sugar, mixing until the sugar dissolves and the mixture is just about to bubble—this is when the caramel starts forming.
Step 8: Quickly add the cream or half and half while stirring constantly. Let it cook for a minute more until it thickens into a glossy, creamy sauce that coats the back of a spoon.
Step 9: When your crust is ready, arrange the thin apple slices in an even layer over the warm crust. Pour the freshly made caramel sauce evenly over the apples.
Step 10: Sprinkle the reserved crumb mixture over the top for that irresistibly crunchy crisp finish. If you want a bit of sparkle and extra texture, sprinkle on some turbinado sugar.
Step 11: Return the pan to the oven and bake for 30 to 35 minutes until the topping is golden brown and bubbling slightly around the edges. Once baked, carefully lift the bars out using the parchment paper edges and let them cool for 10 to 15 minutes before cutting and serving.
Servings and Timing
This recipe makes approximately 12 generous servings, perfect for sharing with friends and family. The prep time takes about 15 minutes, focusing mostly on mixing and slicing the apples. Baking the crust and then the assembled bars takes roughly 42 to 47 minutes combined. Allow at least 10 to 15 minutes of cooling before slicing to ensure clean cuts and the best texture. Altogether, you’re looking at about 55 minutes from start to finish.
How to Serve This Addicting Caramel Apple Crisp Bars Recipe
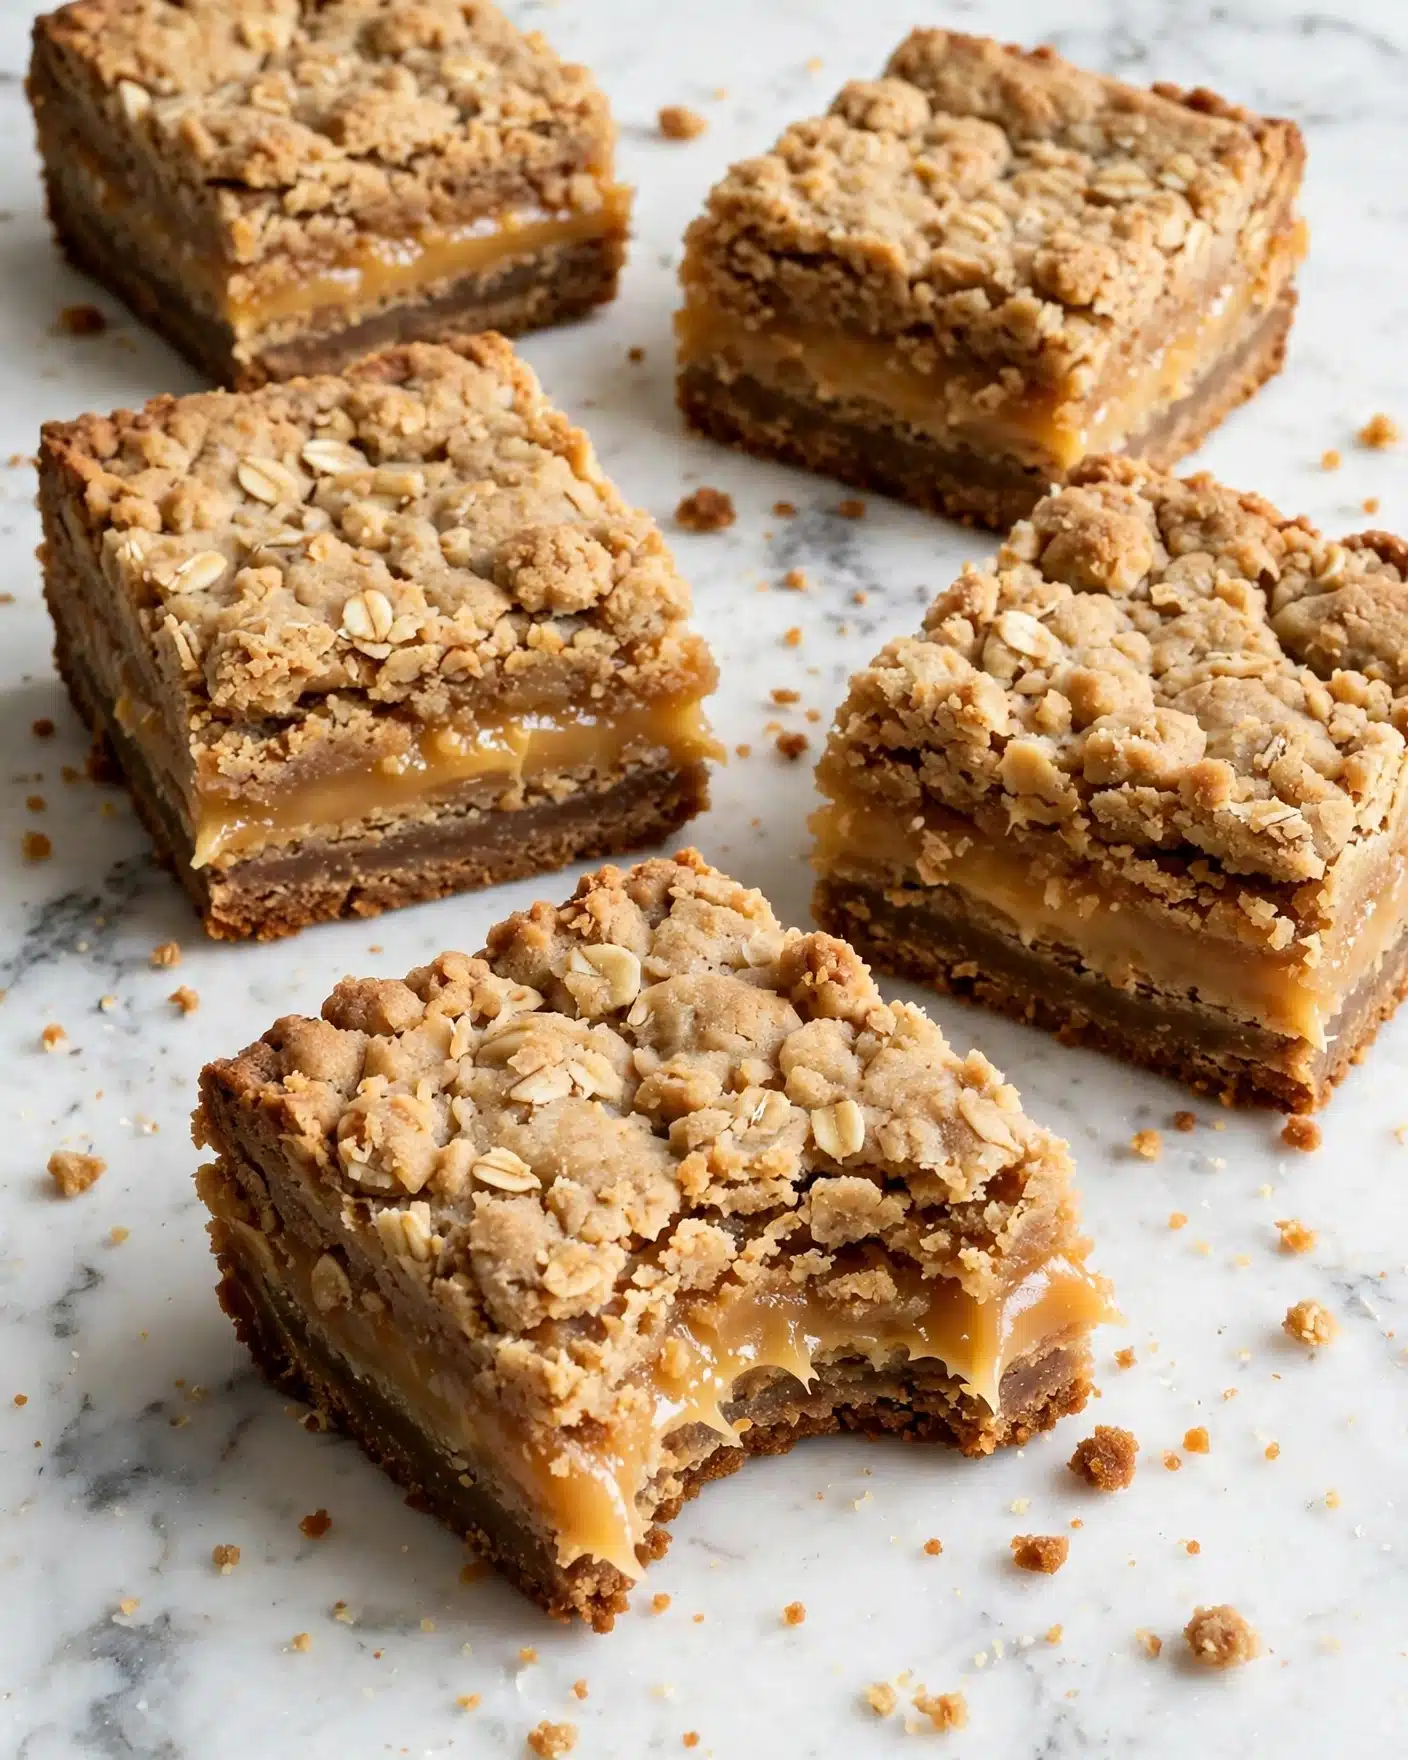
When I serve these caramel apple crisp bars, I love to offer them warm or at room temperature because that’s when the flavors truly shine and the caramel is perfectly gooey. For an extra special touch, a scoop of vanilla ice cream or a dollop of whipped cream on the side never fails to elevate the experience for my guests. It creates a dreamy contrast between cold creaminess and warm, tender apples.
If you want to dress these bars up for a gathering, try garnishing them with a sprinkle of finely chopped toasted pecans or a dusting of powdered sugar to make them look as good as they taste. I find that presenting them on a rustic wooden board or a pretty dessert plate with a sprig of fresh mint adds a lovely pop of color and makes the moment feel festive.
As for beverages, these bars pair wonderfully with a hot cup of spiced chai tea or a robust black coffee in cooler months. For something a little boozy, a well-chilled glass of apple cider, a buttery caramel bourbon cocktail, or even a light Riesling wine complements the sweetness of the dessert while enhancing the apple’s fresh flavors. Whether it’s a holiday dessert, weekend treat, or a potluck favorite, this recipe hits all the right notes in every setting.
Variations
Over time, I’ve experimented with variations on this Addicting Caramel Apple Crisp Bars Recipe to suit different tastes and dietary needs. For a gluten-free option, swapping the all-purpose flour with a gluten-free mix or oat flour works beautifully without sacrificing texture. You may need to tweak the baking time slightly, but it’s well worth it.
If you’re vegan or just want to lighten it up, try using coconut oil in place of butter and a non-dairy milk or cream substitute for the caramel sauce. Maple syrup or coconut sugar can replace brown sugar to add a different but equally delicious dimension. The result is just as comforting and satisfying.
For a flavor twist, I sometimes add chopped walnuts or pecans into the crumb topping or swap cinnamon for warm spices like nutmeg or ground ginger for a little zing. Occasionally, I toss in a handful of dried cranberries or raisins with the apples for bursts of tart sweetness. You can even bake these bars in individual muffin tins for portable snacks or smaller portions that bake in a shorter time.
Storage and Reheating
Storing Leftovers
I always store leftover bars in an airtight container at room temperature if I plan to eat them within two days—this keeps the crust crisp and the caramel deliciously sticky. If the kitchen is warm, the fridge is a good option, but allow the bars to come back to room temperature before serving for the best texture.
Freezing
This recipe freezes quite well! I freeze the bars by wrapping the whole pan with plastic wrap and then aluminum foil to protect against freezer burn, or I cut them into individual bars and freeze them in single layers on a baking sheet before transferring to a freezer-safe container. They’ll keep for up to three months, making them a great make-ahead treat for busy days or special occasions.
Reheating
The best way to reheat the bars is gently in a 325-degree oven for about 10-15 minutes, which revives the crisp topping and warms the caramel without making it soggy. I avoid microwaving because it tends to make the crust chewy and the caramel too runny. If you want the best of both worlds, reheat in the oven and add a scoop of ice cream on top for an irresistible finish.
FAQs
Can I use different types of apples for this recipe?
Absolutely! I prefer tart yet slightly sweet apples like Granny Smith or Honeycrisp because they hold their shape well and balance the caramel’s sweetness. However, you can experiment with Fuji, Gala, or Braeburn depending on your taste. Just ensure the apples are firm and slice them thinly for even baking.
Is it possible to make this recipe gluten-free?
Yes, you can substitute the all-purpose flour with a gluten-free flour blend that is meant for baking. I recommend blends that include xanthan gum to help mimic the elasticity of gluten. The texture might be a little different but will still be delicious and crisp.
Can I prepare the bars ahead of time?
Definitely, these bars are great for making ahead. You can prepare and bake them a day in advance, then store them covered at room temperature or in the fridge. Reheat lightly before serving, or enjoy them cold for a different but still tasty experience.
What can I use instead of cream in the caramel sauce?
If you don’t have cream or half and half, whole milk can be used but the caramel may be slightly thinner. For dairy-free options, coconut milk or almond milk are great substitutes; just keep an eye on the consistency as you cook the caramel and adjust cooking time as needed.
How do I get perfectly thin apple slices without a mandoline?
If you don’t have a mandoline, use a very sharp knife and slice carefully, aiming for uniform thinness to help the apples cook evenly. Taking your time here really pays off, and you can always practice by cutting one apple slowly to get the hang of it before slicing the rest.
Conclusion
If you’re looking for a dessert that wraps up all your favorite fall flavors in a simple yet show-stopping way, I wholeheartedly encourage you to try this Addicting Caramel Apple Crisp Bars Recipe. It’s a personal favorite of mine for sharing joy, warmth, and scrumptious bites with loved ones. I know once you make it, it will quickly become as beloved in your kitchen as it is in mine.
PrintAddicting Caramel Apple Crisp Bars Recipe
These Addicting Caramel Apple Crisp Bars combine a buttery, crumbly crust with thinly sliced apples and a luscious homemade caramel sauce, creating a perfect balance of sweet and tart flavors. Baked to golden perfection and topped with crunchy turbinado sugar, these bars offer a delightful autumn-inspired dessert that’s easy to make and perfect for sharing.
- Prep Time: 15 minutes
- Cook Time: 40 minutes
- Total Time: 55 minutes
- Yield: 12 servings
- Category: Dessert
- Method: Baking
- Cuisine: American
Ingredients
Crust Ingredients
- 3/4 cup butter, softened
- 3/4 cup light brown sugar
- 1 teaspoon cinnamon
- 1/2 teaspoon salt
- 1/2 teaspoon baking soda
- 2 cups all-purpose flour
Filling Ingredients
- 4 small apples
- 1/4 cup butter
- 1/4 cup brown sugar
- 1/4 cup cream or half and half
- 1/4 cup granulated sugar
Topping
- Turbinado sugar (for sprinkling)
Instructions
- Prepare the crust: Preheat your oven to 350°F (175°C). In a mixing bowl, beat together the softened butter and light brown sugar with an electric mixer until creamy and well combined. Add the cinnamon, salt, baking soda, and flour to the mixture. Stir until the mixture becomes crumbly. Reserve one cup of this crumbly mixture for topping.
- Form and bake the crust: Press the remaining crumbly mixture firmly into a parchment-lined 9×13-inch baking sheet, spreading it evenly to form the crust layer. Bake this crust in the preheated oven for 12 minutes to set.
- Prepare the apples: Meanwhile, quarter the apples and remove their cores and seeds. Using a mandoline slicer or a sharp knife, slice the apple quarters as thinly as possible to achieve paper-thin slices, which will help them cook evenly in the bars.
- Make the caramel sauce: In a saucepan, melt 1/4 cup of butter over medium heat. Stir in both the brown sugar and granulated sugar. When the sugars have incorporated and the mixture just begins to bubble, slowly add the cream (or half and half), stirring continuously. Cook until a creamy, smooth sauce forms that coats the back of a spoon.
- Assemble the bars: Once the crust is partially baked, remove it from the oven and layer the thinly sliced apples evenly over the crust. Pour the warm caramel sauce evenly over the apples. Sprinkle the reserved crumbly crust mixture evenly on top, then finish with a generous sprinkle of turbinado sugar for added sparkle and crunch.
- Bake the bars: Return the assembled bars to the oven and bake for 30 to 35 minutes, until the topping is golden and the apples are tender.
- Cool and serve: Remove the bars from the oven. Using the edges of the parchment paper, lift the bars out of the pan and place them on a cooling rack. Allow the bars to cool for 10 to 15 minutes before cutting into 12 servings. Serve warm or at room temperature.
Notes
- Using a mandoline slicer helps achieve uniformly thin apple slices that cook evenly and create a tender texture in the bars.
- Turbinado sugar adds a delightful crunchy texture and sparkle to the topping but can be omitted or substituted with raw sugar.
- For a gluten-free version, substitute all-purpose flour with a gluten-free baking flour blend.
- These bars can be stored in an airtight container at room temperature for up to 3 days or refrigerated for up to a week.


