
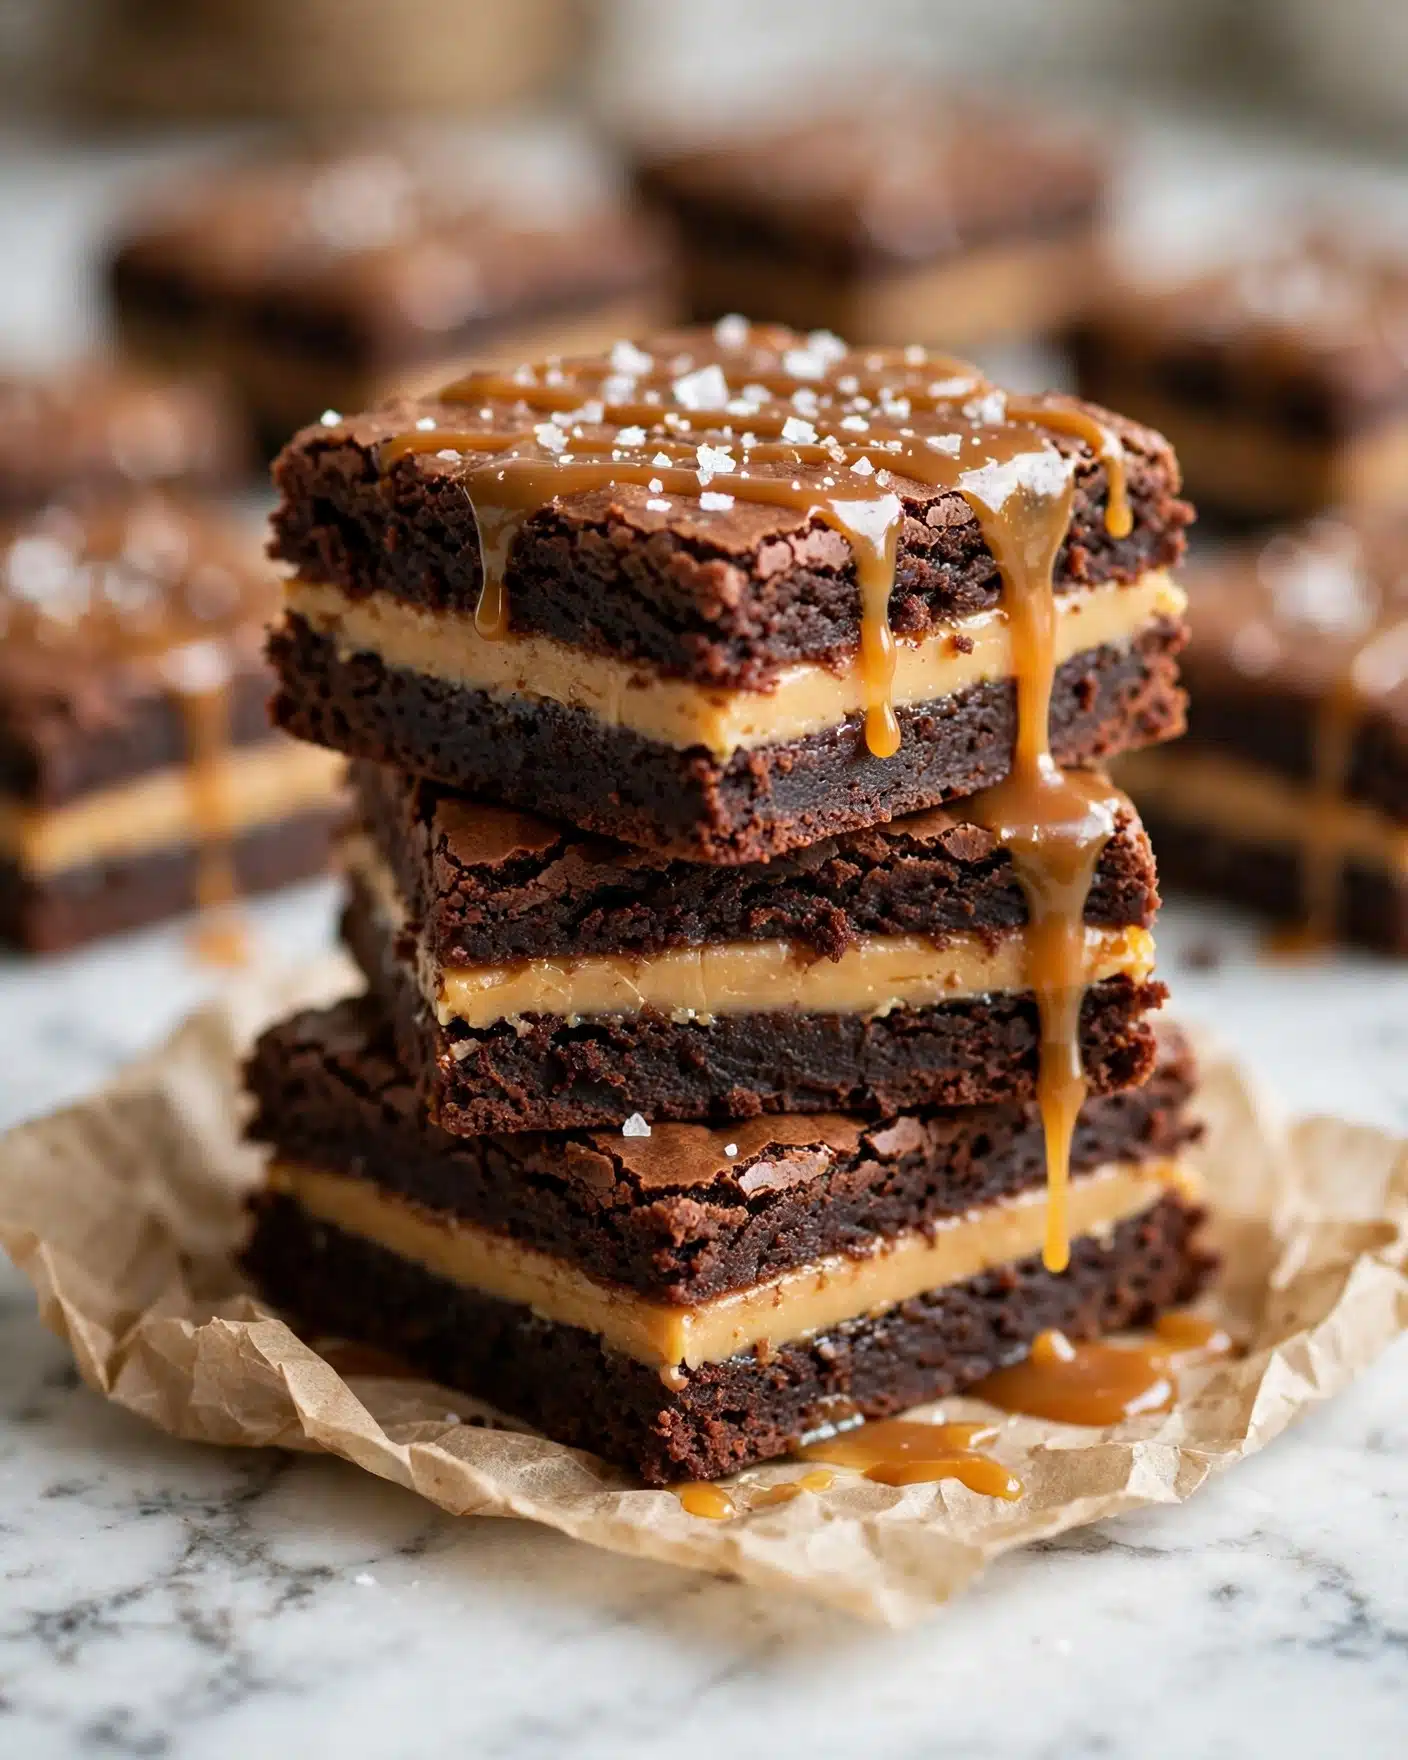
I am absolutely in love with this Biscoff Brownies Recipe, and I can’t wait to share it with you. Combining the rich, fudgy texture of classic brownies with the irresistible spiced caramel flavor of Biscoff cookie butter creates a dessert that’s both comforting and indulgent. Every bite offers that perfect harmony of chocolatey goodness and crunchy Biscoff pieces that just melt in your mouth. If you love a little twist on traditional brownies, this recipe will quickly become your new favorite.
Why You’ll Love This Biscoff Brownies Recipe
What really excites me about this Biscoff Brownies Recipe is the unique flavor profile it delivers. The deep, bittersweet chocolate base is elevated by the warm, cinnamon-spiced notes of Biscoff cookie butter, creating a complex, layered taste that feels totally gourmet yet so accessible. I adore how the espresso powder subtly amplifies the chocolate, making every bite rich and luscious without overwhelming the cookies’ signature flavor.
Beyond the deliciousness, I also appreciate how straightforward this recipe is to prepare. It’s perfect for both experienced bakers and those who want a special treat with minimal fuss. Plus, the visual appeal of broken Biscoff cookies artfully pressed on top, with a drizzle of warm cookie butter, makes it ideal for sharing at family dinners, holidays, or a cozy night in. Trust me, this recipe stands out because it takes everyday ingredients and turns them into something truly memorable.
Ingredients You’ll Need
These ingredients are simple but essential for building the perfect balance of flavor, texture, and that gorgeous fudgy look. Each one contributes something special, from the deep cocoa powder to the velvety melted chocolate and, of course, the iconic Biscoff cookie butter.
- Biscoff cookie butter: The star ingredient that brings a warm, caramelized spice to the brownies.
- Light or dark brown sugar: Adds moisture and a subtle molasses flavor for depth.
- Granulated sugar: Balances sweetness and helps with texture.
- Large eggs and an extra egg yolk: Provide structure and richness.
- Vanilla extract: Enhances overall flavor and aroma.
- Unsalted butter: Creates a smooth, fudgy base and enriches the taste.
- Semi-sweet chocolate chips: Melt into the batter for intense chocolate goodness.
- Unsweetened Dutch cocoa powder: Gives that deep chocolate color and flavor.
- All-purpose flour: The backbone for the brownies, giving just enough structure.
- Espresso powder: Boosts the chocolate flavor without making it taste like coffee.
- Fine sea salt: Balances sweetness and rounds out flavors beautifully.
- Biscoff cookies: Crumbled on top for crunch and presentation.
- Extra cookie butter: Warmed and drizzled on top to finish the brownies with flair.
Directions
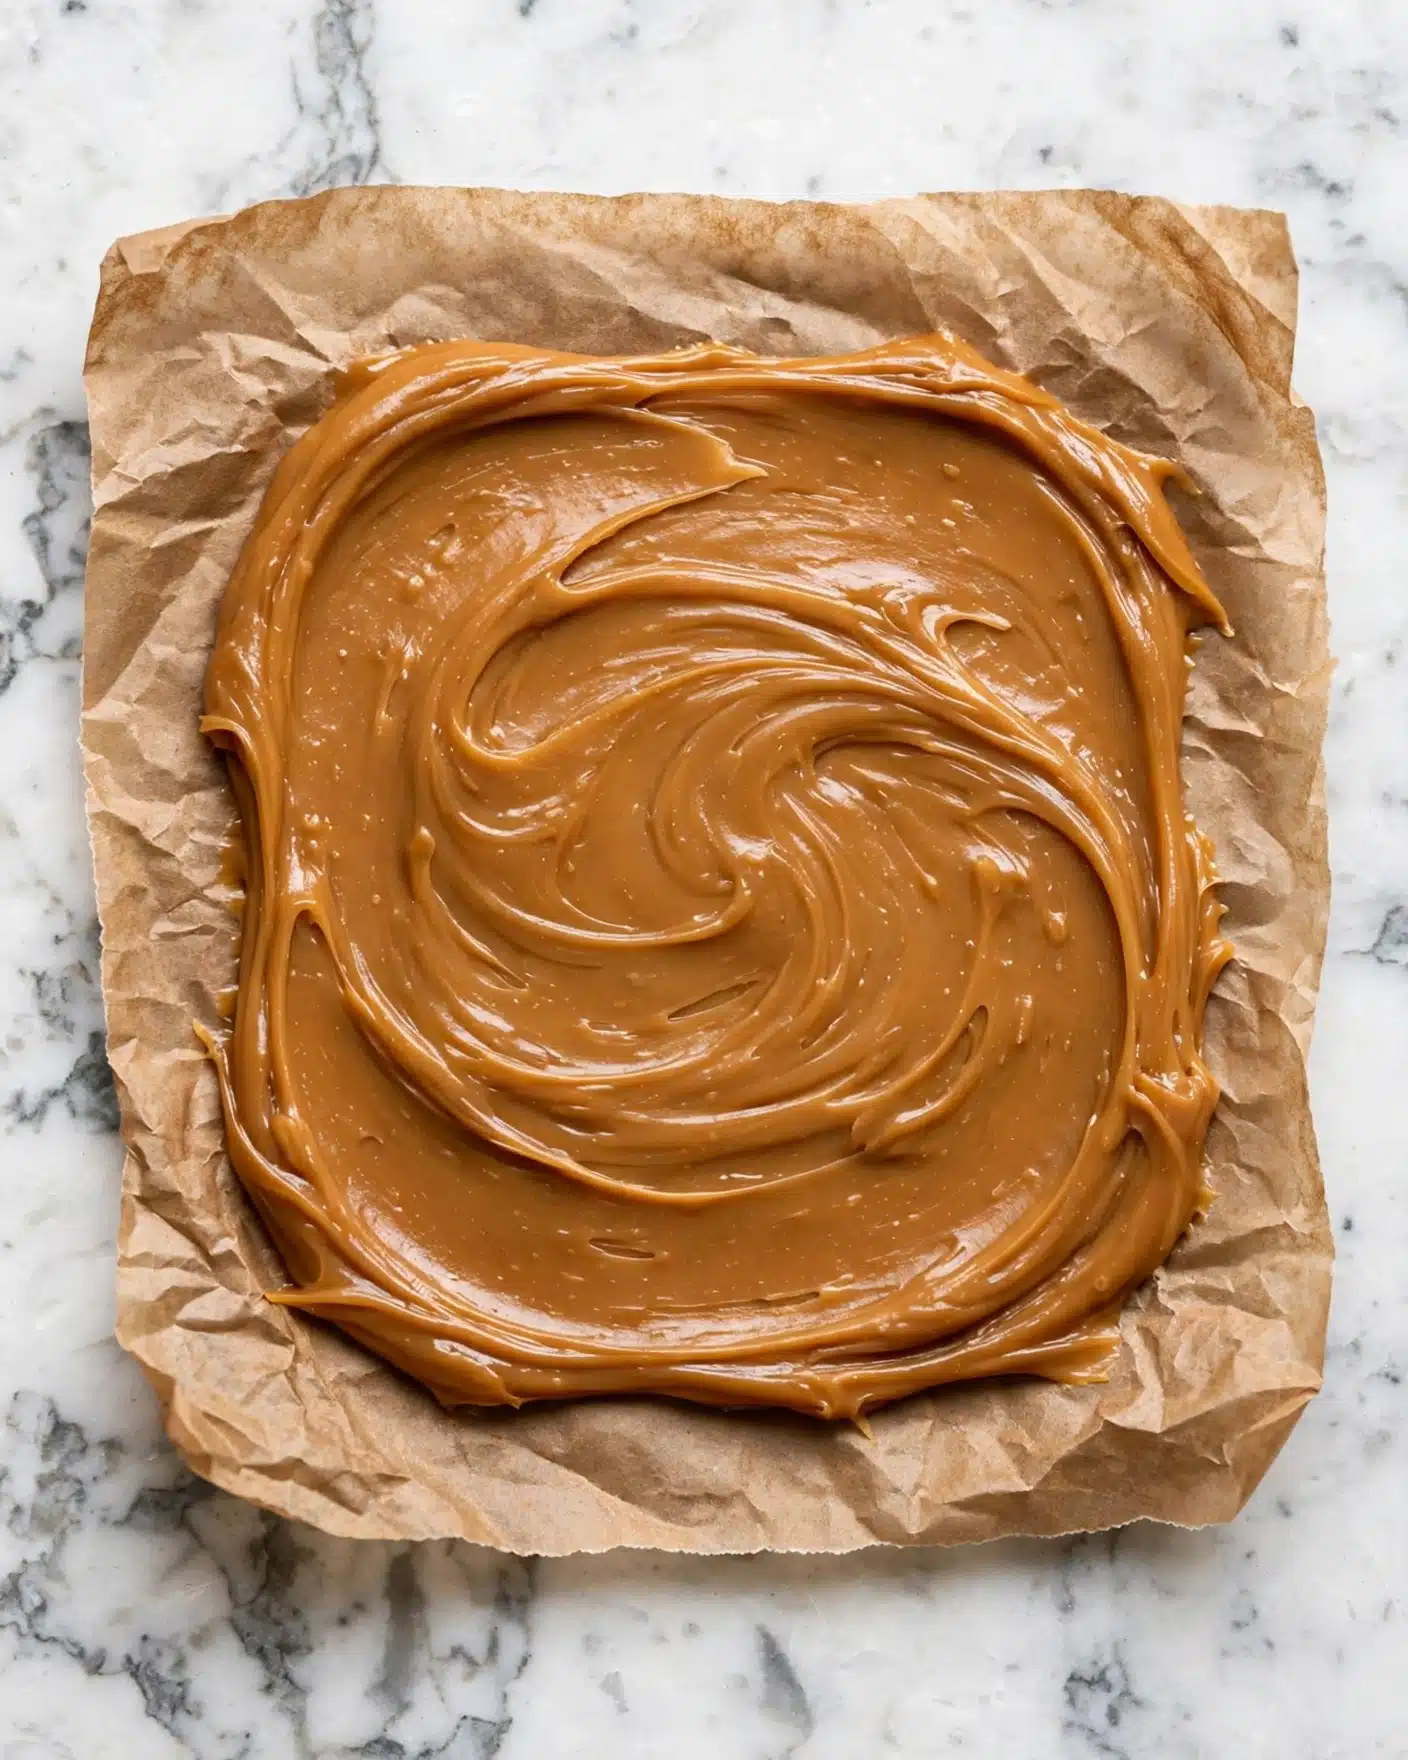
Step 1: Line an 8×8 inch metal square baking pan with a large piece of parchment paper, creasing the edges so you can easily lift the brownies out later. Spread an even layer of Biscoff cookie butter inside the creased edges and chill the pan in the freezer until the cookie butter is completely firm. This step is key—don’t rush it!
Step 2: Preheat your oven to 350°F (180°C). Then line the pan with parchment paper once more so it hangs over all four sides for a clean removal of the brownies.
Step 3: In a mixing bowl, whisk together both the brown and granulated sugars with the eggs and vanilla extract until the mixture is smooth and lightened in color. This creates a sweet, velvety foundation for your batter.
Step 4: Melt the butter and 2/3 cup of semi-sweet chocolate chips together gently, either in a heatproof bowl over simmering water or short bursts in the microwave, stirring often. Whisk in the cocoa powder until smooth, then combine this chocolate mixture with the egg-sugar mixture until just blended.
Step 5: Gently fold in the flour, espresso powder, and sea salt until the batter just comes together. Don’t overmix—you want to keep the brownies tender.
Step 6: Pour half of the batter (about 340 grams) into the pan, spreading it evenly to the edges. Carefully take the chilled cookie butter layer out of the freezer and peel off the parchment paper from the top. Place the cookie butter square onto the batter.
Step 7: Pour the remaining batter over the cookie butter layer, spreading evenly. Break your Biscoff cookies into pieces and press them on top of the batter for a crunchy texture that contrasts perfectly with the fudgy brownies.
Step 8: Warm 2 tablespoons of cookie butter in the microwave for 15-20 seconds until it’s runny, then drizzle it over the cookie pieces for an irresistible glossy finish.
Step 9: Bake for 30-40 minutes, checking with a toothpick inserted in the center—it should come out with a few moist crumbs but not wet batter. Once baked, cool the brownies completely on a wire rack before lifting them out and cutting. For an extra touch, drizzle more cookie butter on top just before serving.
Servings and Timing
This recipe yields about 12 generously sized brownies—perfect to share or enjoy a little indulgence over several days. Prep time takes roughly 20 minutes, plus the chilling time for the cookie butter layer, which I recommend at least 30 minutes. Baking time falls between 30 and 40 minutes, depending on your oven. Altogether, expect about 1 hour from start to finish, giving some time to cool fully before slicing and enjoying.
How to Serve This Biscoff Brownies Recipe
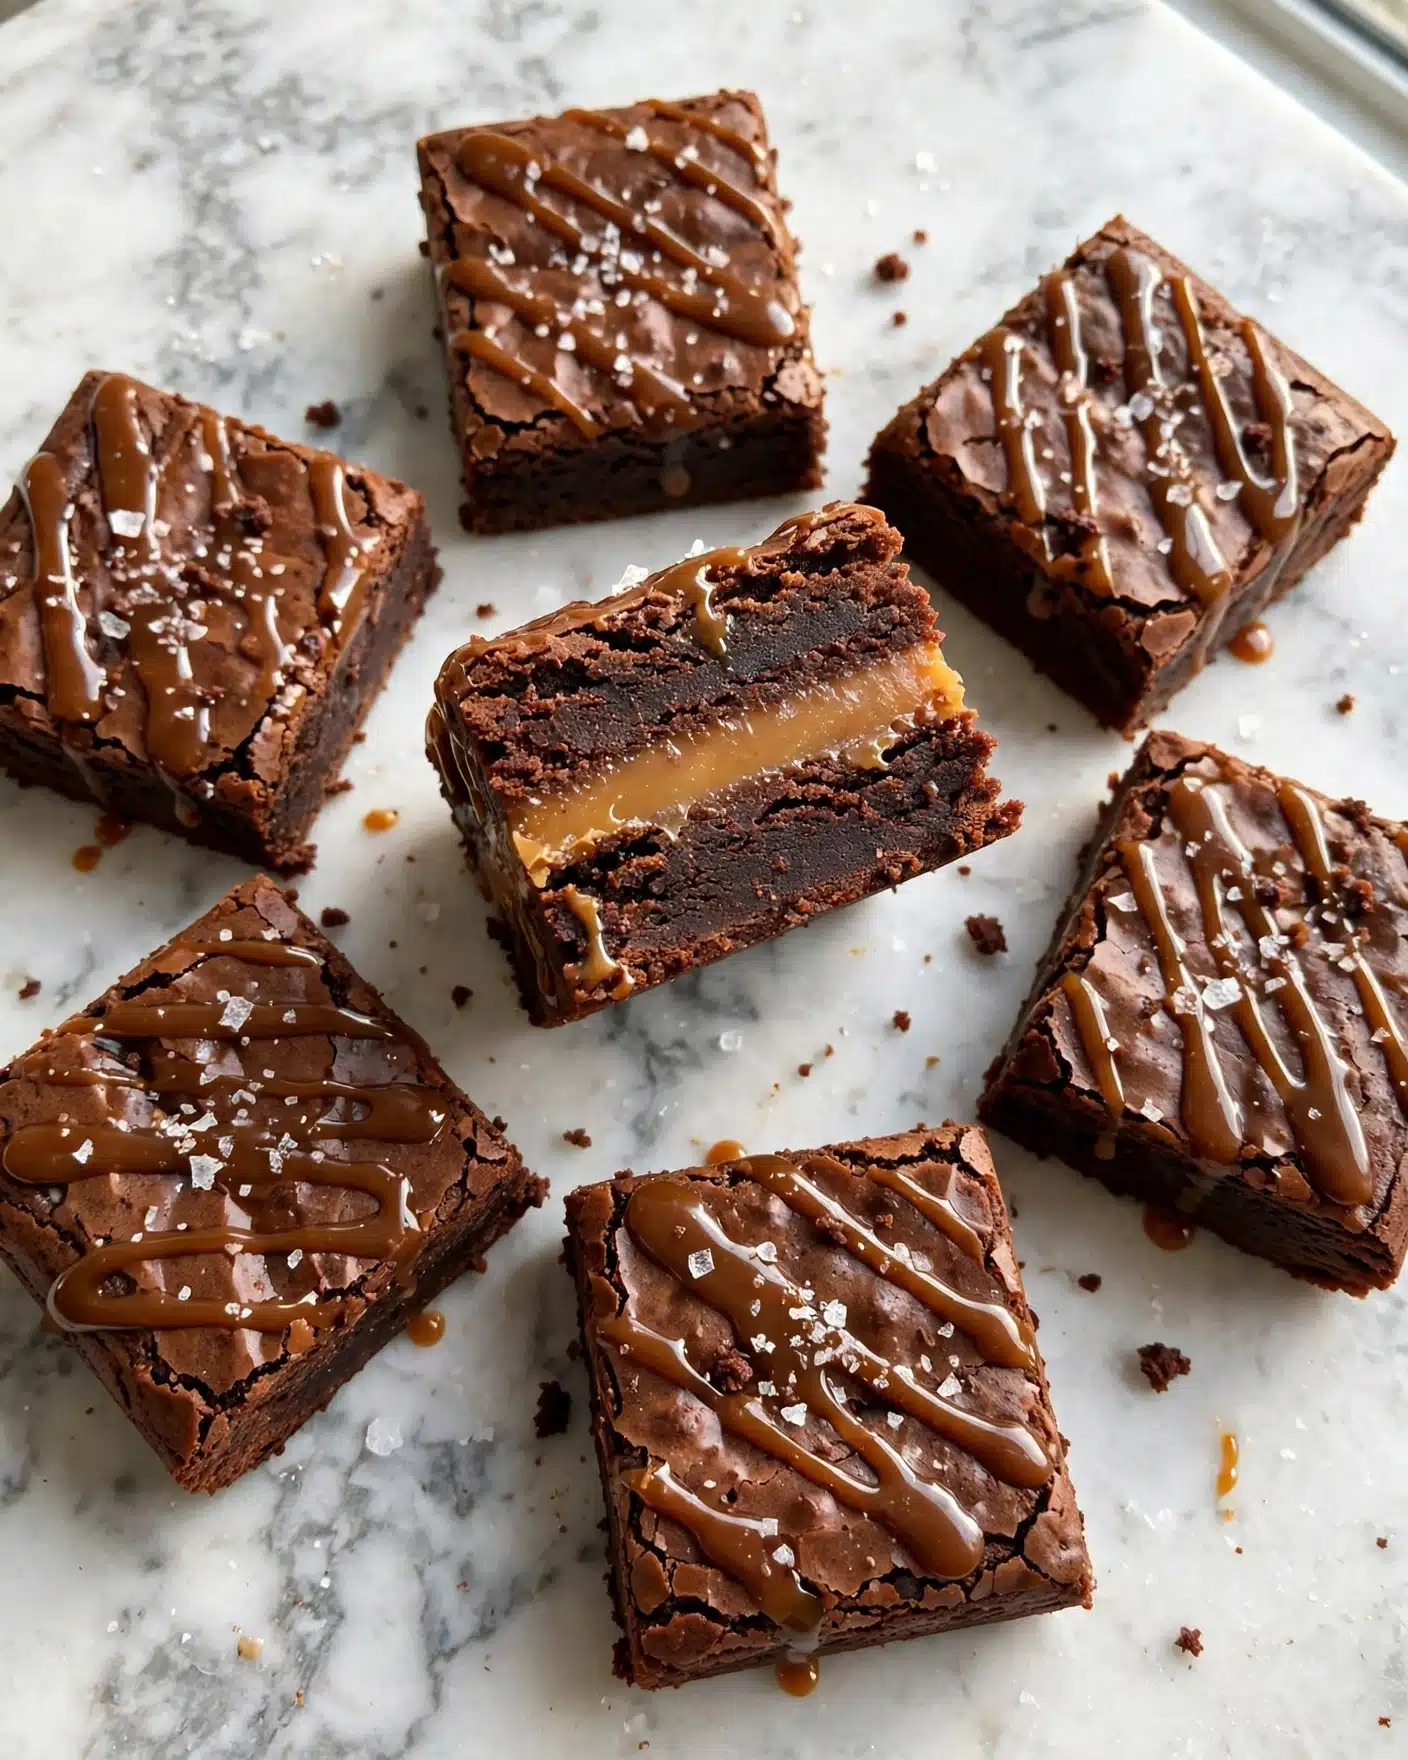
I love serving these Biscoff brownies slightly warm so the cookie butter drizzle remains lush and the edges are soft with a delightful fudgy center. Pair them with a scoop of vanilla ice cream for a classic duo or try a dollop of whipped cream sprinkled with cinnamon for a cozy touch. If you want to get fancy, add a few fresh berries on the side—their tartness complements the sweet spice perfectly.
When it comes to presentation, I like cutting the brownies into squares about 2 inches wide for a perfect bite-sized treat. Arranging them on a simple white platter with scattered Biscoff cookie crumbs looks inviting and rustic. For gatherings, these are a fantastic dessert to serve family-style or on individual plates garnished with a drizzle of caramel or chocolate sauce.
Beverage-wise, I’m a fan of pairing these brownies with a rich, full-bodied coffee or a creamy latte for an afternoon snack. If you’re serving after dinner, a glass of dessert wine like a tawny port or even an espresso martini complements the flavors brilliantly. Non-alcoholic options like chai tea or spiced hot chocolate also bring out the warm notes of the Biscoff cookie butter, making this dessert a real crowd-pleaser year-round.
Variations
One of the things I love about this Biscoff Brownies Recipe is how versatile it is. If you want to switch things up, you can experiment by substituting the semi-sweet chocolate chips for dark or milk chocolate based on your preference—each offers a different sweetness level and richness. If you’re craving even more texture, adding chopped nuts like pecans or walnuts gives a lovely crunch that pairs beautifully with the soft cookie butter layer.
For my friends who follow gluten-free diets, I’ve had success swapping the all-purpose flour for a gluten-free blend that measures cup-for-cup. Just be sure it has xanthan gum or a similar binder to keep the brownies from crumbling. Vegan versions are possible too by replacing the eggs with flax or chia egg substitutes and using vegan butter and dairy-free chocolate chips. It might require a few tweaks to the baking time, but the results are still delicious.
If you want a flavor twist, try stirring in some orange zest or a splash of peppermint extract for a hint of brightness that complements the Biscoff’s caramel tones. For a quick shortcut, you could bake the brownies without the chilled cookie butter layer for a more straightforward brownie but trust me, layering that cookie butter in there is worth the effort. Alternatively, cooking them in a glass baking dish will give a slightly different crust but just as tasty an experience.
Storage and Reheating
Storing Leftovers
I always store leftover Biscoff brownies in an airtight container at room temperature for 2 to 3 days to maintain their fudgy texture and soft cookie butter layer. If your kitchen is warm, keep them in a cool, dry place away from direct sunlight. Using parchment paper between layers helps prevent sticking if you stack them in a container.
Freezing
These brownies freeze beautifully, which is great for prepping ahead or saving extras. I wrap individual brownie squares tightly in plastic wrap and then place them in a freezer-safe bag or container. They can be frozen for up to 1 month without losing that rich flavor. When you’re ready to enjoy, just thaw them at room temperature for a few hours or overnight in the fridge.
Reheating
The best way to reheat leftover brownies is to warm them gently in the microwave for about 15-20 seconds, just enough to melt the cookie butter drizzle without drying out the brownies. Avoid prolonged heating, which can make them tough. Alternatively, a quick 5-minute warm-up in a low oven (around 300°F or 150°C) wrapped in foil keeps them moist and delicious.
FAQs
Can I use crunchy Biscoff spread instead of smooth cookie butter?
Absolutely! Using crunchy Biscoff spread can add an extra nutty texture inside the brownie layers. Just keep in mind it may make spreading the bottom layer a bit thicker and chunkier, but it’s a delightful variation if you enjoy more texture.
What if I don’t have espresso powder? Can I leave it out?
You can omit the espresso powder if you don’t have it on hand, but I recommend adding a teaspoon of instant coffee granules as a substitute to keep that deep chocolate flavor. Otherwise, the brownies will still taste great—just slightly less intense in chocolate notes.
Is there a way to make these brownies less sweet?
If you prefer a less sweet dessert, consider using dark chocolate chips (at least 70% cacao) and reducing the granulated sugar by a couple of tablespoons. This balances the sweetness nicely while preserving the rich flavors.
Can I prepare these brownies ahead and refrigerate before baking?
I’ve tried refrigerating the batter for a few hours and it’s perfectly fine—it might even improve the flavor as the ingredients meld together. Just bring the batter back to room temperature for about 15 minutes before baking for even cooking.
How do I know when the brownies are perfectly baked?
The best indicator is a toothpick inserted in the center coming out with a few moist crumbs attached. If it’s wet batter, they need more time. Over-baking will dry them out, so start checking at 30 minutes and bake up to 40 minutes depending on your oven.
Conclusion
Honestly, this Biscoff Brownies Recipe has become one of my absolute favorites to bake and share. It’s that perfect blend of sophisticated flavors with approachable preparation that makes it so rewarding every time I make it. Whether you’re treating yourself or impressing guests, these brownies deliver wow-factor in every bite. I hope you enjoy making and eating them as much as I do!
PrintBiscoff Brownies Recipe
These Biscoff Brownies combine rich, fudgy chocolate with the unique cinnamon-spiced flavor of Biscoff cookie butter for an indulgent dessert. Featuring a smooth cookie butter layer nestled between layers of decadent chocolate brownie batter and topped with crunchy Biscoff cookie pieces and a drizzle of warm cookie butter, these brownies are a perfect treat for any chocolate and cookie butter lover.
- Prep Time: 20 minutes (including chilling cookie butter layer)
- Cook Time: 35 minutes
- Total Time: 55 minutes
- Yield: 16 brownies (2-inch squares)
- Category: Dessert
- Method: Baking
- Cuisine: American
Ingredients
Brownie Batter
- 3/4 cup Biscoff cookie butter
- 1/2 cup light or dark brown sugar, packed
- 1/2 cup granulated sugar
- 2 large eggs
- 1 large egg yolk
- 1 tablespoon vanilla extract
- 10 tablespoons unsalted butter
- 2/3 cup + 1/4 cup semi-sweet chocolate chips (total 11/12 cups)
- 1/4 cup unsweetened Dutch cocoa powder
- 2/3 cup + 1 tablespoon all-purpose flour
- 1 teaspoon espresso powder
- 1/2 teaspoon fine sea salt
Toppings
- 4–5 Biscoff cookies, broken into pieces
- Extra cookie butter for drizzling
Instructions
- Prepare Pan and Cookie Butter Layer: Press a large piece of parchment paper into an 8×8-inch square metal baking pan, creasing the bottom edges to define the pan’s size. Evenly spread the 3/4 cup of Biscoff cookie butter inside these creased edges. Place the pan in the freezer and chill until the cookie butter layer is completely firm before proceeding.
- Preheat and Line Pan: Line the baking pan with parchment paper so that it hangs over all four sides for easy removal. Preheat the oven to 350°F (180°C).
- Mix Sugar and Eggs: In a bowl, whisk together the brown sugar, granulated sugar, eggs, egg yolk, and vanilla extract until the mixture is smooth and well combined.
- Melt Butter and Chocolate: Melt the butter and 2/3 cup plus 1/4 cup of semi-sweet chocolate chips together until smooth. Remove from heat and whisk in the cocoa powder until fully incorporated.
- Combine Chocolate and Egg Mixtures: Slowly whisk the melted chocolate mixture into the egg mixture until just combined, being careful not to overmix.
- Fold in Dry Ingredients: Gently fold in the flour, espresso powder, and sea salt until just combined, taking care not to overwork the batter.
- Layer Batter and Cookie Butter: Pour about half of the brownie batter (approximately 340 grams) into the prepared pan, spreading it evenly to the edges. Remove the cookie butter square from the freezer, peel off its parchment paper, and place it carefully on top of this first layer of batter.
- Add Remaining Batter: Pour the remaining batter over the cookie butter layer, spreading evenly to cover the entire pan.
- Add Cookie Pieces and Drizzle: Break 4-5 Biscoff cookies into smaller pieces and gently press them onto the top of the batter. Warm 2 tablespoons of cookie butter in the microwave for 15-20 seconds until runny, then drizzle it evenly over the cookie pieces.
- Bake Brownies: Bake the pan in the preheated oven for 30 to 40 minutes, or until a toothpick inserted into the center comes out with a few moist crumbs attached, indicating fudgy brownies.
- Cool and Serve: Let the brownies cool completely on a wire rack before removing from the pan using the parchment paper overhang. Optionally, drizzle more cookie butter on top before slicing and serving.
- Storage: Store leftovers in an airtight container at room temperature for 2-3 days. They can also be frozen in an airtight container or freezer bag for up to 1 month.
Notes
- Using parchment paper that hangs over the edges of the pan allows for easy removal of the brownies once cooled.
- Ensure the cookie butter layer is fully firm and chilled before adding batter to prevent it from melting into the brownie layers.
- Measure flour by spooning it into the cup and leveling with a knife to avoid packing, which can alter texture.
- You can adjust the baking time slightly based on your oven and preference for fudginess.


