
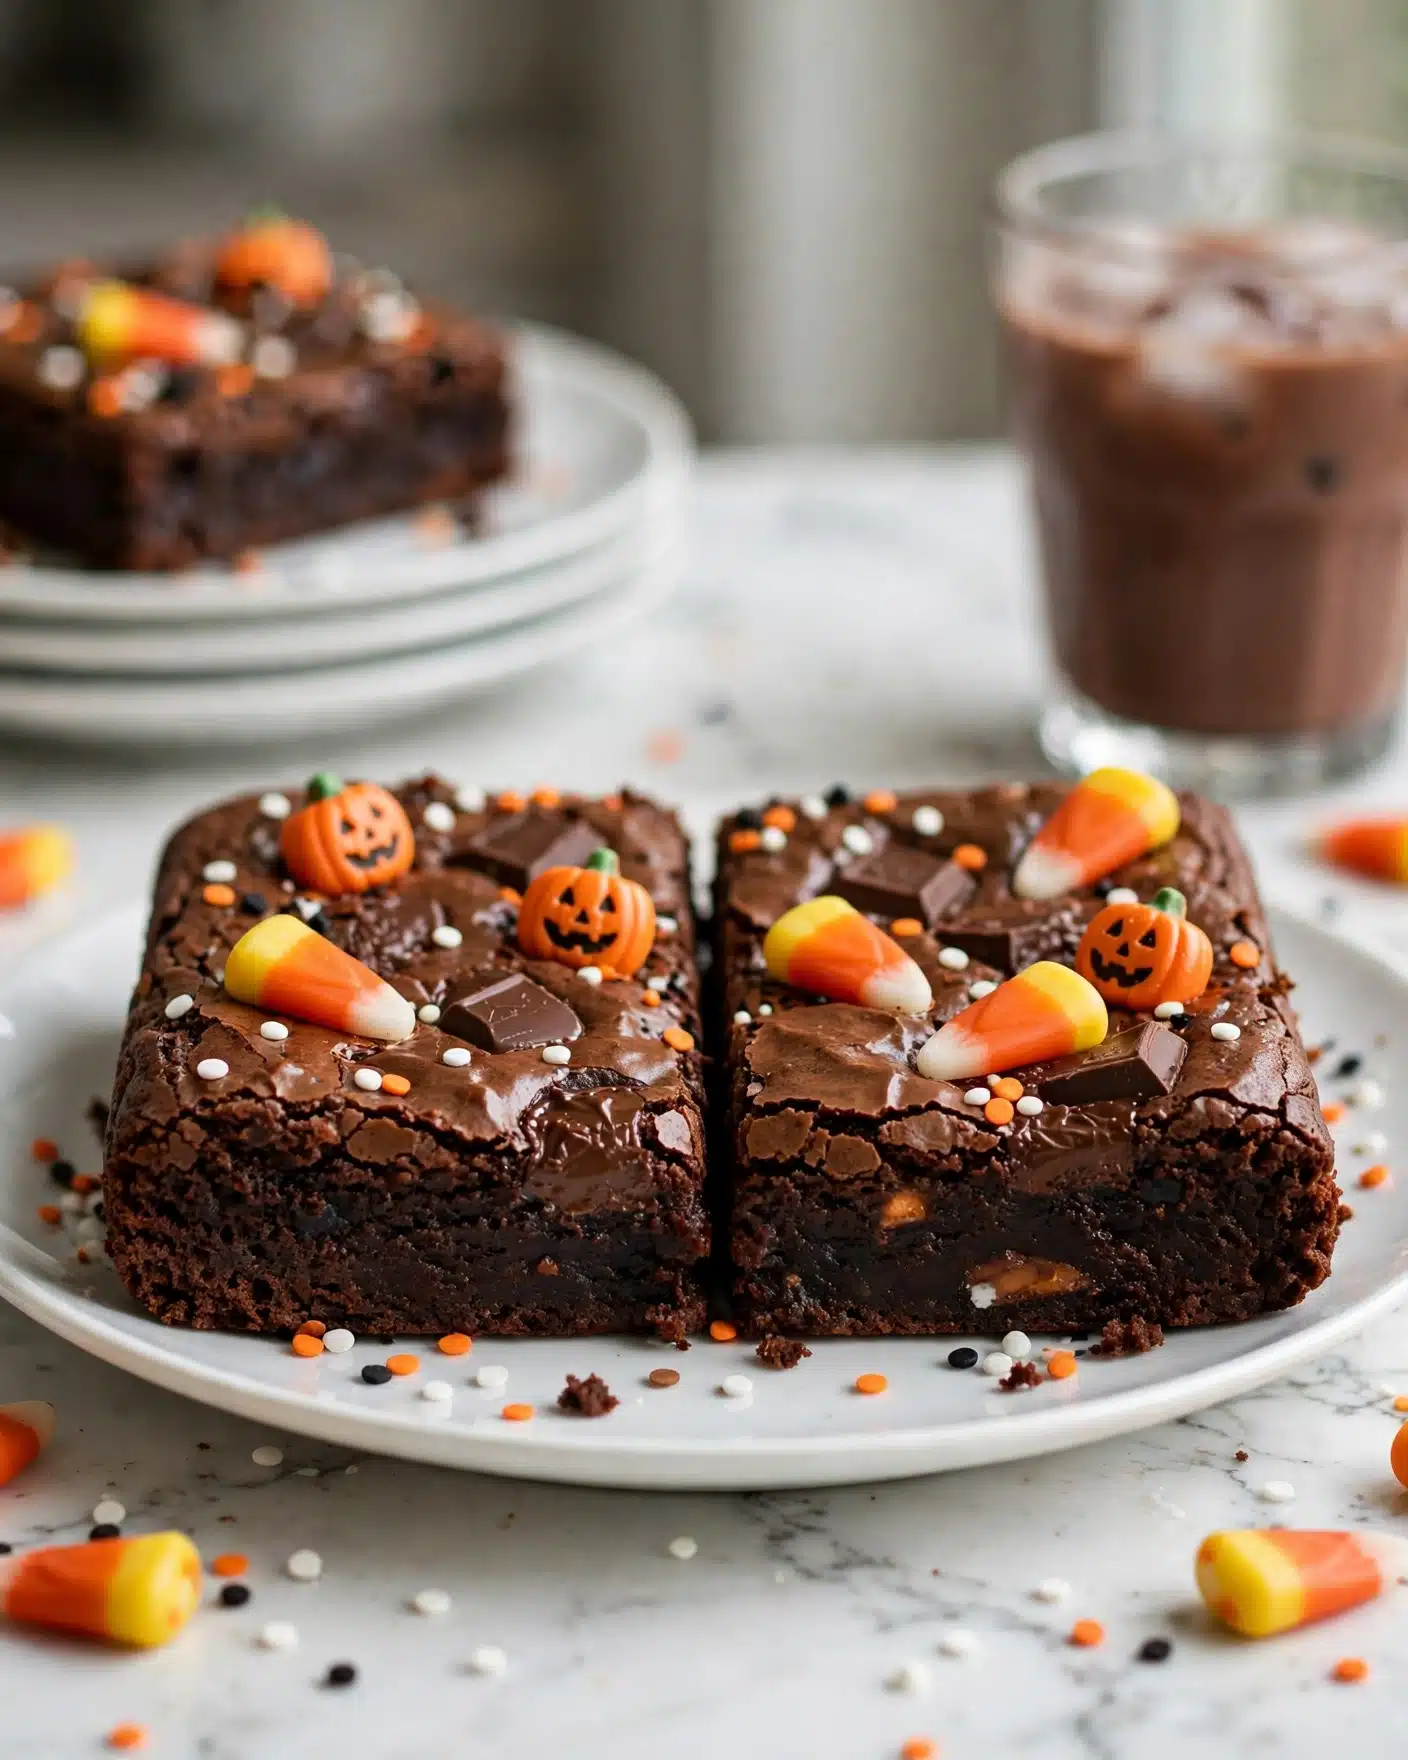
I am absolutely thrilled to share this fun and indulgent treat I came up with called the Leftover Candy Brownies Recipe. It’s the perfect way to repurpose those extra mini candy bars and seasonal sweets sitting around after holidays or parties. I love how these brownies combine rich, fudgy chocolate with a gorgeous, colorful candy topping that melts slightly from the warm brownie base, creating a delightful texture and flavor experience. You’ll find this recipe simple yet so rewarding, especially when you serve it to family or friends who can’t resist that candy-chocolate combo!
Why You’ll Love This Leftover Candy Brownies Recipe
What really excites me about this recipe is the harmony of textures and flavors. The brownies themselves are rich and fudgy with a deep bittersweet chocolate core, but what makes them truly special is the candy topping. As soon as the brownies come out of the oven, I arrange an assortment of mini candy bars, candy corn, and sprinkles on top. The residual heat melts the candy just enough to soften it without losing its character, adding bursts of sweetness and crunch that keep every bite exciting. It’s a delicious, nostalgic treat that’s hard not to adore.
Another reason I love this Leftover Candy Brownies Recipe is how easy it is to whip up. The ingredients are straightforward and pantry-friendly, and the process from start to finish takes just over an hour, including cooling. Whether I’m making it for a busy weeknight dessert or to elevate a holiday party spread, the minimal fuss means I get to enjoy the baking and the eating equally. Plus, it’s such a clever way to use up leftover candy without letting it go to waste, making this recipe both fun and practical.
Ingredients You’ll Need
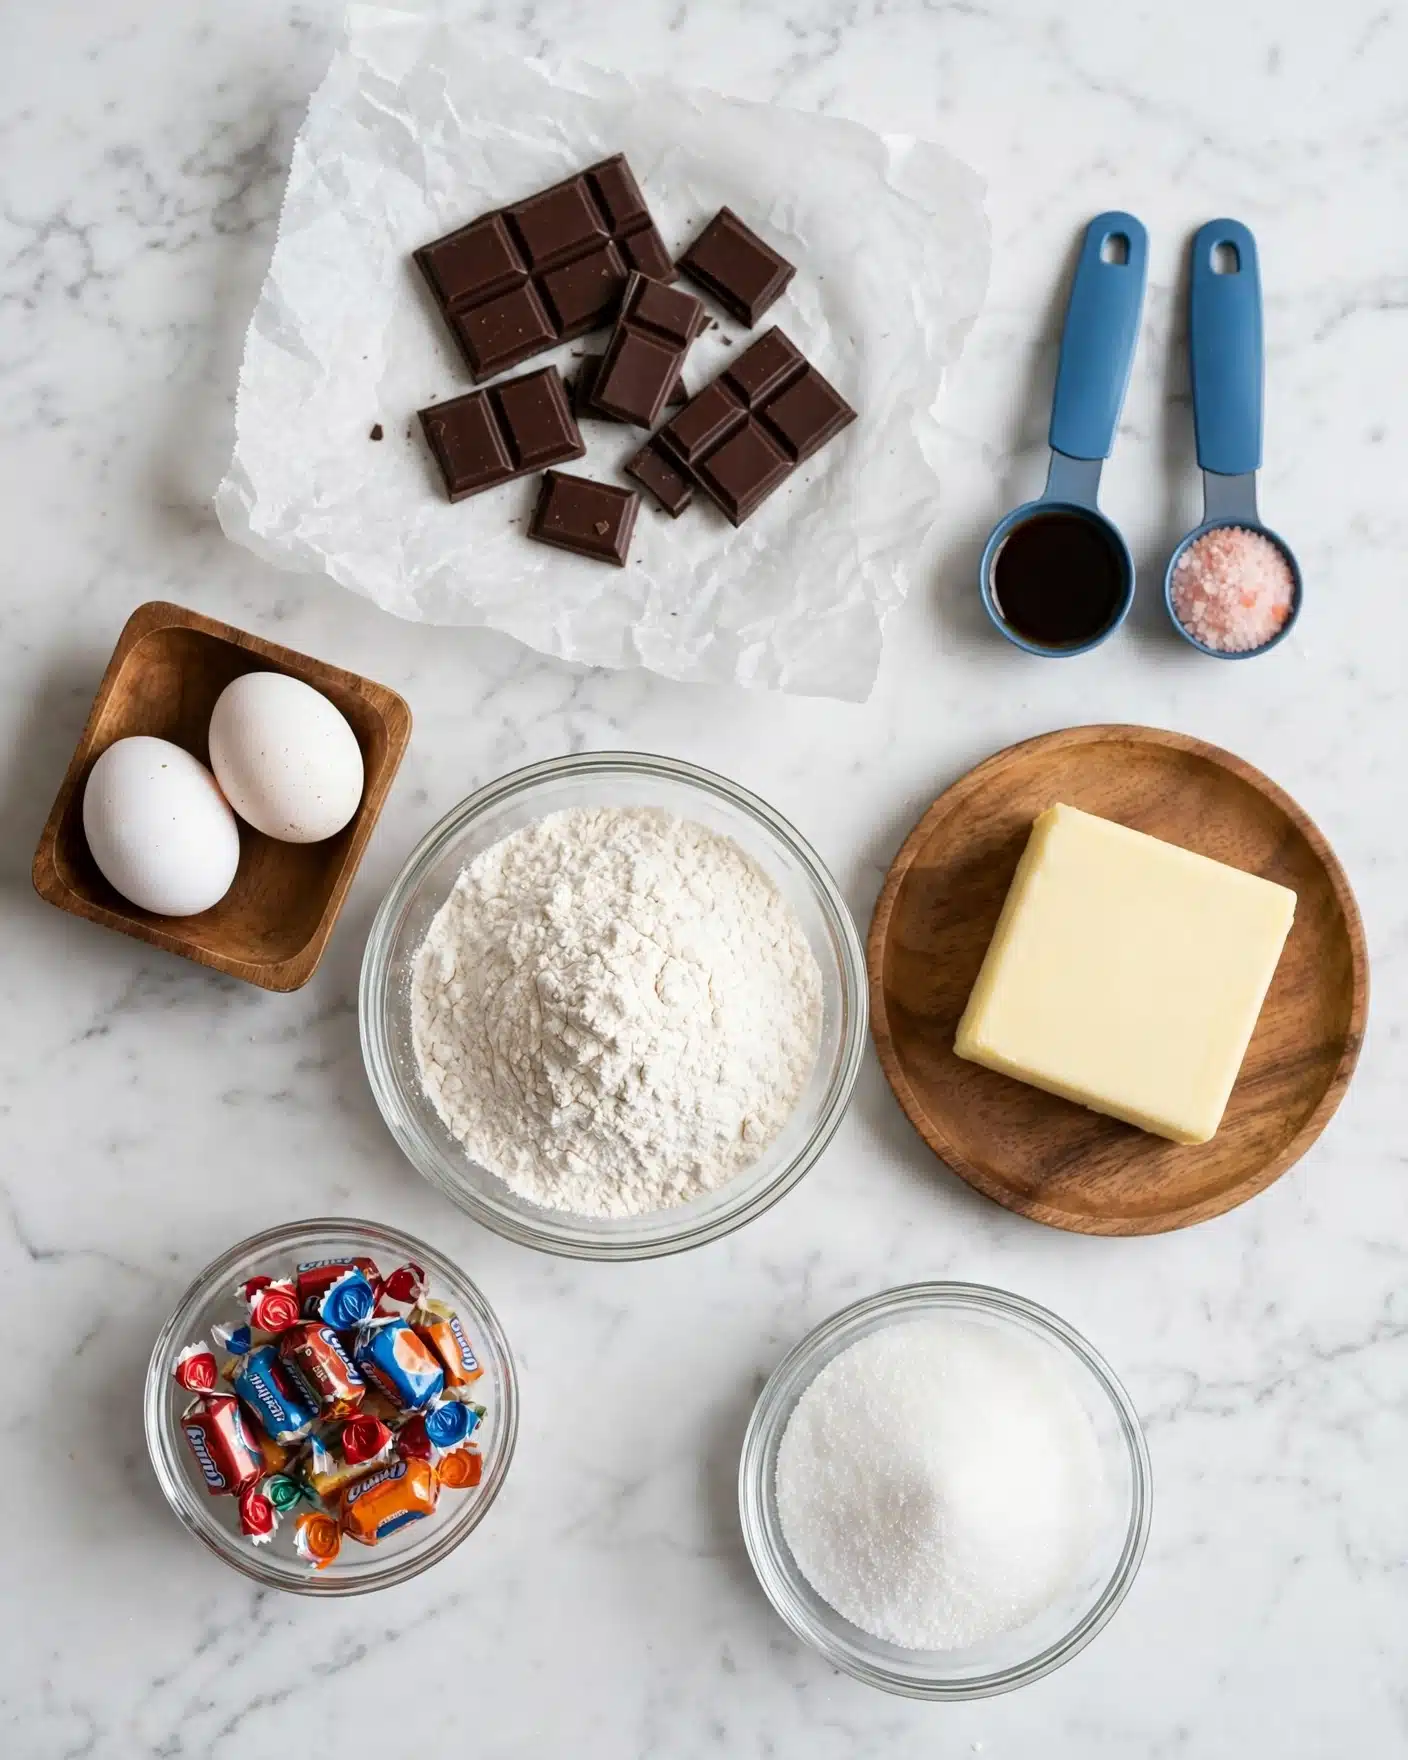
Getting the ingredients right is key to nailing the perfect fudgy texture and vibrant candy topping. Each element plays a crucial role, from the richness of butter and chocolate to the sweetness and seasonal fun of the candy toppings.
- Butter (¾ cup): I use salted or unsalted butter; it adds richness and helps create that smooth brownie texture.
- Bittersweet chocolate (12 ounces): This forms the decadent chocolate base — mixing in some milk chocolate is a personal favorite for a touch of sweetness.
- Granulated sugar (2 cups): Sweetens the brownies perfectly without overpowering the bittersweet chocolate.
- Fine salt (¼ teaspoon, optional): Enhances all the flavors, especially if you’re using unsalted butter.
- Large eggs (4): They are essential for structure and moisture.
- All-purpose flour (½ cup): Keeps the brownies tender but firm enough to hold the candy on top.
- Vanilla extract (1 teaspoon): Adds a warm, aromatic note that deepens the brownie flavor.
- Assorted mini chocolate candy bars (25 pieces): This is where the fun begins—choose your favorites to customize the topping.
- Candy corn and candy pumpkins: I add these to bring a festive touch, especially for Halloween-themed brownies.
- Halloween sprinkles (optional): Sprinkles add extra color and crunch to make the brownies even more festive.
Directions
Step 1: Preheat your oven to 350°F. Line a 9×9-inch baking pan with two pieces of parchment paper, creasing the edges so it stays put. If your pan isn’t nonstick, lightly grease any parts not covered by parchment to prevent sticking.
Step 2: Combine the butter and chocolate in a microwave-safe bowl. Microwave in 30-second bursts, stirring in between until everything is melted and glossy smooth. This usually takes about 2 minutes depending on your microwave. This melt-and-stir method ensures a perfectly smooth chocolate base.
Step 3: In a small bowl, mix the granulated sugar with the salt. Stir this into the melted chocolate until everything is fully combined.
Step 4: Whisk in the eggs one at a time, making sure each is incorporated before adding the next. Then gently fold in the flour, followed by the vanilla extract, until you have a smooth, thick batter.
Step 5: Pour the batter into your prepared pan and gently spread it evenly using a spatula. Bake in the preheated oven for about 35 to 37 minutes – you’re aiming for a toothpick with just a few moist crumbs when inserted into the center.
Step 6: While the brownies bake, unwrap your mini candy bars and gather the candy corn, candy pumpkins, and sprinkles so they’re ready to go.
Step 7: The moment your brownies come out of the oven, quickly but carefully arrange the candies over the hot surface. Press candy-coated pieces gently into the batter if necessary to help them stick as it cools.
Step 8: Allow the brownies to cool for at least 20 minutes so the chocolate candy topping has time to soften and meld into the surface. If you prefer firmer candy on top, pop them in the fridge or freezer to set fully before slicing.
Servings and Timing
This recipe makes approximately 16 generously sized brownies, perfect for sharing. Prep time is around 15 minutes, with 35 minutes of baking time. You’ll want to allow at least 20 minutes for the brownies to cool and set before serving, bringing the total time to about 1 hour and 10 minutes. These timings balance getting the perfect fudgy texture while allowing the candy toppings to soften just right.
How to Serve This Leftover Candy Brownies Recipe
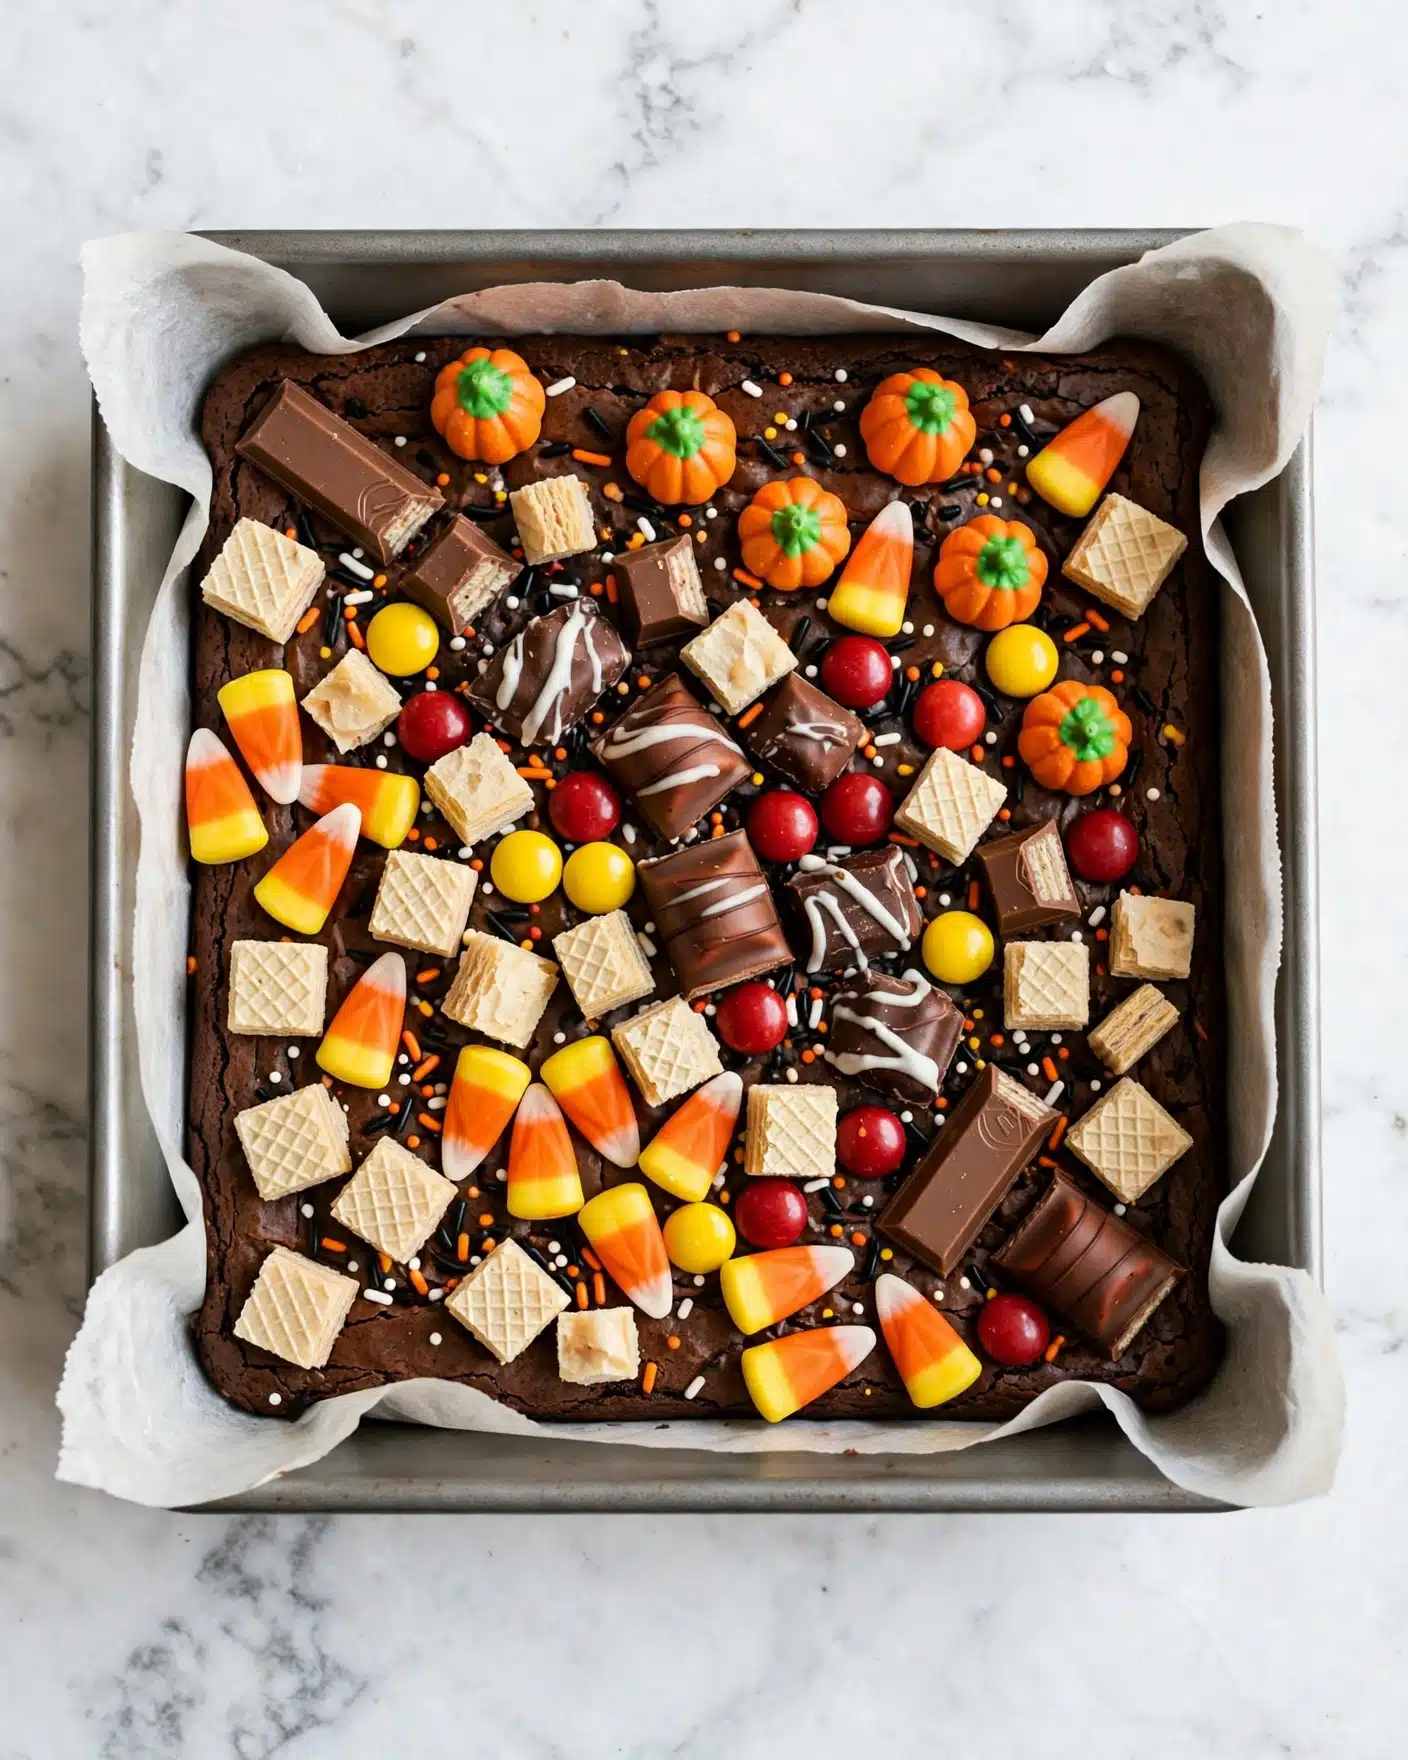
When I serve these brownies, I love going for simplicity with a special touch. They’re excellent on their own, especially when the candy topping is still slightly warm and gooey. For an extra indulgence, I sometimes pair them with a scoop of vanilla ice cream or a dollop of lightly whipped cream — the contrast of cold and warm is always a crowd-pleaser.
If you want to dress them up for a party or holiday, I suggest plating the brownies on a decorative tray with colorful napkins and seasonal garnishes like fresh berries or edible flowers. A light dusting of powdered sugar around the plate adds a lovely snowy effect that makes the presentation pop. I usually cut the brownies into squares about 2 inches each, which is just the right size for a decadent bite without being overwhelming.
For drinks, I find that a rich, dark coffee or a creamy hot chocolate enhances the chocolate notes beautifully. If you prefer adult beverages, a glass of port wine or a chocolate stout pairs wonderfully. These brownies are perfect for family dinners, holiday celebrations, or casual get-togethers to bring a splash of nostalgic fun and chocolatey goodness to the table. I recommend serving them warm or at room temperature to really enjoy the soft candy-textured topping.
Variations
Over time, I’ve loved experimenting with different candy toppings and flavor twists on the Leftover Candy Brownies Recipe. For a nutty twist, you can sprinkle chopped nuts like pecans or walnuts under the candy topping to add extra crunch and a toasty depth. If you’re avoiding gluten, swapping out the regular flour for a gluten-free blend works beautifully without sacrificing fudginess.
If you’re vegan or want a dairy-free version, try using a high-quality vegan butter and dark vegan chocolate, along with flax eggs as an egg substitute. I haven’t tried letting the candy bake with the brownies because I like that fresh candy texture on top, but you could experiment with candy that melts well, like peanut butter cups, layered in or under the batter for a gooey surprise.
For flavor variations, consider mixing in a teaspoon of espresso powder into the batter to amplify the chocolate flavor, or adding a pinch of cinnamon or cayenne for an unexpected spicy kick. You could also swap the mini candy bars for crushed peppermint candies in the winter, or tropical fruit gummies in the summer, making this recipe adaptable and fun year-round.
Storage and Reheating
Storing Leftovers
After enjoying your fresh brownies, I always store any leftovers in an airtight container at room temperature. This preserves their fudgy texture and keeps the candy topping from getting stale for up to 3 to 5 days. If the weather is warm, I like to keep them in the fridge to prevent any melting or softening, which extends freshness to about a week. Using a container with a tight seal is important to keep out moisture and protect the lovely candy decorations.
Freezing
This recipe freezes very well if you want to make them ahead of time or save some for later. To freeze, I cut the brownies into individual pieces and wrap each piece tightly in plastic wrap, then place them in a freezer-safe bag or container. They keep beautifully for up to 3 months. When freezing, the candy topping holds up better if the brownies are chilled first so the candy is firm before wrapping and freezing.
Reheating
When I reheat leftover brownies, I prefer warming them gently in the microwave for about 15 to 20 seconds just until they’re soft and slightly warmed through — avoid overheating so the candy topping doesn’t melt completely or get too soft. Another option is to warm them in a low oven (around 300°F) for 5–7 minutes, which restores some of the fresh-baked warmth and helps revive the chocolate’s silky texture. Avoid reheating straight from frozen, as uneven heat can make the candy topping lose its charm.
FAQs
Can I use any type of chocolate for the brownie base?
Absolutely! I recommend bittersweet chocolate for the richest flavor, but you can mix in some milk chocolate for added sweetness if you like. Just avoid using only milk chocolate, as the recipe hasn’t been tested with it alone, and it can affect the texture and richness.
What if I don’t have leftover candy? Can I buy candy just for this recipe?
Yes! While the recipe shines when using leftover candy, you can definitely buy mini candy bars or seasonal candy specifically for this. It’s a great way to personalize the topping and explore different types to find your favorite combo.
Why do I add the candy after baking instead of mixing it in?
Adding candy after baking keeps the candy’s texture intact and prevents it from sinking or burning in the batter. The warmth of the just-baked brownies softens and slightly melts the candy’s surface, making it beautifully meld onto the brownies without losing its character.
Can I make these brownies ahead of time?
You certainly can! Bake and cool the brownies completely, then store them in an airtight container. Add the candy topping fresh before serving if you want the candies to be at their best texture. Alternatively, add the candy right after baking, then chill or freeze to set for a fully finished treat.
How do I get clean cuts through the candy topping?
I find that letting the brownies cool completely and even chilling them a bit before cutting helps the candy set firm. Using a sharp knife warmed under hot water and wiped dry before slicing creates smooth cuts without dragging the candy, letting you serve nice, neat squares.
Conclusion
I hope you’re as excited as I am to try out this Leftover Candy Brownies Recipe. It’s a sweet way to rescue extra candy and transform it into a crowd-pleasing dessert that’s as delicious as it is visually fun. Whether you’re baking for a special occasion or just treating yourself on a cozy afternoon, this recipe always brings joy to the kitchen and smiles to everyone who takes a bite. Happy baking!
PrintLeftover Candy Brownies Recipe

Delight in these festive Leftover Candy Brownies, a perfect Halloween treat combining rich, fudgy brownies with a colorful assortment of mini chocolate bars, candy corn, candy pumpkins, and sprinkles. This easy-to-make dessert features a classic bittersweet chocolate base topped with your favorite candies that melt slightly when placed on the warm brownies, creating a playful and indulgent finish.
- Prep Time: 15 minutes
- Cook Time: 35 minutes
- Total Time: 1 hour 10 minutes
- Yield: 16 brownies
- Category: Dessert
- Method: Baking
- Cuisine: American
Ingredients
For the Brownies
- ¾ cup butter (salted or unsalted)
- 12 ounces bittersweet chocolate or a combination of bittersweet and milk chocolate
- 2 cups granulated sugar
- ¼ teaspoon fine salt (optional if using salted butter)
- 4 large eggs
- ½ cup all-purpose flour
- 1 teaspoon vanilla extract
For the Candy Topping
- 25 mini chocolate candy bars, assorted varieties
- Candy corn, as desired
- Candy pumpkins, as desired
- Halloween sprinkles, as desired
Instructions
- Prepare the Pan: Preheat your oven to 350°F (175°C). Line a 9×9-inch baking pan with two pieces of parchment paper, creasing the edges to keep it in place. If your pan is not nonstick, grease any exposed corners to prevent sticking.
- Melt Butter and Chocolate: In a medium microwave-safe bowl, combine butter and chocolate. Microwave in 30-second increments, stirring after each, until the mixture is completely melted and smooth, about 2 minutes depending on your microwave.
- Mix Sugar and Salt: In a small bowl, stir together the granulated sugar and salt. Add this mixture to the melted chocolate and butter and stir until well combined.
- Add Eggs, Flour, and Vanilla: Whisk in the eggs one at a time, then fold in the flour until incorporated. Finally, stir in the vanilla extract till evenly mixed.
- Bake the Brownies: Pour the brownie batter into the prepared pan and spread it out evenly. Bake for 35 to 37 minutes, or until a toothpick inserted near the center comes out with a few moist crumbs.
- Prepare Candy Topping: While the brownies bake, unwrap the mini candy bars and gather the candy corn, candy pumpkins, and Halloween sprinkles for topping.
- Add Candy to Hot Brownies: Once out of the oven, immediately and carefully arrange the candy bars and other Halloween candies on the hot surface of the brownies. Gently press candy-coated chocolates such as M&M’s or Smarties into the top if desired. The heat will soften the chocolate bars helping them stick as the brownies cool.
- Cool and Serve: Let the brownies cool at least 20 minutes before cutting. The candy topping may be soft initially; refrigerate or freeze afterwards if you prefer the candy to set firmly.
Notes
- Butter and Salt: You can use salted or unsalted butter; omit the added salt if using salted butter.
- Chocolate: Bittersweet chocolate alone is ideal; combining 75% bittersweet and 25% milk chocolate works well. Using only milk chocolate has not been tested.
- Candy: Add candy only after baking while the brownies are still hot to avoid candy sinking or hardening.
- Cooling: Allow at least 20 minutes of cooling before slicing to let the brownies set properly.
- Storage: Store brownies in an airtight container at room temperature for 3–5 days, refrigerate up to 1 week, or freeze for up to 3 months.


