
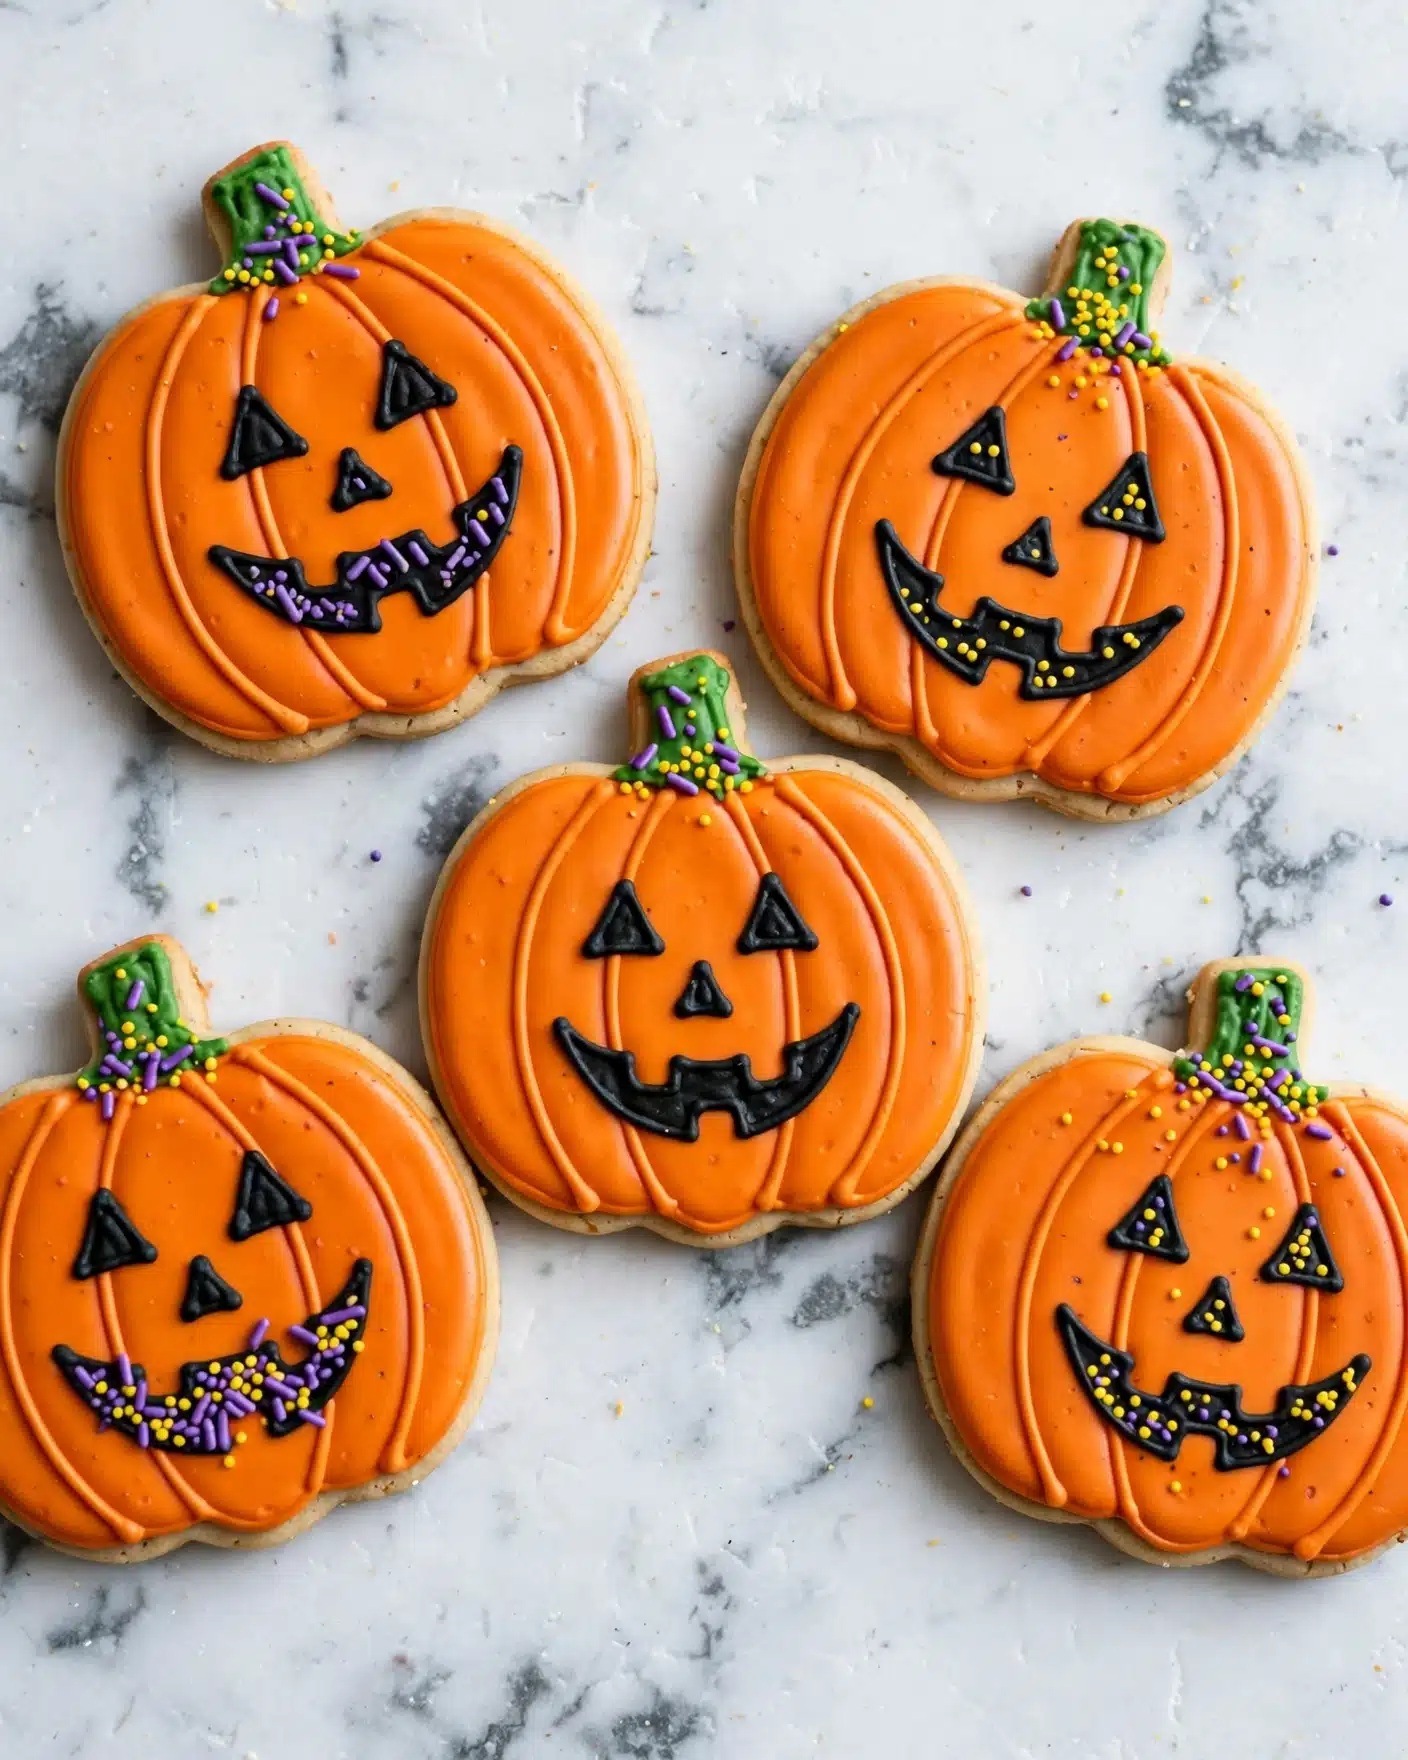
I am so excited to share my Jack-O’-Lantern Cookies Recipe with you because these festive treats bring the perfect blend of buttery sweetness and spooky fun to any Halloween gathering. I love how these cookies not only taste amazing but also look absolutely adorable with their vibrant orange frosting and playful faces. Every bite is a delightful mix of soft cookie texture and rich, colorful icing that immediately fills me with fall spirit and joy. Trust me, once you try this recipe, it’ll become a staple in your seasonal baking repertoire!
Why You’ll Love This Jack-O’-Lantern Cookies Recipe
When it comes to this Jack-O’-Lantern Cookies Recipe, what really steals my heart is the flavor profile. The cookies themselves are wonderfully buttery with just the right amount of sweetness, and the vanilla-infused frosting adds that smooth richness that makes every bite melt in your mouth. I love how the frosting colors not only look festive but also taste creamy and fresh, which makes these cookies irresistible for both kids and adults alike.
What excites me the most about this recipe is how approachable it is. You don’t need to be a professional baker to get fantastic results. The steps are straightforward, and the whole process feels like a fun craft project that anyone can enjoy, especially around the holidays. Whether I’m baking for a Halloween party or just a cozy night with family, these cookies always shine. Their bright colors and whimsical designs instantly brighten the table and spark smiles, making them perfect for celebrations or just a simple treat.
Ingredients You’ll Need
The beauty of this recipe lies in its simple yet essential ingredients. Each one plays a key role, whether it’s to give the dough its soft texture, the frosting its creamy consistency, or the colors their festive pop. Here’s what I use every time I make this Jack-O’-Lantern Cookies Recipe:
- Butter (2 cups): The base of the dough, providing richness and a tender crumb.
- Sugar (2 cups): Adds sweetness and helps create that perfect cookie texture.
- Eggs (2): Bind everything together and contribute to the softness of the cookies.
- Vanilla (3 teaspoons in dough, 1/2 teaspoon in frosting): Gives a lovely warm aroma and depth of flavor.
- Flour (5 cups): Builds the structure for soft, rollable cookie dough.
- Powdered sugar (2 cups): The key to smooth, creamy frosting perfect for piping.
- Milk (2 tablespoons): Adjusts frosting consistency for easy decorating.
- Food Coloring Gel (Orange, Green, and Black): Brings the cookies to life with vibrant Halloween shades.
- Halloween Sprinkles: Adds fun texture and festive flair to the cookie stems.
Directions
Step 1: Preheat your oven to 350 degrees Fahrenheit. This ensures the oven is hot enough for a perfectly baked cookie with just a little browning on the edges.
Step 2: In the mixing bowl of a stand mixer, combine the butter, sugar, eggs, and 3 teaspoons of vanilla. Beat on medium speed until the mixture becomes light, fluffy, and pale in color—this usually takes around 3 to 4 minutes. It’s crucial for the texture.
Step 3: Gradually add the flour, one cup at a time, mixing on low speed after each addition. Keep mixing until all the flour is incorporated and you have a soft but workable dough that isn’t too sticky.
Step 4: Lightly flour your surface and roll out about a quarter of the dough to a thickness of 1/4 inch. This thickness helps the cookies bake evenly while holding their shape for decorating.
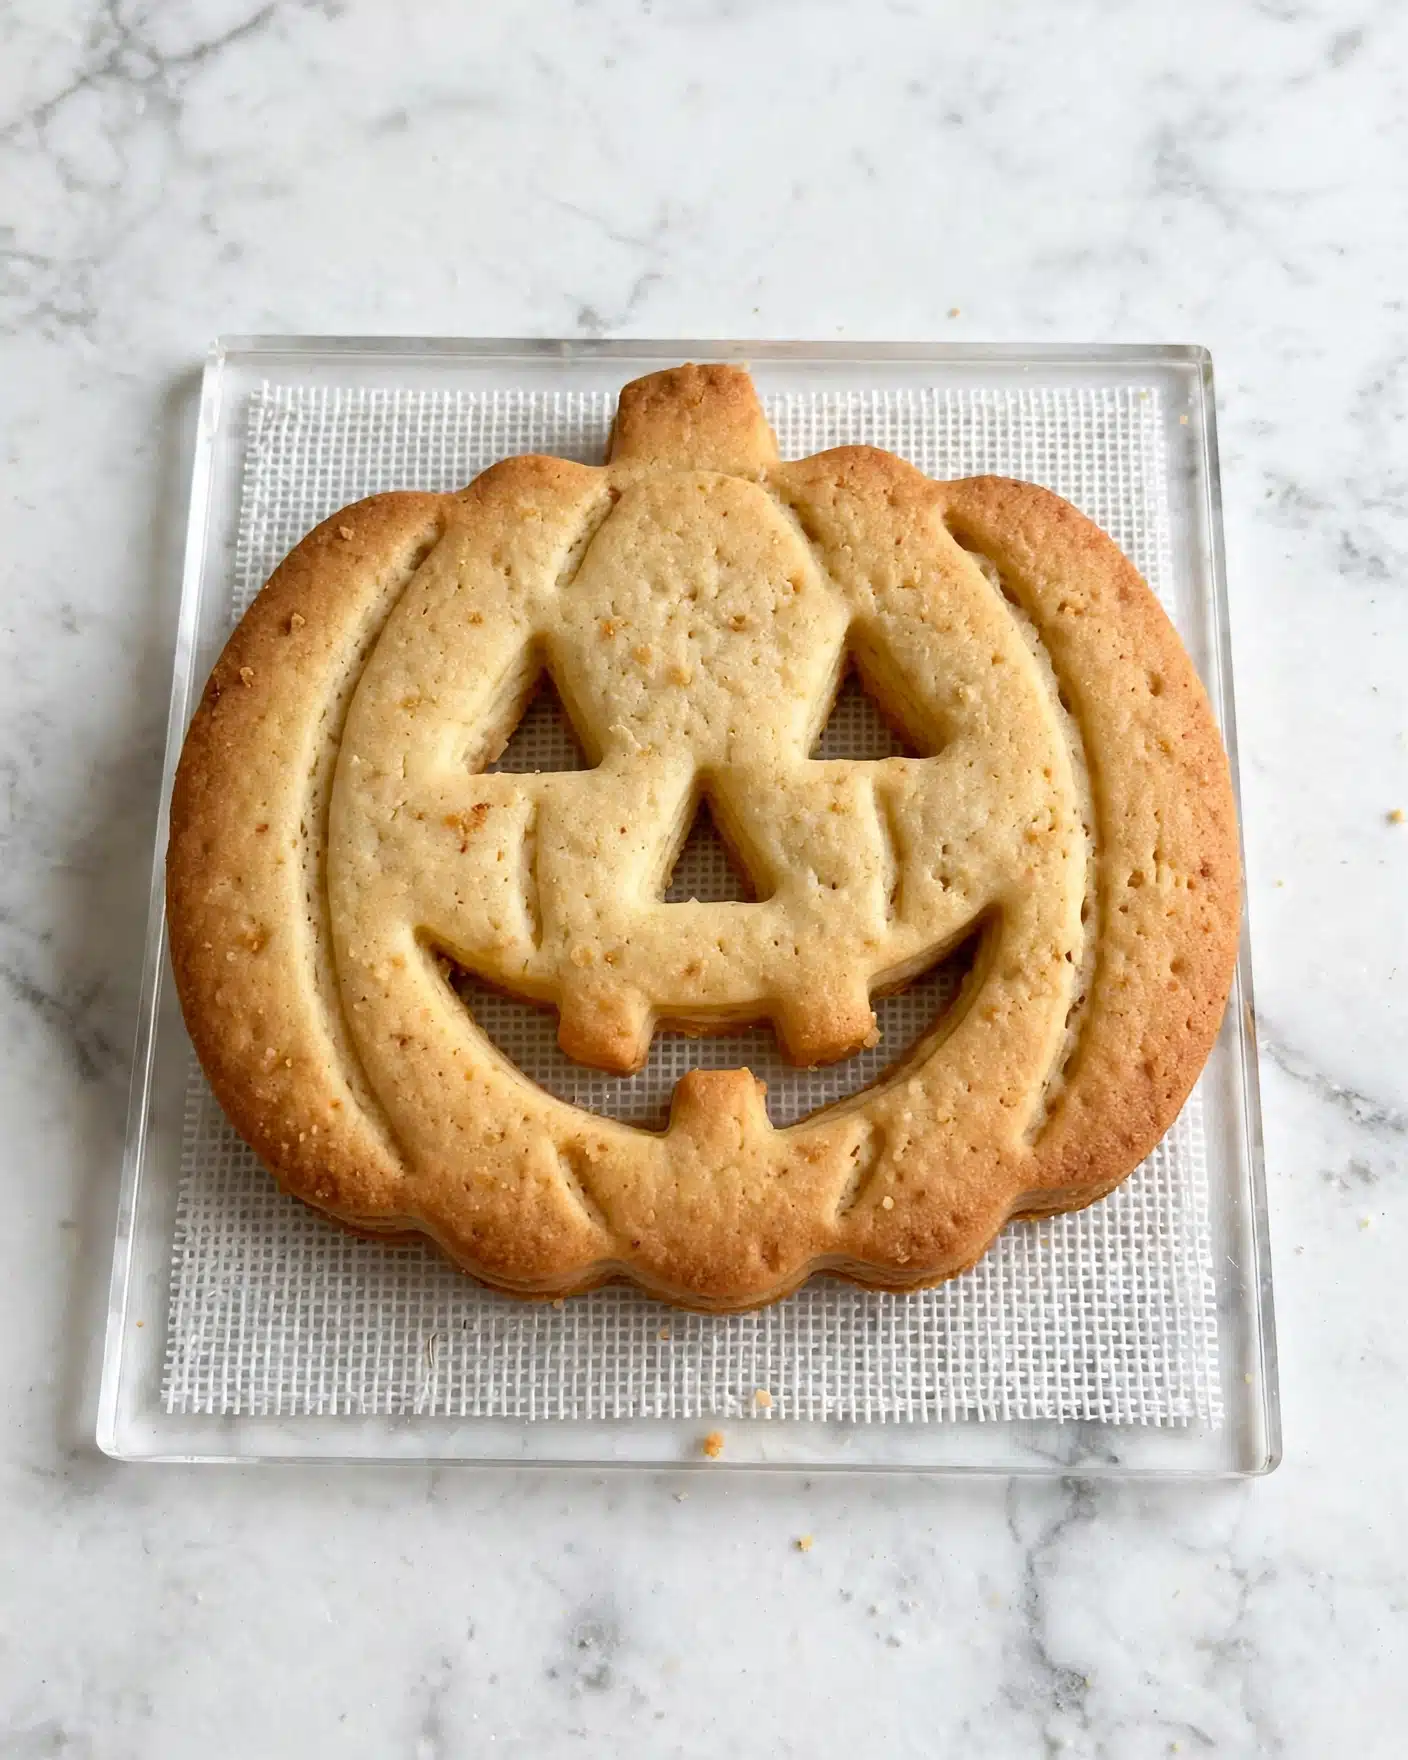
Step 5: Use your favorite pumpkin or jack-o’-lantern cookie cutters to cut out shapes, then place them on baking sheets lined with parchment paper. Bake each batch for 8 to 10 minutes or until the edges just start to turn golden. Repeat until all dough is used.
Step 6: Once baked, transfer the cookies to a wire rack to cool completely. This step is important so your frosting doesn’t melt when applied.
Step 7: While the cookies cool, prepare the frosting by combining powdered sugar, milk, and 1/2 teaspoon of vanilla in a clean mixing bowl. Start mixing on low, then increase speed until the frosting is smooth, fluffy, and ready to pipe.
Step 8: Divide the frosting into three equal portions in separate bowls. Add orange, green, and black food coloring gels to each bowl to reach your desired intensity of color.
Step 9: Fill clear piping bags with your colored frostings, snipping off the tips to create small openings perfect for detailed decorating.
Step 10: Start by using black frosting to pipe the eyes, mouths, and noses on the jack-o’-lantern faces. Before it sets, sprinkle black sugar over the black frosting then gently brush off any excess for a sparkly effect.
Step 11: Pipe orange frosting around the edges of the cookies and fill the interior, leaving the cut-out eyes and mouth areas visible.
Step 12: Use green frosting to decorate the pumpkin stems and add Halloween-themed sprinkles for an extra festive touch.
Step 13: Finally, add thin lines of orange frosting down the pumpkin body to mimic its natural ridges. Let the frosting set before serving.
Step 14: Serve these charming jack-o’-lanterns and enjoy the delighted reactions from your family and friends!
Servings and Timing
This Jack-O’-Lantern Cookies Recipe makes about 25 festive cookies—perfect for sharing at parties or enjoying throughout the Halloween season. Prep time is roughly 15 minutes for mixing and rolling the dough, with an additional 8 to 10 minutes for baking each batch, depending on how many cookies fit in your oven. The total time to complete the recipe, including cooling and decorating, takes about 28 minutes plus the time you spend on detailed icing work. I always recommend allowing the decorated cookies at least 30 minutes to fully set before handling or packing them away.
How to Serve This Jack-O’-Lantern Cookies Recipe
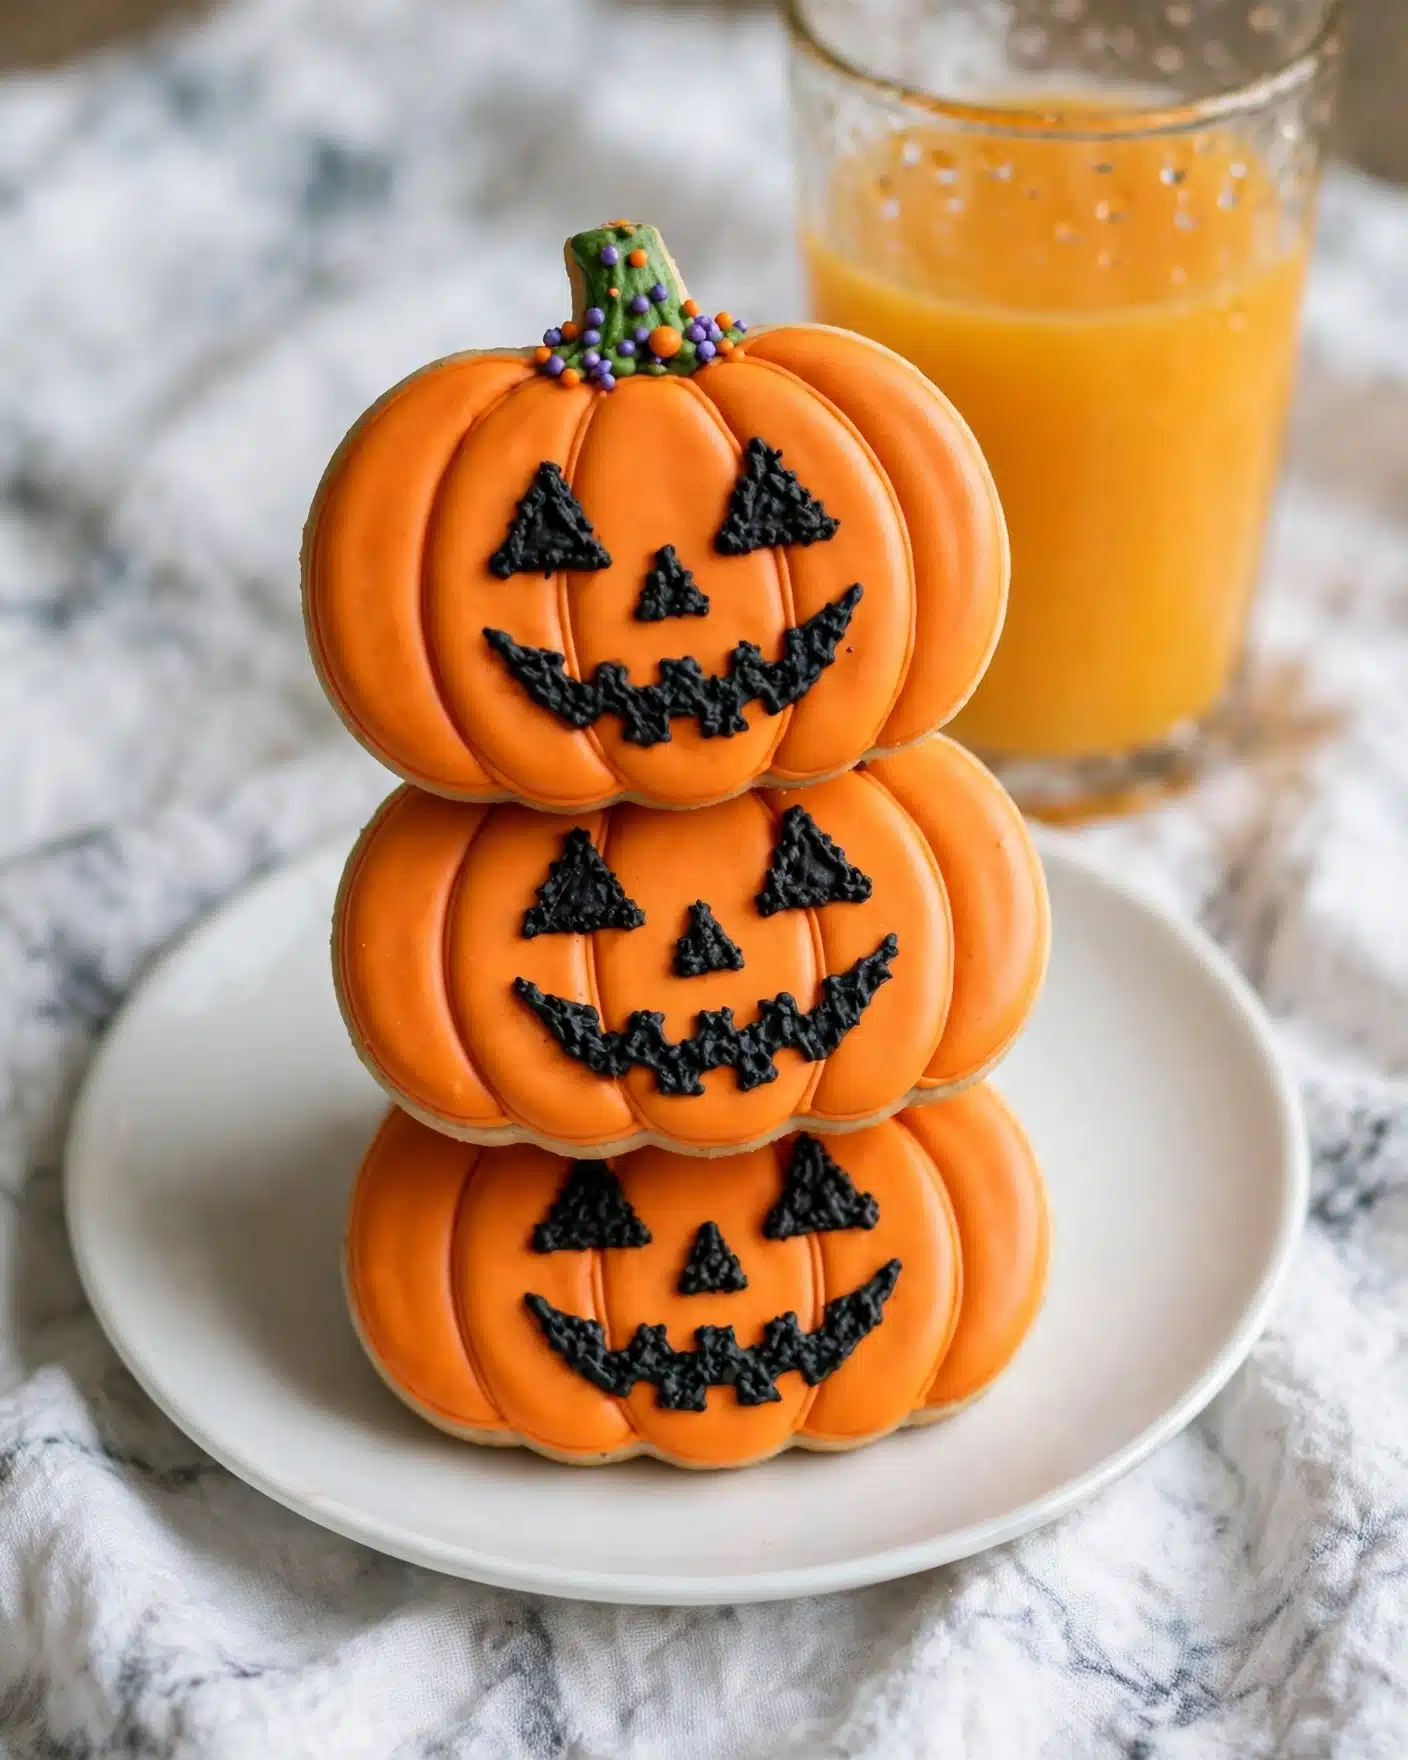
Whenever I serve these Jack-O’-Lantern Cookies, I love pairing them with warm drinks like hot apple cider or a creamy pumpkin spice latte to complement their sweet, buttery flavor. The warmth of the beverages contrasts so nicely with the rich frosting and soft cookie base, creating a cozy, festive experience. For parties, I like arranging them on a fun Halloween-themed platter decorated with candy corn or mini pumpkins to set the perfect mood.
Presentation really makes a difference, so I often dust the serving tray with a light sprinkle of powdered sugar to mimic a little autumn frost, making the cookies pop visually. If you want to go the extra mile, try serving these cookies with a small bowl of whipped cream or caramel drizzle for dipping—it’s a game changer! I also find that serving them at room temperature keeps the frosting perfectly firm but soft enough to enjoy without cracking.
These cookies are a conversation starter at any family dinner or school party. I like to keep portions reasonable, about one or two cookies per person, because they’re so rich and satisfying. Whether it’s a chilly fall evening or a Halloween bash, these beautifully decorated Jack-O’-Lantern Cookies never fail to delight guests with their flavor and charm.
Variations
I love getting creative with my Jack-O’-Lantern Cookies Recipe, and there are so many fun ways to customize them. For example, if you prefer a gluten-free option, you can substitute the all-purpose flour with a high-quality gluten-free blend—just be sure it includes xanthan gum to keep the dough together nicely. I’ve also tried swapping butter for dairy-free margarine or coconut oil when I’m making a vegan batch, which works surprisingly well with a little extra vanilla for flavor.
Flavor-wise, you can easily mix in pumpkin pie spice or cinnamon into the dough for an autumnal twist that perfectly matches the pumpkin theme. Some people enjoy adding a touch of orange zest into the frosting to brighten up the sweetness. Another fun idea is to experiment with different food coloring shades, like purple or teal, to switch up the look for other fall parties or kids’ events.
If you want a shortcut, rolling the dough into logs and chilling before slicing can save time on cutting shapes, though you’ll lose the jack-o’-lantern design. Baking at slightly lower heat for longer can help you get an even softer cookie if you prefer that texture. I encourage you to make this recipe your own—it’s forgiving and flexible, so have fun with it!
Storage and Reheating
Storing Leftovers
After enjoying these cookies, I usually store any leftovers in an airtight container at room temperature. Layering the cookies between sheets of parchment paper keeps the frosting from sticking. Stored this way, they stay fresh for about 4 to 5 days with the frosting still looking vibrant and the cookies remaining soft and tender.
Freezing
If you want to freeze these Jack-O’-Lantern Cookies, I recommend freezing them before decorating for the best results. Wrap the uniced cookies tightly in plastic wrap and place them in a freezer-safe container or bag. They freeze well for up to 2 months. Once ready to use, thaw the cookies at room temperature, then decorate as usual to maintain that fresh-from-the-oven look and taste.
Reheating
Since these are frosted cookies, I don’t typically reheat them as the frosting might melt or get sticky. However, if you do want to warm them slightly, I suggest placing a single cookie in a microwave for about 5 seconds to just take the chill off but not so long that the frosting softens too much. Avoid conventional oven reheating as it can dry out the cookie and ruin the beautiful decorations.
FAQs
Can I make these Jack-O’-Lantern Cookies without a stand mixer?
Absolutely! While a stand mixer makes mixing easier and quicker, you can use a hand mixer or even whisk by hand. Just make sure to cream the butter and sugar thoroughly until light and fluffy, which might take a bit more elbow grease.
How do I prevent the frosting colors from bleeding into each other?
Let each color layer set for a few minutes before adding the next. Using a thicker frosting consistency helps too. Also, piping the details first and allowing them to dry before filling in larger areas keeps colors crisp and distinct.
Can I use regular food coloring instead of gel?
Gel food coloring is best because it adds vibrant color without thinning the frosting. Regular liquid food coloring can make your frosting runny, which is harder to work with for detailed decorating. If you only have liquid, add it sparingly.
What if I don’t have Halloween sprinkles? Are there alternatives?
No worries! You can skip the sprinkles or substitute with crushed candy, edible glitter, or even chopped nuts for a unique texture. Sometimes, simplicity is just as charming.
Can these cookies be made ahead of time for a party?
Definitely! You can bake the cookies and freeze them undecorated, then thaw and decorate a day before your event. This approach saves you time on the party day and keeps the cookies fresh and beautiful.
Conclusion
I truly hope you give this Jack-O’-Lantern Cookies Recipe a try. It’s such a joyous way to bring a little festive magic into your kitchen, and I promise the delightful taste and cheerful appearance will make you smile. Whether you’re baking with loved ones or surprising guests at a party, these cookies are the perfect treat to celebrate the season with creativity and sweetness. Happy baking!
PrintJack-O’-Lantern Cookies Recipe

These Jack-O’-Lantern Cookies are a festive and delicious Halloween treat featuring buttery sugar cookies decorated with vibrant orange, green, and black frosting to resemble classic pumpkin faces. Perfect for parties or seasonal celebrations, these cookies bake to a soft, chewy texture and are beautifully decorated with sprinkles, making them as fun to look at as they are to eat.
- Prep Time: 15 minutes
- Cook Time: 10 minutes
- Total Time: 28 minutes
- Yield: 25 servings
- Category: Dessert
- Method: Baking
- Cuisine: American
Ingredients
Cookie Dough
- 2 cups butter
- 2 cups sugar
- 2 eggs
- 3 teaspoons vanilla extract
- 5 cups all-purpose flour
Frosting
- 2 cups powdered sugar
- 2 tablespoons milk
- 1/2 teaspoon vanilla extract
- Food coloring gel – orange, green, and black
- Halloween sprinkles
Instructions
- Preheat Oven: Preheat your oven to 350 degrees Fahrenheit to prepare for baking the cookies.
- Make Cookie Dough: In a stand mixer bowl, combine the butter, sugar, eggs, and vanilla extract. Blend on medium speed until the mixture is light and fluffy, ensuring a smooth dough.
- Add Flour: Gradually add the flour one cup at a time to the wet ingredients while mixing on low speed until a soft cookie dough forms.
- Roll Dough: Transfer about one-quarter of the dough onto a floured surface and roll it out to 1/4 inch thickness using a rolling pin.
- Cut Cookies: Use cookie cutters to cut out the dough into shapes and place them on baking sheets, spacing them evenly.
- Bake Cookies: Bake the cookies in the preheated oven for 8 to 10 minutes or until they are lightly golden around the edges. Repeat with remaining dough.
- Cool Cookies: Remove cookies from the oven and transfer them to a wire rack to cool completely before decorating.
- Prepare Frosting: In a clean stand mixer bowl, combine powdered sugar, milk, and vanilla extract. Mix on low speed to blend, then increase speed until the frosting is smooth and fluffy.
- Divide Frosting: Split the frosting evenly into three small bowls or ramekins for coloring.
- Add Colors: Mix orange, green, and black food coloring gel into each bowl respectively, stirring well to achieve vibrant colors.
- Fill Piping Bags: Spoon each colored frosting into a separate clear piping bag and snip the tip to create a small opening for detailed piping work.
- Decorate Faces: Use black frosting to pipe the eyes and mouth openings of the jack-o’-lantern cookies. Sprinkle black sugar on top and gently brush off excess.
- Outline and Fill: Pipe orange frosting around the cookie edges and fill the face areas, leaving eyes and mouth clear.
- Add Stems and Sprinkles: Pipe green frosting onto the cookie stems and decorate with Halloween sprinkles.
- Add Pumpkin Details: Pipe thin orange lines vertically down the cookies to mimic pumpkin spines.
- Serve: Allow decorated cookies to set briefly, then serve and enjoy your festive Jack-O’-Lantern Cookies!
Notes
- Ensure the butter is softened at room temperature for easier mixing.
- Do not overbake cookies to keep them soft and chewy.
- Use gel food coloring for vibrant colors without thinning the frosting.
- Chill dough if it becomes too soft to handle during cutting.
- Experiment with different shapes and icing designs for variety.


