

I absolutely adore making this Keto Cheesecake Recipe whenever I crave something rich and creamy but want to keep it low-carb. It’s one of those desserts that feels indulgent yet fits perfectly into a keto lifestyle, thanks to the almond and coconut flours in the crust and the smooth blend of cream cheese and sour cream in the filling. Every bite is decadently smooth, sweetened lightly with stevia, and topped with fresh strawberries that add a bright, fresh pop. Honestly, this cheesecake has become my go-to whenever I want to impress friends or enjoy a special treat without derailing my diet.
Why You’ll Love This Keto Cheesecake Recipe
What makes this cheesecake so special to me is its incredible flavor profile—it’s creamy, tangy, and just sweet enough, all while being satisfyingly rich. I love the slight coconut undertone from the shredded coconut in the crust, which adds a beautiful texture and subtle flavor layer that you might not expect in a cheesecake. It’s like a little tropical surprise that brightens every forkful.
Another thing I appreciate is how approachable this recipe is. Despite its elegant look and taste, it doesn’t require fancy ingredients or complicated techniques. The water bath baking method ensures the perfect texture—silky and smooth with just a hint of jiggle in the middle—which truly makes it stand out. It’s perfect for holidays, dry January gatherings, or just weekend indulgences when I want dessert without the carb overload. I always recommend it because it feels luxurious but is surprisingly simple to pull off!
Ingredients You’ll Need

The ingredients list for this Keto Cheesecake Recipe is refreshingly simple, yet each one contributes something important to the final dish: flavor, texture, or that perfect creamy consistency. Using quality room temperature dairy products really makes a difference too.
- Almond flour: Adds a nutty base and is naturally low-carb, perfect for the crust.
- Coconut flour: Provides a light, slightly fibrous texture to balance the almond flour.
- Shredded coconut: Gives subtle sweetness and a bit of chewiness to the crust’s texture.
- Unsalted butter: Melted for binding the crust with a rich, buttery flavor.
- Cream cheese: The star of the filling; be sure it’s softened for smooth mixing.
- Sour cream: Adds tanginess and creaminess that elevate the cheesecake’s flavor.
- Stevia: A keto-friendly sweetener that keeps the dessert low in carbs without sacrificing sweetness.
- Pure vanilla extract: Enhances the overall flavor with warm, aromatic notes.
- Eggs: Bind everything together and create that classic cheesecake texture.
- Sliced strawberries: Fresh topping to add color, freshness, and a natural sweetness contrast.
Directions
Step 1: Preheat your oven to 300°F (about 150°C). Start by preparing your crust: grease an 8 or 9-inch springform pan well, and wrap the bottom and sides with foil to protect it from water during baking.
Step 2: In a medium bowl, mix together the almond flour, coconut flour, shredded coconut, and the melted butter. Press this mixture firmly into the bottom and about halfway up the sides of your prepared pan to form an even crust. Pop it into the fridge while you make the filling.
Step 3: In a large mixing bowl, beat the softened cream cheese and sour cream together until you get a perfectly smooth base with no lumps. Add the stevia and vanilla extract, mixing well to combine those flavors evenly.
Step 4: Add the eggs one at a time, mixing thoroughly after each addition. This slow addition helps maintain a silky texture in your cheesecake filling. Spread the filling gently and evenly over your chilled crust.
Step 5: Place the springform pan inside a deep roasting pan on the middle oven rack. Carefully pour boiling water into the roasting pan until it reaches halfway up the sides of the springform pan. This water bath will keep the cheesecake moist and prevent cracking.
Step 6: Bake for 1 hour to 1 hour and 20 minutes. The cheesecake is done when the edges are set, but the center still jiggles slightly when you gently shake the pan.
Step 7: Turn off the oven, leave the cheesecake inside, and prop the door open slightly to cool for 1 hour. This slow cooling further prevents cracking and helps set the texture.
Step 8: Remove your cheesecake from the water bath, unwrap the foil, and refrigerate it until it’s thoroughly chilled—at least five hours or preferably overnight. It’s worth the wait!
Step 9: When ready to serve, top with beautifully sliced fresh strawberries for that perfect touch of color and freshness.
Servings and Timing
This Keto Cheesecake Recipe yields about 8 generous servings, which is great for a small gathering or even to indulge over a few days. The prep time is around 20 minutes, mostly spent mixing and assembling. The bake time usually takes between 60 to 80 minutes, plus an extra hour of cooling in the oven, and then a minimum of 5 hours in the fridge to chill completely. Altogether, you’re looking at roughly 8 hours from start to finish, mostly hands-off during the baking and chilling phases.
How to Serve This Keto Cheesecake Recipe
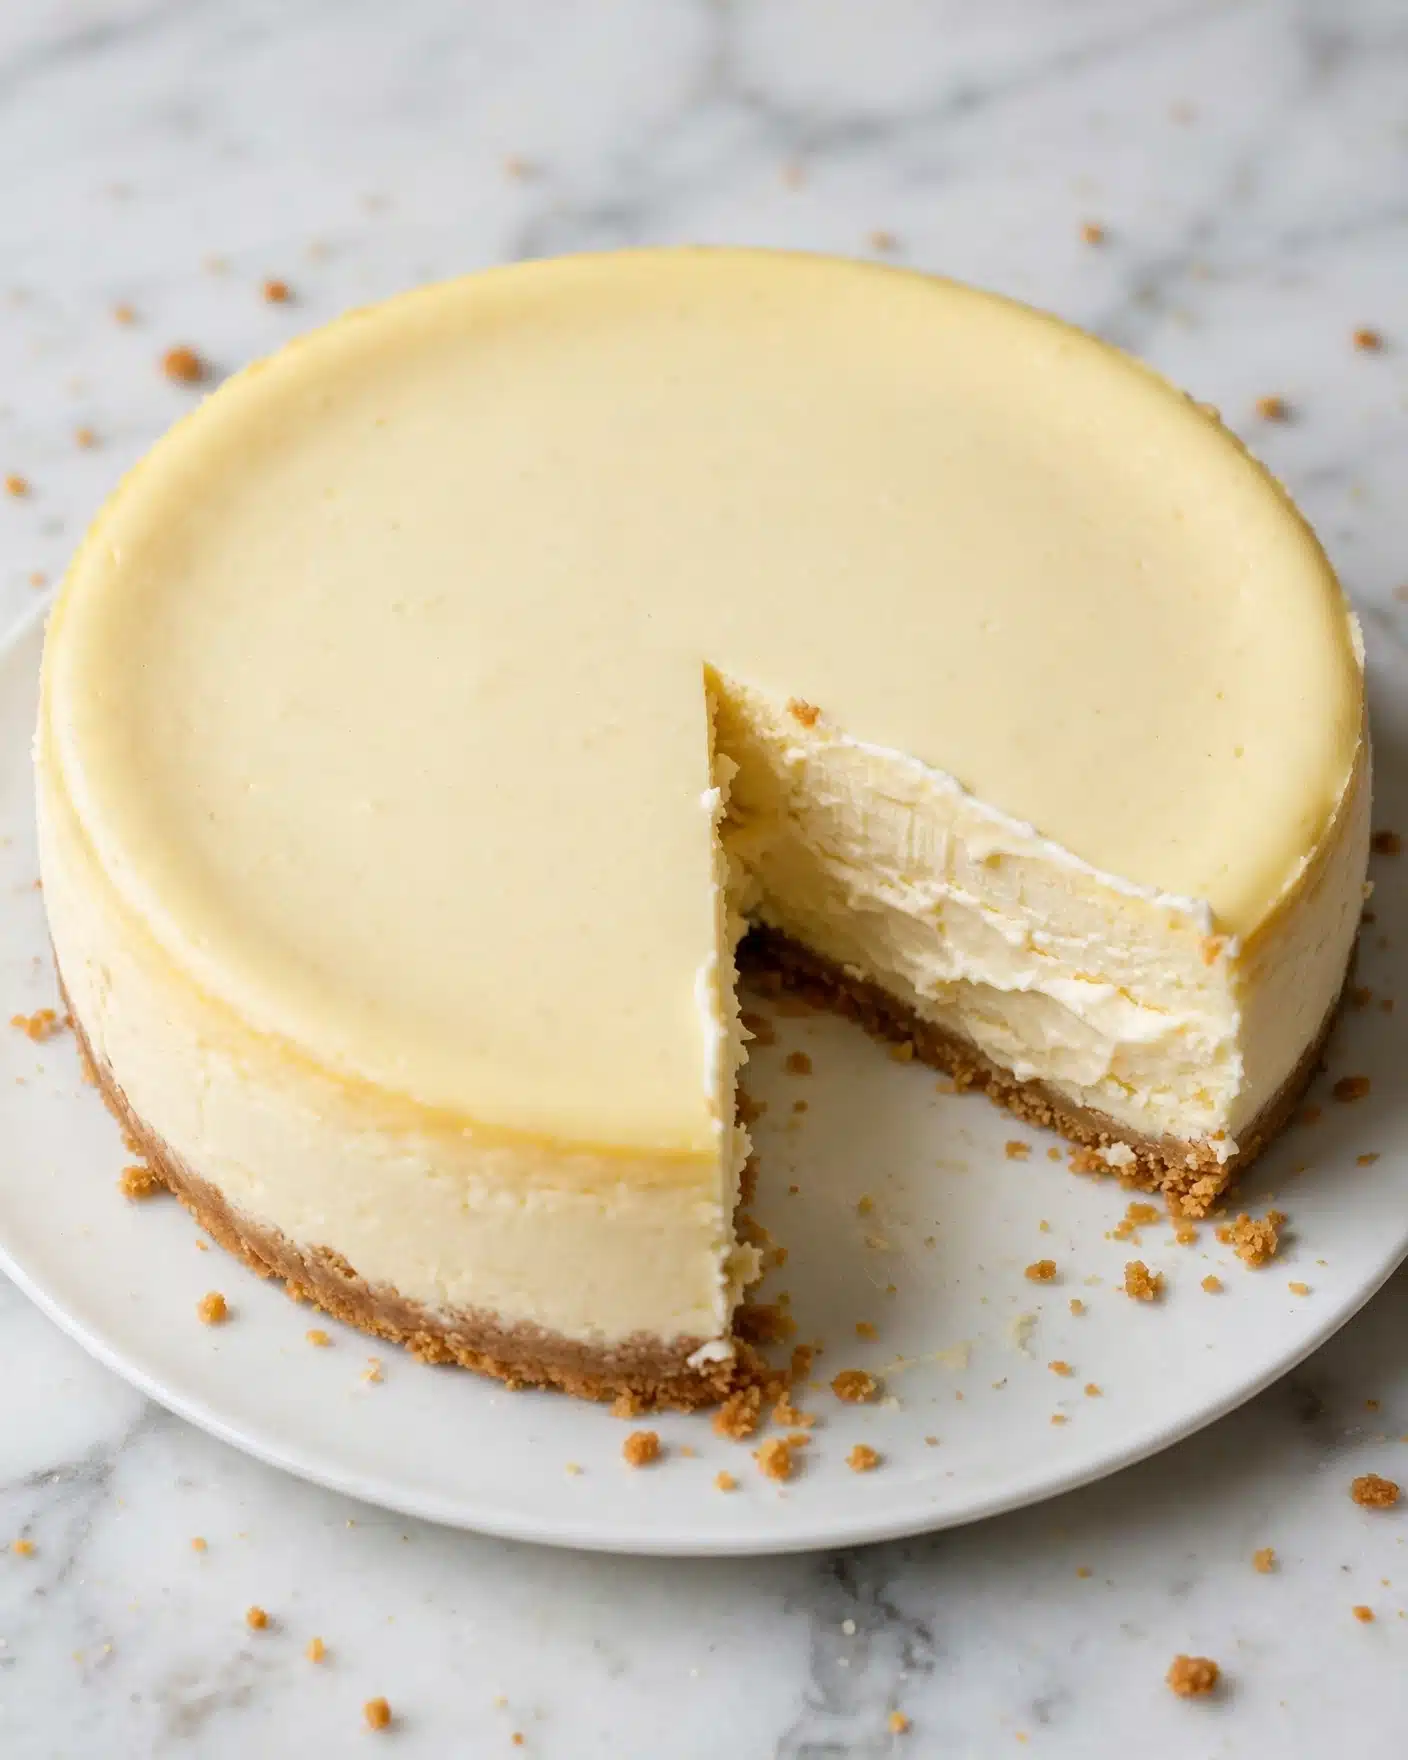
I love serving this cheesecake chilled, right out of the fridge, because the flavors and firm texture truly shine when it’s cool. Fresh sliced strawberries are my favorite topping—they add a hint of natural sweetness and vibrant color that makes each slice feel extra special.
If you want to dress it up even more, I recommend garnishing with a few mint leaves or a light dusting of unsweetened cocoa powder for a classy look. For a festive touch, a drizzle of sugar-free chocolate sauce or a few crushed pistachios sprinkled on top can elevate the presentation and add a delightful crunch.
When it comes to pairings, I’m a fan of a nice glass of dry sparkling wine or a crisp white like Sauvignon Blanc to balance the richness. For non-alcoholic options, a refreshing herbal iced tea or sparkling water with lemon complements the flavors beautifully. This cheesecake shines at family dinners, holiday celebrations, or when you want to impress at a potluck. Just slice a small portion—because it’s rich, a little goes a long way—and serve on simple white plates to let the cheesecake and strawberries pop visually.
Variations
One of my favorite things about this Keto Cheesecake Recipe is how versatile it is. If you want a gluten-free crust, the recipe already fits the bill, but you can substitute shredded coconut with finely chopped nuts like pecans or walnuts for a nuttier twist. For those who prefer a vegan or dairy-free version, swapping cream cheese and sour cream for their plant-based alternatives works well, though baking times might vary slightly.
Flavor-wise, I sometimes like to add a touch of lemon zest or a splash of almond extract to the filling for a bright or nutty nuance. Another fun variation is swirling in some sugar-free raspberry jam before baking to create beautiful flavor pockets throughout the cheesecake. If you want to try a quicker approach, I’ve had success making mini cheesecakes in ramekins using the same method—just reduce baking time and watch closely to avoid overcooking.
Storage and Reheating
Storing Leftovers
Leftover Keto Cheesecake keeps beautifully when stored in an airtight container or tightly wrapped in plastic wrap. I usually keep mine in the refrigerator where it stays fresh and creamy for up to 5 days. Make sure to cover it well to prevent it from absorbing any other fridge odors.
Freezing
This cheesecake freezes very well, which is great if you want to prepare it ahead of time. To freeze, wrap it tightly in plastic wrap and then in aluminum foil or place it in a freezer-safe container. It can be frozen for up to 2 months. When you’re ready to enjoy it, thaw it slowly overnight in the fridge for the best texture.
Reheating
I actually prefer this cheesecake chilled, and I don’t recommend reheating as it can affect the texture, causing it to become grainy or separate. If you want to loosen it a bit, you can let it sit at room temperature for 15-20 minutes before serving. This softens the texture slightly without compromising its classic creamy consistency.
FAQs
Can I use other sweeteners instead of stevia?
Absolutely! You can substitute stevia with erythritol, monk fruit sweetener, or a keto-friendly sweetener blend in the same quantity. Just keep in mind that different sweeteners have varying levels of sweetness, so adjust to taste. Avoid regular sugar as it will increase carbs significantly.
What if I don’t have a springform pan?
While a springform pan is ideal for cheesecakes to easily remove the delicate dessert, you can use a regular cake pan lined with parchment paper. Just be extra careful when unmolding, and consider serving the cheesecake straight from the pan to avoid damage.
How do I prevent cracks on my cheesecake?
The water bath method used in this Keto Cheesecake Recipe is key to preventing cracks by supplying moist heat and gentle baking. Also, avoid over-mixing or over-baking and allow the cheesecake to cool slowly with the oven door slightly open, which I find really helps keep the surface smooth.
Can I make this recipe ahead of time?
Definitely! The cheesecake actually tastes better the next day after chilling overnight as flavors meld and it sets perfectly. It’s a wonderful make-ahead dessert to prepare a day or two before your event.
Is this cheesecake suitable for diabetics?
Since this recipe is low in carbs and uses natural sweeteners like stevia, it can be a good option for many diabetics following a keto or low-carb diet. However, I always recommend consulting with a healthcare provider to ensure it fits into individual dietary needs.
Conclusion
I truly hope you give this Keto Cheesecake Recipe a try because it’s one of those gems that proves you don’t have to sacrifice flavor or indulgence when following a keto lifestyle. It’s creamy, satisfying, and surprisingly easy to make. Plus, it’s a fantastic way to impress your loved ones with a beautiful dessert that feels both special and wholesome. Once you taste it, I bet it’ll become a favorite in your recipe rotation too!
PrintKeto Cheesecake Recipe

A rich and creamy keto-friendly cheesecake featuring a low-carb almond and coconut flour crust, baked in a water bath for a silky texture. This dessert is sweetened with stevia and perfect for those following a ketogenic diet. Served chilled with fresh strawberries, it’s an indulgent yet guilt-free treat.
- Prep Time: 20 minutes
- Cook Time: 1 hour 20 minutes
- Total Time: 8 hours 40 minutes
- Yield: 8 servings
- Category: Dessert
- Method: Baking
- Cuisine: American
- Diet: Low Carb
Ingredients
Crust
- 1/2 cup almond flour
- 1/2 cup coconut flour
- 1/4 cup shredded coconut
- 1/2 cup (1 stick) unsalted butter, melted
Filling
- 3 (8-oz.) blocks cream cheese, softened to room temperature
- 16 oz. sour cream, at room temperature
- 2 tbsp. stevia
- 1 tbsp. pure vanilla extract
- 3 large eggs, at room temperature
Serving
- Sliced strawberries, for serving
Instructions
- Preheat and Prepare Crust: Preheat your oven to 300°F. Grease an 8″ or 9″ springform pan thoroughly and wrap the outside bottom and edges with foil to prevent water from leaking in. In a medium bowl, combine the almond flour, coconut flour, shredded coconut, and melted butter. Mix until the mixture sticks together when pressed. Press this crust mixture firmly into the bottom and partially up the sides of the prepared pan. Place in the refrigerator while making the filling.
- Make Filling: In a large mixing bowl, beat the softened cream cheese and sour cream together until smooth and creamy using a mixer. Add the stevia and vanilla extract, then beat again until evenly incorporated. Add the eggs one at a time, mixing well after each addition to ensure a smooth batter. Pour and spread the filling evenly over the chilled crust in the springform pan.
- Set Up Water Bath and Bake: Position the cheesecake pan inside a deep roasting pan placed on the middle oven rack. Carefully pour boiling water into the roasting pan until it reaches halfway up the sides of the cheesecake pan. This water bath helps the cheesecake bake evenly and prevents cracking. Bake for 1 hour to 1 hour and 20 minutes, or until the center is only slightly jiggly.
- Cool in Oven: Turn off the oven, slightly prop open the oven door to let some air in, and leave the cheesecake inside to cool gradually for 1 hour. This slow cooling prevents cracks and helps set the cheesecake.
- Chill the Cheesecake: Remove the cheesecake pan from the water bath and unwrap the foil. Refrigerate the cheesecake for at least 5 hours or overnight to chill and fully firm up.
- Serve: Once chilled, remove the sides of the springform pan, slice the cheesecake, and serve with fresh sliced strawberries on top for a refreshing contrast.
Notes
- Using room temperature ingredients helps to create a smooth and lump-free cheesecake filling.
- The water bath is essential to ensure even baking and to avoid cracks on the surface.
- Make sure to wrap the springform pan tightly with foil to prevent water from seeping in during baking.
- Chilling the cheesecake overnight will improve texture and flavor.
- Stevia is used here as a keto-friendly sweetener; feel free to adjust sweetness according to your taste.


