I absolutely love sharing this Homemade Apple Pie Recipe because, to me, it captures the very essence of cozy, homemade goodness. There’s something truly magical about the smell of cinnamon-scented apples baking inside a flaky, buttery crust, making any day feel special. This recipe is a perfect balance of sweet and tart, with a tender crust that’s just the right amount of crisp. I promise, once you make this pie, it’ll quickly become your go-to for family gatherings or just treating yourself to a heartfelt dessert.
Why You’ll Love This Homemade Apple Pie Recipe
What I adore most about this recipe is how it perfectly marries flavors and textures in a way that feels both traditional and extra special. The combination of sweet and tart apples simmered with cinnamon and brown sugar gives every bite that delicious warmth and depth I crave in an apple pie. Plus, the crust has just the right flaky crunch, which I find makes all the difference when you’re looking for that authentic, homemade experience.
Another thing that always wins me over is how approachable this recipe is. Even if you’re not a seasoned baker, the steps are clear and enjoyable to follow, and the ingredients are simple pantry staples. Whether it’s a holiday, a weekend with friends, or just a moment when you want a comforting treat, this pie fits the bill. It stands out because I don’t feel rushed or overwhelmed—just excited to create something delicious from scratch.
Ingredients You’ll Need
The ingredients for this recipe may be simple, but each one plays a crucial role in delivering that classic taste, perfect texture, and inviting color that make this pie so memorable. From the combo of sweet and tart apples to the cold butter that creates the flakiest crust, every element adds its own magic.
- All-purpose flour: The base for a tender yet sturdy crust.
- Kosher salt: Enhances the flavors without overpowering.
- Granulated sugar: Adds sweetness to balance the tart apples and enrich the dough.
- Unsalted butter (cold, cubed): Essential for that flaky, buttery crust everyone craves.
- Cold water: Helps bring the dough together without activating gluten too much.
- Apples: A mix of sweet and tart varieties for complex flavor and perfect pie texture.
- Light brown sugar: Adds a subtle molasses note for richness and depth.
- Ground cinnamon: The perfect spice to complement the apples.
- Cornstarch: Thickens the filling so it holds nicely when sliced.
- Unsalted butter (cubed, for filling): Adds a silky finish to the apple mixture.
- Heavy cream: Used to brush the crust for a beautiful golden color and slight richness.
- Turbinado sugar: Gives the crust a delightful crunch and sparkle after baking.
Directions
Step 1: In a large bowl, whisk together flour, kosher salt, and granulated sugar. Use a bench scraper, pastry blender, or two knives to cut in the cold butter until you have pea-sized pieces. If you prefer, pulse in a food processor, taking care to keep some chunks visible for flakiness.
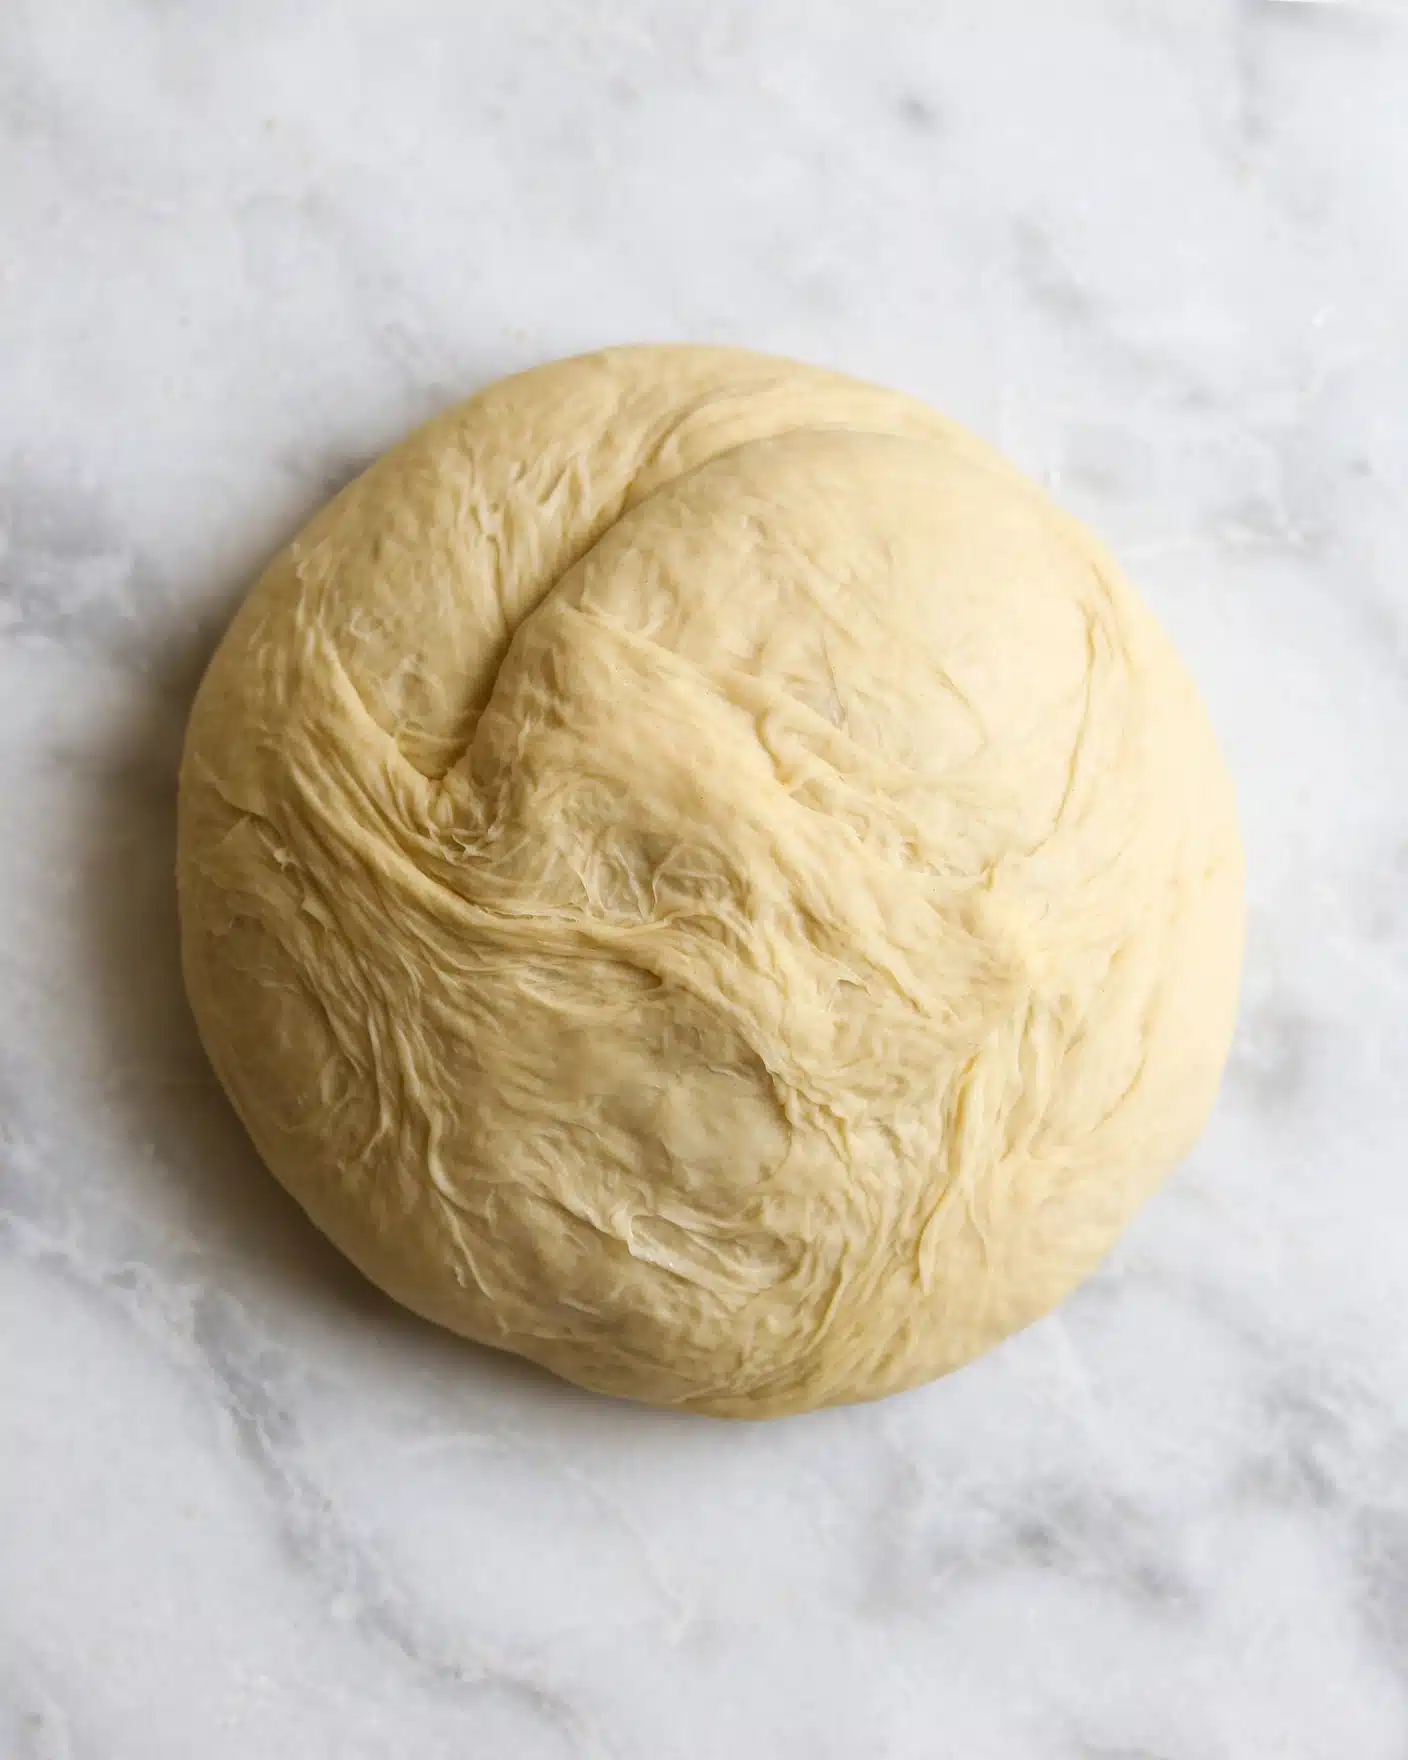
Step 2: Add the ice water one tablespoon at a time, gently tossing with a fork or your fingers, until the dough comes together but still has some loose flour. Press the dough gently with the heel of your hand to form a rough ball—don’t overwork it.
Step 3: Divide the dough into two pieces, about two-thirds for the bottom crust and one-third for the top crust. Flatten each into disks, wrap in plastic, and refrigerate for at least 2 hours or overnight to relax the gluten and chill the butter.
Step 4: Peel, core, and slice the apples into consistent 1/4-inch thick pieces. Toss them with lemon zest, lemon juice, both sugars, and cinnamon, then let sit for 30 minutes. This helps the flavors meld and draws out some moisture.
Step 5: Transfer the apple mixture with juices to a large saucepan or Dutch oven. Cook over medium heat until the apples are crisp-tender, about 5 to 7 minutes. Stir the cornstarch with a tablespoon of water to make a slurry, then whisk it into the apples. Boil for 1 minute until the filling thickens and looks opaque again. Stir in the cubed butter until melted and smooth.
Step 6: Spread the filling evenly on a parchment-lined baking sheet and refrigerate until completely cold, at least 30 minutes. This step ensures your crust won’t get soggy when baking.
Step 7: Let the dough come to room temperature slightly if refrigerated overnight. On a lightly floured surface, roll out the larger dough disk to about 1/8 inch thick and 2 inches wider than your pie dish. Roll the smaller disk just enough to cover the filling with about 1 inch of overhang. Chill both on parchment-lined baking sheets for 30 minutes to keep the butter firm.
Step 8: Preheat your oven to 425°F conventional (or 400°F if using convection).
Step 9: Line your pie dish with the larger crust, letting excess hang over the edges. Add the cooled filling, mounding it slightly in the center for a rustic look. Place the top crust over the filling and trim any excess beyond the 1-inch overhang.
Step 10: Fold the edges of the top and bottom crusts together by rolling them inward and under to form a unified rim that rests on the lip of the dish. Crimp decoratively for a beautiful finish. Cut several steam vents into the top crust, being careful to keep them away from the edges.
Step 11: Place the pie on a baking sheet. Brush the top crust lightly with heavy cream and sprinkle generously with turbinado sugar, working quickly so the dough stays cool for a crisp crust.
Step 12: Bake for 15 minutes, then rotate the pie and reduce the oven to 350°F. Continue baking for 45 to 60 minutes, until the filling bubbles through the vents, the apples are tender, and the crust is deep golden brown. If the edges brown too fast, tent them with foil.
Step 13: Cool the pie completely on a wire rack before slicing to allow the filling to set for clean, beautiful pieces.
Servings and Timing
This recipe makes approximately 8 servings—perfect for sharing with family or friends during celebrations or cozy gatherings. The prep time is about 45 minutes, not including chilling time, which should be at least 2 hours or overnight for the best crust texture. The cook time is roughly 1 hour, so from start to finish, including resting and cooling, you’re looking at about 4 hours. Patience really pays off with this pie, and I always find it’s worth the wait!
How to Serve This Homemade Apple Pie Recipe

When it comes to serving this pie, I love offering it warm, fresh out of the oven, so the filling is still bubbling and the crust is crackling with crisp edges. A scoop of vanilla bean ice cream on top is an absolute dream—there’s nothing like the contrast between the hot pie and cold, creamy ice cream to brighten every bite. If you want to keep things classic, a dollop of fresh whipped cream or even a drizzle of caramel sauce works beautifully too.
For presentation, I like to plate slices with a sprinkle of cinnamon or nutmeg on the side and garnish with a sprig of fresh mint or a few thin apple slices. That pop of color really elevates the look without any fuss. For beverages, a cup of hot spiced tea or a rich black coffee pairs wonderfully with the pie’s sweetness. For wine lovers, I recommend a glass of chilled Riesling or a light, fruity Pinot Noir to complement the apple and spice profile.
This pie is a star at family dinners, holiday celebrations, and even casual weekend treats. I’ve also found it’s a crowd-pleaser at potlucks or afternoon tea parties. It’s great sliced smaller for sampling or larger portions if you want to really indulge. No matter how you serve it, this pie always adds a warm, joyful touch to the table.
Variations
I love how versatile this Homemade Apple Pie Recipe can be when it comes to customizing it for different tastes and dietary needs. For example, if you want to switch up the texture and flavor, try adding chopped nuts like walnuts or pecans to the filling for a delightful crunch. You can also mix in dried cranberries or raisins for a sweet surprise inside the tart apples.
If you’re gluten-sensitive, I’ve had great success substituting the all-purpose flour in the crust with a gluten-free flour blend that includes xanthan gum for structure. For a vegan twist, swap the butter with a cold vegan butter or coconut oil and use a plant-based milk or cream alternative for brushing the crust. The filling naturally lends itself well to vegan adaptations since it’s fruit-based!
For a flavor adventure, consider adding a splash of bourbon or maple syrup to the apple filling before cooking—it adds a warm, nuanced sweetness that elevates the traditional notes. You could also experiment with spices like ground ginger, nutmeg, or cardamom alongside the cinnamon to create your own signature pie flavor. Alternatively, baking this pie in mini tart pans makes for lovely individual servings that are perfect for gatherings or gift-giving.
Storage and Reheating
Storing Leftovers
I always store leftover pie in an airtight container or tightly wrapped with plastic wrap to keep it fresh. It’s best kept in the refrigerator where it will maintain its flavor and texture for up to 4 days. The crust stays fairly crisp if you refrigerate it uncovered on one side for a short time before wrapping, but generally wrapping soon after cooling is ideal.
Freezing
This apple pie freezes wonderfully, which is great if you want to make it ahead for upcoming events. Wrap the whole pie tightly in plastic wrap and then a layer of aluminum foil, or place it in a large freezer bag. It can keep freezing for up to 3 months without losing quality. When you’re ready to enjoy it, thaw the pie overnight in the fridge before reheating.
Reheating
For reheating, I find the oven is your best friend to revive the pie’s flaky crust and warm the filling gently. Preheat your oven to 350°F, place the pie (or slices) on a baking sheet, and warm for 15 to 20 minutes until heated through. Avoid microwaving if you want to maintain the crust’s texture, as it can turn soggy. To bring back a little extra crispness, you can broil the top for a minute or two at the end, but watch closely!
FAQs
What apples work best in this Homemade Apple Pie Recipe?
I recommend using a mix of sweet and tart apples like Honeycrisp, Braeburn, Macoun, Cortland, or Pink Lady. This combination gives the filling a balanced flavor and great texture that won’t turn mushy.
Can I make the pie crust ahead of time?
Absolutely! In fact, chilling the dough overnight enhances the flavor and creates a flakier crust. Just keep it wrapped tightly in the fridge and roll it out when ready to assemble the pie.
How can I prevent the crust edges from burning during baking?
If the edges start to brown too quickly, tent them with strips of aluminum foil partway through baking. This protects the crust while allowing the filling to cook fully.
Is it necessary to cook the apples before baking the pie?
While some recipes bake the filling raw, I love cooking the apples first to soften them slightly and thicken the filling. This step ensures you get a perfectly tender texture and avoid a soggy crust.
Can I use a store-bought pie crust for this recipe?
You can, but I highly encourage making your own crust. The difference in flavor and texture with cold butter and homemade dough is definitely worth the extra effort. However, in a pinch, store-bought crusts can save time.
Conclusion
Making this Homemade Apple Pie Recipe always feels like baking a little piece of happiness, and I can’t wait for you to try it yourself. The perfect harmony of tender apples, fragrant spices, and flaky crust comes together in a truly comforting dessert that’s sure to impress. Whether you’re baking for loved ones or just indulging yourself, this pie is a delicious way to celebrate any occasion. Enjoy every bite!
PrintHomemade Apple Pie Recipe

This homemade apple pie recipe features a flaky, buttery crust with a perfectly spiced, tender apple filling made from a mix of sweet and tart apples. Chilled dough ensures easy handling, while cooking the filling on the stovetop creates a luscious, thick texture. Finished with a golden, sugar-sprinkled top crust, this classic American dessert satisfies cravings for a comforting and timeless treat.
- Prep Time: 40 minutes (plus 2 hours chilling dough and 30 minutes for filling maceration and chilling)
- Cook Time: 1 hour 15 minutes
- Total Time: 4 hours
- Yield: 8 servings
- Category: Dessert
- Method: Baking
- Cuisine: American
Ingredients
Pie Dough
- 2 cups all-purpose flour (fluffed and spooned)
- 1 teaspoon kosher salt
- 1 teaspoon granulated sugar
- 9 tablespoons unsalted butter (cold, cut into ½-inch cubes)
- 5 tablespoons cold water (or as needed)
Apple Filling
- 3 pounds apples (a mix of sweet and tart varieties such as Honeycrisp, Braeburn, Macoun, Cortland, or Pink Lady)
- ¾ cup granulated sugar
- ½ cup light brown sugar (packed)
- 1 teaspoon ground cinnamon
- 1 tablespoon cornstarch
- 1 tablespoon water (for the slurry)
- 2 tablespoons unsalted butter (cubed)
Topping and Finishing
- Heavy cream (for brushing)
- Turbinado sugar (or sanding sugar, for sprinkling)
Instructions
- Make the dough: Whisk together the flour, salt, and sugar. Cut in the cold butter using a bench scraper, pastry blender, or two knives with an up-and-down chopping motion until pea-sized pieces form. If using a stand mixer or food processor, pulse leaving slightly larger pieces and watch closely.
- Add water: Remove ice from the cold water. Add the ice water one tablespoon at a time, tossing gently, until the dough is shaggy with some loose flour. Turn out and press together with the heel of your hand just until it forms a cohesive dough.
- Chill dough: Divide the dough into two pieces: two-thirds for bottom crust and one-third for top crust. Press each into a disk, wrap in plastic, and refrigerate for at least 2 hours or overnight.
- Prepare apples: Peel, core, and slice apples to consistent ¼-inch thickness. Toss with sugars and cinnamon. Let sit 30 minutes to macerate.
- Cook filling: Transfer apples and juices to a large saucepan or Dutch oven. Cook over medium heat until apples are crisp-tender. Whisk cornstarch and water to make slurry, stir into filling, boil 1 minute until filling thickens and turns opaque. Stir in cubed butter.
- Chill filling: Spread filling onto a parchment-lined baking sheet and refrigerate until completely cold.
- Roll dough: If chilled overnight, let dough rest at room temperature briefly to avoid cracking. On a floured surface, roll larger dough disk to ¼ inch thick and about 2 inches wider than pie dish. Roll smaller disk wide enough to cover filling with 1 inch overhang. Place both on parchment-lined baking sheet and refrigerate 30 minutes.
- Preheat oven: Heat oven to 425°F conventional (400°F convection).
- Assemble pie: Line pie dish with larger crust, letting excess hang over edges. Add cooled filling, mounding slightly in center. Lay top crust over filling and trim excess beyond 1 inch with kitchen shears.
- Form edges: Gather top and bottom crusts together, roll edge inward and under to create a single thick rim on the dish’s lip. Crimp decoratively. Cut steam vents in top crust away from edges.
- Add finishing touches: Place pie on a baking sheet. Brush top crust with heavy cream and sprinkle turbinado or sanding sugar. Work quickly to keep dough cool.
- Bake pie: Bake for 15 minutes, then rotate pie and reduce oven temperature to 350°F. Continue baking 45 to 60 minutes until filling bubbles in center, apples are tender when poked with paring knife, and crust is deep golden brown. Tent edges with foil strips if they darken too fast.
- Cool and serve: Allow pie to cool completely before slicing so filling sets properly.
Notes
- Using a mix of sweet and tart apples balances flavor and texture for the filling.
- Chilling the dough thoroughly helps prevent cracking and ensures a flaky crust.
- If edges brown too quickly, tent with foil to prevent burning while the filling finishes baking.
- Letting the pie cool completely allows the filling to thicken and set for clean slices.
- Brush crust with heavy cream for a beautiful golden finish and sprinkle sugar for added texture and sweetness.